12 Cleaning Hacks for a Cleaner House With Less Scrubbing
Simple ways to clean faster at home: work top to bottom, let cleaner soak, steam the microwave, squeegee the shower and keep it all on a schedule.

The best cleaning hacks save steps, not just elbow grease: clean from the top of a room down, do the dry jobs before the wet ones, let your cleaner sit before you scrub, and carry everything you need in one caddy. Small habits, like a quick squeegee after a shower and a short reset every night, keep the big jobs from piling up.
These 12 ideas work in any home, with plain tools you probably already own. None of them needs a special product, and none of them asks you to mix anything.
1. Clean top to bottom, dry before wet
Dust falls. When you wipe the counters first and dust the shelves after, you end up wiping the counters twice, so start at the highest point in the room and work your way down to the floor.
Begin with the ceiling fan, the tops of door frames and the high shelves. Move on to picture frames, lamps and furniture, then the counters and tables, and finish with the floor.
Do the dry jobs before the wet ones, too. Dusting and vacuuming come first, wiping and mopping come after, so loose dust never turns into a muddy smear on a damp surface.
The same rule works across the whole house. Clean the upstairs before the downstairs, and the back rooms before the hallway, so you never carry dust and crumbs back into a room you’ve already finished.
Keep a small trash bag with you as you go. Wrappers, receipts and dead leaves go straight in, instead of being moved from one surface to the next.
2. Let the cleaner sit before you scrub
Most of the hard work in cleaning is waiting. Spray the tub, the stovetop or the sink first, then walk away and do something else while the cleaner loosens the grime.
A few minutes later, the mess wipes off with far less scrubbing. Spray the bathroom before you dust the bedroom, and it’s ready by the time you come back.
Disinfectants work the same way, only stricter. The label tells you how long the surface has to stay wet to kill germs, and if it dries early, the job isn’t done, so read the directions before you start.
Use one product at a time, and never mix them. Bleach mixed with ammonia, vinegar or other cleaners can give off gases that are dangerous to breathe.
Open a window or run the fan while you clean, especially in a small bathroom. Wipe up dirt before you disinfect, since a disinfectant works best on a surface that’s already clean.
3. Carry everything in one caddy
A caddy with a handle saves more time than any single product. Fill it with the cleaners, cloths and brushes you use every week, and carry it from room to room instead of walking back to the closet each time you need something.
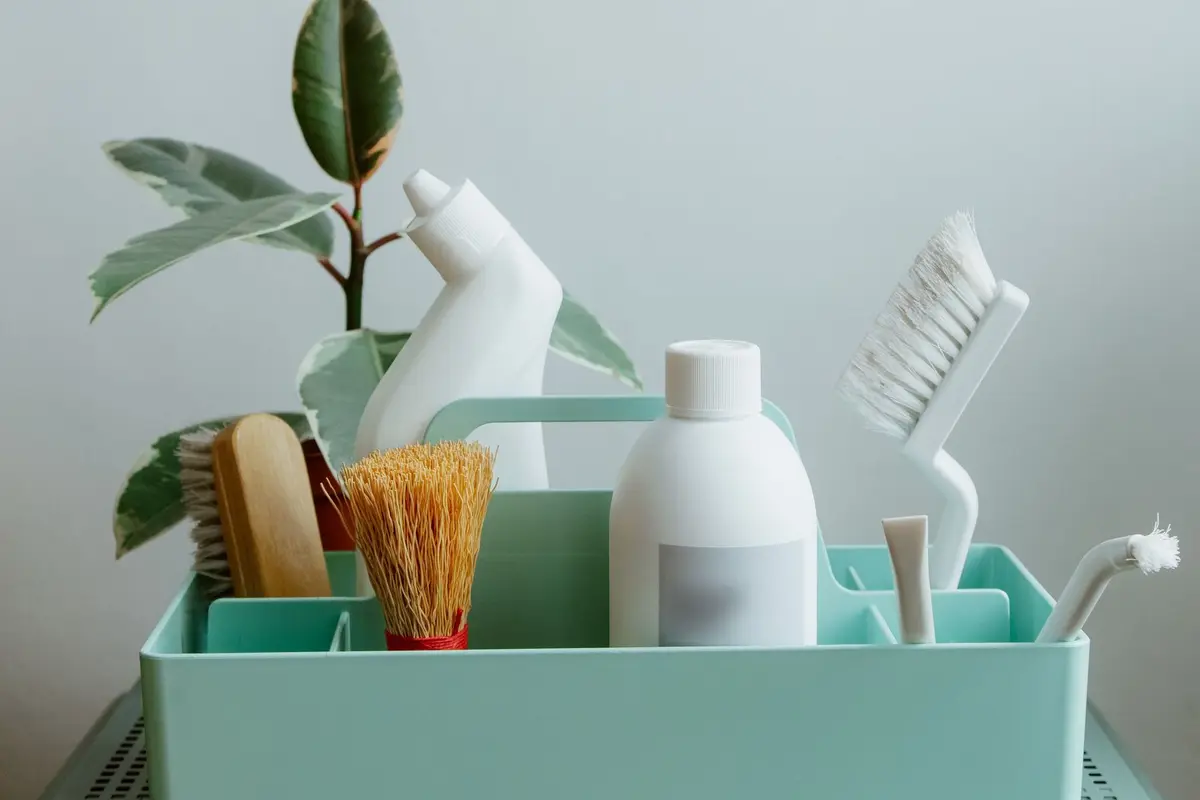
Keep it simple: an all-purpose spray, a glass cleaner, a scrub brush, a small detail brush, a stack of cloths and a pair of gloves. If you never reach for something, take it out.
Put the bottles in the middle and the cloths and brushes around the edges, so nothing tips over when you pick it up.
In a two-story home, a second caddy for the bathroom upstairs saves a lot of trips. Keep each one stocked, and refill it the moment something runs low.
Store the caddy somewhere you can grab it quickly, like a closet shelf or the cabinet under the kitchen sink. Our guide to organizing under the kitchen sink shows how to fit it in beside everything else down there.
Keep cleaning products in their original bottles, closed tightly and up out of reach of kids and pets.
4. Switch to microfiber cloths
Microfiber cloths grab dust and crumbs instead of pushing them around, and they work on most surfaces with just water or a light spray. They also leave fewer streaks on glass and shiny appliances than paper towels.
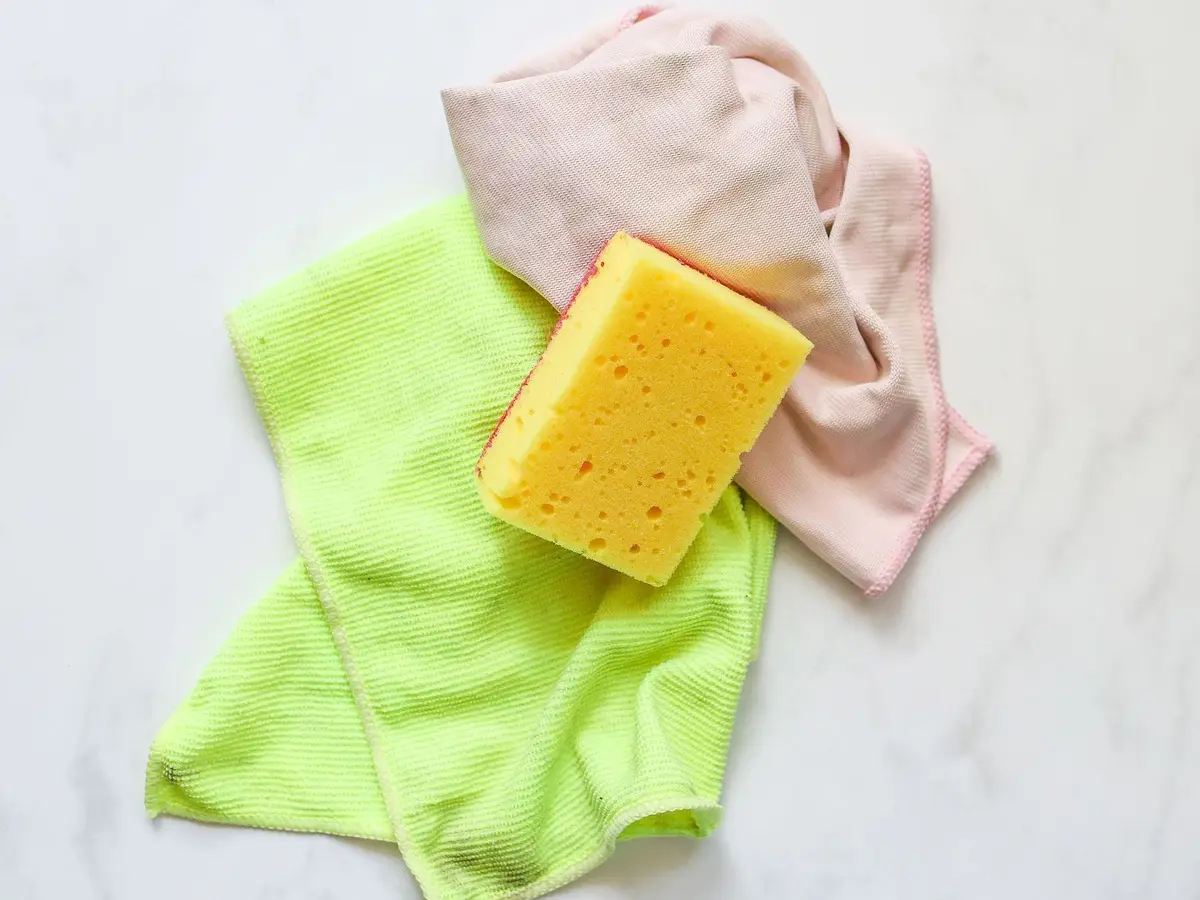
Fold each cloth into quarters. That gives you eight clean sides, so you can flip to a fresh one as each side gets dirty instead of reaching for a new cloth.
Give each color its own job, like one color for the bathroom and another for the kitchen. Then a cloth that wiped the toilet never ends up on the counter where you make lunch.
Wash microfiber with your regular detergent, and skip the fabric softener, which coats the fibers and makes them less grabby. Air-dry them, or tumble them on low heat.
Keep the dirty cloths in a small bin or mesh bag by the washer, and wash them all in one load at the end of the week. A stack of clean ones in the caddy means you never have to stop and look for one.
5. Steam the microwave with water and lemon
Dried splatters inside the microwave soften with steam, and then they wipe right off. Fill a microwave-safe bowl partway with water, add a few slices of lemon for a fresh smell, and heat it until the window fogs up.

Leave the door closed for a few minutes afterward, so the steam keeps working on the stuck-on food.
Be careful with the bowl. Water heated too long can get hotter than boiling without bubbling, then erupt when it’s moved, so heat it only as long as it takes to steam and let it cool before you lift it out.
Wipe the walls, the ceiling and the door with a soft cloth or sponge dipped in warm water and a little dish soap. Skip steel wool and scouring pads, which scratch the inside of the oven.
Take out the turntable and wash it in the sink like a plate. Dry everything well before you close the door, so the inside doesn’t stay damp.
6. Scrub the sink with a baking soda paste
Baking soda is a gentle scrub for a stainless steel or porcelain sink. Mix it with a little water until it’s as thick as toothpaste, then spread it over the basin with a damp sponge.
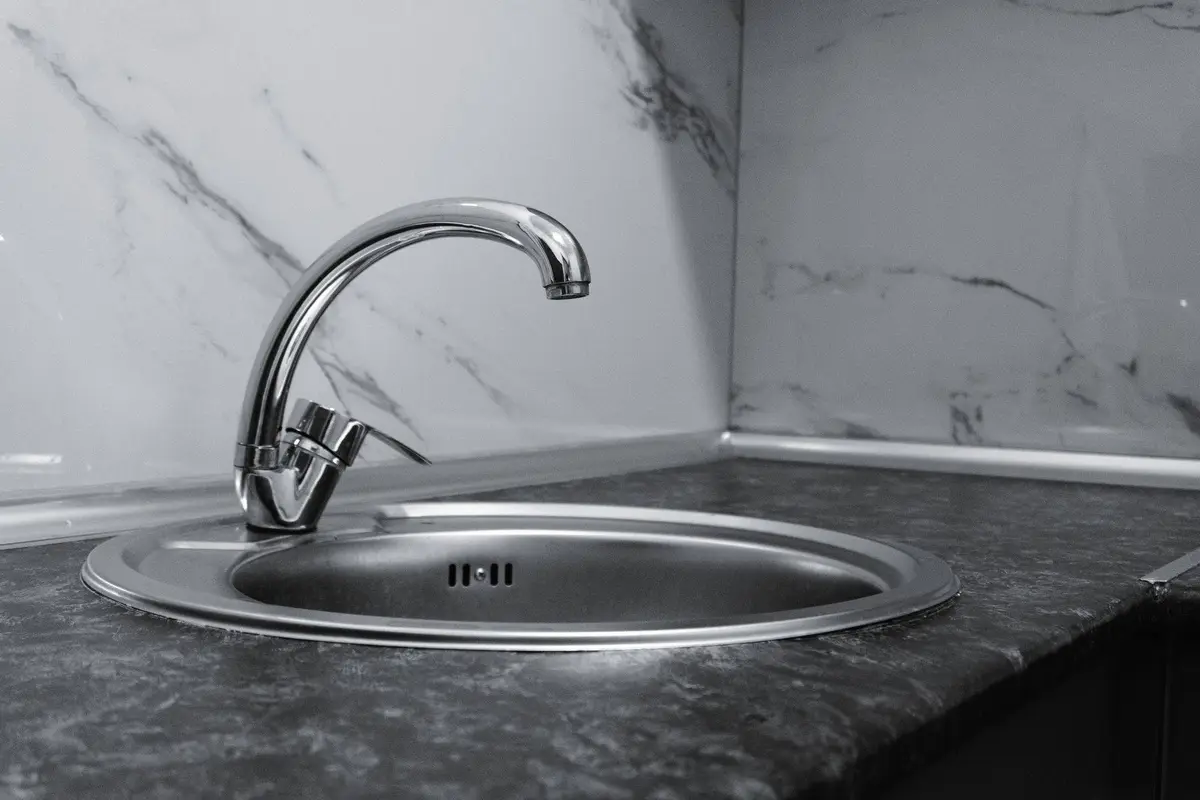
Rub with the grain of stainless steel, the way the fine lines run, so you don’t leave swirl marks. On a white sink, let the paste sit for a few minutes on any stains before you scrub.
Rinse the sink well, then dry it with a soft cloth. A dry sink shows fewer water spots and stays shiny longer.
Use the paste on the faucet base and around the drain, too, where grime collects. An old toothbrush reaches into the gaps a sponge can’t.
Baking soda lifts grime, but it doesn’t disinfect. After raw meat or a sick week in the house, follow up with a disinfectant made for kitchen surfaces, and follow its directions.
Before you use the paste on stone, a special finish or a colored sink, check the maker’s care instructions, since some surfaces scratch or dull easily.
7. Squeegee the shower after every use
A quick pass with a squeegee keeps water spots and soap film from building up on the glass, so the big scrub comes around a lot less often. It takes less time than drying off, and it works on tile walls as well as on glass.
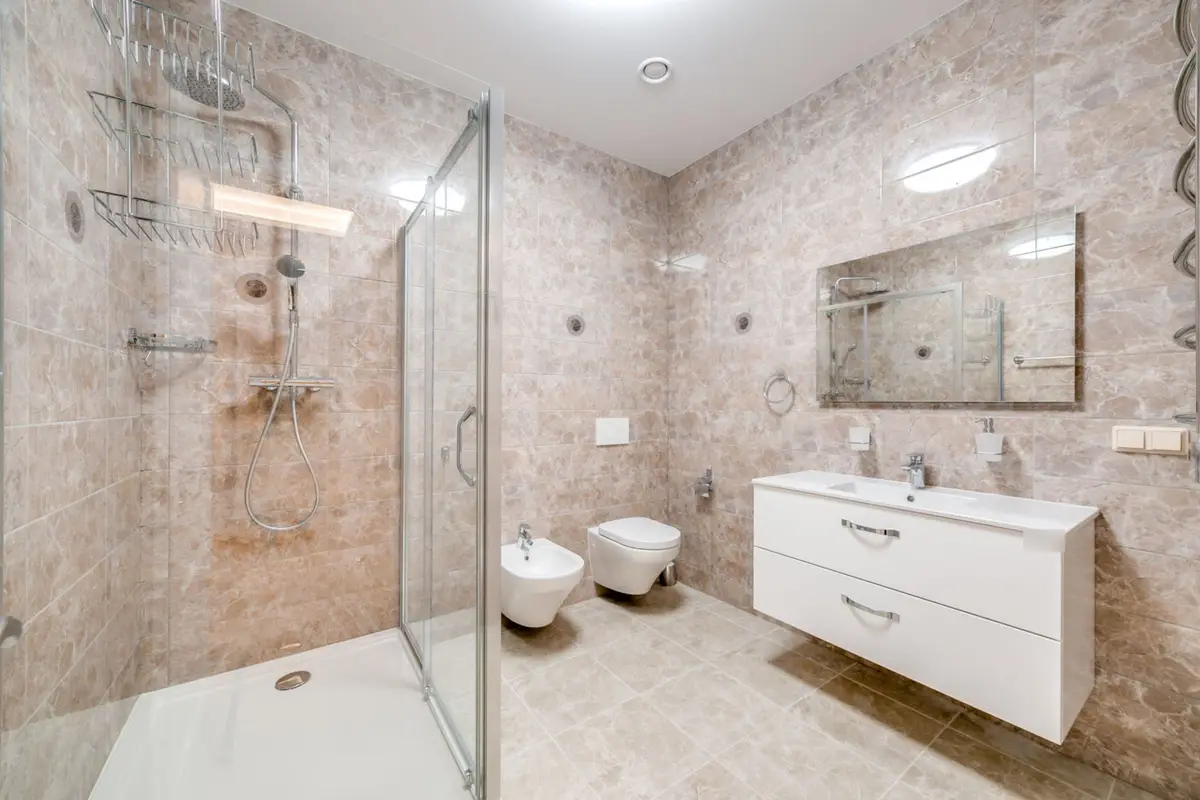
Hang the squeegee on a hook inside the shower, right where you’ll see it. Pull it down the glass in straight strokes from top to bottom, and wipe the blade on a towel between passes.
Pulling the water off also helps against mold, which needs moisture to grow. Damp bathrooms are where it shows up first, in grout lines and caulk.
Run the bathroom fan while you shower and for a while after, or open a window. Leave the shower door or curtain open, so the stall dries out.
Hang wet towels and bath mats to dry instead of leaving them in a heap on the floor. A dry bathroom stays fresh for longer between cleanings.
8. Roll a lint roller over lampshades
Fabric and pleated lampshades hold on to dust, and a cloth only pushes it into the folds. A sticky lint roller lifts it straight off, and it’s gentle on paper and fabric shades alike.
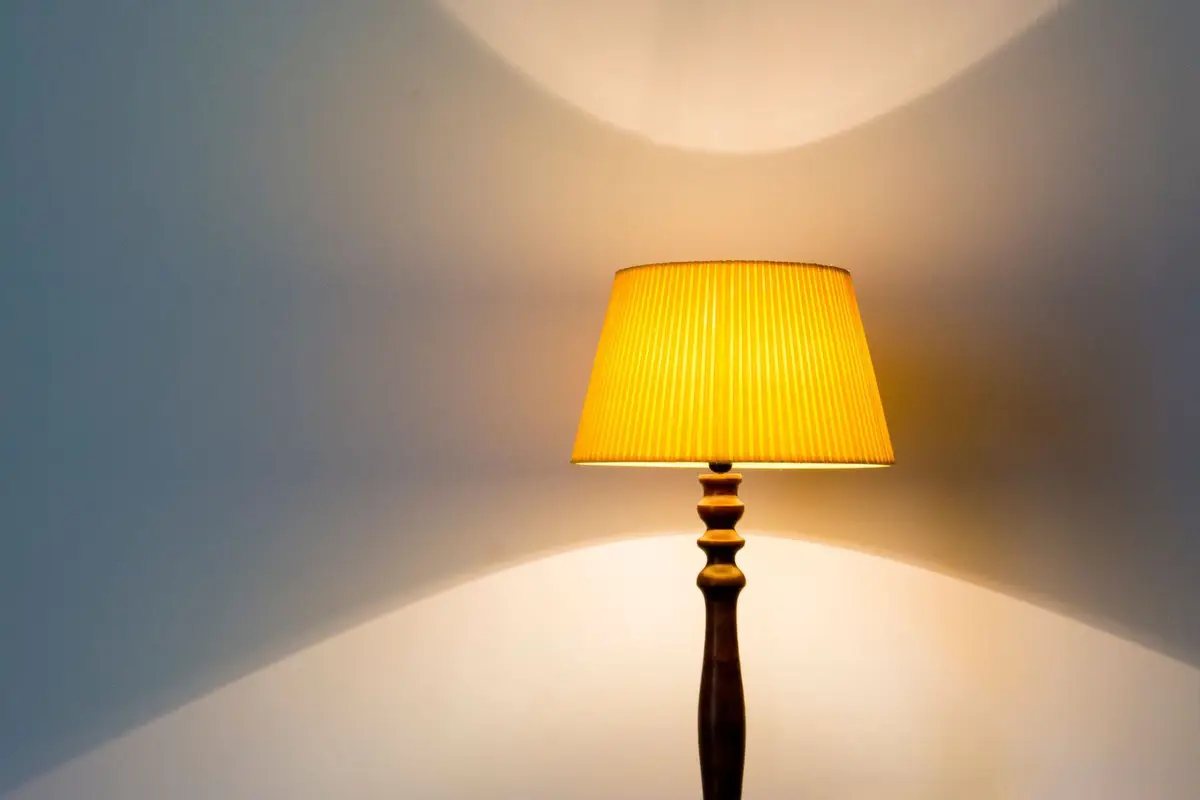
Turn off the lamp, unplug it and let the bulb cool before you start. Hold the shade steady with one hand and roll in long strokes from top to bottom, tearing off a fresh sheet when it stops picking up.
On a pleated shade, roll along each pleat instead of across them. A soft, clean paintbrush reaches into the deep folds.
The lint roller works on other dusty fabric, too. Use it on upholstered headboards, curtains, throw pillows and the cushions of the sofa, especially in a home with pets.
Wipe the bulb with a dry cloth while the lamp is unplugged. A clean bulb gives off more light.
Dust lampshades every couple of weeks, along with the rest of the room, so the dust never gets thick enough to stain the fabric.
9. Use a pillowcase on the fan blades
Dusting a ceiling fan usually means dust raining down on the bed or the sofa. Slide an old pillowcase over each blade instead, then pull it back toward you, and the dust stays inside the pillowcase.

Turn the fan off and let it stop completely before you start. Shake the pillowcase out outdoors, then wash it.
Use a sturdy step stool or step ladder, not a chair. Face the ladder, keep both feet and one hand on it, or both hands and one foot, and don’t stand on the top step unless it’s made for standing.
Wipe the blades with a slightly damp cloth afterward if the dust was sticky. Dry them right away, especially on wooden blades.
Clean the fan once a month while it’s running every day, and before you switch it on in a new season. Fan blades are an easy one to forget, which is why they’re on our deep cleaning checklist.
Dust the fan before anything else in the room, since some of it always falls.
10. Clean the dishwasher filter
If the dishes come out gritty or the dishwasher smells, a clogged filter is a likely reason. In many dishwashers, the filter sits at the bottom of the tub, under the lower rack, and twists or lifts out by hand.
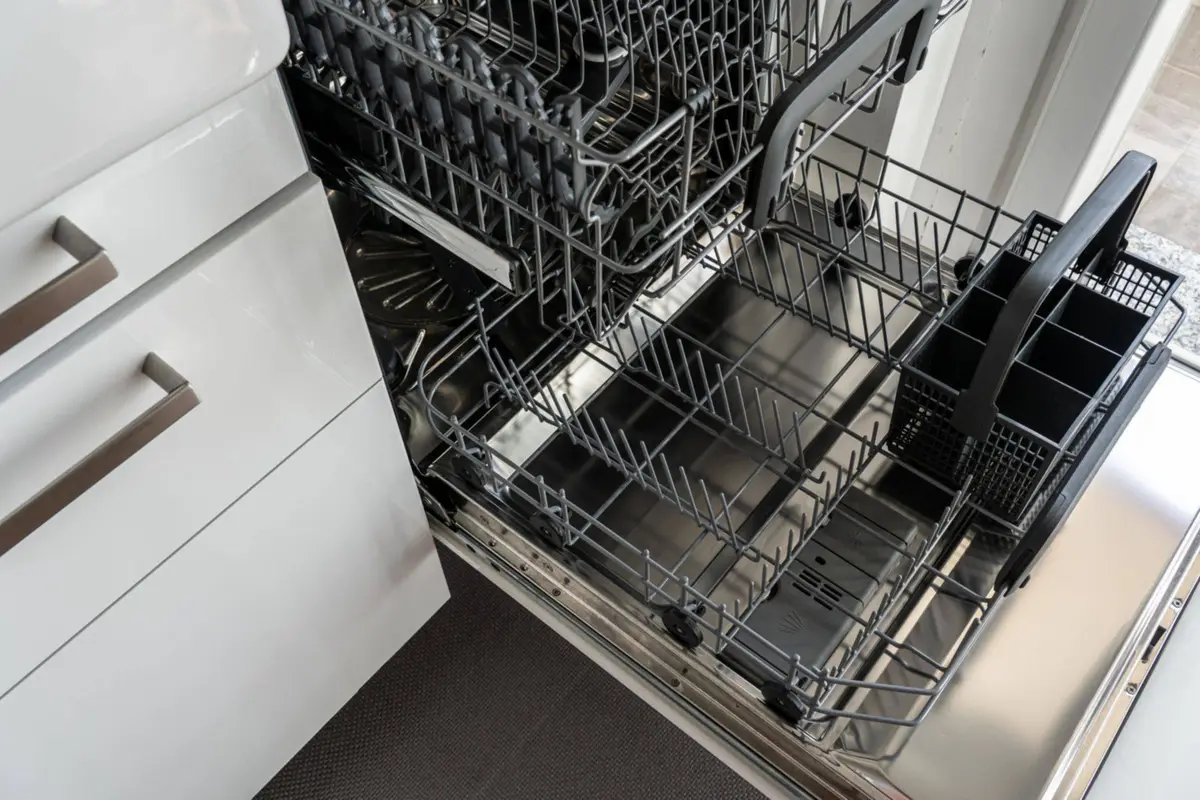
Check the manual for your model first, since filters come out in different ways. Pull out the lower rack, then remove the filter and look for trapped food, seeds and bits of paper label.
Rinse the filter under warm running water, and scrub it gently with a soft brush and a drop of dish soap. Don’t use a wire brush, which can tear the mesh.
Wipe out the area where the filter sits, and pick any food out of the drain. Then put the filter back exactly as it came out, so it locks in place.
Check the filter once a month, or as often as your manual suggests, and more often if you rarely scrape plates before loading. Add it to your monthly cleaning schedule, so the job comes around on its own.
While the rack is out, wipe the door seal, too. Crumbs and grease collect there and smell long before you see them.
11. Do a ten-minute reset every night
A short reset before bed keeps small messes from turning into a weekend of cleaning. Set a timer for ten minutes and work through the same short list each night.
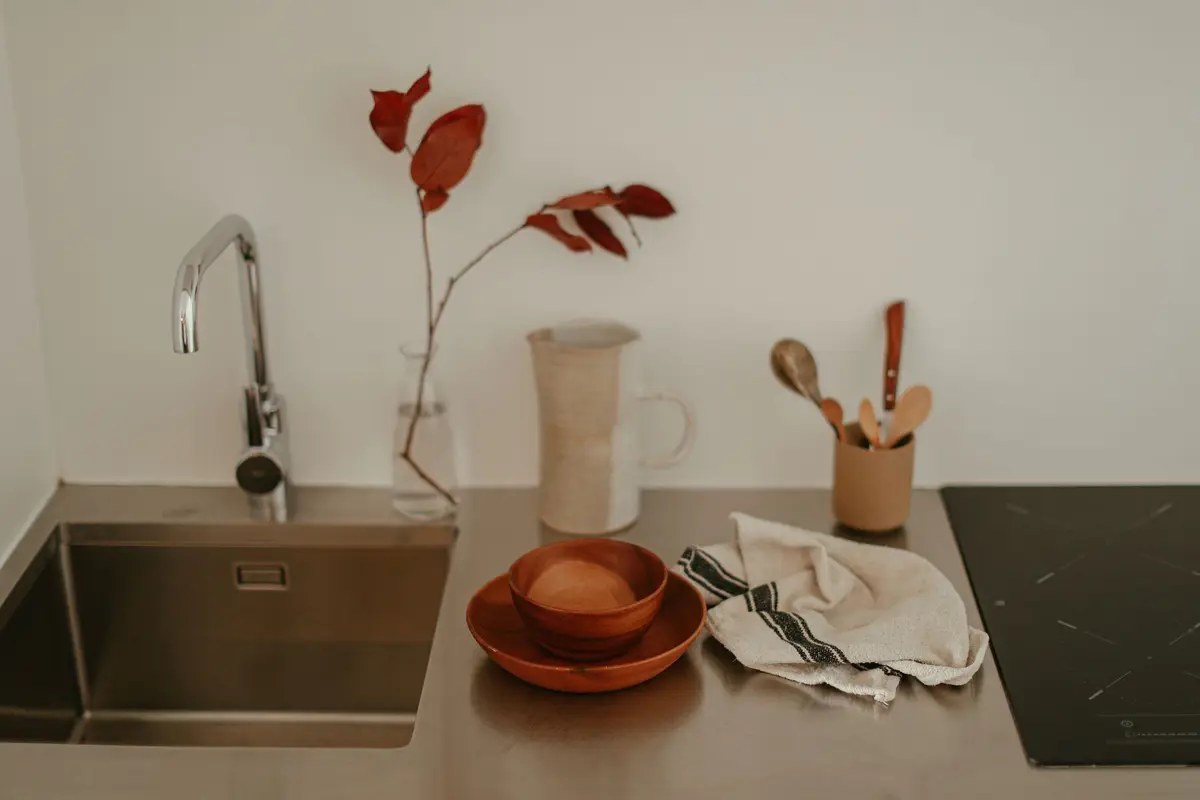
Start in the kitchen. Load the dishwasher or wash the last few dishes, wipe the counters and the stovetop, and leave the sink empty.
Then make one quick loop through the living areas. Put away anything that’s out of place, fold the throw blankets, fluff the pillows and take out any trash.
Finish by setting up for tomorrow morning. Lay out keys, bags and lunch boxes by the door, and start the dishwasher before you go to sleep.
Get everyone in the house to help. Kids can put their toys away and carry their dishes to the sink, and the reset goes much faster with more hands.
For a bigger weekly version, the Sunday reset checklist walks through the laundry, the fridge and the week ahead in one go.
12. Follow a simple cleaning schedule
A schedule takes the guesswork out of cleaning. Instead of wondering what needs doing, you do one small job a day, and every room gets its turn.

Give each day its own focus, like bathrooms on one day, floors on another and the kitchen on a third. One focus a day keeps each session short enough to fit around work and school.
A free weekly cleaning schedule gives you the whole plan on one page. Print it, put it on the fridge and check off each day as you go.
The jobs that come around less often, like the oven, the windows and the dishwasher filter, belong on a monthly list. Spread them out, one or two a week, so no single day gets heavy.
Keep the schedule realistic. If a day keeps getting skipped, move its job to a quieter day instead of letting it slide for good.
To keep it going, pick the two or three ideas that save you the most time and turn them into habits before you add more. Once the caddy is stocked and the schedule is on the fridge, the rest of the list gets easier every week.

Save this for later
Pin it to a board so it's there when you're ready to start.
Save to Pinterest(opens in a new tab)Make it easier
Free printable
Weekly Cleaning Schedule Printable
A one-page weekly cleaning schedule: a few quick jobs every day, plus one focus area a day, so the whole house gets done without a cleaning marathon.
Free printable
Monthly Cleaning Schedule Printable
A one-page monthly cleaning schedule: the daily and weekly basics at the top, then one deeper area for each week, so every corner of the house gets its turn without a cleaning weekend.
Frequently asked questions
What order should I clean a room in?
Start high and finish low: dust the fan, shelves and frames first, then wipe the surfaces, and vacuum or mop the floor last. Do the dry jobs before the wet ones, so dust doesn't turn into mud on a damp counter.
Can I mix cleaning products to make them stronger?
No. Mixing bleach with ammonia, vinegar or other cleaners can give off gases that are dangerous to breathe. Use one product at a time, rinse the surface before you switch, and keep a window open while you work.
Do homemade cleaners with baking soda or vinegar disinfect?
They're good at lifting grime, grease and water spots, but they aren't disinfectants. When you need to kill germs, use a disinfectant whose label says it does, and follow its directions, including how long the surface stays wet.
How do I keep the house clean when I work full time?
Pick one small job for each day of the week and do a quick reset every evening, so dishes, clutter and spills never pile up. A written schedule takes the guesswork out, and the bigger jobs come around only once a month.