13 Small Pantry Organization Ideas That Make Every Shelf Count
Small pantry organization ideas that fit more on every shelf: clear bins, step shelves, turntables, door space, baskets and a few habits that keep it tidy.

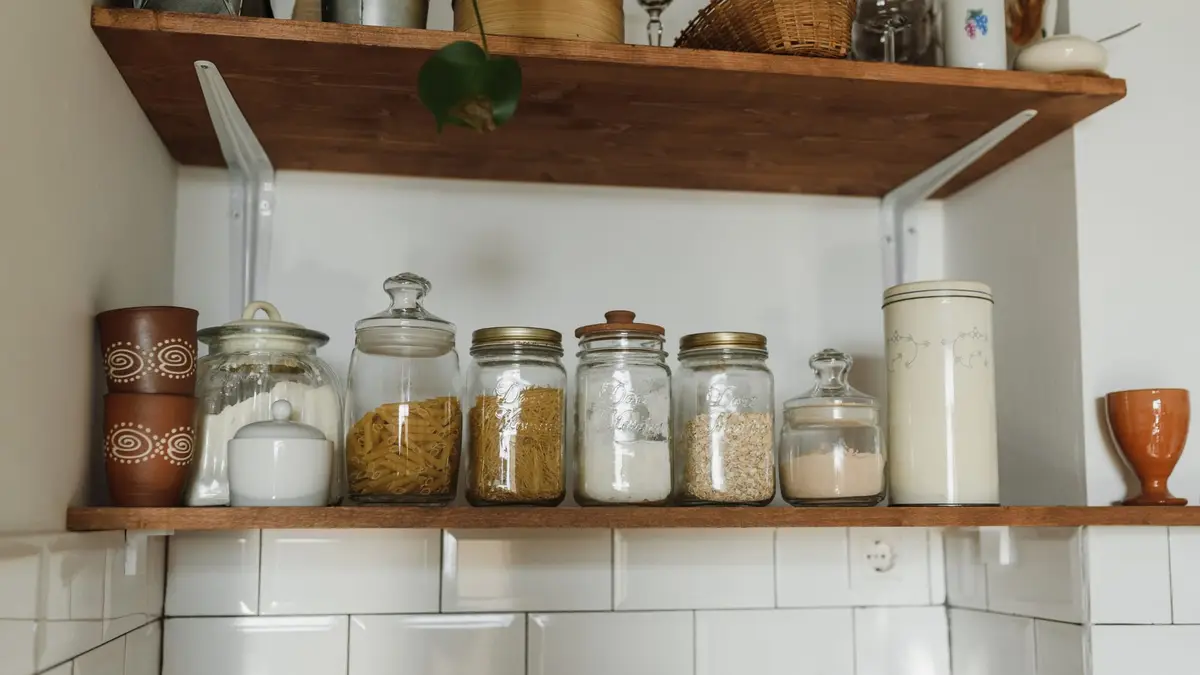
A small pantry holds more when every shelf has a job: group like with like, store dry goods in clear containers that stack, use step shelves and turntables so nothing hides at the back, and put the door and walls to work. Keep what you use every day at eye level and move backups somewhere else.
These 13 ideas work in a reach-in closet, a single cabinet or a corner of the kitchen. Start with the first two, since every idea after them depends on knowing what you have and how much room there is.
1. Empty it and sort what you have
Take everything out and group it on the counter: baking, breakfast, snacks, cans, pasta and grains, oils and sauces. Toss anything expired or stale, and set aside food you won’t eat for a food drive.
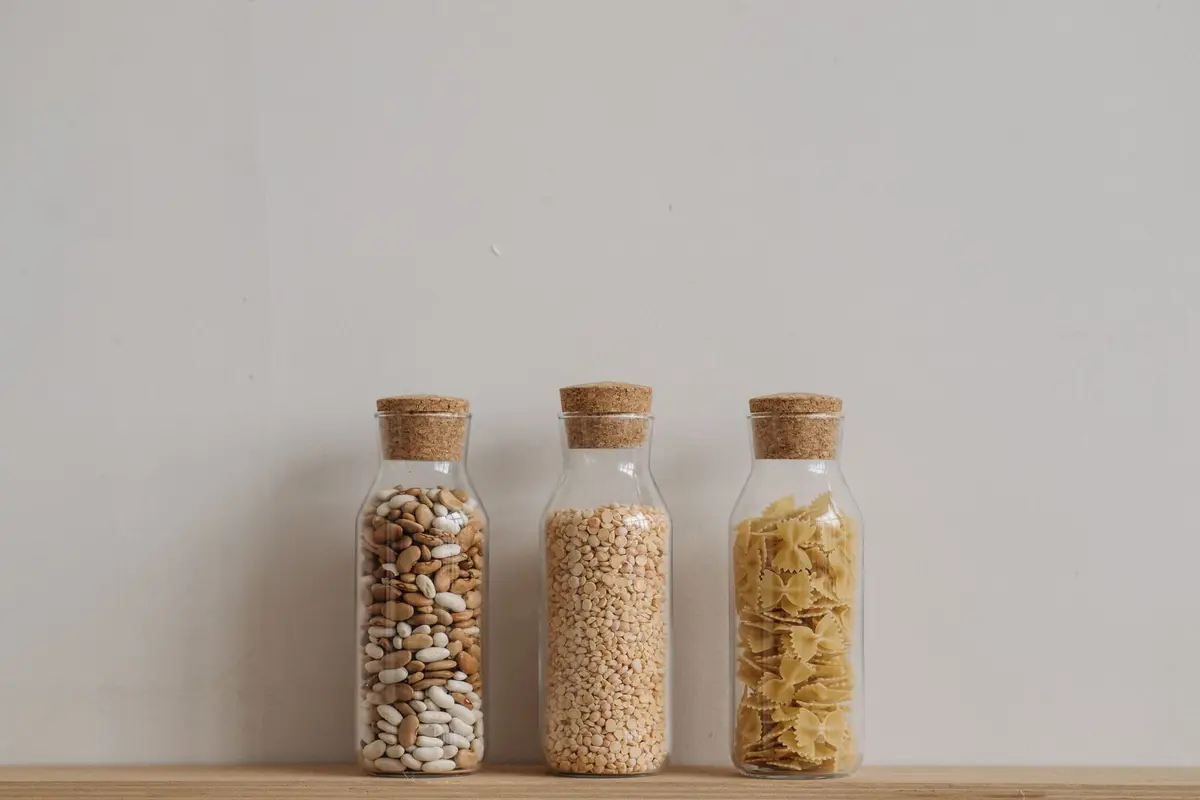
The groups you end up with become your zones, one per shelf or per bin. The declutter checklist covers the kitchen and the rest of the house the same way, if the pantry is only the start.
If the whole pantry feels like too much, work one shelf at a time. Clear the top shelf, sort it and finish it before you start the next, so the kitchen never ends up buried.
As each shelf empties, wipe it and look for crumbs, spills, webbing or tiny holes in packages, the usual signs of pantry pests. Throw out anything that shows them, and clean the shelf well before food goes back.
Keep a pen and paper nearby while you sort. Anything you’re out of, or almost out of, goes straight onto the grocery list.
2. Measure before you buy anything
Measure the width, depth and height of each shelf, and the door opening too. A bin that’s a little too tall or too deep can waste a whole shelf.

Write the numbers down and take them shopping, or enter them into the bin and basket size calculator to see which standard sizes fit and how many line up side by side.
Measure in a few places on each shelf and use the smallest number, since walls and shelves aren’t always square. Note anything that cuts into the space, like door hinges, a light switch or a trim board.
Write down the clear height above each shelf, too. Cereal boxes, tall bottles and a stand mixer need very different room, and knowing which shelf is tallest tells you where they go.
If the shelves adjust, move them now, before anything goes back in. Spacing them to fit what you actually store can free up room for another row of bins.
3. Use matching clear containers
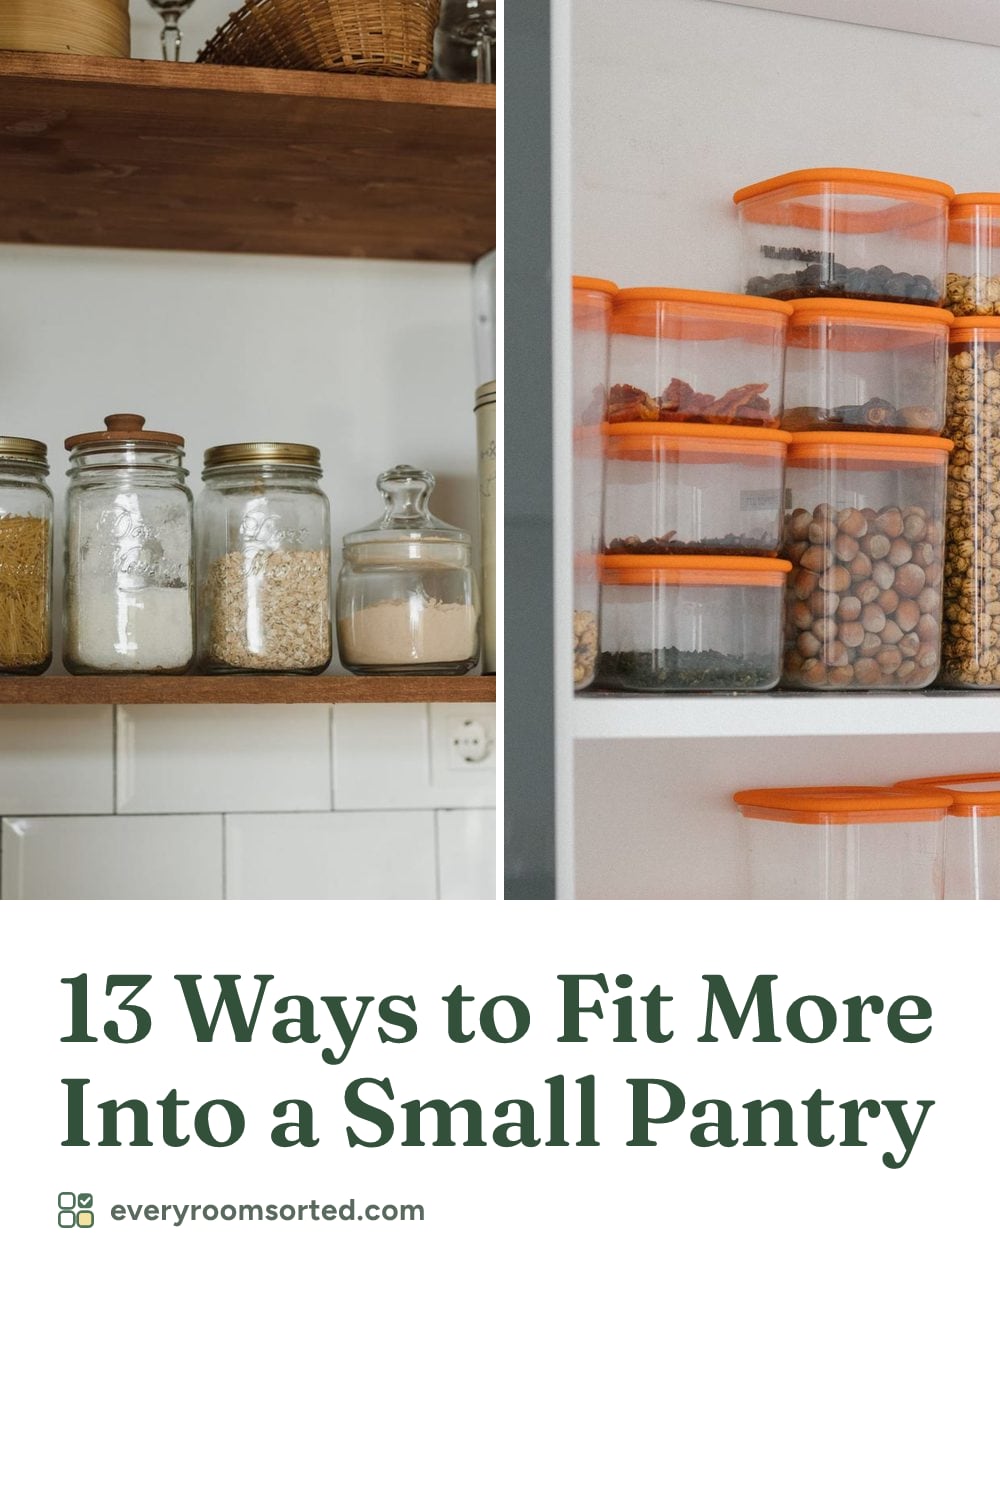
Containers that are all the same shape stack and line up without gaps, so a shelf holds more. Clear sides let you see what’s inside and when it’s running low, without opening anything.
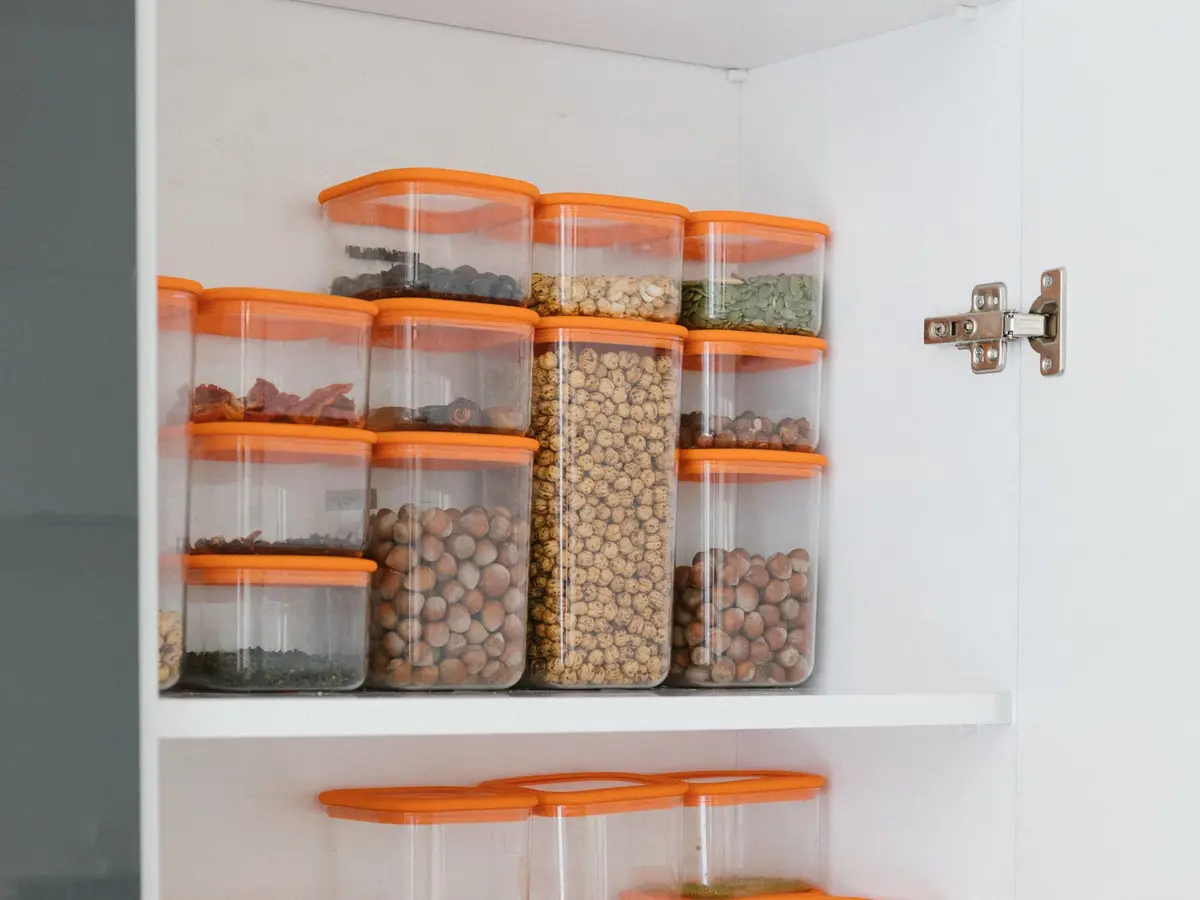
Square and rectangular containers waste less space than round ones. Pick one or two sizes that fit your shelf depth and stick with them, so you can swap them around as your groceries change.
Before you buy a full set, buy one container and test it on the shelf with the door closed. If it fits well, buy the rest in the same size.
Containers with flat lids stack two high, which doubles a shelf with plenty of headroom. Put the heavier ones on the bottom, and only stack things you use about as often, so you’re never unstacking for a daily item.
Clear containers stay tidy only when they’re labeled. A simple label on the front tells everyone in the house which one the new bag of rice goes into.
4. Decant dry goods into airtight jars
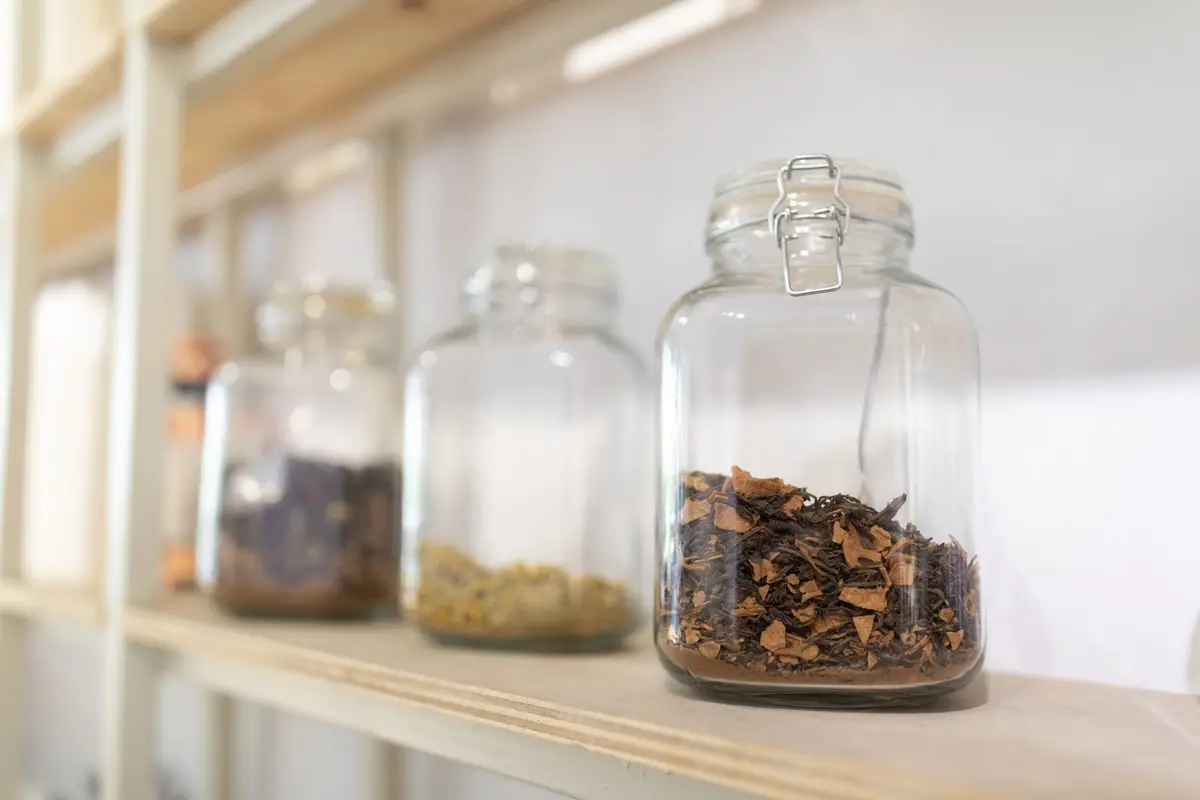
Flour, sugar, rice, oats, pasta and cereal take up less room out of their boxes and bags. Store them in tightly closed glass, metal or heavy plastic containers, which also keep pantry pests out of the food.
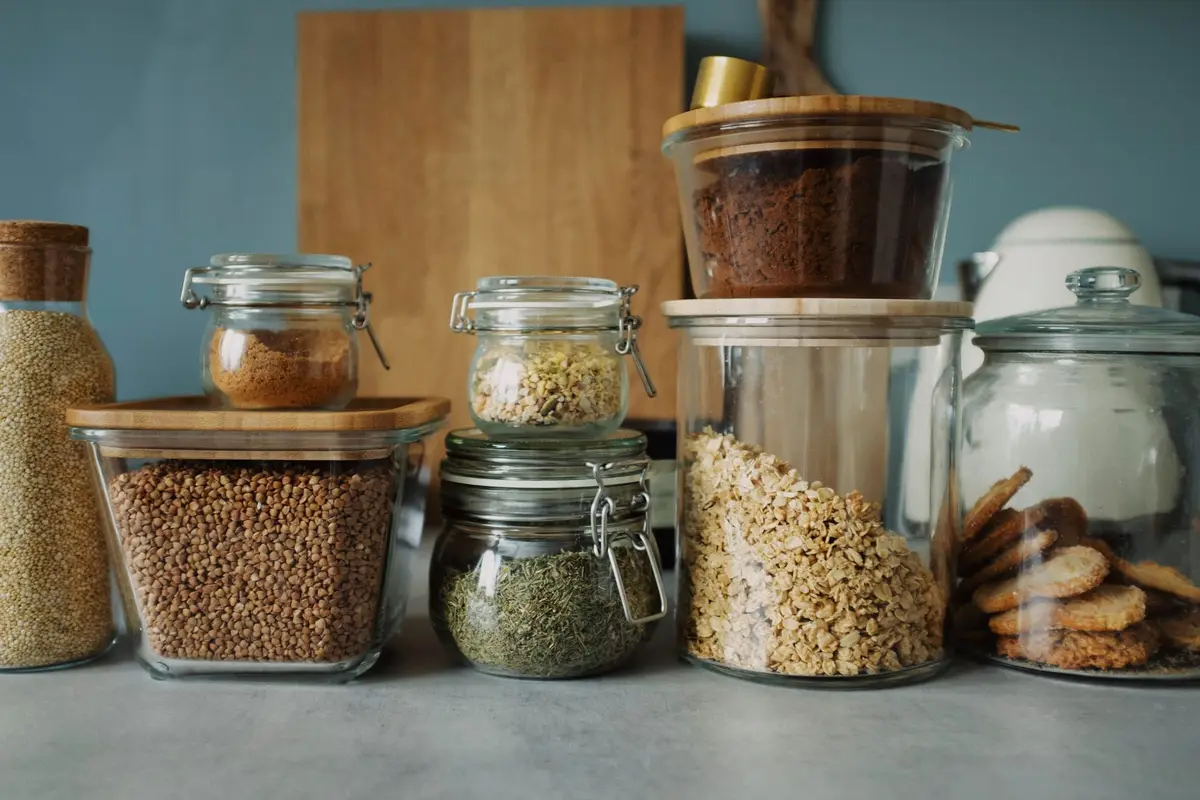
Only decant what you use often. Things you buy once a year can stay in their packaging, in a bin of their own.
When you refill a jar, tip what’s left into a bowl, pour in the new food, then put the older food back on top. That way the oldest gets used first.
Wash the jars now and then between refills, so crumbs and oil don’t build up, and let them dry completely before you fill them again. Dry goods keep best in a dry jar.
Cut the cooking directions and the date off the package and tape them to the back of the container. You’ll still have them long after the bag is gone.
5. Give spices and cans a step shelf
A tiered riser lifts the back row above the front one, so you can read every label at a glance instead of moving jars to find the one behind. It works for spices, cans, jars of sauce and small bottles.
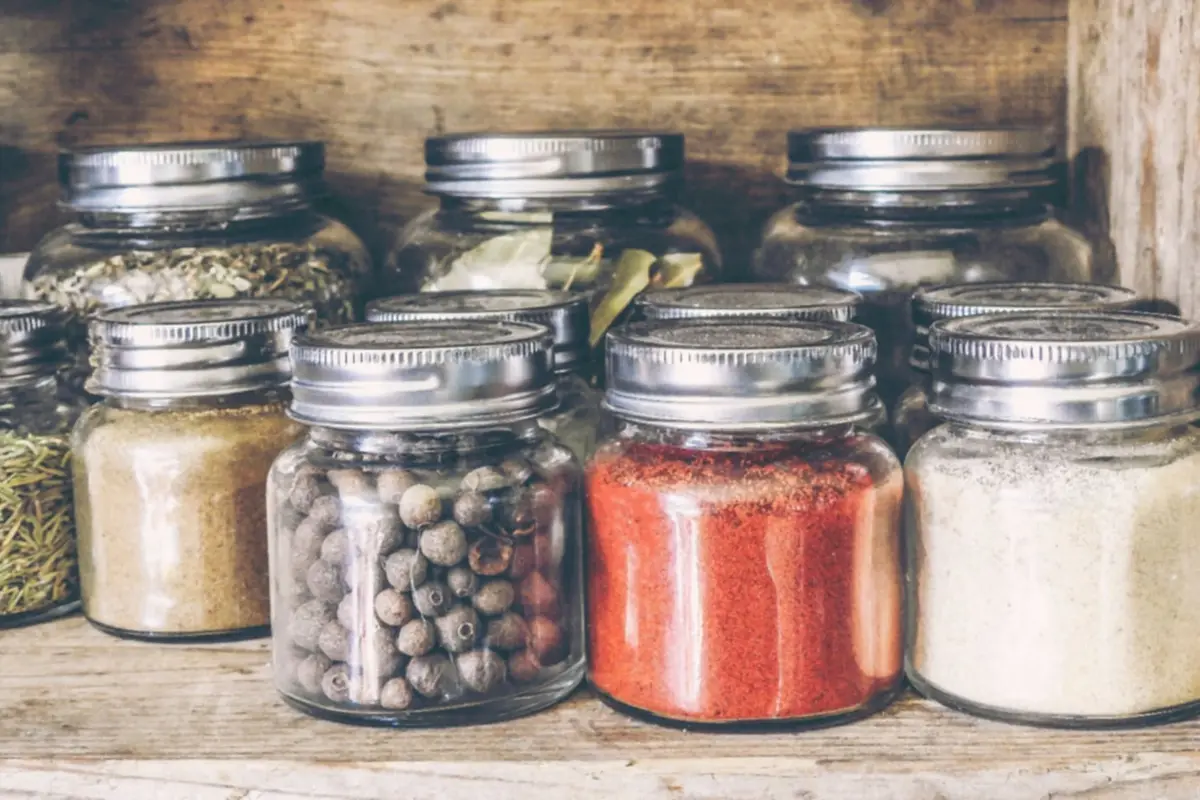
Expandable risers stretch to fit the shelf. Put the spices you use most on the front step and the rest behind.
Measure the shelf depth before you buy a riser, so it fits without pushing the front row off the edge. On a shallow shelf, a riser with fewer, wider steps often works better.
Group spices in a way that makes sense to you: by cuisine, by how often you use them or in alphabetical order. Whichever you pick, keep it the same, so you always know where to look.
Cans work the same way on a riser. Give each kind its own spot, with the matching cans lined up behind it, and you can see at a glance when one is running low.
6. Put oils and sauces on a turntable
Bottles are hard to reach in a deep or corner shelf. On a turntable, one spin brings the back bottle to the front, and a raised edge keeps them from tipping over.
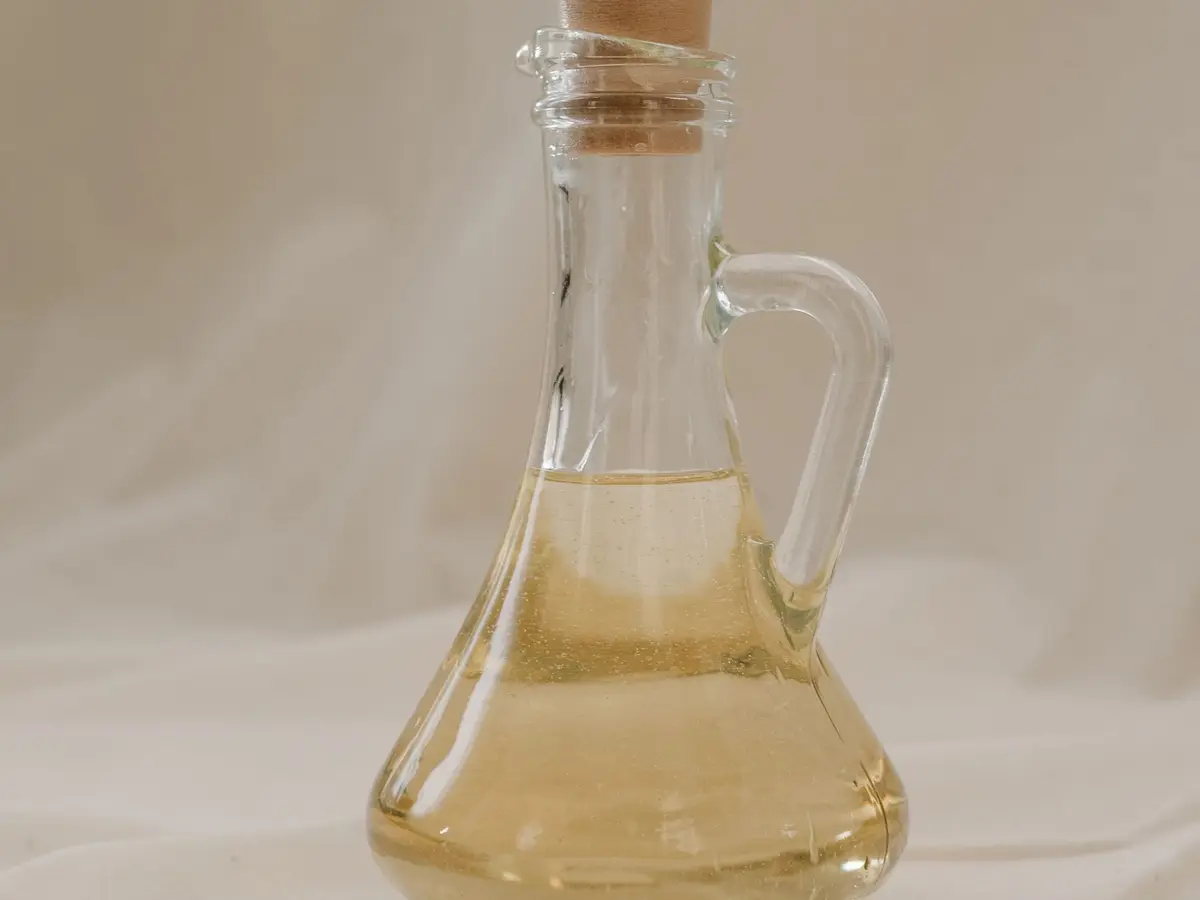
Set a turntable in each corner and group by use: cooking oils and vinegars on one, sauces and condiments on another. A tray under sticky bottles keeps drips off the shelf.
Measure the corner before you buy, since a turntable needs its full width to spin. A small one suits a narrow shelf, and a two-level turntable makes the most of a tall corner.
Wipe the turntable each time you restock it. Oil and sauce bottles leave sticky rings, and a quick wipe keeps them from collecting dust.
When you’re done cooking, put the bottle you use most back at the front. It’s the first one you’ll see next time. Turntables work in the fridge too, for jars and condiments that get lost at the back of a shelf.
7. Corral loose packets in baskets
Snack bags, seasoning packets, drink mixes and baking odds and ends slide around and spill on a bare shelf. A basket or open bin for each group keeps them together, and you pull out the whole basket to find what you need.
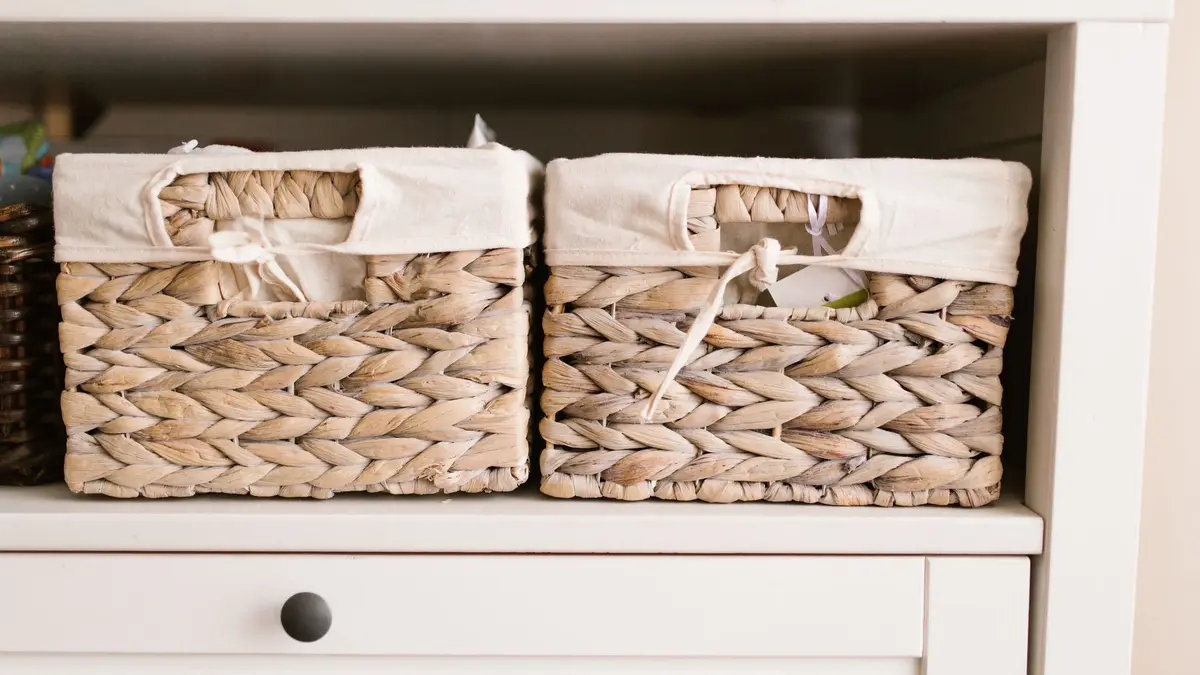
Label the front of each basket. Woven baskets look tidy on open shelves; clear bins work better where you want to see the contents.
Choose baskets that fit the shelf depth, so they slide all the way in and the door closes. A handle or a cutout at the front makes them easy to pull down from a higher shelf.
Keep each basket to one group. When two kinds of packets share a basket, it fills with odds and ends again in a few weeks.
Small bins inside a bigger basket help too. Seasoning packets stand on end in a small bin, like files in a drawer, so you can flip through them instead of digging.
8. Keep everyday things at eye level
The shelf between your shoulders and your waist is the easiest to see and reach, so give it to breakfast, snacks and the ingredients you cook with every week. Heavy cans, bottles and appliances go low; light, rarely used things go up high.
When groceries come in, put the new item behind the one you already have, so the older one gets used first.
Think about who uses each shelf. If kids help themselves to breakfast, their cereal belongs on a lower shelf they can reach safely, not up high where they’d need to climb.
Keep a step stool nearby for the top shelf, so nobody stands on a chair to reach it. A slim folding one hangs on a hook or slides into the gap beside the fridge.
Once the zones are set, live with them for a couple of weeks. If you keep reaching past something to get to what you need, swap the shelves until the everyday food is the easiest to grab.
9. Give produce an open basket down low
Potatoes keep best in a cool, dark place with air around them, away from fruit, and not in a warm cabinet like the one under the sink. An open or slotted basket on the pantry floor lets air in and keeps them where you can see them.
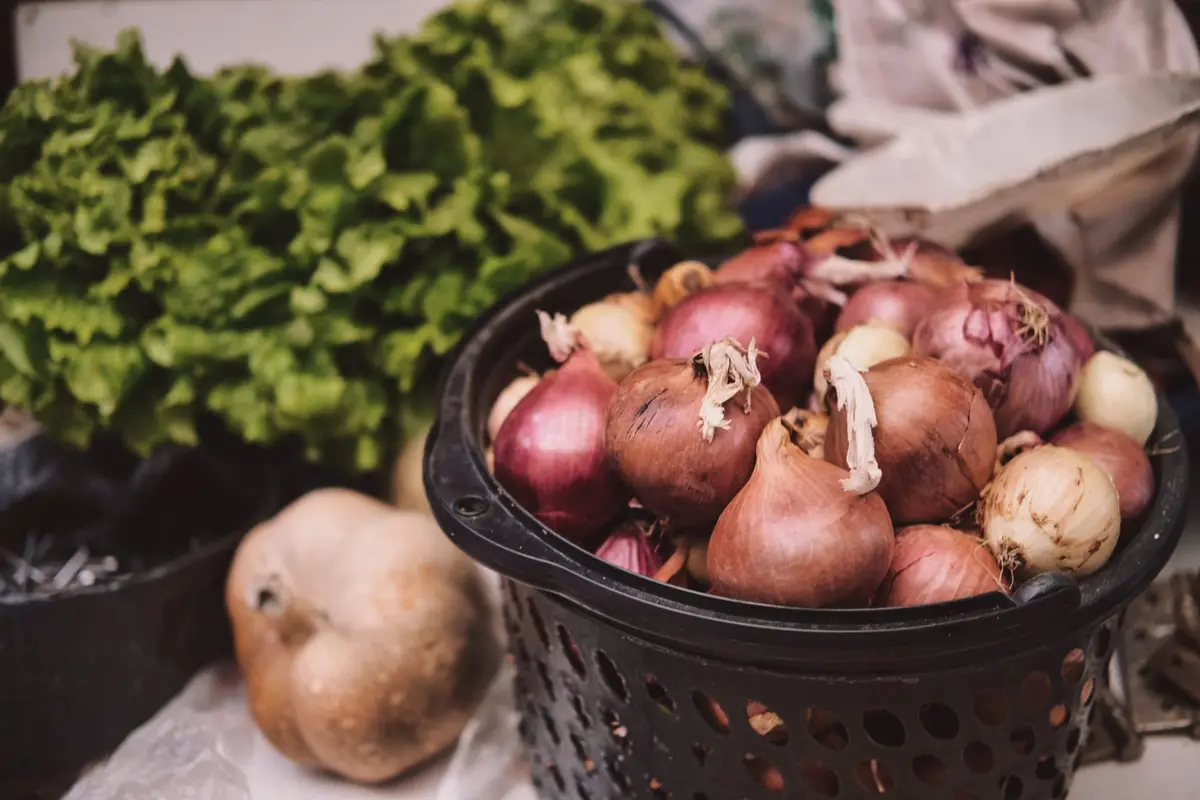
Onions go in an open basket of their own. Check both baskets each time you shop and use anything that’s starting to soften.
Keep potatoes out of the light, too. Light turns their skins green and bitter, so peel off any green areas before you cook, and throw away potatoes that are mostly green, shriveled or covered in sprouts.
Handle them gently when you put them away. Bruised potatoes turn dark and begin to rot, so use any with a bump or a soft spot first.
Put the basket on the floor or the lowest shelf, away from the oven and any warm wall, and leave a little room around it so air can move.
10. Use the walls and the door
The inside of the pantry door and the side walls are free storage. A door rack holds spices, foil and wraps, or snack bags; hooks or a rail hold aprons, reusable bags and measuring cups.
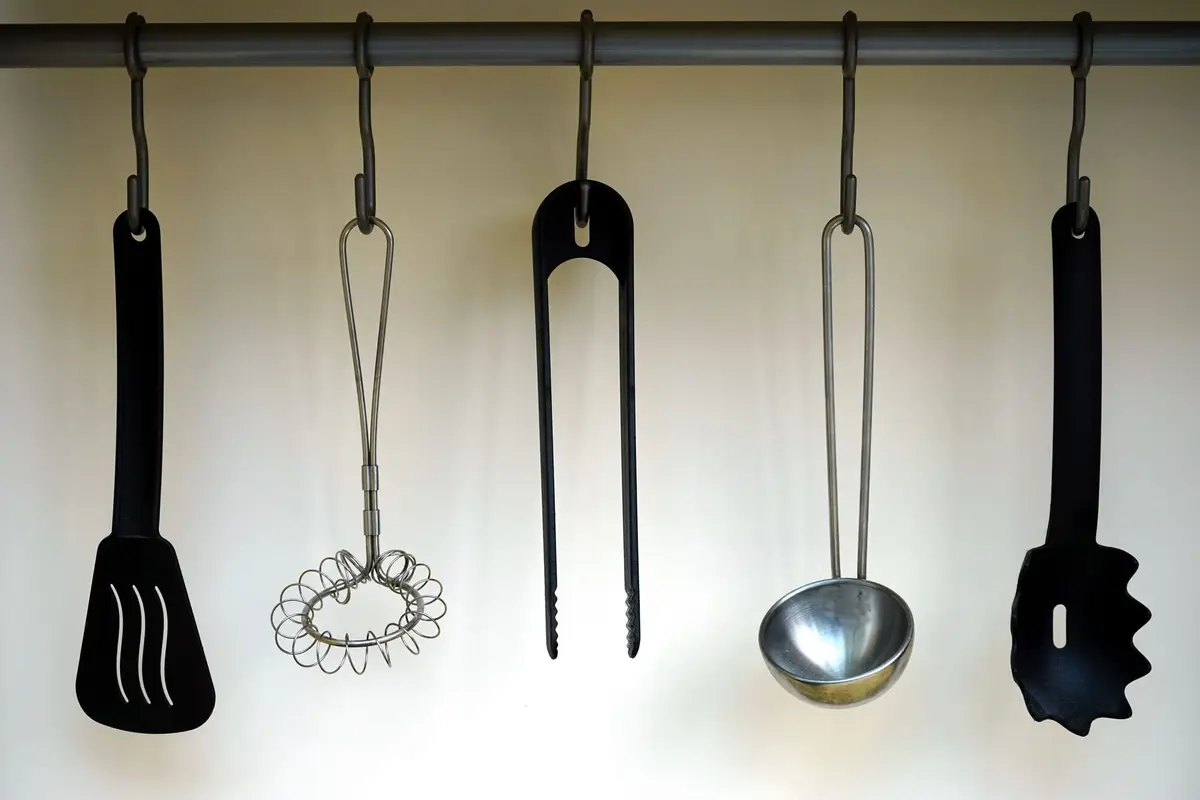
Measure the depth between the door and the shelves first, so the door still closes with everything in place.
An over-the-door rack needs no drilling, which suits a rental. On a hollow door, choose a light rack and keep heavy jars on the shelves, so the door and its hinges aren’t strained.
Use the walls for things that are flat or hang well: a clip rail for chip bags, a hook for the step stool, a slim rack for foil and wraps.
A small whiteboard or a sheet of paper on the inside of the door makes a handy grocery list. Write an item down the moment you open the last one, and the list is ready when you shop.
11. Make a grab-and-go snack spot
Put snacks in one basket or bin at a height the kids can reach. They can help themselves without digging through the rest of the pantry, and you can see at a glance when it needs a refill.
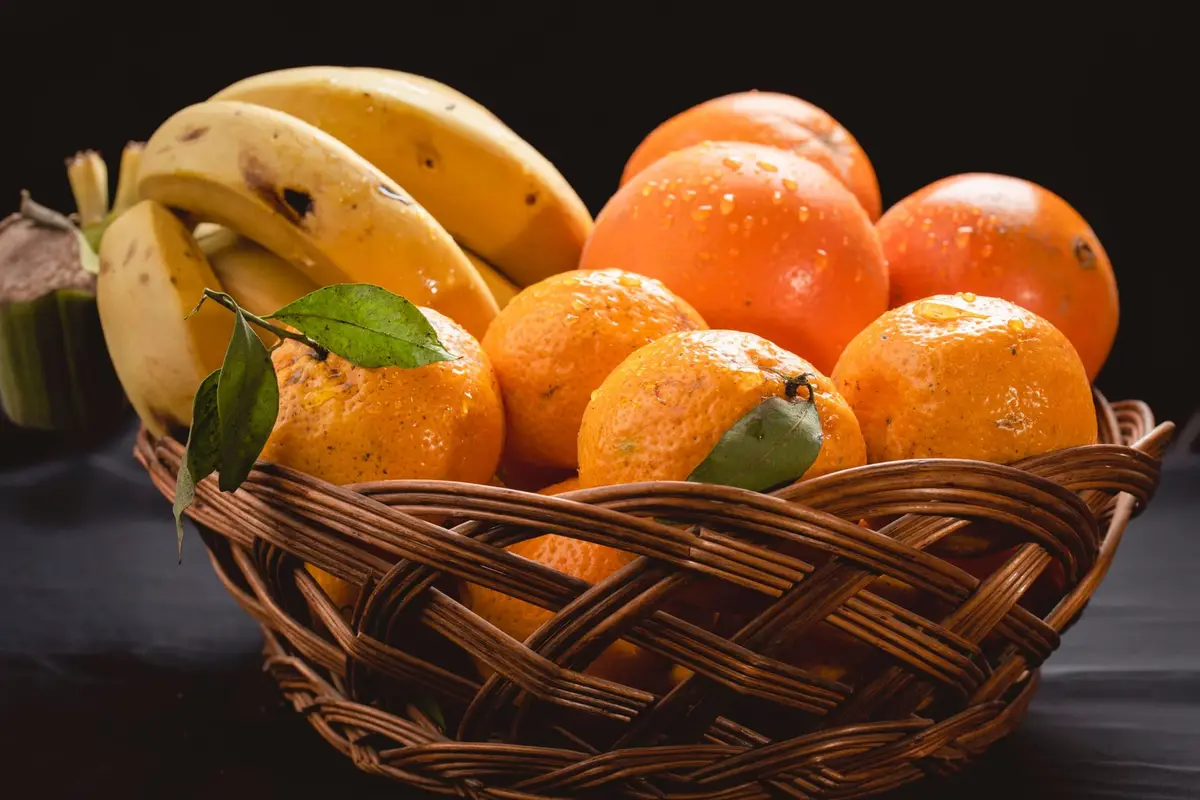
Keep a basket of fruit on the counter too, so it’s the easiest snack to grab.
Fill the snack basket with what you’re happy for the kids to choose on their own. When it’s empty, it’s empty, which saves a lot of back and forth about what they can have.
Keep a second basket higher up for lunch-box snacks and treats you’d rather hand out yourself.
Portion big bags into small containers when you unpack the groceries. It takes a few minutes and turns one big bag into grab-and-go snacks for the week. Let older kids help refill the basket, so they know where everything goes.
12. Move backups somewhere else
A small pantry can’t hold the bulk pack, the spare and the one you’re using. Keep one of each item in the pantry and store the extras in a closet, a high cabinet or a bin under a bed.
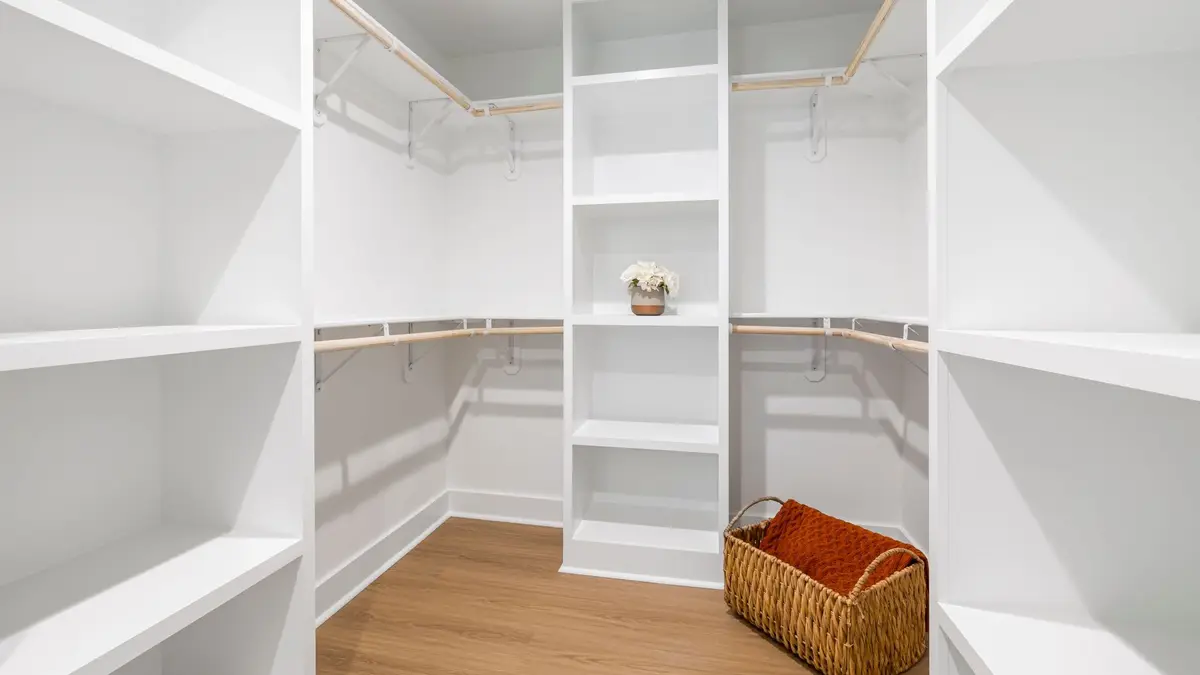
When the open one runs out, bring a backup in and add the item to your grocery list.
Keep the backups together in one labeled bin, so you check there before you buy more. A short list taped to the lid makes it even quicker.
Pick a spot that stays cool and dry, away from the oven, the dishwasher and any wall that gets warm. A hall closet shelf or a high cabinet works well.
Buy in bulk only what you use often and have room for. A big pack that doesn’t fit becomes clutter, and food that goes stale before you open it is no deal at all.
13. Add light to a dark pantry
A pantry you can’t see into is a pantry you don’t use well. A battery-powered, motion-sensing light under a shelf or above the door lights up the back corners the moment you open it.
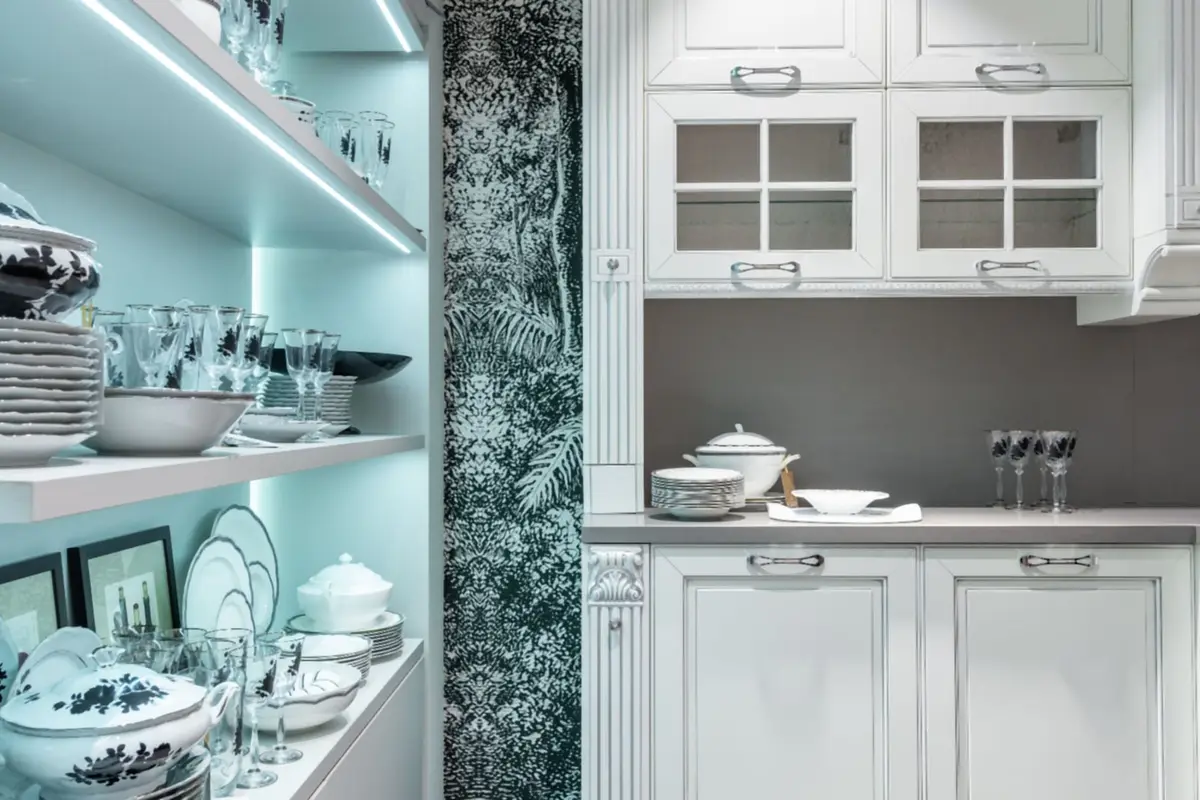
Stick-on lights need no wiring, so they work in a rental too.
Look for a light that turns itself off after a short while, so it doesn’t drain the batteries when someone leaves the door open. A rechargeable light saves you from buying batteries.
Place it where it lights the shelves, not your eyes: under the front edge of a shelf or high on the door frame. In a deep pantry, a second light toward the back reaches the corners the first one misses.
To keep it sorted, put things back in their zone when you unpack groceries, with the new item behind the old one. Once a month, wipe the shelves and check dates on the front row. Every season, take everything out and start again from idea 1, which goes quickly once the zones are set.
Save this for later
Pin it to a board so it's there when you're ready to start.
Save to Pinterest(opens in a new tab)Make it easier
Free printable
A room-by-room declutter checklist that tells you exactly what to look for, with four piles to sort into so nothing ends up back on the shelf.
Free tool
Enter the width, depth and height of a shelf, a drawer or a cube cubby, and see which standard bins and baskets fit, how many, and how they line up.
Frequently asked questions
How do I organize a small pantry with deep shelves?
Use the depth for rows you can pull out: bins or baskets that slide forward like drawers, with one category in each. Keep the front of the shelf for what you use every week and put backups in the bins behind, so nothing gets lost at the back.
What should go on the top shelf of a pantry?
The things you use least and that are light to lift: party supplies, extra paper goods, seasonal baking pans and backups. Keep heavy cans, bottles and appliances low, where they're safe and easy to lift.
Should I take food out of its packaging?
For dry goods you use often, like flour, sugar, rice, pasta and cereal, a clear airtight container saves space, shows you when you're running low and helps keep pantry pests out. Cut the cooking directions off the bag and tape them to the container or keep them in a drawer.
How often should I clean out my pantry?
Do a quick check when you put groceries away, moving older items forward. A full clean-out a few times a year, where you take everything out, wipe the shelves and check dates, keeps a small pantry from filling up with things you can't use.