13 Medicine Cabinet Organization Ideas for the Shelves Behind the Mirror
Clear out old medicines, store them somewhere cool and dry, then sort the bathroom cabinet with small clear bins, shelf labels and the inside of the door.

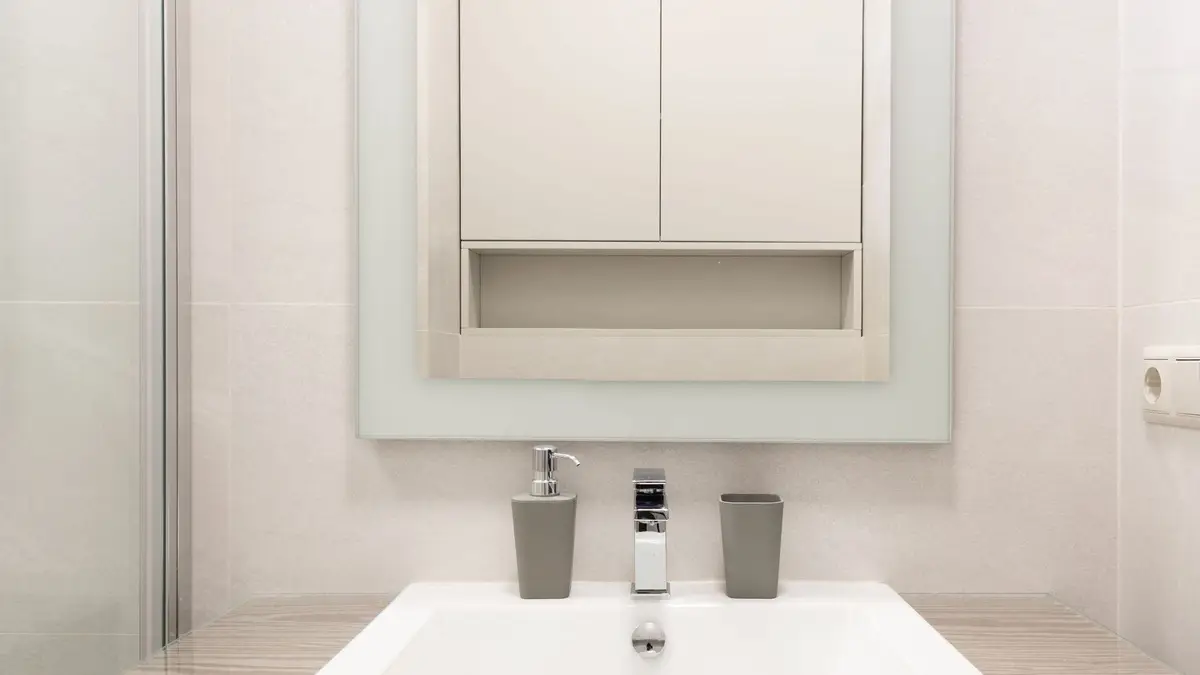
Good medicine cabinet organization starts with a clear-out: check every date, get rid of old medicines the safe way and keep only what your household uses. Then sort what stays by how you use it, give each group a small bin and a label, and keep anything children shouldn’t touch up high and locked.
A steamy bathroom is hard on medicines, so these 13 ideas work in a mirrored cabinet over the sink or in a cool, dry cabinet somewhere else in the house. Start with the first two, since every idea after them is easier with less to store.
1. Empty it and check every date
Take everything out of the cabinet and set it on a clear counter or a towel. Check the expiration date on every medicine, ointment, sunscreen and vitamin, and set aside anything past it.
Look past the date, too. Medicines that have changed color, texture or smell, and tablets that are cracked, crumbly or stuck together, go in the same pile even if the date hasn’t passed.
Then sort the rest of the cabinet the same way: empty bottles, dried-out nail polish, worn toothbrushes, dull razors and samples nobody will try. If it’s broken, used up or forgotten, it doesn’t need shelf space.
While the shelves are bare, wipe them down and let them dry. Check the corners for sticky rings from bottles, and dry the hinges, since a damp cabinet is where rust and mildew start.
The declutter checklist walks through the rest of the bathroom the same way, if one cabinet turns into a whole room.
2. Get rid of old medicines the safe way
Old and unused medicines shouldn’t go straight into the trash or down the drain. The best option is a drug take-back location, which is often a pharmacy or a police station, and some areas also offer prepaid mail-back envelopes.

If there’s no take-back option near you, ask your pharmacist what to do. For most medicines, the household trash works when you do it this way: mix the medicine, without crushing it, with something unappealing like used coffee grounds, dirt or cat litter, then seal it in a plastic bag.
Only flush a medicine if your pharmacist or its directions say it’s on the flush list. Never flush anything just to get it out of the house.
Before an empty prescription bottle goes in the trash, scratch out your name and the other personal details on the label.
Keep a small bag for medicines waiting for a take-back trip on a high shelf, out of children’s reach. That way they leave the cabinet right away instead of drifting back onto the shelves.
3. Move medicines out of the steamy bathroom
Heat, moisture, air and light can all damage medicines, and a bathroom gets most of them every time someone showers. Steam from the shower and sink can make a medicine lose strength or spoil before the date on the bottle.

A cool, dry spot works better: a dresser drawer, a hall closet shelf or a kitchen cabinet away from the stove, the sink and any hot appliance. A high shelf in the linen closet is a good choice too. If no spot in your home stays truly cool, pick the one farthest from the shower and the stove.
Once the medicines move, the bathroom cabinet becomes the home for things you use at the sink every day: toothpaste, floss, skin care, razors and basic first aid. Every idea below works in either spot.
Ask your pharmacist whether a medicine needs special storage, and follow what the label says. While you’re moving bottles, pull out the cotton ball that comes in some of them, since it can draw moisture inside.
4. Keep medicines up high and locked
Children can’t get into what they can’t reach or see. Store every medicine, vitamin and supplement, gummies included, up high and out of sight, ideally in a cabinet with a child latch or lock, or in a box that locks.

Put medicines away after every use, even if the next dose is due in a few hours. A bottle left on the counter or the nightstand is the one a curious child finds first.
Each time you close a bottle, twist the safety cap until it clicks. A cap that isn’t locked doesn’t do its job.
Ask visitors and babysitters to keep bags and coats that hold medicine up high while they’re in your home. Save the Poison Help number in your phone and post it where a sitter can find it.
Children grow and climb, so look at “up high” again every so often. A shelf that was out of reach last year may not be once a child can pull a stool over to the counter.
5. Keep everything in its original container
It’s tempting to pour pills into matching jars, but medicines belong in the containers they came in. The original bottle has a child-resistant cap, and its label holds the name, the directions and the expiration date.

Without that label, it’s easy to mix up two white tablets or lose track of how old something is. A bottle with a missing or worn label goes in the take-back bag.
Keep over-the-counter medicines in their boxes, too. The box holds the directions and warnings, and a box stands upright in a bin more neatly than a loose bottle rolls around.
Decanting still has a place in the bathroom. Cotton balls, swabs, hair ties and bath salts can go in any jar you like.
The simple rule: pretty jars for supplies, original packaging for anything you swallow or use as a treatment. That keeps the cabinet looking calm without putting anyone’s safety at risk, and it means nobody has to guess what’s in a container.
6. Sort what stays by how you use it
Group what’s left by when you reach for it, not only by what it is. Common groups are daily things, first aid, cold and flu, allergy, and a set for kids.
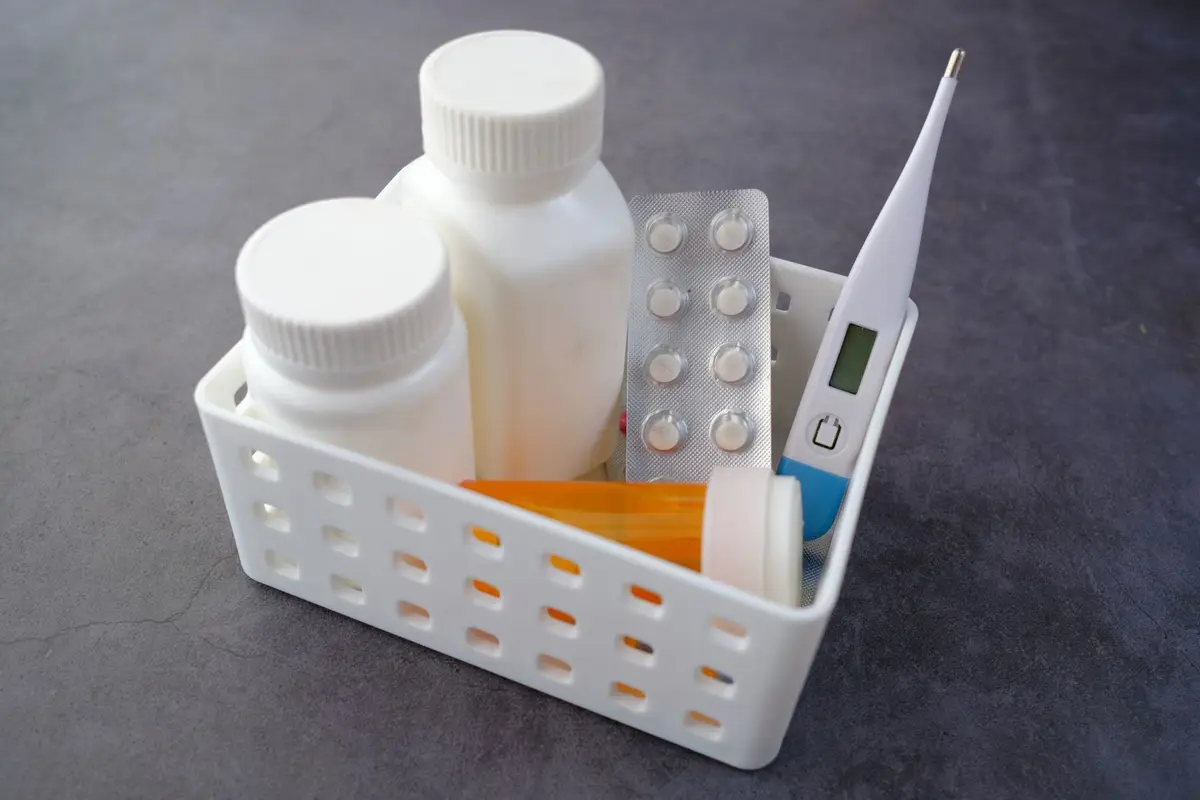
Each group becomes one bin. When someone wakes up with a stuffy nose, the whole cold and flu bin comes down at once, thermometer and tissues included, instead of a search through every shelf.
Keep children’s medicines in their own bin, apart from the adult ones, so nobody grabs the wrong bottle in the middle of the night. A different bin color makes the difference easy to see in low light.
Keep the groups few and broad. If a bin holds only one or two things, fold them into a neighbor.
Put the groups you use least, like a seasonal allergy bin, at the back or on the highest shelf. The front stays free for what comes out every week, and you never move three bins to reach the one you need.
7. Give daily things the eye-level shelf
The shelf you can see without bending or stretching is the most valuable space in the cabinet. Give it to what you use every morning and night: toothpaste, floss, face wash, moisturizer, contact lens supplies and deodorant.
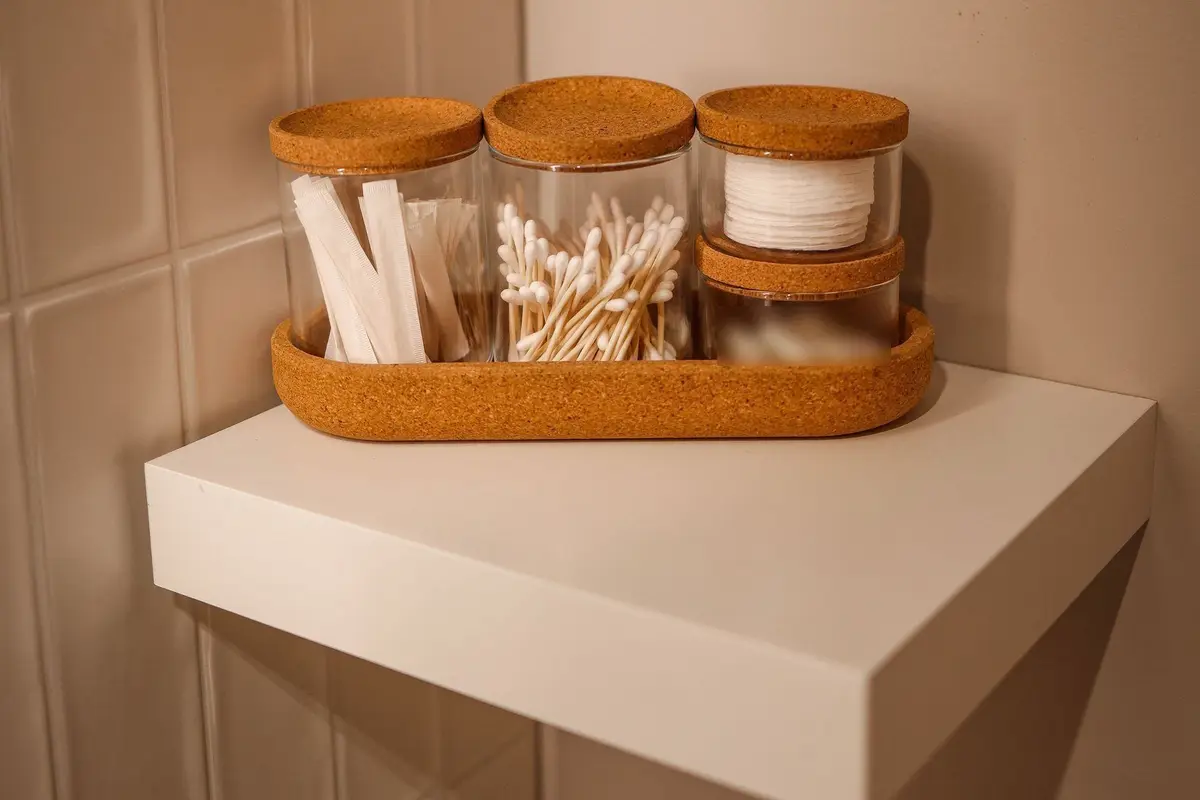
Daily things on one shelf turn a routine into a single reach. Nobody moves three bottles to get to the toothpaste, and it’s easy to see when something runs low.
If more than one person shares the bathroom, split that shelf into a section for each person. A small tray or bin per person keeps everyone’s things from drifting together.
The higher shelves hold backups and things used once a week, like nail clippers or a hair mask. The lowest shelf, closest to the sink, suits sealed tubes that won’t mind a little splash.
Give the daily shelf just enough room and no more. If it’s overflowing, the extras belong on a higher shelf or in a backup bin under the sink, and the counter stays clear.
8. Corral small things in clear bins
Small, loose things are what make a medicine cabinet look messy: bobby pins, cotton swabs, hair ties, travel tubes and tweezers. Small clear bins keep each type together and let you see what’s inside without taking the bin down.
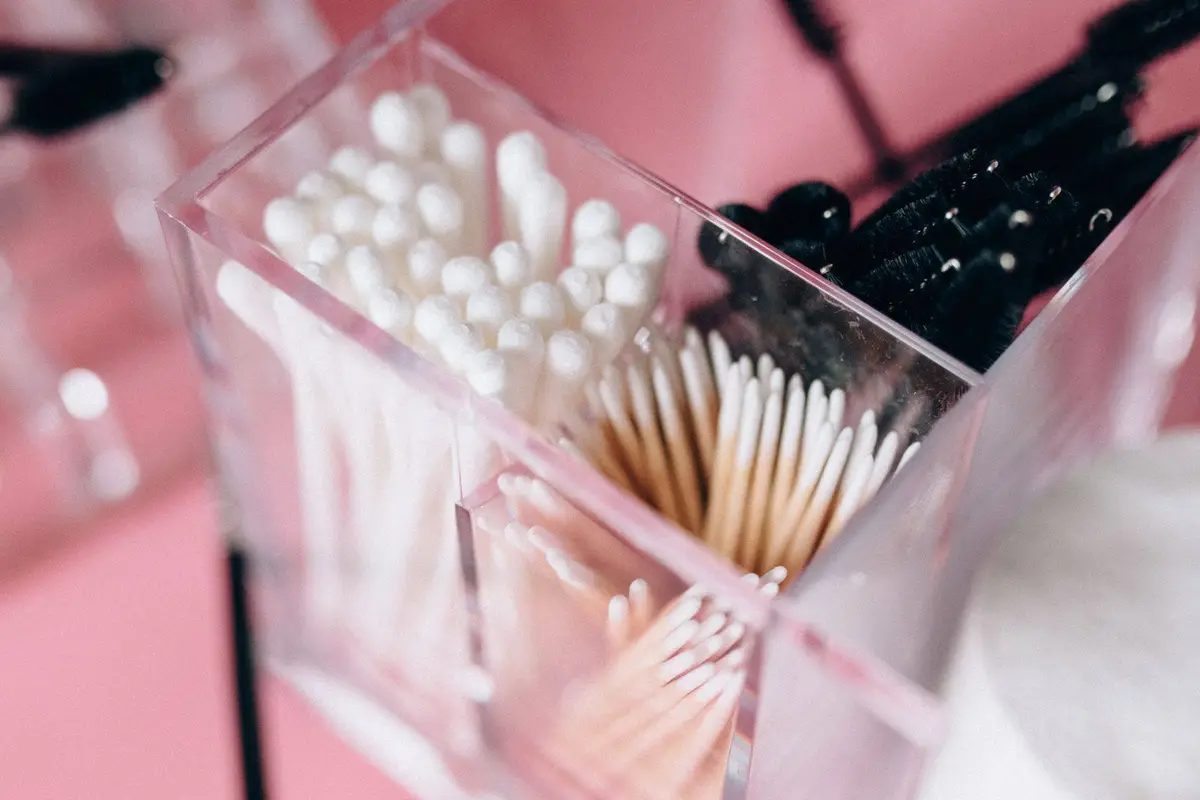
Measure the depth and height of each shelf before you buy anything, since many cabinets are shallower than they look. The bin and basket size calculator shows which standard sizes fit and how many line up side by side.
Bins with straight sides waste less space than round ones. Divided organizers suit swabs, cotton rounds and makeup brushes, which tip over in a single open bin.
Pick bins you can lift out with one hand, so a bin comes down, gets used and goes back up in one easy move.
Check that the door still closes once the bins are in. A bin that sticks out even a little keeps the mirror door from shutting and pushes everything forward each time it swings.
9. Put the first aid supplies in one box
When someone gets a cut, you want everything in one place, not scattered across three shelves. Keep bandages, gauze, tape, small scissors, tweezers and an antiseptic together in one lidded box or a single bin.
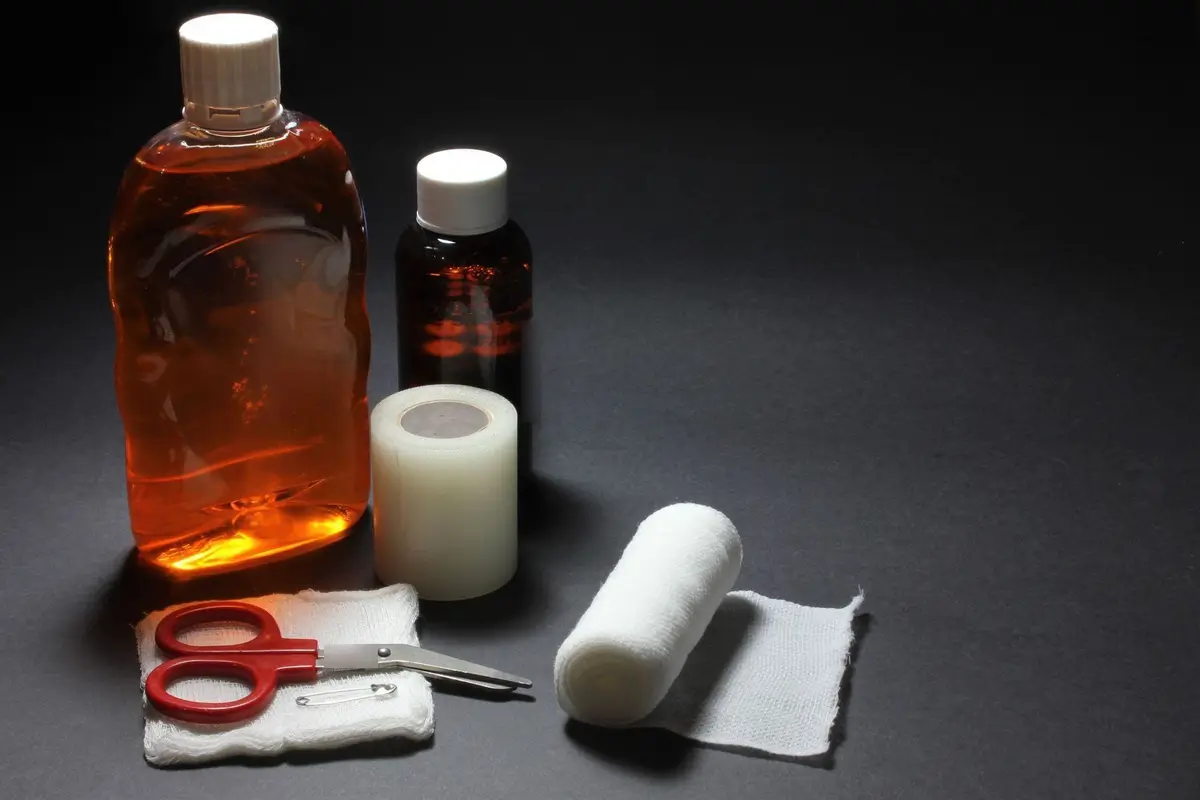
A box with a handle can travel to wherever the scrape happened, whether that’s the backyard or the car. Choose one big enough to hold everything without stuffing, so the lid closes.
Put the bandages you use most on top, in a small pouch or zip bag, so they come out without unpacking the whole box.
When you use the last of something, add it to the shopping list right away. A first aid box only helps if it’s stocked on the day you need it.
If the box also holds medicines, like pain relievers or allergy tablets, store the whole box with the rest of your medicines: up high, cool and dry. A bandage-only kit can stay in the bathroom if that’s handier for scraped knees.
10. Label the shelf edges
Labels tell everyone where things go back, which is what keeps a cabinet organized after the first week. Put a small label on the front edge of each shelf, or on the front of each bin, naming the group that lives there.
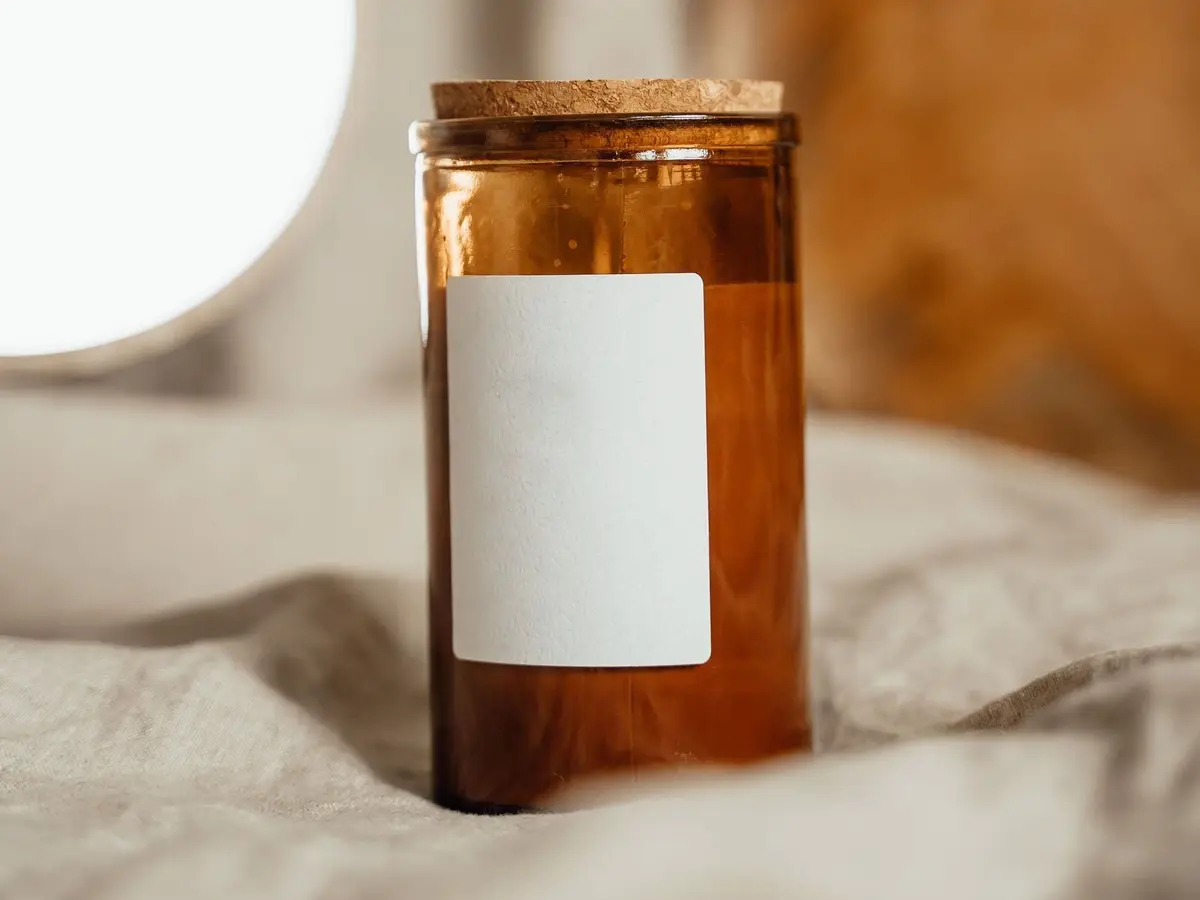
Keep the words short and plain, like “Daily,” “First aid,” “Cold and flu” and “Backups.” One or two words read easily at a glance, even with the mirror door half open.
Shelf-edge labels suit a medicine cabinet because the bins can change without the system changing. Swap a bin for a bigger one, and the label still says which group belongs on that shelf.
Removable labels, or a strip of painter’s tape and a marker, make it easy to change your mind. Print permanent labels once a layout has worked for a few weeks.
For children who can’t read yet, add a simple drawing or a color dot. It helps them put their own toothbrush and toothpaste back in the right place.
11. Add a magnetic strip for small metal tools
Tweezers, nail clippers, small scissors and bobby pins tend to vanish into the corners of a cabinet. A thin magnetic strip on the inside of the door or the side wall holds them flat and in plain sight.
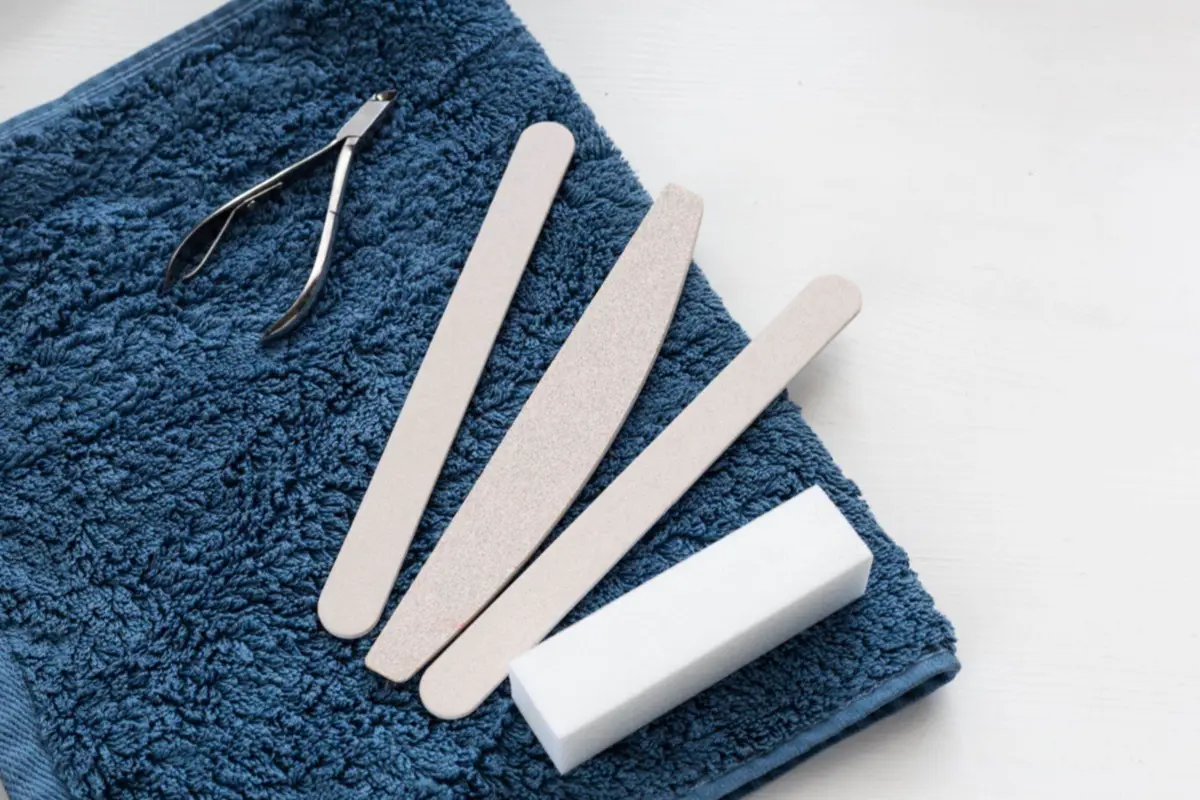
Choose a strip with a strong adhesive back made for damp rooms, and wipe the surface clean and dry before you press it on. Let the adhesive set before you hang anything, so the strip doesn’t slide.
Only steel and iron stick to a magnet, so test each tool on the fridge door first. Aluminum and plastic tools won’t hold and need a small bin instead.
A small metal tin for bobby pins sticks to the same strip and keeps the tiny ones together.
Hang sharp tools with the points facing down or toward the wall, and keep the strip above a small child’s reach. Dry each tool before it goes back, since water left on metal is where rust starts.
12. Use the inside of the door for flat things
The inside of the cabinet door, or the vanity door below it, is empty space that suits flat things. Clear adhesive pockets or a slim door rack hold sheet masks, nail files, cotton rounds, a comb and spare toothbrush heads.
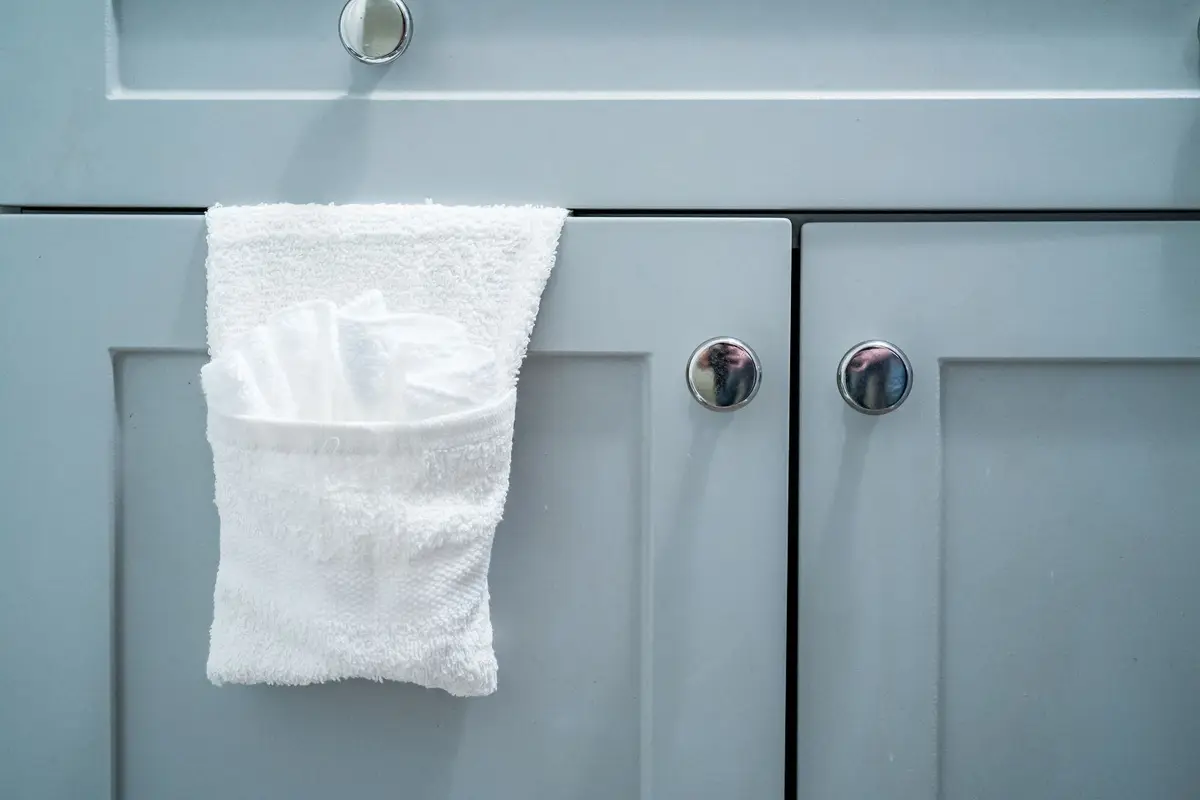
Before you add anything, close the door with the shelves full and check how much room is left. A pocket that bumps a shelf or a bottle will stop the door from closing.
Keep what goes on the door light. A heavy load strains the hinges, and a door that sags won’t line up with the frame.
On the vanity door below, a hanging pocket or a couple of adhesive hooks can hold washcloths, a hairbrush or a bag of spare hair ties.
Use clear pockets so you can see what’s inside, and give each pocket one kind of thing. A mixed pocket quickly turns into a junk drawer that hangs on a door, and it’s the first place clutter creeps back.
13. Check it twice a year
A medicine cabinet fills up slowly, one sample and one backup at a time. A short check twice a year keeps it from getting crowded again.
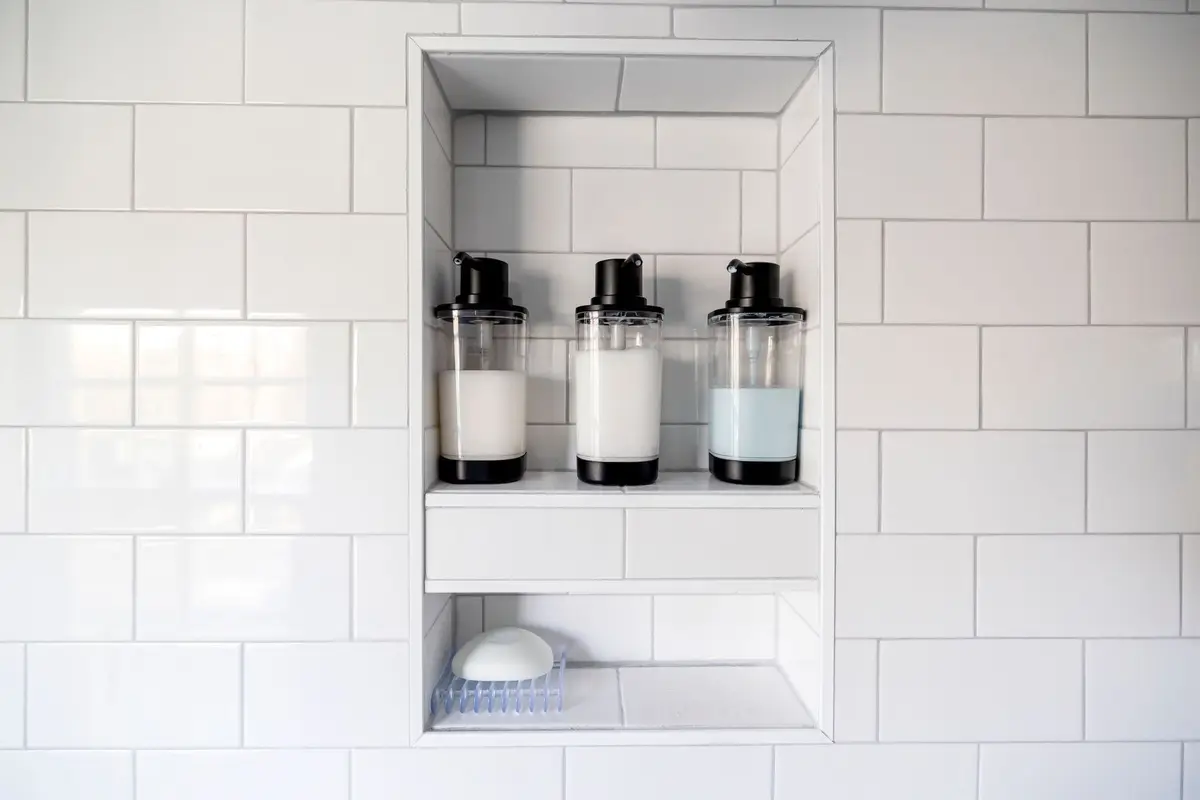
Pick two dates that are easy to remember, like the weekends the clocks change, and put them on the calendar. On each date, empty one shelf at a time, check expiration dates and set aside anything old for a take-back trip.
Restock the first aid box, replace anything that has run out and wipe the shelves while they’re empty.
Look at whether each group still fits its bin. Children’s needs change as they grow, so check the kids’ bin for anything they no longer use.
The deep cleaning checklist is a good companion, since a bathroom deep clean is the natural time to sort the cabinet too. The rest of the year, a quick wipe of the shelves fits into a weekly clean, and the cabinet stays sorted between checks.
Save this for later
Pin it to a board so it's there when you're ready to start.
Save to Pinterest(opens in a new tab)Make it easier
Free printable
A room-by-room deep cleaning checklist for the jobs a weekly clean skips, from the oven and the grout to the vents and baseboards.
Frequently asked questions
Is it safe to keep medicine in the bathroom medicine cabinet?
Heat and moisture from the shower can damage many medicines, so a cool, dry spot such as a high kitchen cabinet away from the stove and sink, or a hall closet shelf, is usually a better choice. Ask your pharmacist if a medicine has its own storage instructions.
What should go in a bathroom medicine cabinet?
The things you use at the sink every day: toothpaste, floss, skin care, razors, contact lens supplies and basic first aid like bandages. Keep medicines somewhere cool and dry, up high and locked if children live in or visit your home.
How do I get rid of expired medicine?
A drug take-back location, often a pharmacy or a police station, is the best option. If there isn't one nearby, mix the medicine with used coffee grounds, dirt or cat litter, seal it in a plastic bag and put it in the trash, then scratch your personal details off the empty bottle's label.
How do I organize a small medicine cabinet?
Clear out anything old or unused first, then give the eye-level shelf to daily items and use small clear bins for loose things. Labels on the shelf edges, a magnetic strip for metal tools and pockets inside the door add room without adding clutter.