12 Bathroom Counter Organization Ideas for a Clear Vanity Top
Clear a crowded vanity: keep daily items on one tray, switch to matching pumps, give hair tools and makeup a home, and split a shared counter fairly.

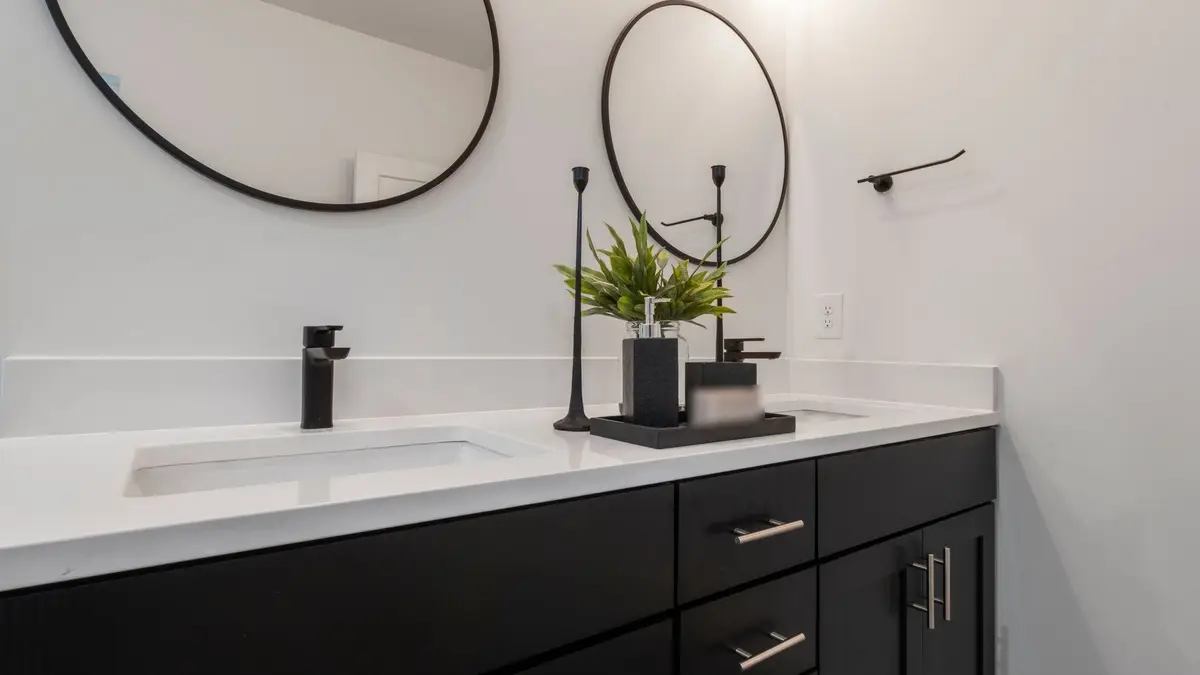
Bathroom counter organization starts with less: keep only what you use every day on the counter, gather it on one tray, and give everything else a drawer, a cabinet shelf or a spot on the wall. A counter with a few matching pieces and plenty of clear space is quicker to wipe and calmer to look at.
These 12 ideas work on a small single vanity or a long double one. Start with the first, since every idea after it depends on knowing what really needs to stay out.
1. Keep only daily items on the counter
Take everything off the counter and sort it into three piles: things you use every day, things you use now and then, and things you no longer use. Only the first pile earns a spot back on top.
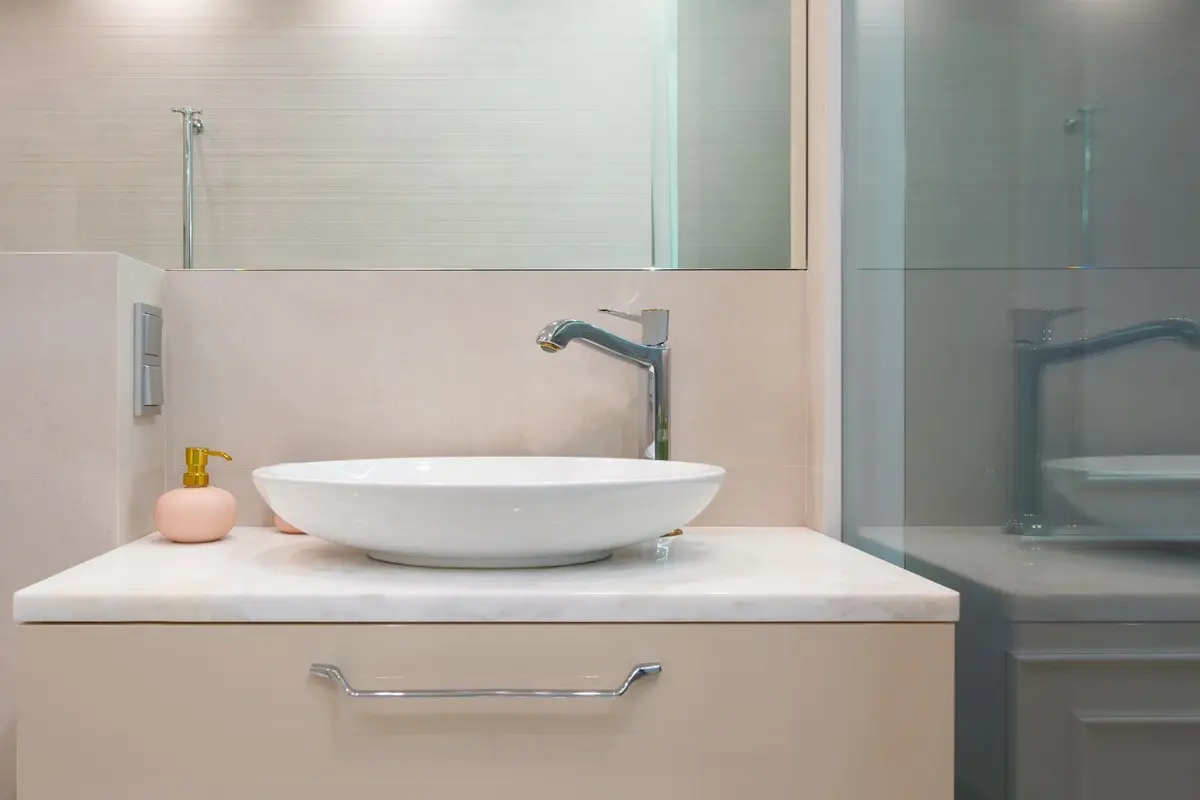
For most homes, that daily pile is short: hand soap, toothbrushes and toothpaste, and maybe a face wash and a moisturizer. Everything else can live within reach but out of sight.
Toss empty bottles, dried-out makeup and anything past its date as you go. Old samples, travel minis and gifts you never opened can go in a donation bag or a basket for guests.
Wipe the bare counter before anything goes back. It’s the easiest clean this counter will ever get, and it shows you how much space you really have.
If you share the bathroom, ask everyone to sort their own things. A system everyone helped set up is easier for everyone to keep.
Keep a donate bag in the hall closet for the next round. The declutter checklist walks through the rest of the bathroom and the house the same way.
2. Corral daily items on one tray
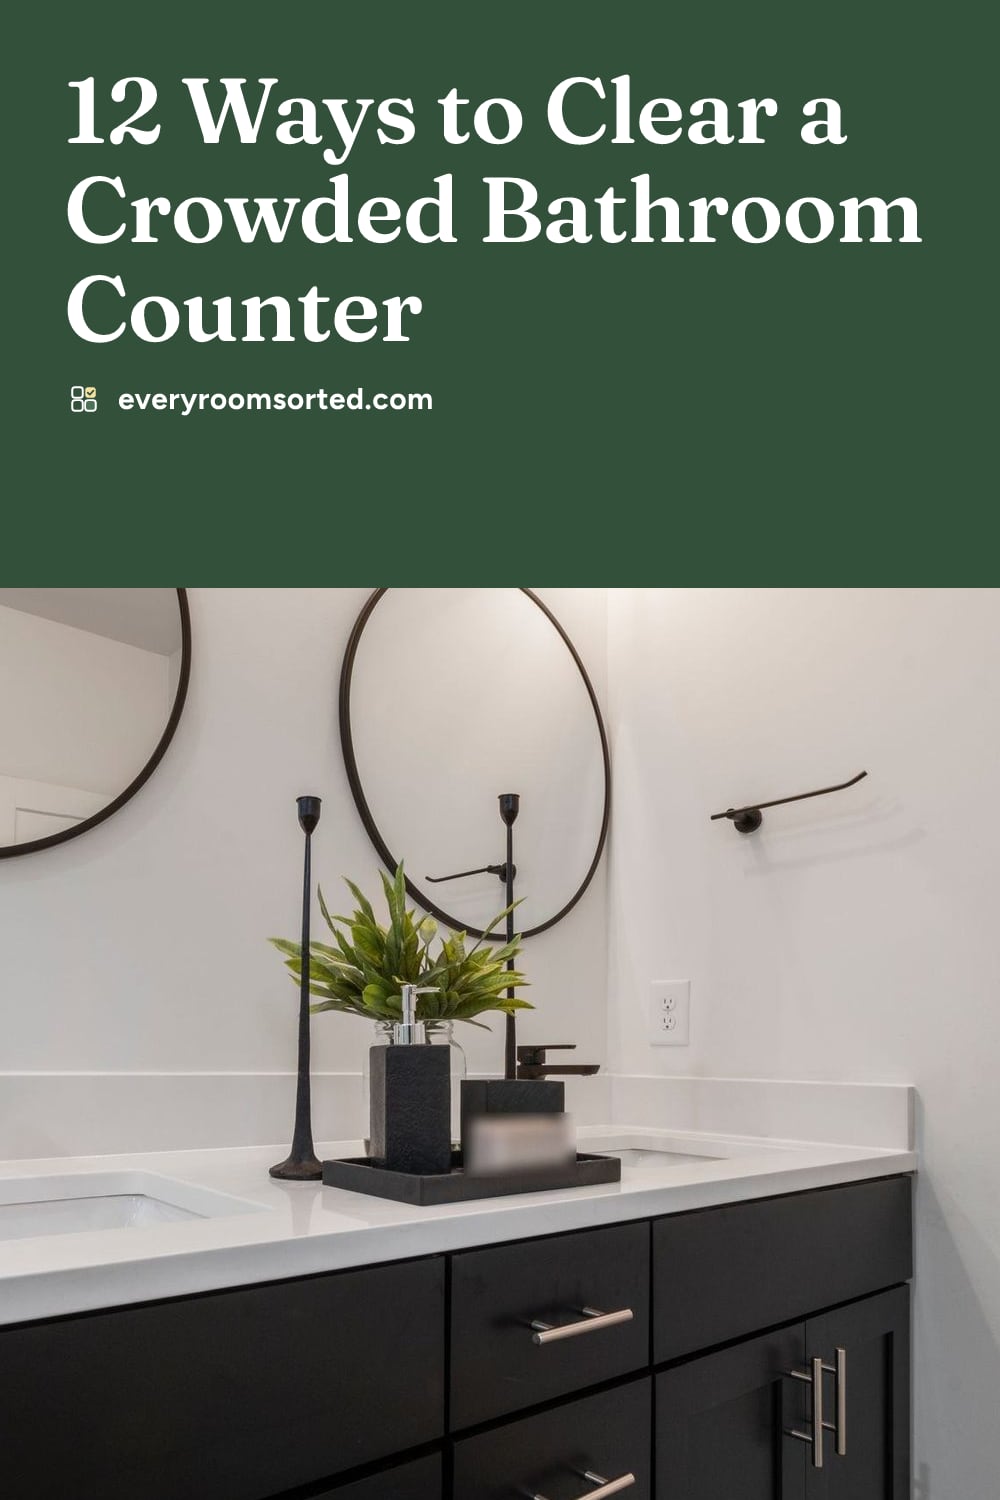
A tray turns a scatter of bottles into one neat group. It also makes cleaning quick: lift the tray, wipe underneath and set it back.
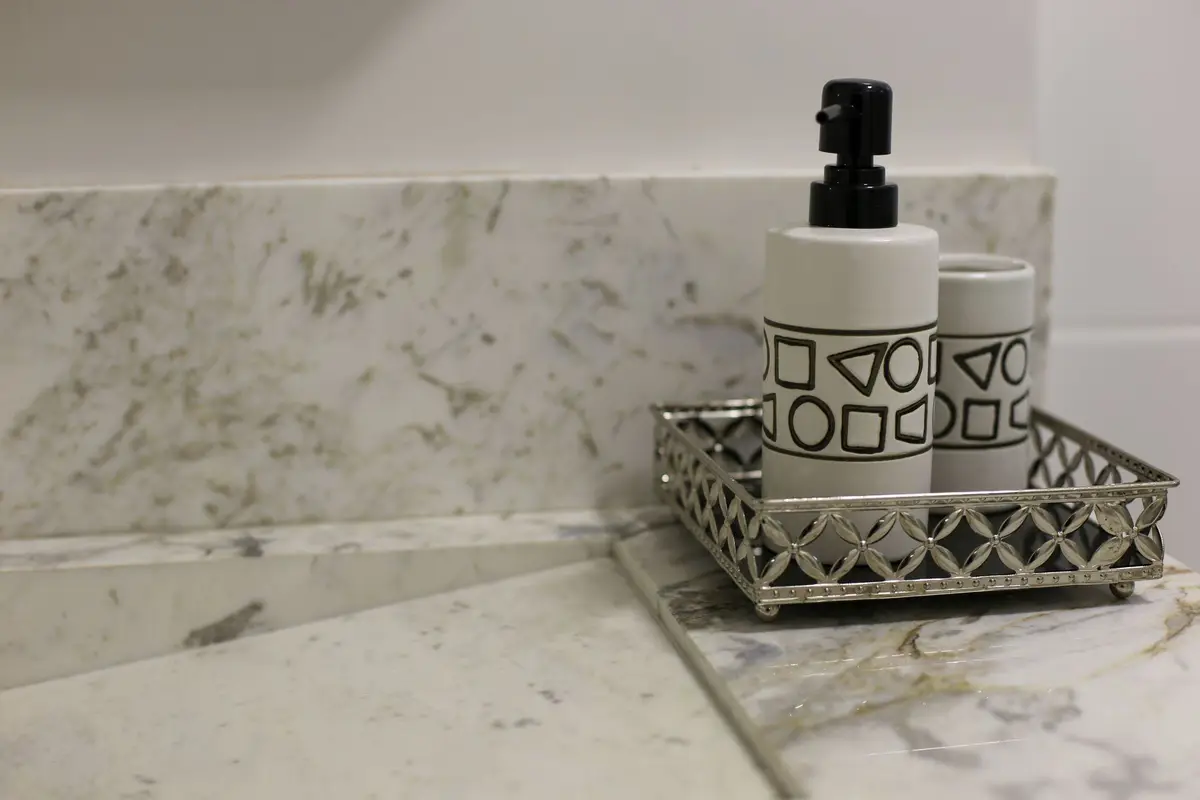
Pick a tray with a raised rim that fits beside the sink without crowding the faucet. Metal, stone, glazed ceramic and sealed wood handle splashes well; raw wood and woven trays soak up drips and can warp or stain.
Measure before you buy: the depth from the backsplash to the front edge of the counter, and the width you can spare beside the sink. The bin and basket size calculator helps you match a tray or a small bin to the space you have.
Set a simple rule: if it doesn’t fit on the tray, it doesn’t stay out. When the tray starts to overflow, it’s time for a quick sort.
In a small bathroom, a long, narrow tray along the backsplash uses space you’d otherwise lose. On a double vanity, give each sink its own tray, so nobody’s things drift onto the other side.
3. Switch to a pump soap with a matching cup
A refillable pump and a cup in the same color or finish make the counter look calmer right away, even before anything else changes. Matching pieces also take up less room than a row of mismatched bottles.
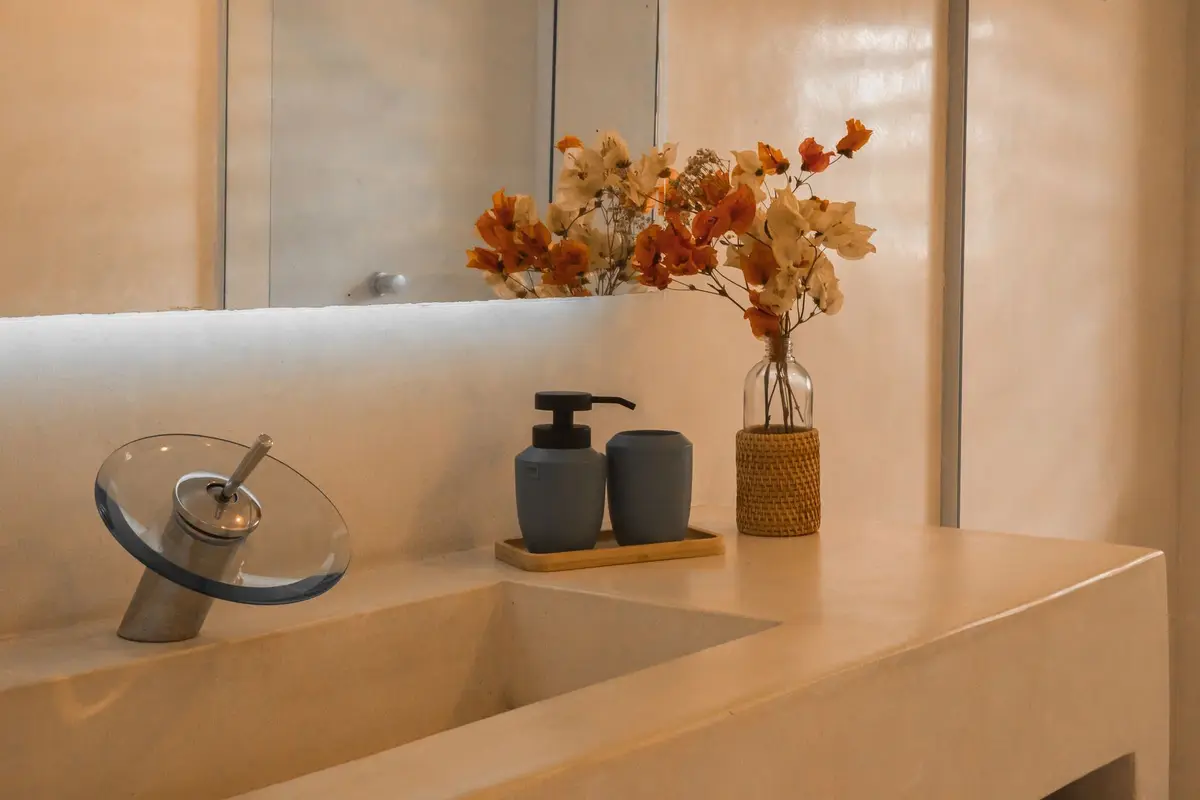
Choose a pump that holds enough soap for a few weeks, so you’re not refilling it all the time. A wide opening makes refills less messy.
Keep the big refill bottle under the sink, not on the counter. Refill over the sink, then rinse and dry the base of the pump so soap doesn’t leave a sticky ring.
Plain glass, ceramic or matte finishes stay neutral and suit any bathroom. Pick one color for the pump, the cup and the tray, and the counter looks put together without any extra decor.
If you use a lotion or a face wash every day, a second matching pump works for that too. Choose a slightly different shape or mark the bottom, so nobody washes their hands with lotion.
Every few weeks, wash the pump and the cup in warm, soapy water and let them dry before you fill them again.
4. Choose a toothbrush holder you can wash
Toothbrush holders collect drips, toothpaste and grime at the bottom, so pick one that’s easy to clean. A simple cup, or a holder that comes apart for washing, beats one with narrow slots you can’t reach inside.
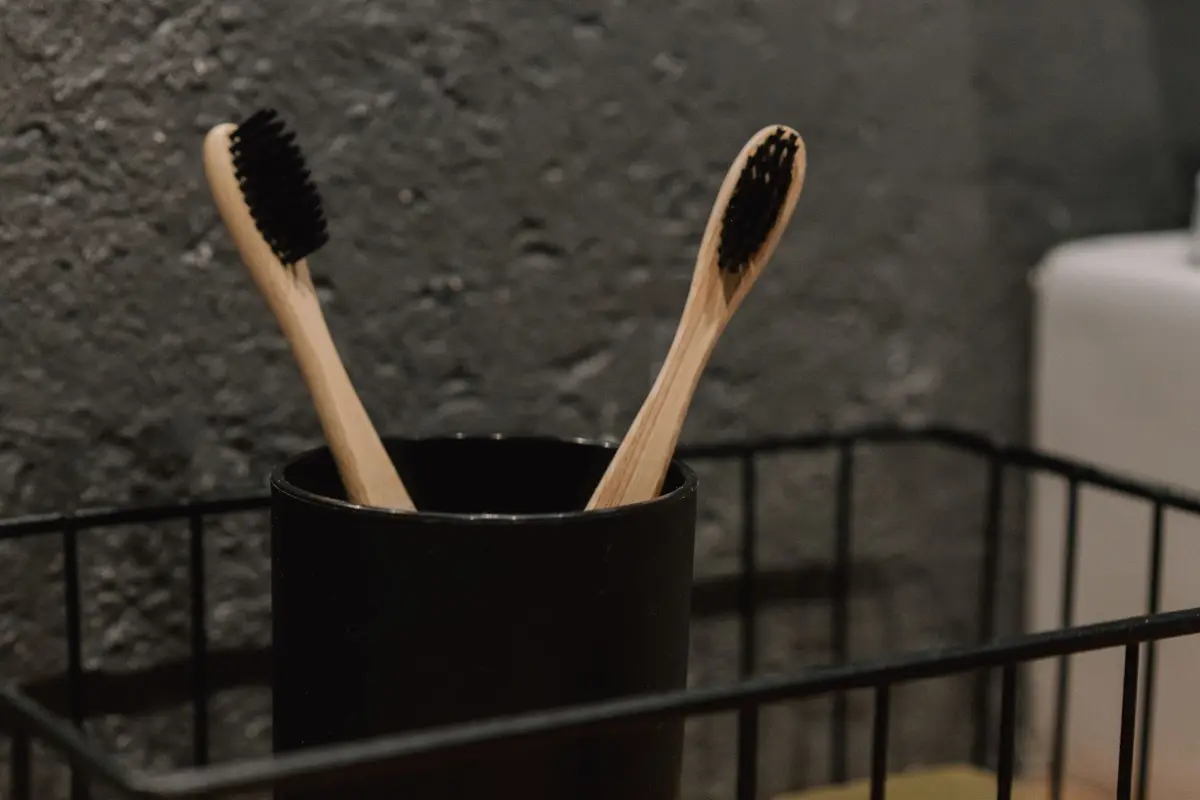
Store toothbrushes upright after each use and let them air-dry. A closed case keeps a wet brush damp, so save covers for travel.
Give each brush a little room, so the heads aren’t pressed together, and never share toothbrushes, even between family members.
Look for a holder with drainage holes or a removable insert, so water doesn’t pool at the bottom. Rinse it whenever toothpaste builds up, and wash it in hot, soapy water once a week.
Keep the toothpaste in the same holder or on the tray right beside it, with the cap closed. Spare brushes, floss and replacement heads can go in a drawer until you need them.
For kids, a holder with a slot for each child and a different color brush for each one keeps mix-ups to a minimum. Let them pick their own color, so they always know which brush is theirs.
5. Give cotton swabs and pads a lidded jar
Cotton swabs, cotton pads and cotton balls come in bulky boxes and bags that tip over and spill. Move a week or two’s worth into a small container with a lid, and keep the rest of the package under the sink.
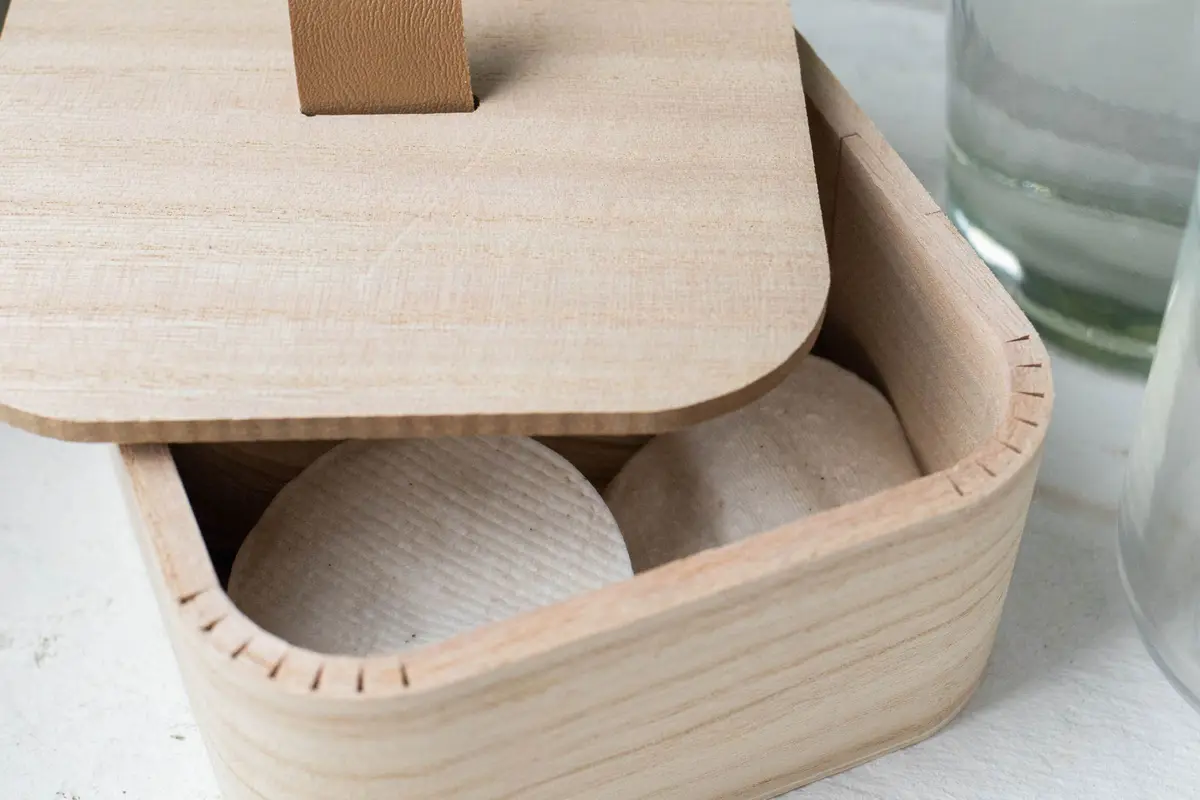
A lid keeps them dry and clean, away from dust and splashes from the sink. Clear glass lets you see when it’s time to refill; wood or ceramic looks softer and hides what’s inside.
Pick a container tall enough for swabs to stand up and wide enough for pads to lie flat. Two small jars on the tray, or tucked into a drawer, take up less room than one big canister.
Refill from the box when a jar runs low. Wash and dry the jar now and then between refills, so it stays fresh.
Hair ties, bobby pins and small clips can get the same treatment, with one small lidded jar for each. Small things stop drifting across the counter once they have a place to go.
If you have little ones, keep the jars toward the back of the counter or in a drawer, so small items stay where small hands can’t grab them.
6. Go up with a shelf, a tiered stand or a turntable
When the counter is small, use the height. A narrow shelf above the sink or the toilet, or a two-level stand on the counter, gives you more room without spreading out.
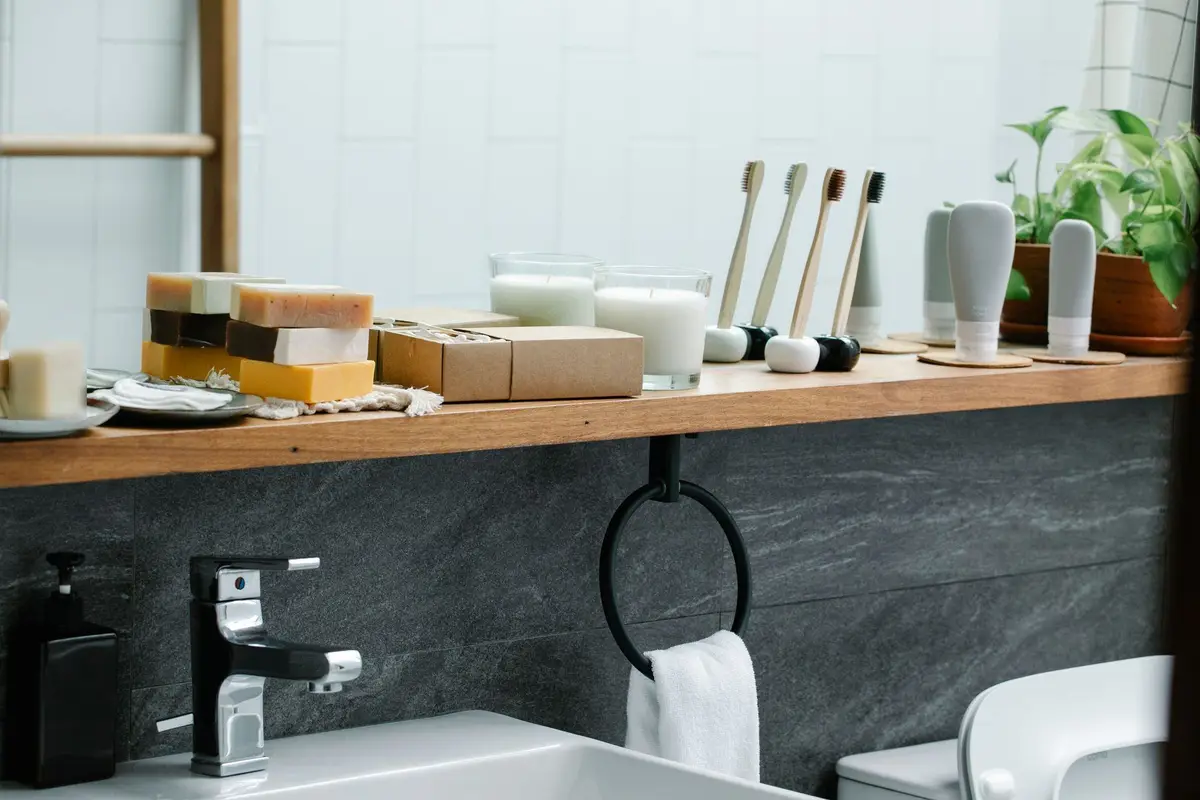
A wall shelf keeps things off the wet counter entirely. In a rental, a freestanding unit over the toilet or a tiered stand on the counter needs no drilling.
On a tiered stand, keep the heavier bottles on the lower level and lighter things up top, so the stand stays steady when you reach for something.
For a deep corner, try a small turntable. One spin brings the bottle at the back to the front, and a raised edge stops things from sliding off.
Measure the height between the counter and the mirror or cabinet before you buy, so your tallest bottle still fits on the top level.
Don’t fill every shelf just because it’s there. Keep it to the things you use most days and leave some open space, so it looks tidy instead of crowded.
7. Store hair tools in a heat-safe holder or a door caddy
Hair dryers, curling irons and straighteners take up more counter than anything else, and their cords tangle with everything nearby. Give them a home off the counter: a metal holder or wire basket in a cabinet, or a caddy on the back of the cabinet door or the bathroom door.
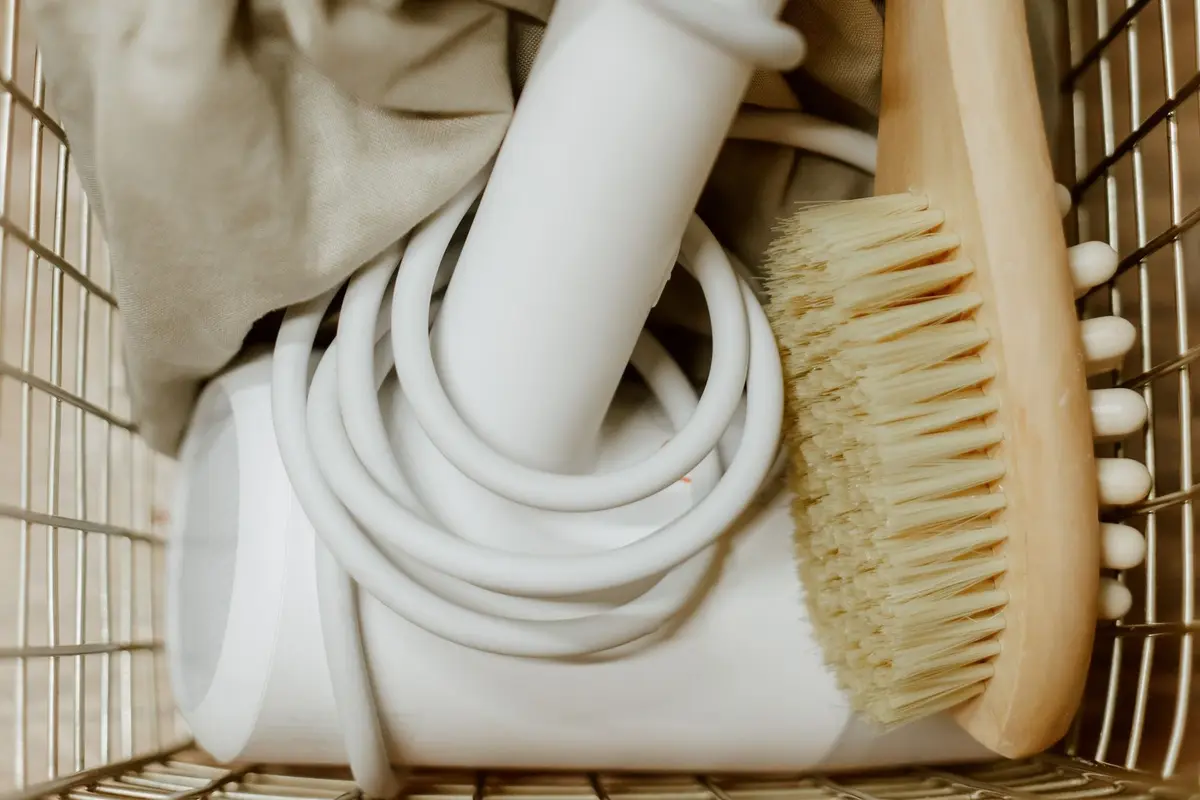
Unplug hair tools as soon as you finish, and never store one where it can fall or be pulled into the sink or the tub. A dryer that’s still plugged in can electrify the water it falls into. If one falls in, unplug it before you reach in.
Hot tools stay hot for a while after you switch them off. Let them cool on a heat-resistant surface, out of children’s reach, before they go into a holder or a bag.
Loop cords loosely and close them with a soft tie instead of wrapping them tightly around the tool.
Check the cords now and then. Replace any tool with a damaged cord or plug, or one that has been dropped in water.
8. Move makeup into a drawer
Makeup is small, there’s a lot of it, and it rarely all gets used at once, which makes it a perfect drawer item. Keep only what you use every morning in one small pouch or tray, and store the rest in a vanity drawer or a cabinet nearby.
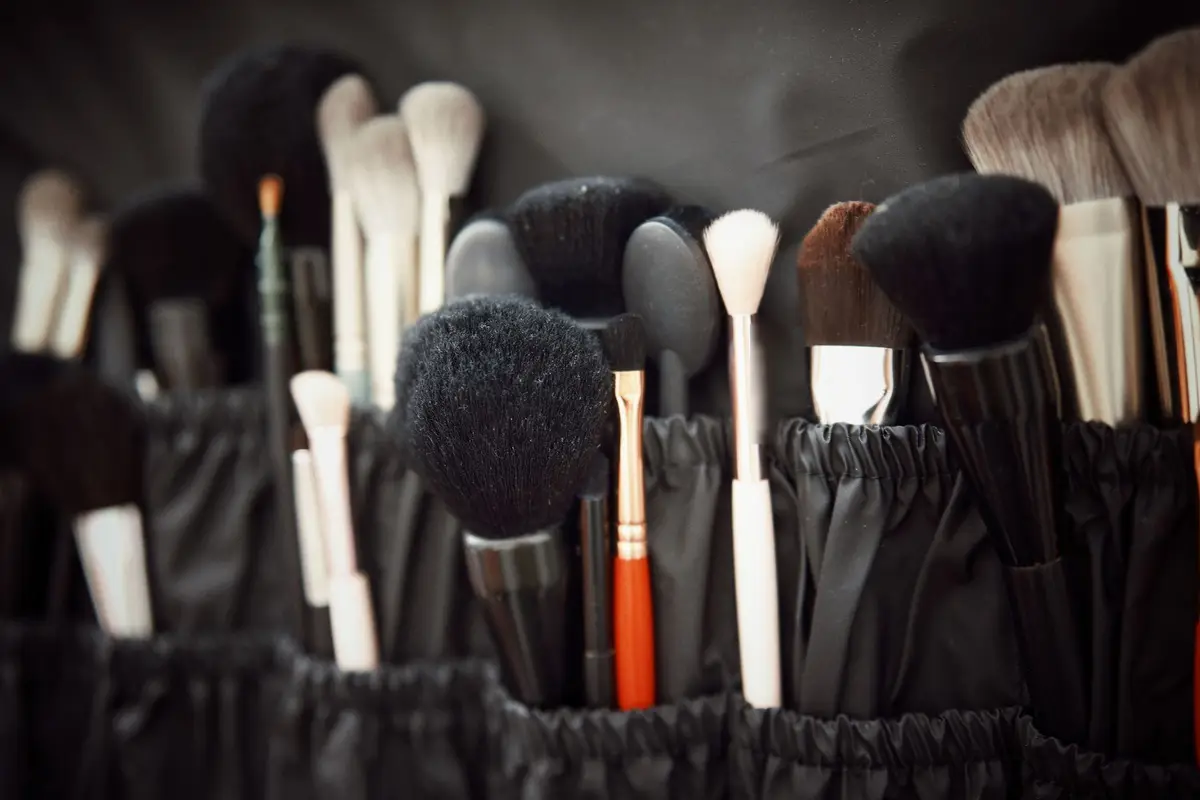
Line the drawer with small bins or dividers, one per type: face, eyes, lips and brushes. Shallow bins let you see everything at a glance without digging.
Brushes keep their shape and stay clean in a roll-up case, or standing in a cup inside the drawer, away from powder spills.
Measure the inside width, depth and height of the drawer before you buy dividers, so they fit snugly and don’t slide around when you open it.
Go through your makeup every few months and toss anything that’s dried out, separated or past its date.
If there’s no drawer, a small lidded box on a cabinet shelf or a hanging organizer inside a cabinet door does the same job.
9. Keep backups below the counter
Spare toothpaste, extra soap, refills and the bulk pack of cotton swabs don’t need counter space. Store them below, in a cabinet or open baskets, so the top holds only what’s open.
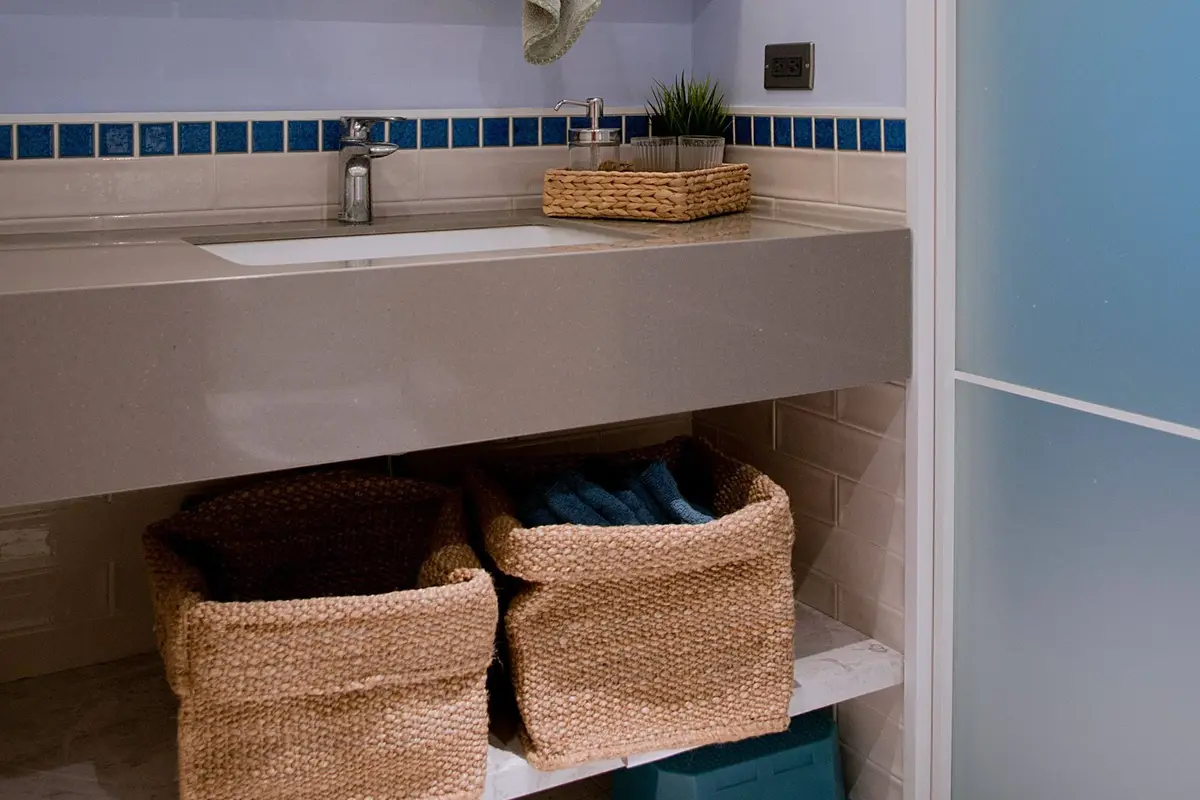
Group backups by type in labeled bins or baskets: dental, hair, skin and first aid. When the open one runs out, the spare is right there.
Under the sink, leave room around the pipes and lay a liner or a tray on the cabinet floor to catch drips. Taller bins fit beside the pipes, and shorter ones slide in front.
Keep cleaning supplies in a bin of their own, apart from toothpaste, soap and other things that go on your skin or in your mouth.
When you open the last spare of something, add it to the grocery list straight away. That way you’re never out of toothpaste on a busy morning.
Check the backup bins every season, and use up what you have before buying more. A bin that’s always overflowing is a sign to buy less next time.
10. Split a shared counter by person
When two or more people share one counter, clutter grows fast because nobody knows whose bottle is whose. Give each person a zone: their own side of a double vanity, their own tray or their own bin.
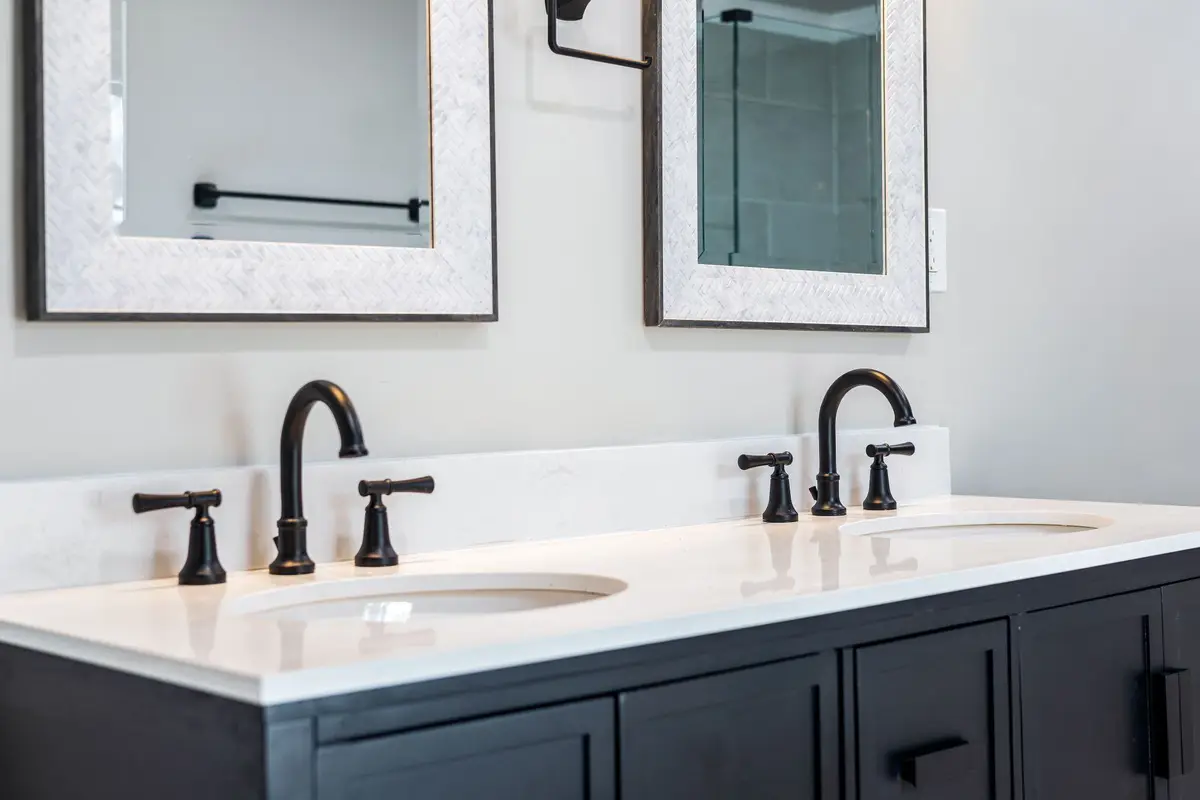
On a double vanity, each sink gets its own tray and its own drawer. On a single sink, split the counter down the middle, or use matching trays in different colors.
Shared things, like hand soap, sit in the middle. Personal things stay in each zone, and anything left outside a zone gets put away.
For kids, a bin each in a low drawer, or a small caddy they carry from their room, works better than counter space. They can grab it, use it and put it back on their own, and the kids chore chart can include clearing their zone.
Agree on the rule together: by the end of the day, the counter is clear except for each person’s tray. A rule everyone agreed to is easier to keep, even on rushed school mornings.
11. Keep one decorative thing
A single plant, a small vase of greenery or one pretty dish softens a bathroom counter. Add more than that, and decor turns into clutter you have to dust and move every time you wipe.
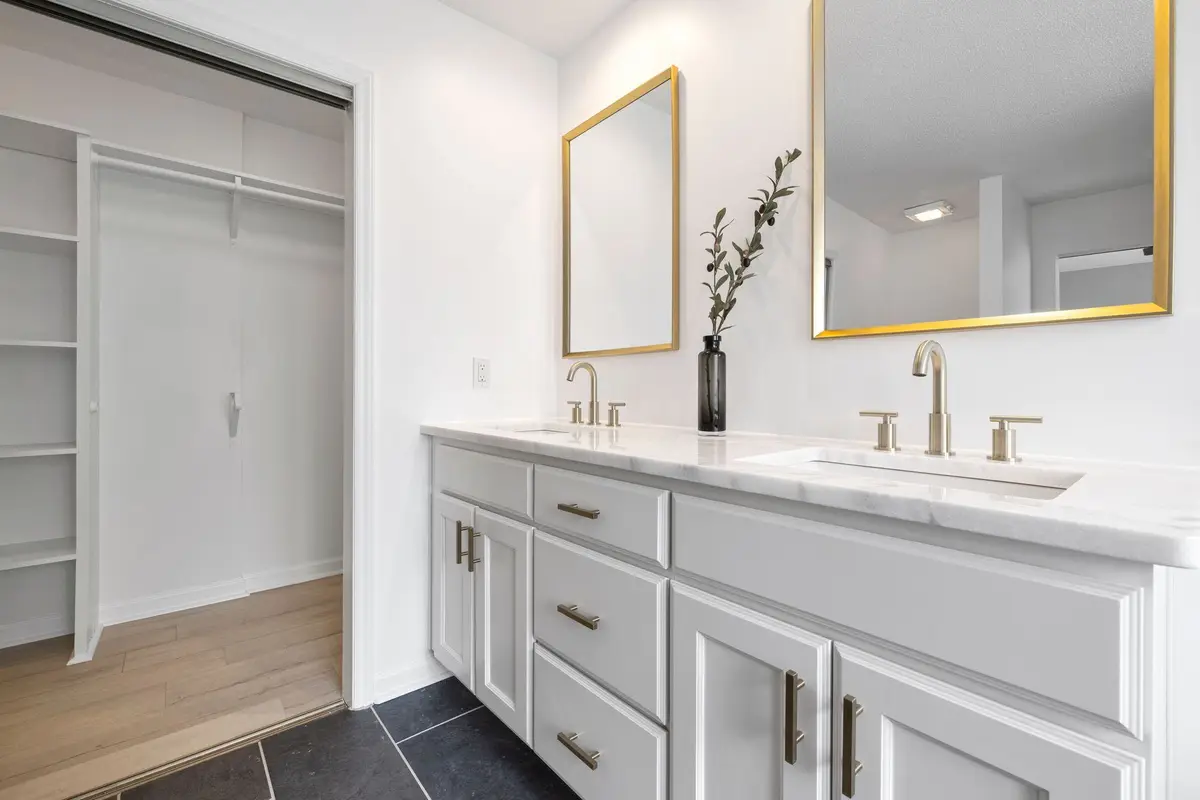
Choose something that handles steam and splashes: a small potted plant that likes humidity, a stem of faux greenery or a stone dish for rings.
Place it at a back corner or beside the tray, where it won’t get splashed or knocked into the sink while someone is washing up.
If you like a seasonal touch, swap the one thing instead of adding to it: fresh flowers in spring, a branch of leaves in fall.
That calm, aesthetic look on a bathroom counter mostly comes from empty space. One tray, one pump, one plant and a clear counter around them do more than a row of pretty bottles.
Keep the decor piece light and easy to lift, so it never slows down the nightly wipe. If it has to be moved every time and you skip the wipe because of it, it’s time for something simpler.
12. Do a two-minute wipe-down each night
A clear counter takes seconds to wipe. Make it part of the evening routine: put things back on the tray, wipe the counter, the sink and the faucet, and hang the cloth to dry.
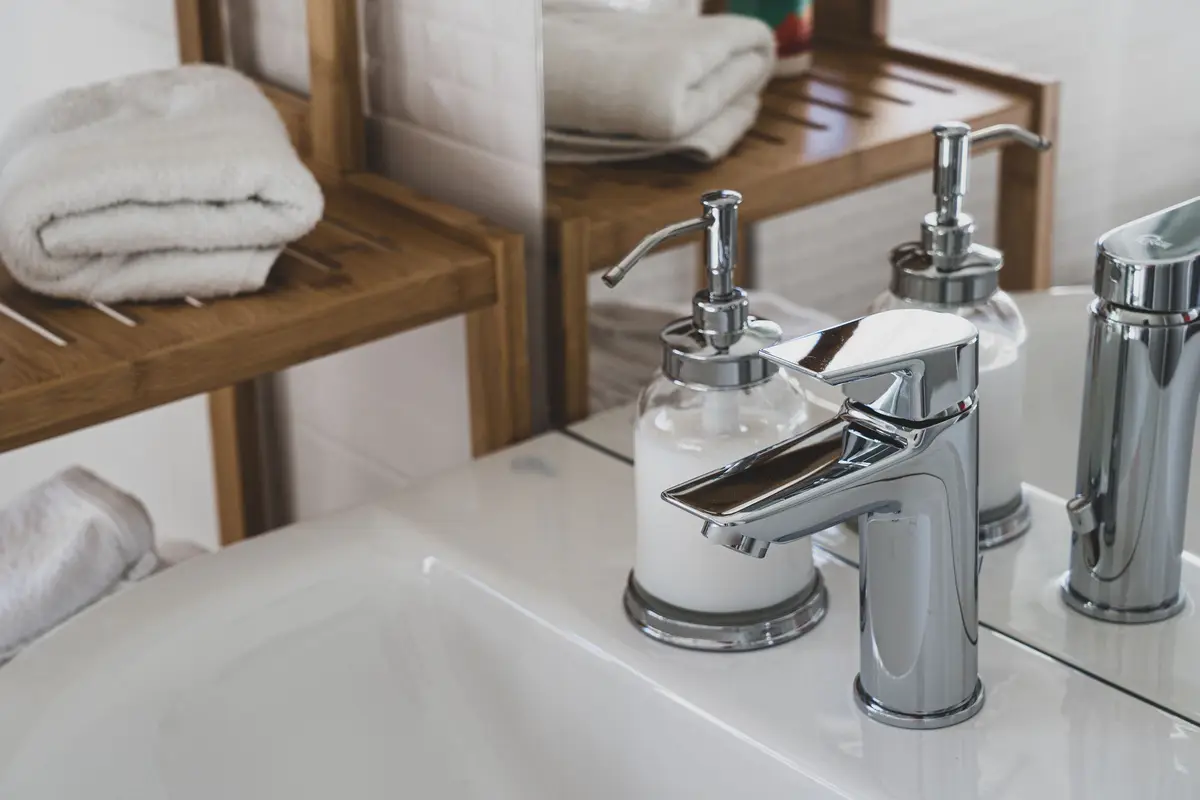
Keep a small stack of reusable cloths under the sink with a gentle all-purpose spray. Wipe the counter, lift the tray to wipe beneath it, and finish with the faucet so it shines.
Once a week, wash the tray, the base of the soap pump and the toothbrush holder in warm, soapy water.
Once a month, empty the drawers and the cabinet under the sink, wipe them out and check dates. The monthly cleaning schedule puts these bigger jobs on the calendar, so they don’t pile up.
Teach everyone in the house the same short routine. When the counter is clear, the nightly wipe takes almost no time for anyone.
To keep it sorted, put each thing back on its tray, in its drawer or on its shelf as soon as you’re done with it. Every season, clear the counter again and start over from the first idea, which goes quickly once each thing has a home.
Save this for later
Pin it to a board so it's there when you're ready to start.
Save to Pinterest(opens in a new tab)Make it easier
Free printable
Monthly Cleaning Schedule Printable
A one-page monthly cleaning schedule: the daily and weekly basics at the top, then one deeper area for each week, so every corner of the house gets its turn without a cleaning weekend.
Free tool
Enter the width, depth and height of a shelf, a drawer or a cube cubby, and see which standard bins and baskets fit, how many, and how they line up.
Frequently asked questions
How do I organize a bathroom counter with no drawers?
Gather daily items on one tray, put small things in lidded jars, and use a tiered stand or a wall shelf to go up instead of out. Store backups and hair tools in baskets under the sink or in a caddy on the back of the door.
What should stay on a bathroom counter?
Only what you use every day: hand soap, toothbrushes and toothpaste, and maybe a face wash and a moisturizer. Everything else belongs in a drawer, a cabinet or on a shelf.
How do I make a small bathroom counter look aesthetic?
Leave plenty of clear space and choose a few pieces in one color or material, like a matching pump, cup and tray. Add a single plant or vase and keep everything else out of sight.
Where should I keep my hair dryer in a small bathroom?
In a heat-safe holder, a wire basket in a cabinet or a caddy on the back of the door, away from the sink and the tub. Unplug it after each use and let it cool before you put it away.