11 Garage Organization Ideas That Put the Car Back Inside
Get the car back in the garage: sort in zones, use the walls and the space up high, label every bin, lock up chemicals and keep the floor clear.

An organized garage starts with less stuff and a plan: sort everything into zones, move it off the floor onto walls, shelves and hooks, keep what you use most near the door, and lock chemicals away from kids and pets. The car, the bikes and the lawn gear each get a spot, and the middle of the floor stays clear.
These 11 garage organization ideas work in a one-car garage or a big double bay, and most are simple DIY jobs. Start with the first two, since every shelf, hook and bin after them depends on knowing what you’re keeping and where it goes.
1. Sort everything and let go of extras
Pick a dry weekend and pull everything out onto the driveway, grouped by kind: tools, garden, sports, car care, paint and chemicals, camping, seasonal decorations and things that belong in the house.

Be honest about each pile. Broken tools, dried-out paint, toys the kids have outgrown and duplicates you forgot about can go. Donate what still works, and set aside old chemicals for your town’s household hazardous waste collection instead of the trash.
The piles you keep become your zones. Each one gets its own wall, shelf or corner, so you always know where to look and where things go back.
If the whole garage feels like too much, work one wall or one corner at a time. The month-long declutter challenge breaks the job into small daily tasks, and the declutter checklist covers the rest of the house the same way.
Before anything goes back in, sweep the floor and check the corners for leaks, damp spots and signs of pests. It’s the easiest time to clean, since the space is finally empty.
2. Plan around the car and keep the floor clear
Decide first what the floor is for. If the car parks inside, mark its footprint with room to open the doors on both sides, and treat that space as off-limits for storage.
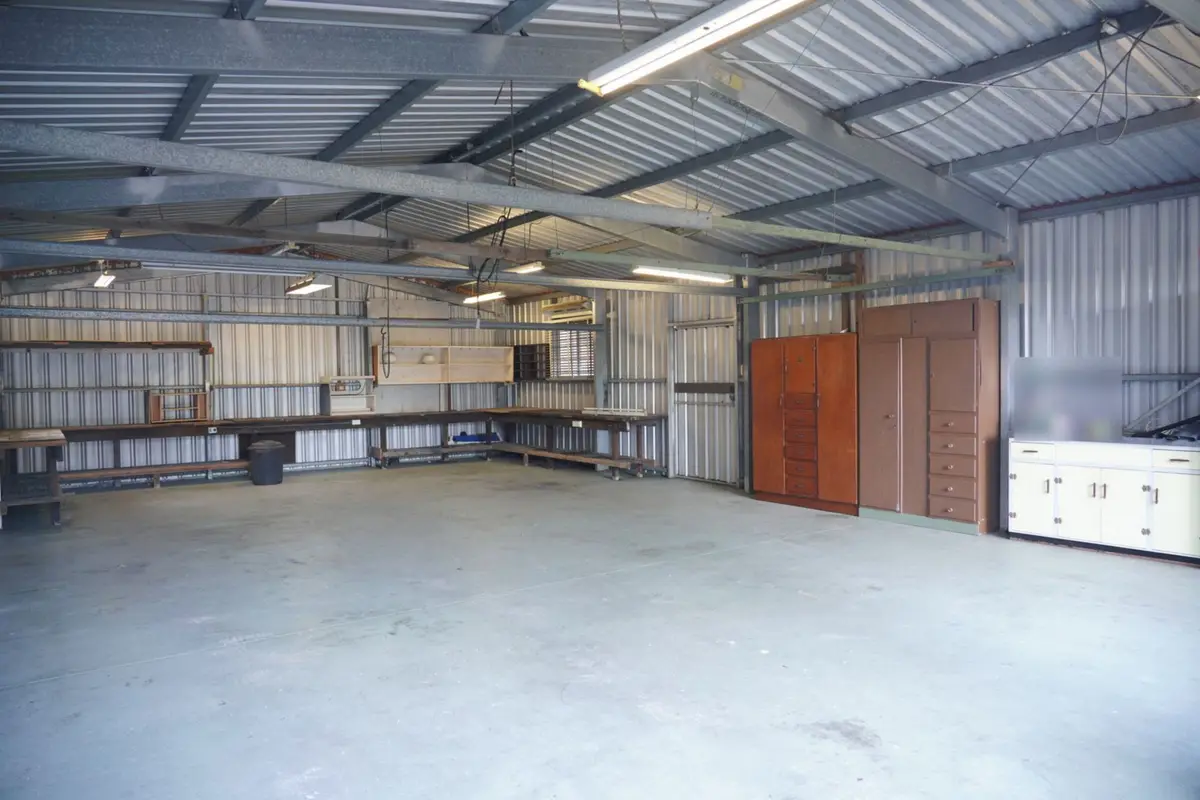
Everything else goes on the walls, on shelves or up high. A clear floor is easier to sweep, safer to cross in the dark and harder to fill back up with piles.
Sketch the garage on paper and place your zones. Things you grab often, like the stroller, the recycling bins and the dog’s leash, belong near the door to the house. Seasonal gear and long-term storage go to the back wall or overhead.
Keep the path from the car to the house door wide and free. Nobody should have to climb over a bike or squeeze past the mower with their arms full of groceries.
A parking mat, or a tennis ball hung on a string from the ceiling, shows the driver where to stop, so the car doesn’t creep into the shelves. Leave a gap between the bumper and anything stored on the back wall, too.
3. Store small things in clear, labeled totes
Loose things scatter, so give each group a bin of its own: extension cords, car care, camping gear, beach toys and painting supplies. Clear totes show what’s inside, and a label on the short end tells you even when the bin sits on a high shelf.
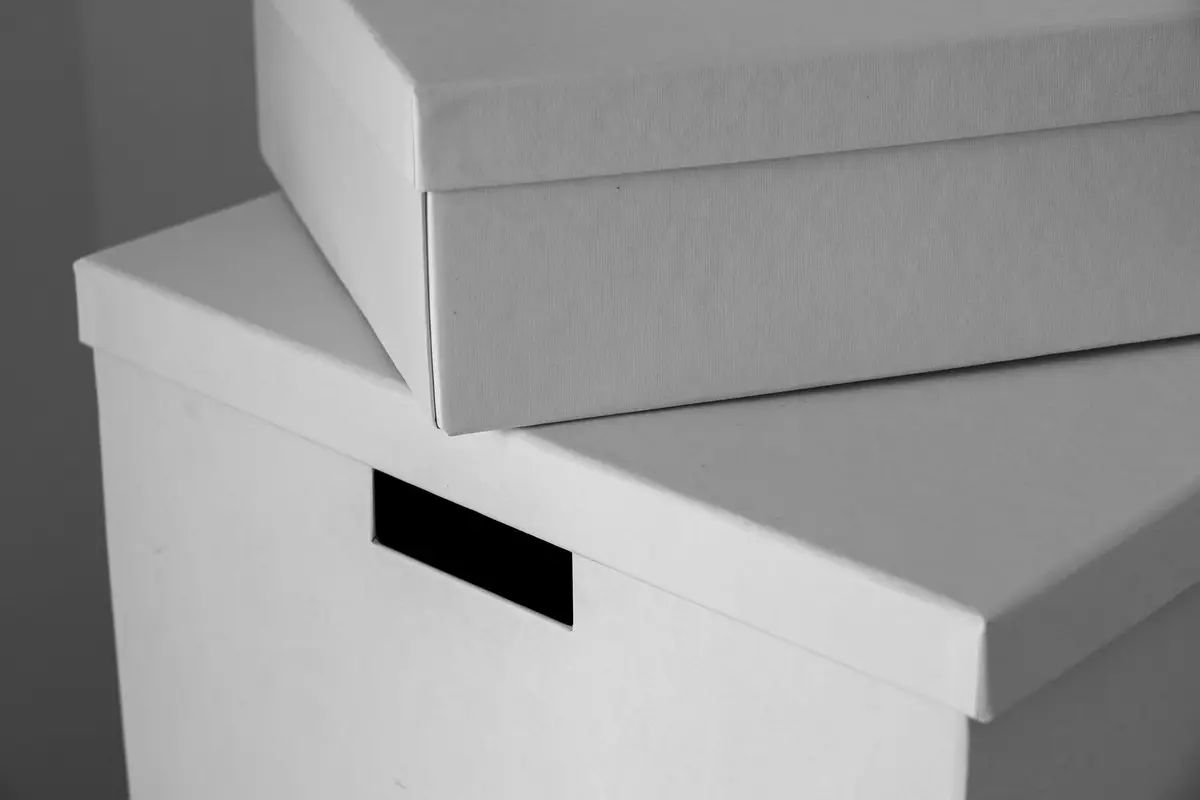
If you prefer solid bins for a calmer look, the label does all the work. Use big, plain words that anyone in the house can read at a glance.
Pick one or two sizes and stick with them, so the bins stack and line up without gaps. Measure your shelves first, height included, then use the bin and basket size calculator to see which sizes fit and how many line up side by side.
Totes with latching lids keep out dust, damp and pests better than open bins, which matters in a garage that isn’t heated or cooled. Leave a little room between a stack and the shelf above, so the bins slide out without a fight.
Keep a marker and blank labels in a drawer nearby. When a bin’s contents change, change the label the same day.
4. Anchor sturdy shelves and keep seasonal bins up high
Shelving units turn a bare wall into storage for bins, but a tall, loaded unit can tip over. Anchor it securely to the wall, the way you would a bookcase, and put the heaviest bins on the lowest shelves.
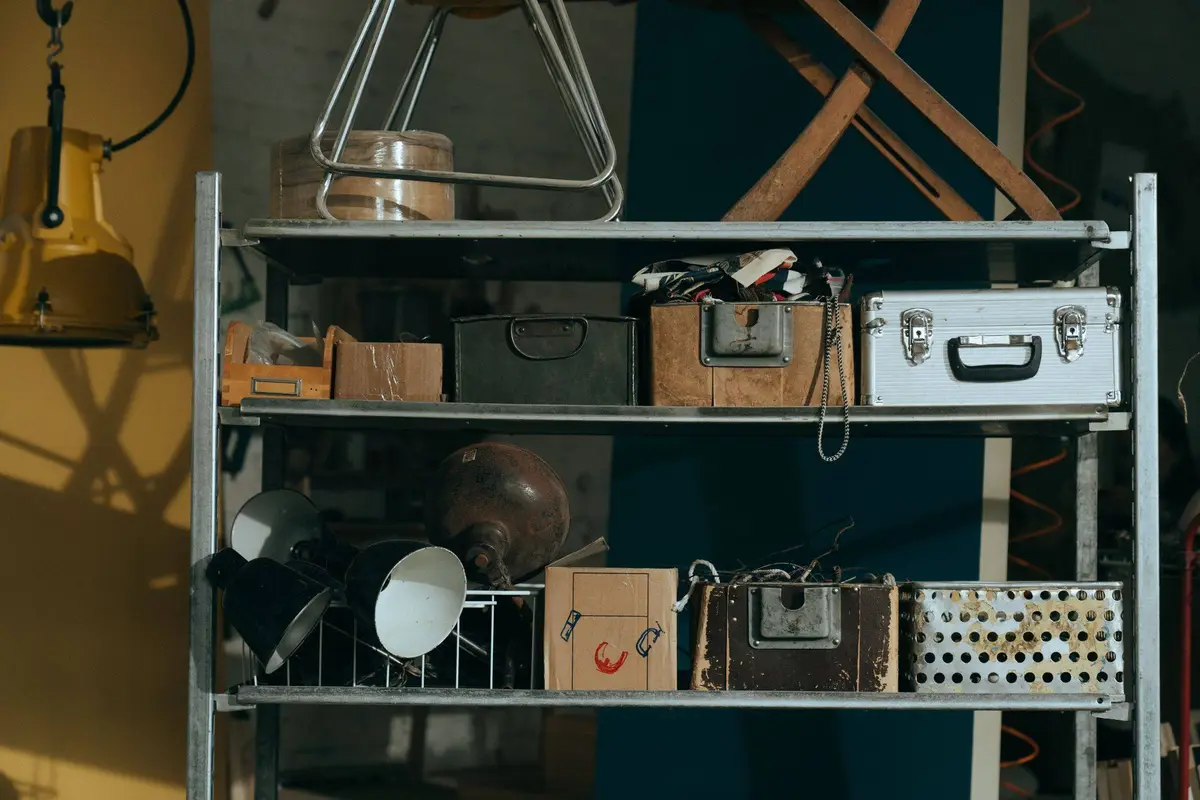
Choose shelves rated for what you plan to put on them, and check that each one sits level before you load it. Metal or wire shelves let air move around gear that comes in damp.
Save the top shelves, and the space above the garage door or across the ceiling, for light things you need only now and then: seasonal decorations, camping gear, spare bedding and the big cooler. A ceiling rack has to be fastened into the joists and kept clear of the door’s track and opener.
Keep anything the kids want, like balls, scooters and outdoor toys, low and within reach, so nobody climbs the shelves to get it.
Label the front of every bin you store up high, so you can read it from the floor before you climb. Keep a sturdy step stool or ladder nearby, never a chair or a bucket, for the trips up.
5. Cover a wall with pegboard or slatwall
A wall panel turns flat space into storage you can rearrange anytime. Pegboard takes simple hooks, small shelves and baskets, while slatwall has long grooves that hold hooks, bins and brackets for heavier gear.
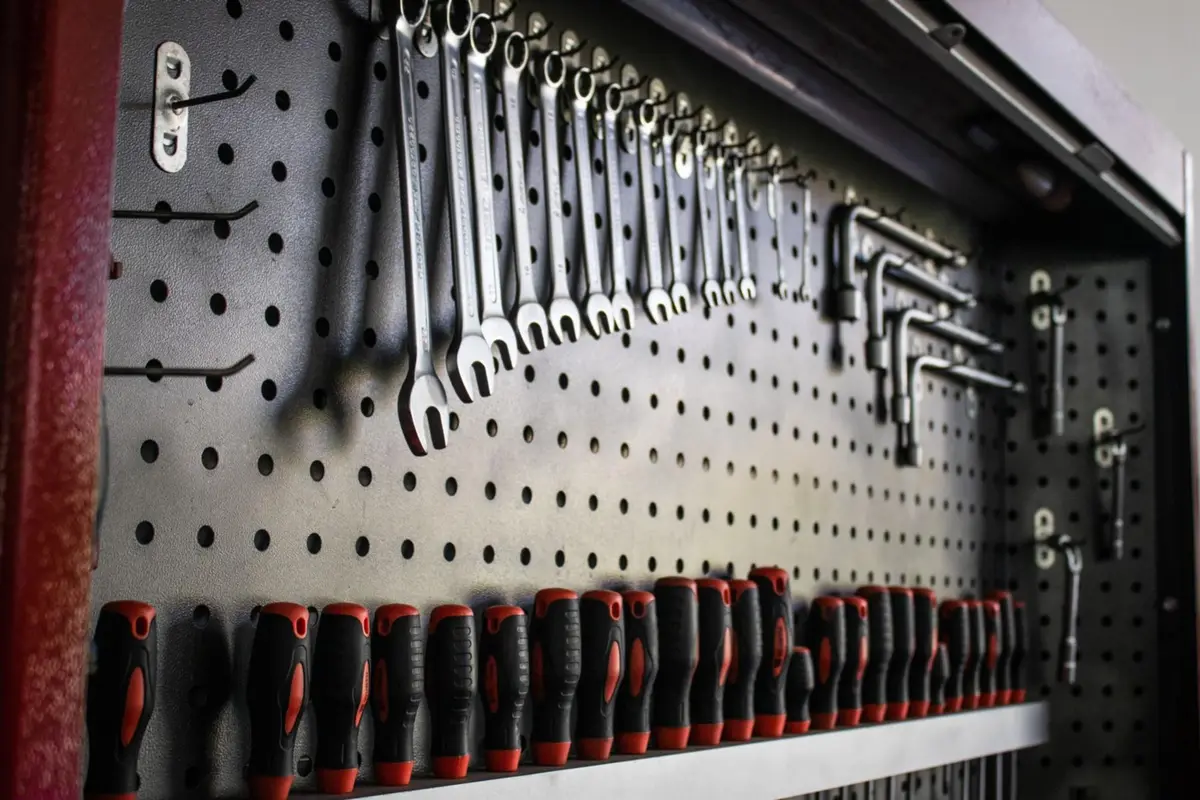
Fasten either one into the wall studs, and mount pegboard on spacers, so there’s a gap behind it for the hooks to slip in. Find the studs before you drill, and stay within the panel’s weight rating.
Plan the layout on the floor first. Lay out what you want to hang, group it by job, and leave space between the groups for new tools later.
Put the things you use every week between waist and shoulder height. Rarely used items go higher, and anything sharp stays out of a small child’s reach.
Pegboard hooks can lift out when you grab a tool. Small clips or zip ties hold them in place, so the hook stays put when the tool comes off.
A panel near the workbench is also a good home for tape, wire, glue and other small supplies in little bins, so they’re never buried in a drawer.
6. Give hand tools their own wall
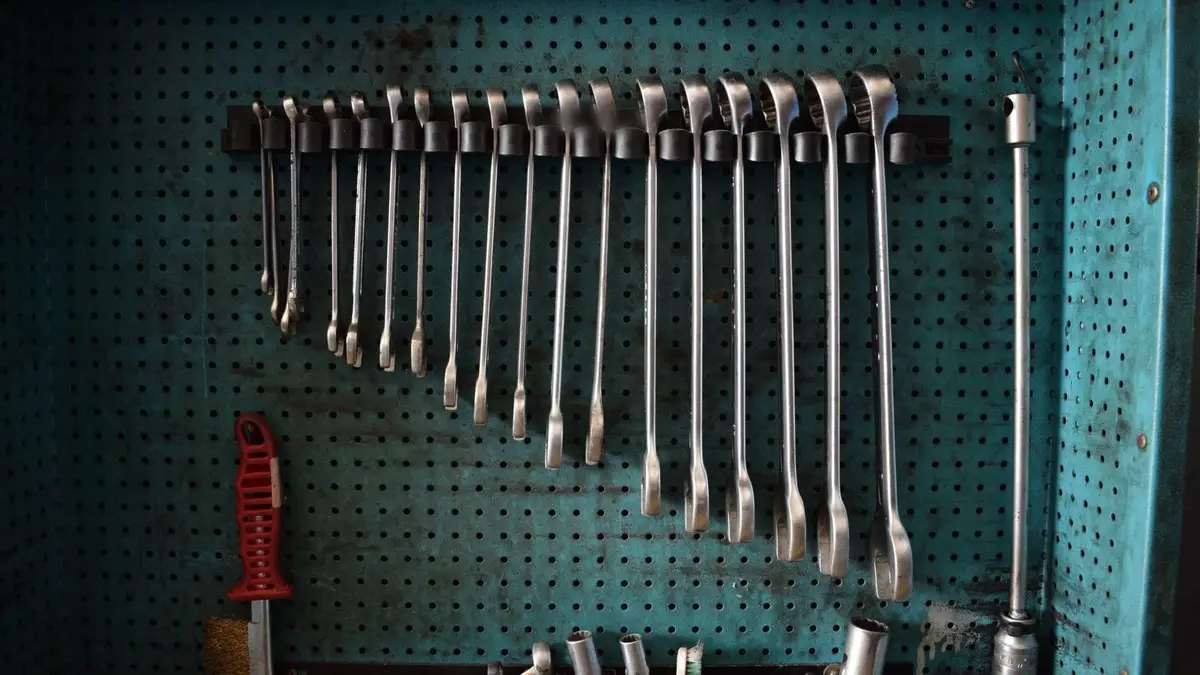
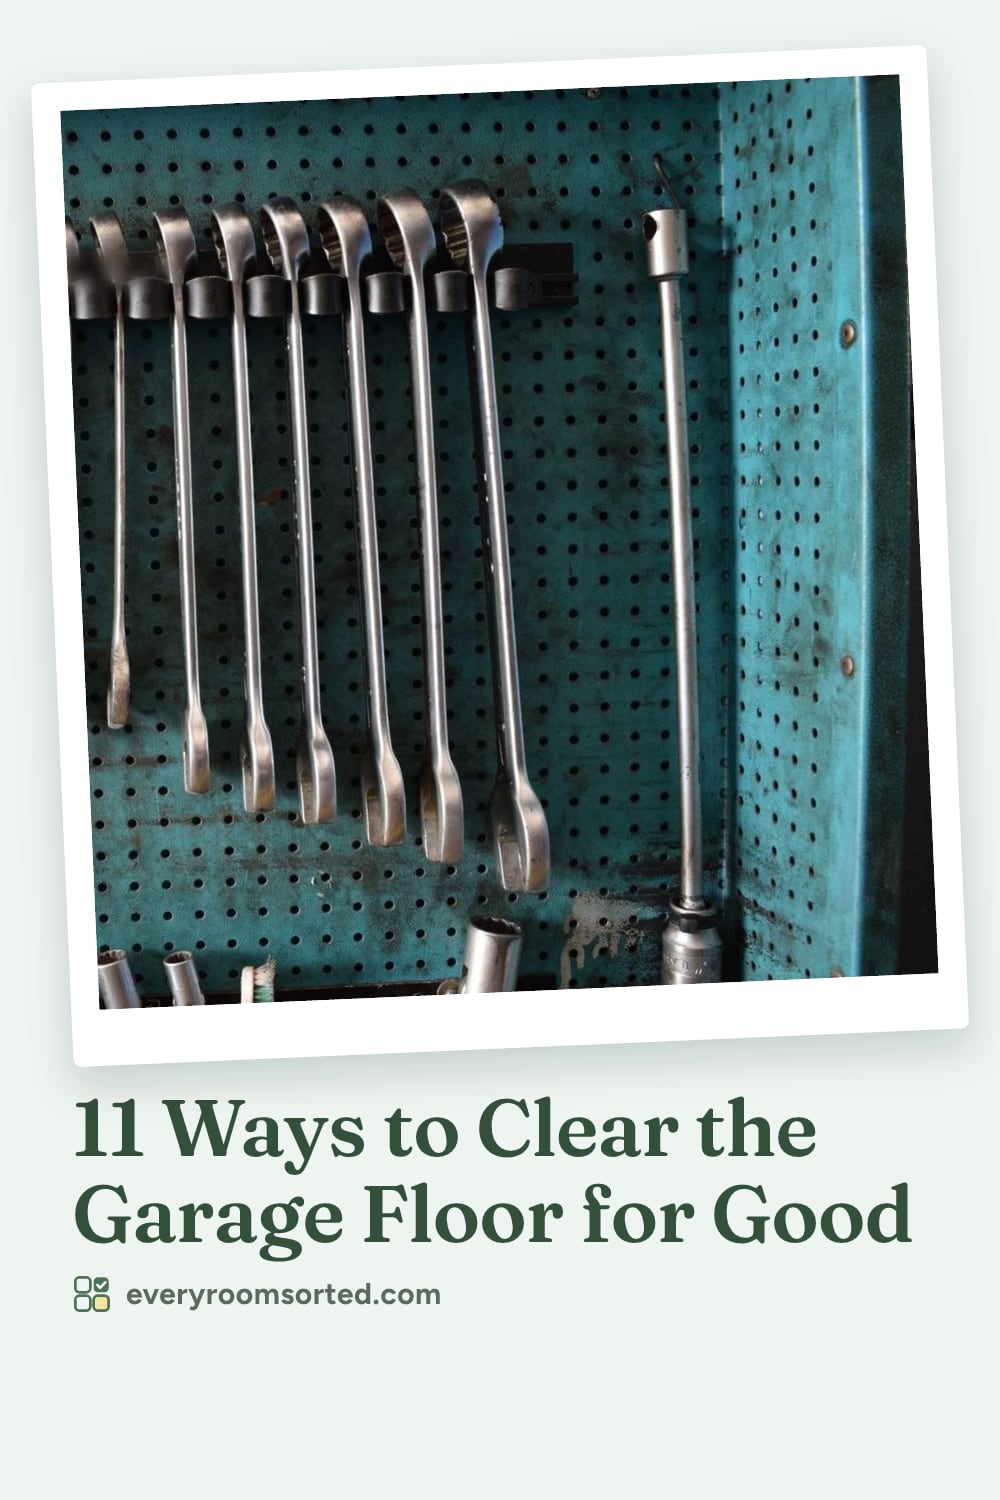
Tools you can see are tools you put back. Hang hammers, saws, wrenches and screwdrivers in rows on a rail, a magnetic strip or hooks, grouped by type, so it’s obvious when something is missing.
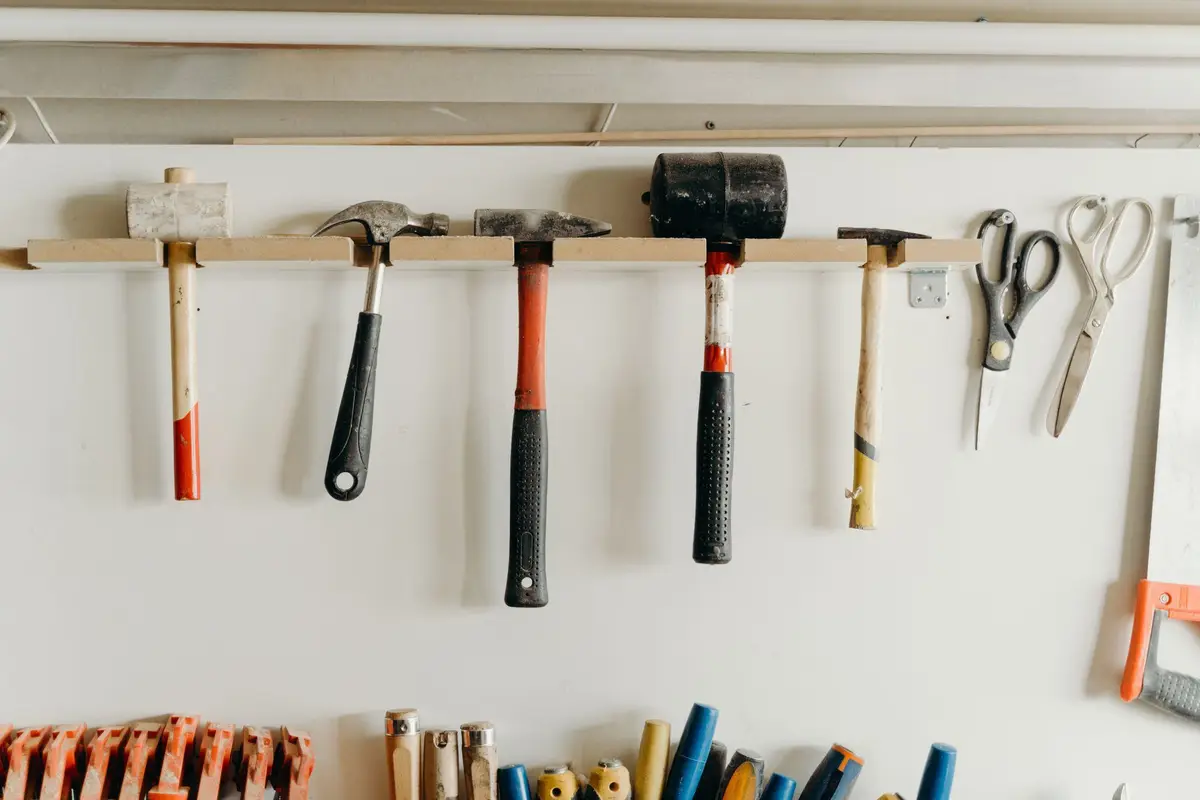
Once everything is hung, trace around each tool with a marker. Anyone in the house can put a tool back in the right spot, and an empty outline shows you what’s still out.
Hang tools by weight: hammers and mallets low and close to the bench, lighter screwdrivers and pliers higher up. Keep saw blades and sharp edges facing the wall or covered.
Power tools and their chargers fit on a shelf below or in a drawer, with the cords wrapped and tied. A power strip mounted at the tool wall keeps the batteries charging in one place instead of all over the house.
Only hang the tools you actually use. Duplicates and specialty tools you reach for once a year go in a labeled bin on a shelf, so the wall stays easy to scan.
Keep a pencil and a tape measure on their own hooks at the end of the row. They’re the two things everyone borrows, and they’ll be easy to spot when they come back.
7. Set up a workbench as a home base
A workbench gives projects a place to happen, so they don’t spread across the hood of the car. Put it along a wall near an outlet and good light, ideally right under your tool wall.
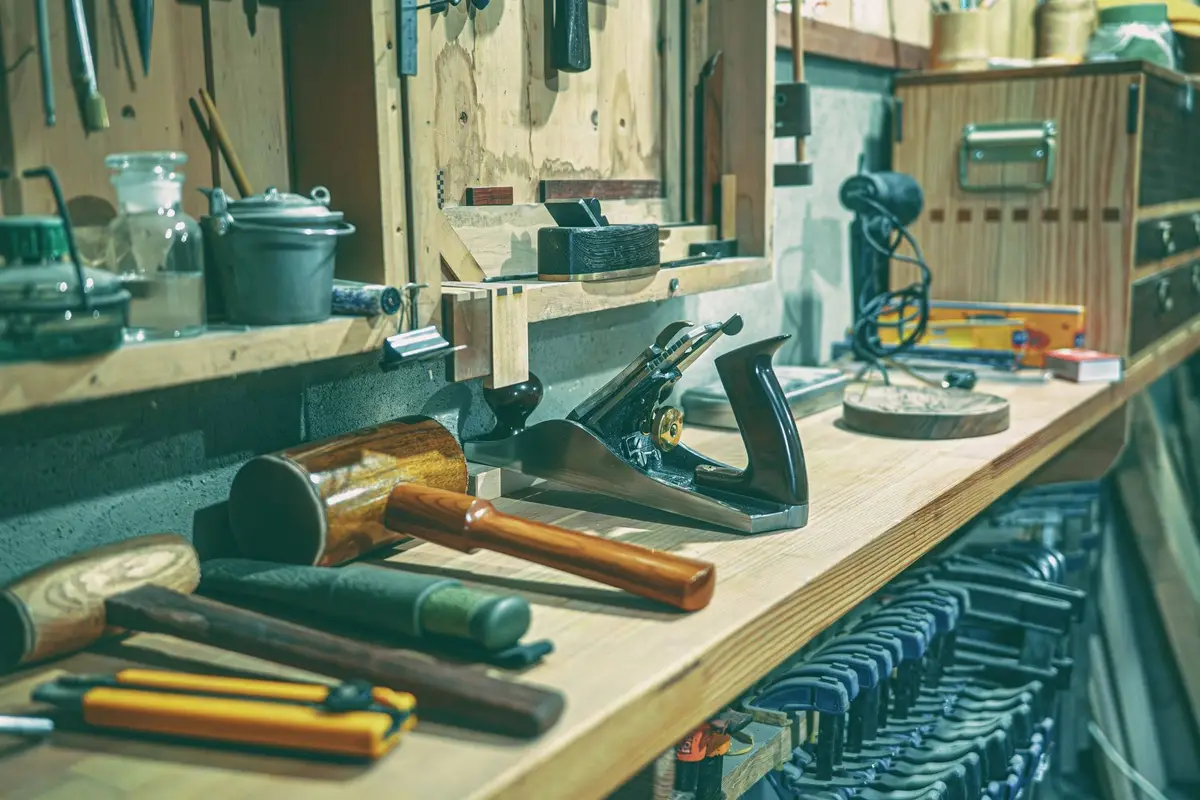
A sturdy bench with a shelf or rack underneath holds clamps, a toolbox and bins of hardware. Screws, nails and wall anchors sort well into a drawer organizer or small jars, one size in each.
If floor space is tight, a fold-down bench hinged to the wall flips up for a project and folds flat when the car comes home.
Add a bright work light above the bench and a small trash can beside it. Clear the top at the end of each project, so it’s ready for the next one.
Rags used with oil-based paint or stain can catch fire on their own as they dry, because the drying oil gives off heat. Never leave them in a pile: hang or spread them outside to dry, away from the house, then store them in a metal can with a tight lid, filled with water and detergent.
Keep a first-aid kit and safety glasses on a hook at the end of the bench, where you’ll see them every time you start a project.
8. Hang bikes and ladders on hooks
Bikes, ladders and long tools eat up floor space when they lean against the wall. Get them up on heavy-duty hooks, and the floor opens right up.

A bike can hang upright by its front wheel from a wall hook, or flat against the wall on a pair of hooks. Hang the kids’ bikes low enough for them to take down on their own, and the adult bikes higher.
Ladders hang flat on two wall brackets, and long-handled tools hang in a row on a rail. Ceiling hooks or a pulley lift work well for bikes you ride only in warm weather.
Screw every hook into a stud or a ceiling joist, not into drywall alone, and check the weight rating before you buy. Leave enough room around each bike to lift it off without knocking the next one down.
Helmets, pumps and locks belong right next to the bikes, on a hook or a small shelf. When everything for a ride is in one spot, getting out the door takes a lot less time.
Wipe wet or muddy tires before a bike goes up, so drips don’t land on the wall or on the gear stored below it.
9. Give garden and sports gear their own zones
Garden tools and sports gear pile up fast, so give each a zone near the big door, where it heads outside. Hang rakes, shovels, brooms and hoes on a rail with their heads up, so tines and blades stay out of the way.
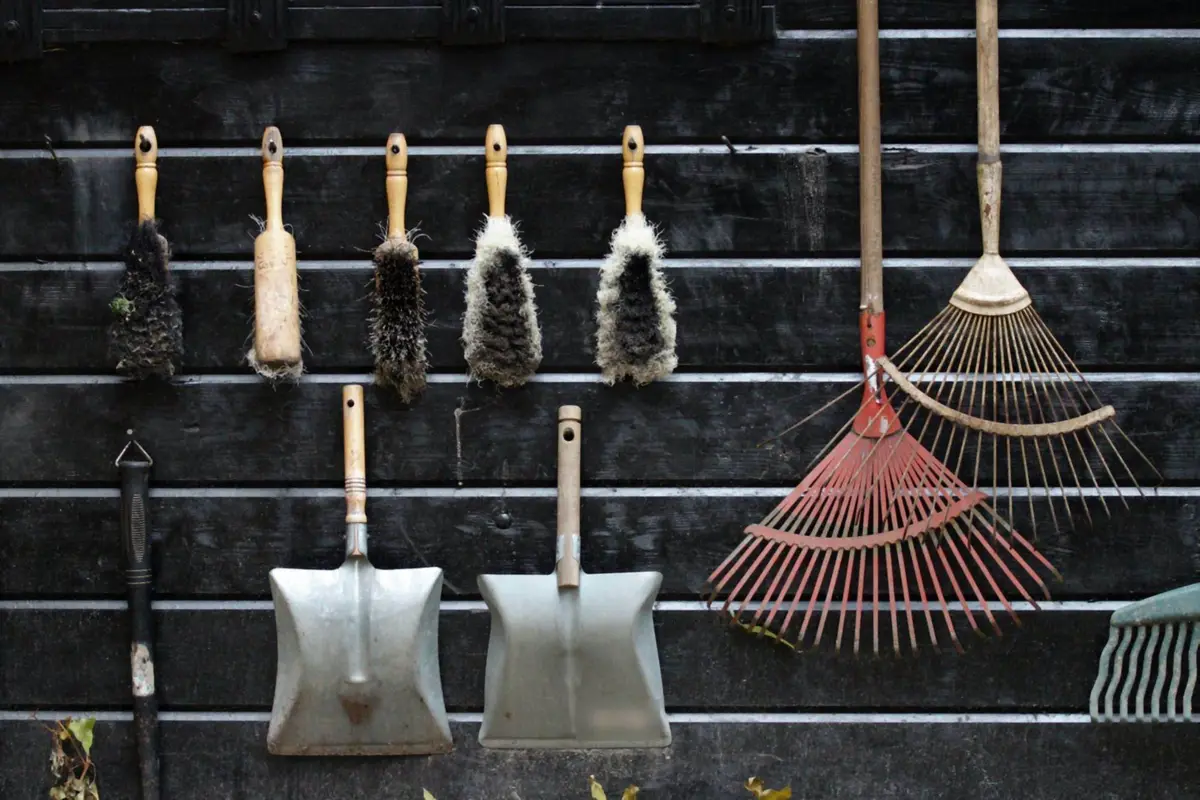
A tall bin or a spare trash can corrals the long-handled tools that don’t hang well. Gloves, pruners and seed packets go in a small bin on a shelf nearby.
Keep fertilizer, weed killer and bug spray out of the garden zone if kids can reach it. Those belong with the chemicals, locked up and away from food and pet food.
For sports, a mesh bag or a tall basket holds the balls, and wall hooks take bats, rackets and helmets. Give each child a bin or a hook for their own gear, so they can grab it and put it back without help.
Knock off mud and let gear dry before it goes back, so the zone doesn’t turn damp or smelly. Rotate with the seasons, too: bring summer gear forward in spring and winter gear forward in fall.
A hose reel mounted on the outside wall, near the big door, keeps the hose off the garage floor and ready for watering.
10. Store chemicals and paint safely
Paint, solvents, pesticides, car fluids and pool chemicals need more care than anything else in the garage. Keep every product in its original container with the label on, and never pour any of it into a food or drink container.

Store them out of reach of children and pets, ideally in a locked cabinet in a spot with good airflow. Keep pesticides and lawn products away from food, pet food and medicine.
Never mix leftovers, and follow the storage directions on each label. Keep flammable liquids far from anything that can spark or heat up, like the furnace, the car, a grill or the lawn mower.
Store gasoline only in a can made for it, tightly capped. Never bring it into the house or keep it in a basement; a detached garage or an outdoor shed is the place for it.
The grill’s propane tank stays outdoors, never inside the house or garage, and a spare doesn’t go under or beside the grill.
Dried-out or unwanted products go to your local household hazardous waste collection, not the trash. If a container is rusting through or leaking, call your fire department for advice before you move it.
11. Make a landing zone by the house door
The door between the garage and the house is where shoes, bags and keys pile up. A small landing zone gives them a home before they make it inside.
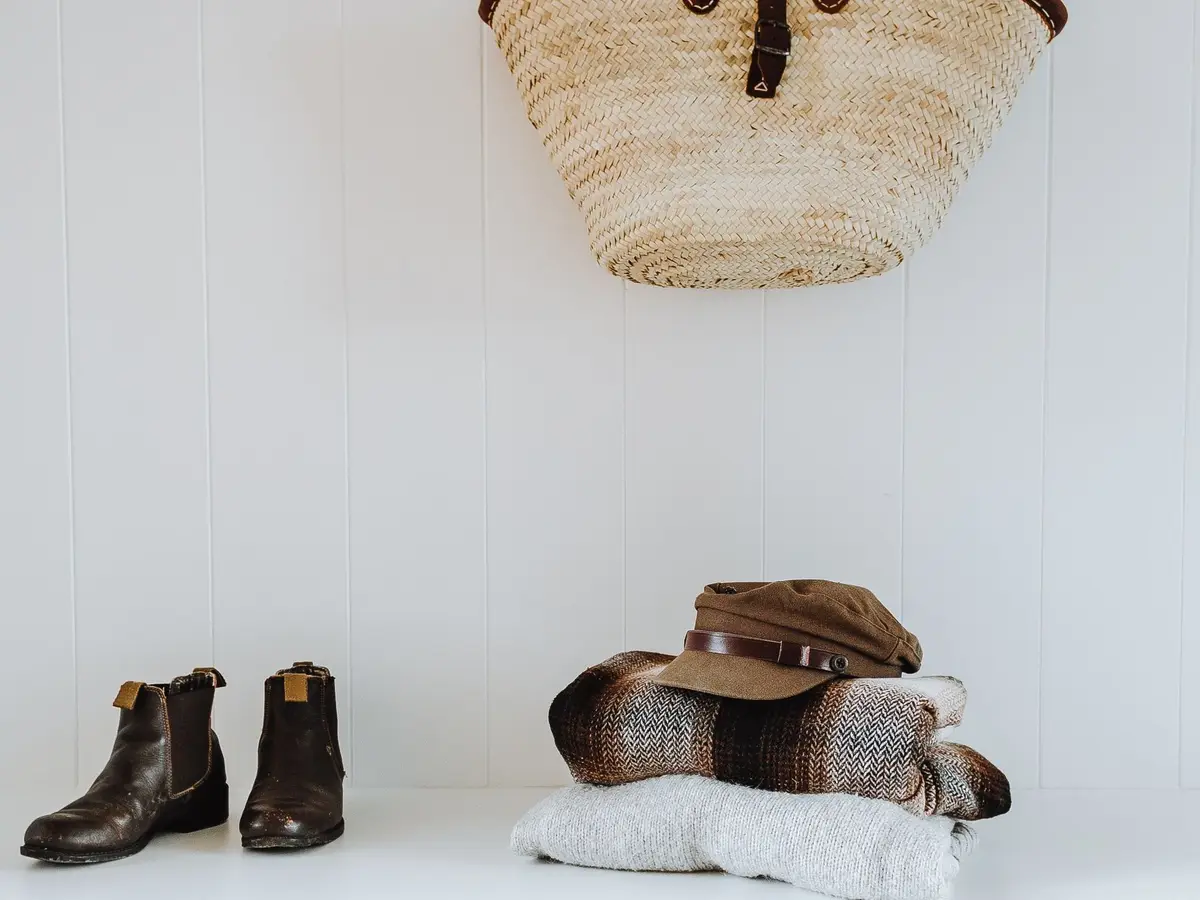
A bench with a shoe shelf or a tray underneath handles muddy boots and sneakers. Hooks above it take coats, bags and the dog’s leash, one hook for each person in the house.
Add a small shelf or wall pocket for keys, mail and anything that has to go back out to the car. A bin for returns, library books and donations means they leave with you on the next trip.
Keep the reusable shopping bags here, too, so they go straight back into the car. A small cabinet nearby holds bulk paper towels and other backups that don’t fit inside.
To keep it sorted, put things back in their zone at the end of the day, and do a quick sweep and reset once a month. Each season, walk the garage with a trash bag and a donation box, and pull out the spring cleaning checklist when it’s time for a bigger clear-out.
Save this for later
Pin it to a board so it's there when you're ready to start.
Save to Pinterest(opens in a new tab)Make it easier
Free printable
30-Day Declutter Challenge Printable
A one-page declutter challenge for a month: one small spot to clear each day, easiest first, so the whole house gets a pass in short sessions.
Free tool
Enter the width, depth and height of a shelf, a drawer or a cube cubby, and see which standard bins and baskets fit, how many, and how they line up.
Frequently asked questions
How do I start organizing a garage when it's packed full?
Pull everything out, or one section at a time if that's too much, and sort it into groups on the driveway. Let go of what's broken or unused, then give each group you keep a zone before you buy any shelves or bins.
What should I not store in a garage?
Keep the grill's propane tank outdoors, and keep gasoline only in a can made for it, away from anything that can spark. Pesticides and other chemicals need a locked cabinet away from kids, pets and food, and anything that can't handle damp or heat is better off inside the house.
Is pegboard or slatwall better for a garage?
Pegboard is simple to put up and works well for hand tools and small supplies. Slatwall suits heavier gear like bags, bins and sports equipment, and its hooks lock into the grooves, so it's the better pick for a wall that does a lot of work.
How do I keep my garage organized once it's done?
Give everything a labeled home, so putting it back takes seconds, and keep the floor for the car. A quick reset once a month and a bigger clear-out each season stop the piles from creeping back.