12 Craft Room Organization Ideas That Tame Paper, Yarn and Ribbon
Sort supplies by craft, then give each a home: clear bins, a pegboard, flat paper storage, a rolling cart, yarn cubbies and a closet craft corner.

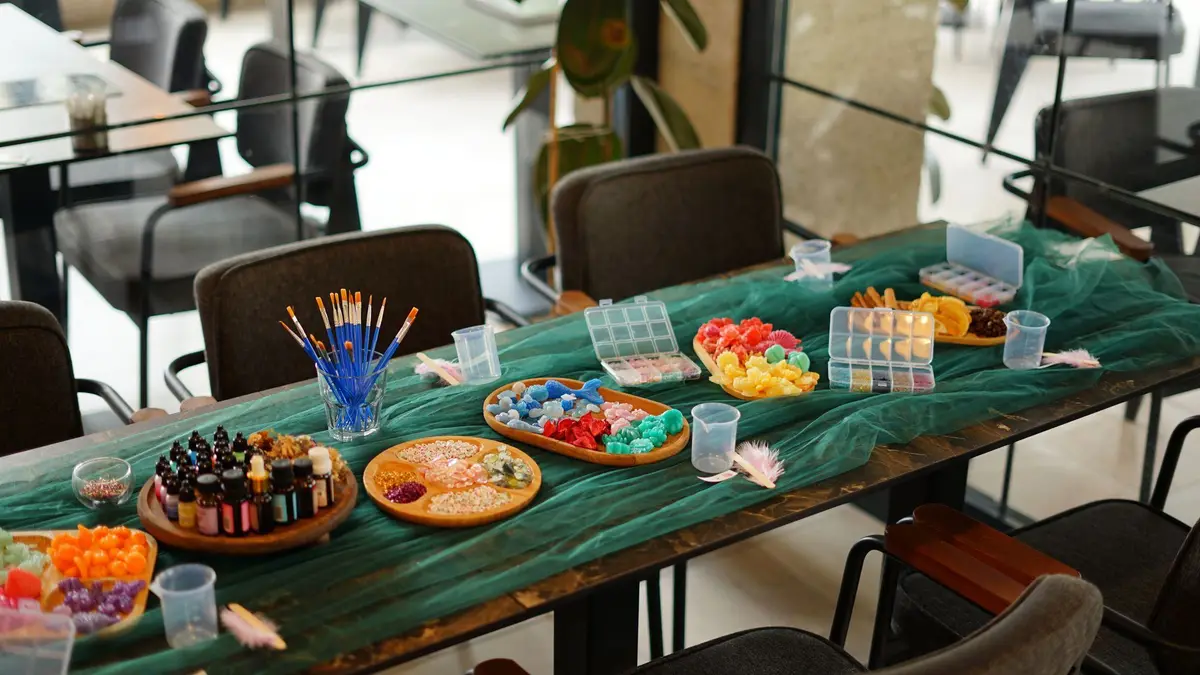
Craft room organization starts with sorting: group supplies by craft, then by project, and give each group one home you can see, like a clear bin, a pegboard hook, a flat paper rack or a rolling cart. Then set a limit for each supply, so the room doesn’t fill back up.
These 12 ideas work in a spare room, a corner of the dining room or a closet. Start with the first one, since every idea after it depends on knowing what you have.
1. Sort supplies by craft, then by project
Pull everything out and group it by craft: paper crafts, sewing, knitting and crochet, painting, beading and kids’ art. Inside each craft, set aside the supplies for any project you’ve already started and keep them together.
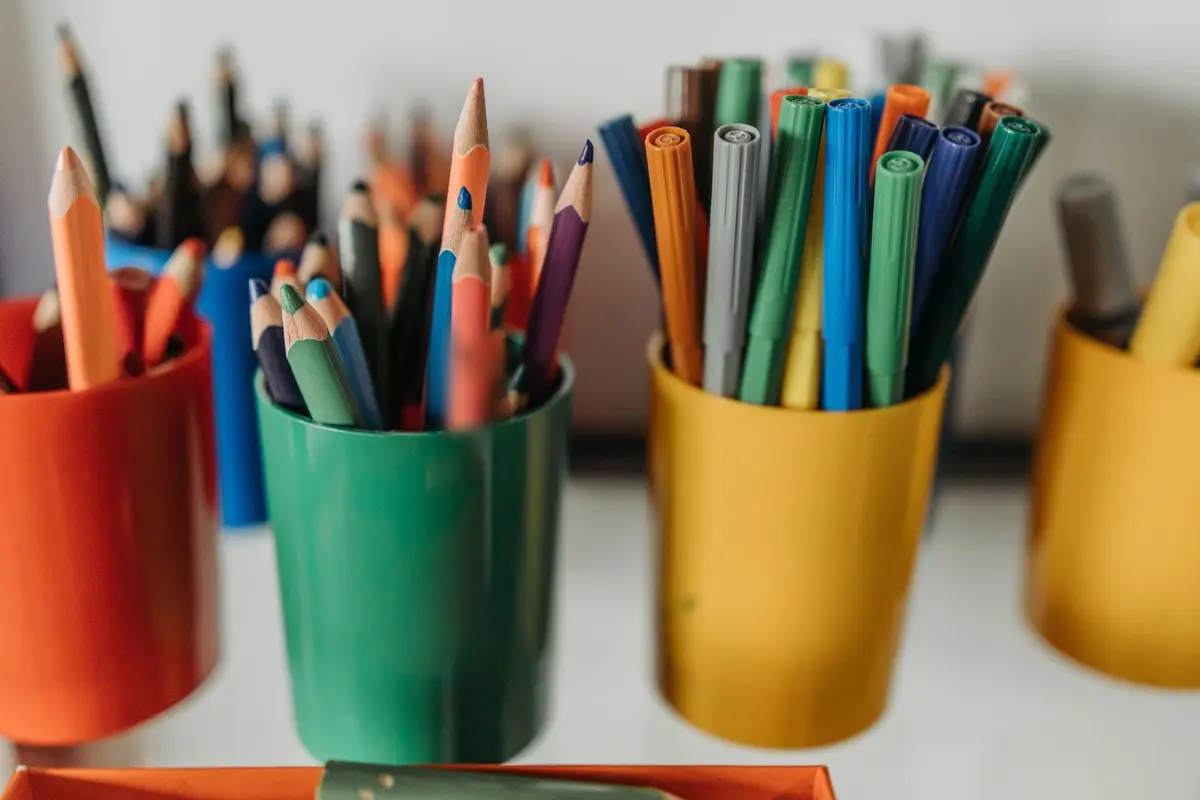
Sorting by craft means you go to one spot for one hobby, instead of hunting across the house for scissors, glue and thread. It also shows you how much of each supply you really own.
Be honest as you sort. Dried-out markers, glue that has gone stringy, scraps too small to use and kits for a craft you no longer enjoy can go, and good supplies you won’t use can go to a school, a library program or a friend.
If the whole room feels like too much, take it one craft at a time. The month-long declutter challenge breaks the job into small daily tasks, so the room gets lighter without taking over a whole weekend.
Keep a notepad nearby while you sort. Write down what you’re out of and what you have far too much of, so your next shopping trip stays short.
2. Store supplies in clear stackable bins
Clear bins and drawers show what’s inside without opening anything, so a glance tells you where the felt or the glitter went. Bins of the same size stack neatly and line up on a shelf without gaps.
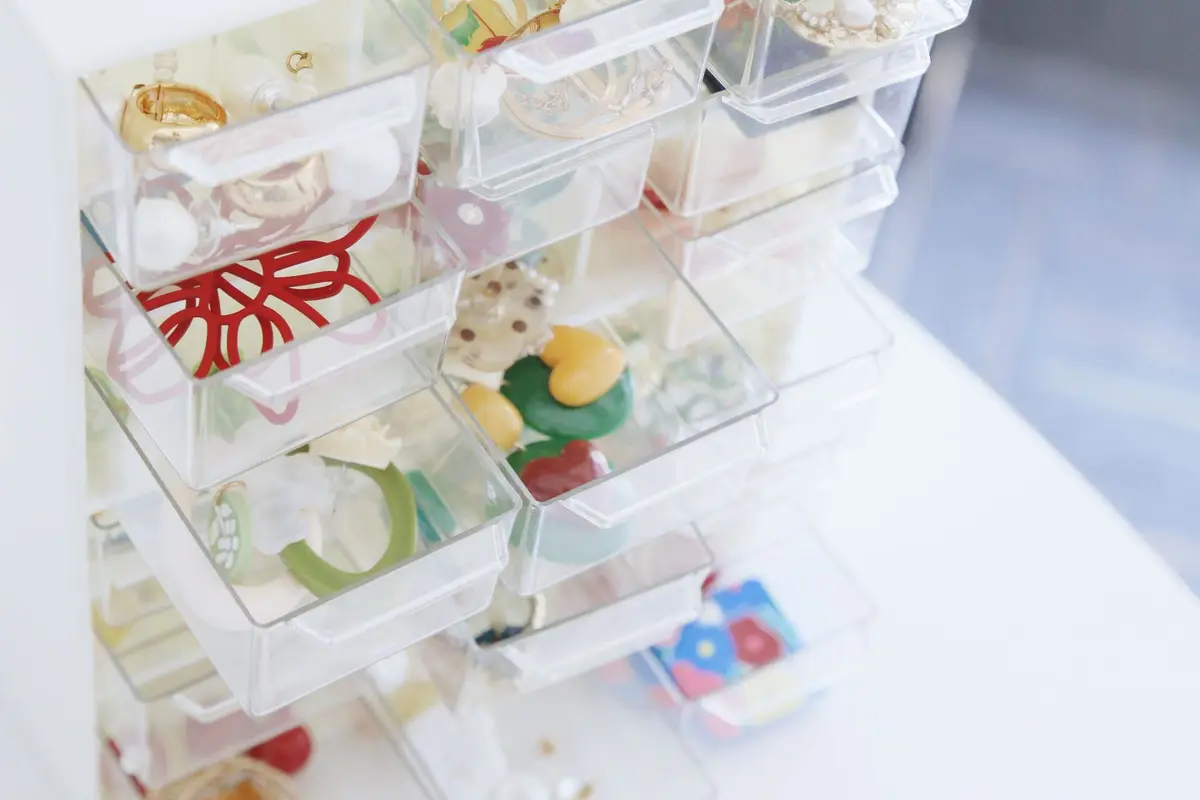
Measure your shelves before you buy, including the depth and the clear height above each one. The bin and basket size calculator shows which standard sizes fit and how many line up side by side.
Pick one or two bin sizes and stick with them, so you can swap bins around as your hobbies change. Shallow bins suit small, flat things like stickers and stamps, and deeper ones suit fabric and yarn.
Stack only bins you use about as often, with the heaviest on the bottom. Bins with a handle or a drop front let you reach in without unstacking the whole column.
Label every bin on the front, even though it’s clear. A label tells everyone where things go back, and that’s the part that keeps a craft room sorted after a busy week.
3. Put a pegboard on the wall
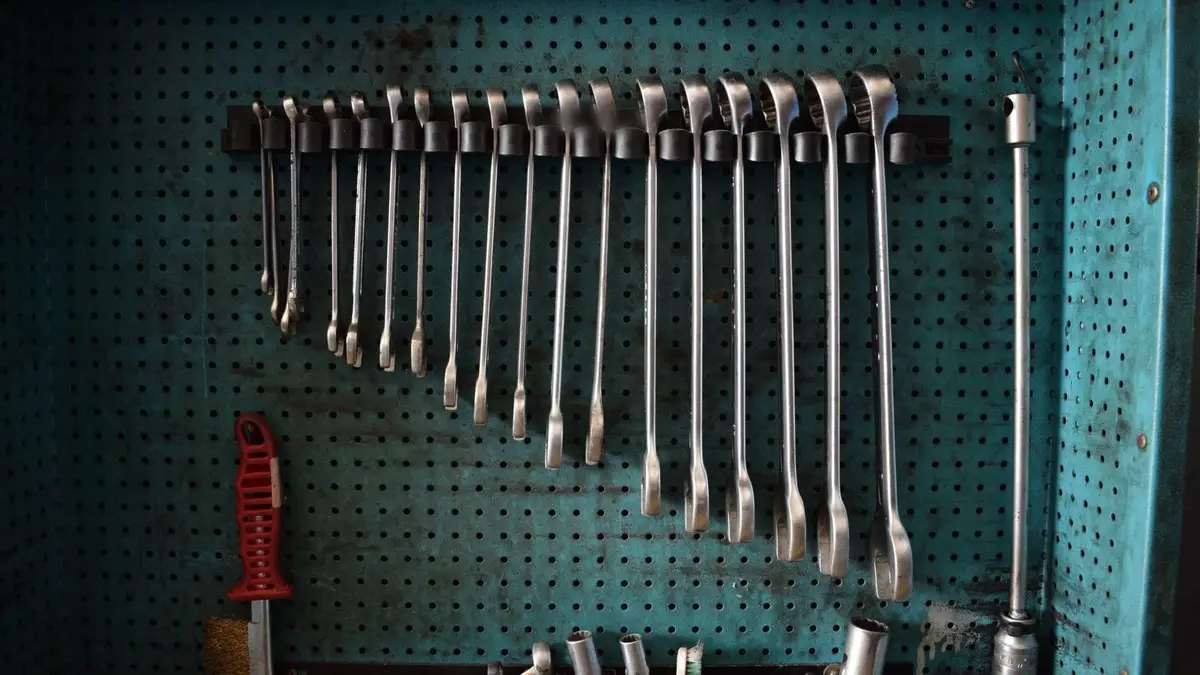
A pegboard turns a bare wall into storage for the tools you reach for most: scissors, rulers, tape, a glue gun, spools of ribbon and cups of pens. Everything hangs in sight, and nothing gets buried in a drawer.
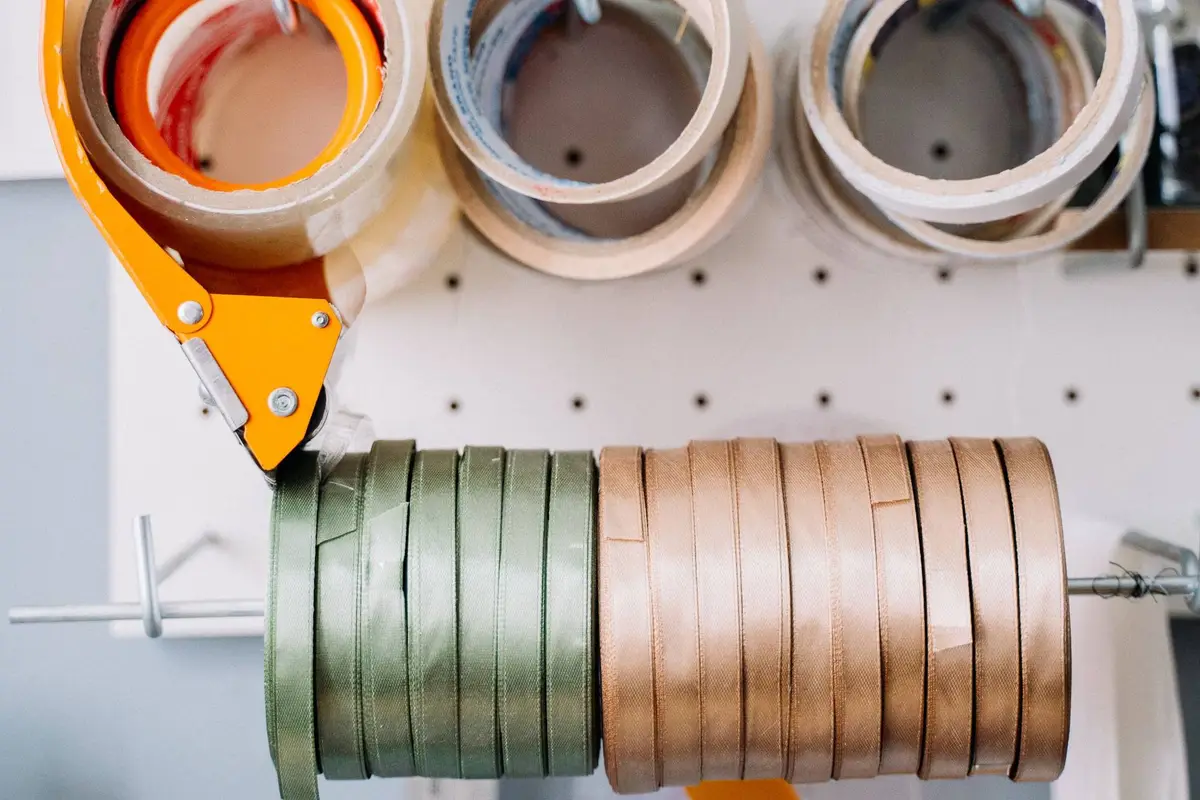
Add hooks, small shelves, cups and rods as you need them, and move them around whenever your projects change. Put the tools you use every day at eye level and the rest above or below.
Mount the board on spacers so the hooks have room behind it, and screw it into studs or into wall anchors made for the job. Check the weight rating on the board and the hooks, and keep heavy things on a shelf instead.
The same wall works in a garage for hand tools, and the garage organization ideas show it on a bigger scale. In a craft room, smaller hooks and cups do most of the work.
If you share the room, trace around each tool with a pencil once it’s hung. The outline shows where it goes back, and an empty outline shows what’s missing.
4. Keep paper flat in files or shelves
Paper curls, creases and fades when it’s rolled up or stacked on its side, so store it flat. A stacking paper rack, a set of shallow drawers or a file box with hanging folders keeps sheets smooth and easy to flip through.

Sort paper by color or by type: cardstock, patterned paper, tissue and scraps. A rainbow order looks pretty, and it’s practical too, since you can find the shade you want in seconds.
Keep scraps in a separate folder or flat bin, and decide on a size below which they go in the recycling. Small pieces are handy for cards and kids’ projects, but they shouldn’t crowd out full sheets.
Store paper away from windows and damp corners, since sunlight fades it and humidity makes it warp. A closed drawer or a cabinet shelf beats a spot in direct light.
Stickers, stamps and die cuts can live in the same spot, in flat envelopes or binders with clear sleeves. Keeping everything for paper crafts together makes it easy to pull out what a card needs.
5. Use a rolling cart for the current project
A rolling cart holds everything for the project you’re working on right now, and it goes wherever you craft: the kitchen table, the living room or the porch. When you’re done for the day, it rolls back into a corner.
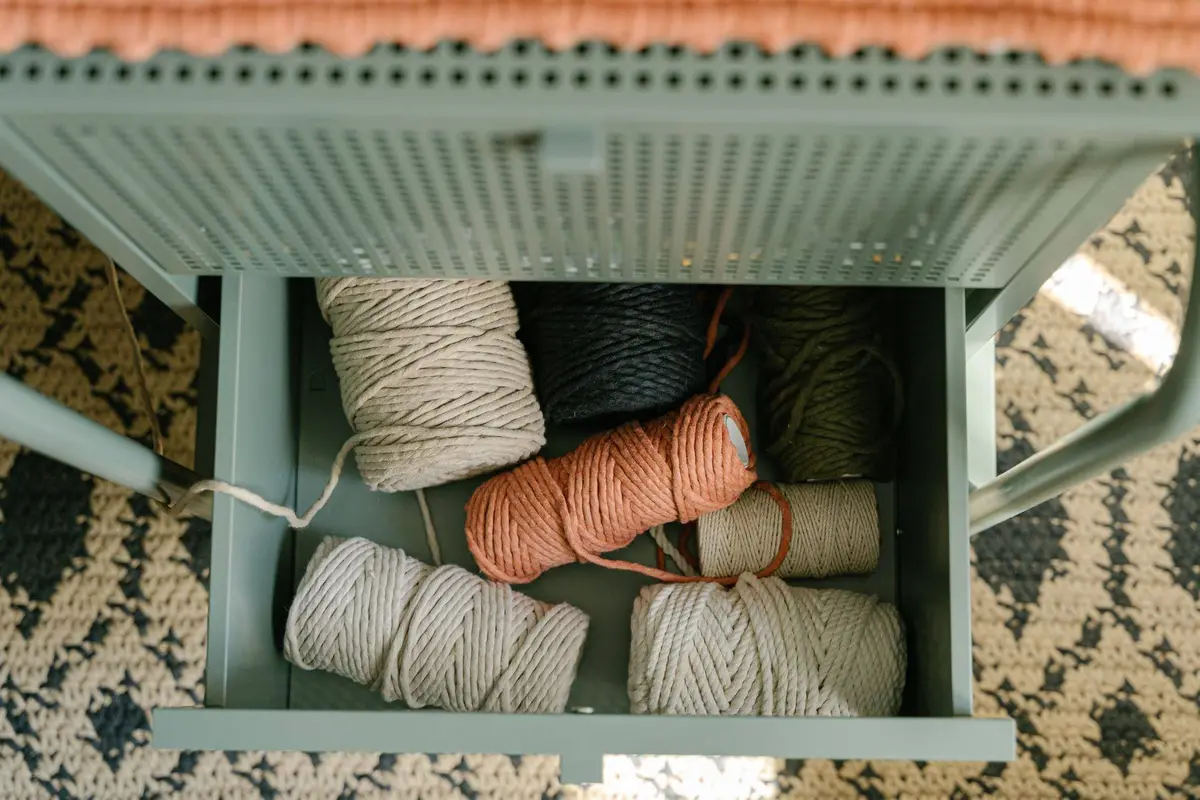
Give each tier a job. The top tier holds the tools you grab constantly, like scissors and brushes, the middle holds the materials for this project, and the bottom holds bigger supplies.
Only load what the project needs. The cart works because it’s small, and once it holds every supply you own, it’s just another cluttered surface.
Small cups, jars or clip-on baskets keep pens, brushes and tools upright on the top tier. A cart with locking wheels stays put while you work, which matters on a smooth floor.
Between projects, empty the cart and put each supply back in its home. Starting the next project with a clear cart keeps leftovers from piling up on the bottom tier.
No room for a cart? A small drawer unit does the same job: the current project rests on top, and its supplies wait in the drawers below.
6. Keep yarn in cubbies or baskets
Yarn stays tidy in open cubbies or baskets, where you can see the colors and grab a skein without pulling at a tangle. Cubbies sort neatly by weight or fiber, and a basket keeps a soft mix of colors in one spot.
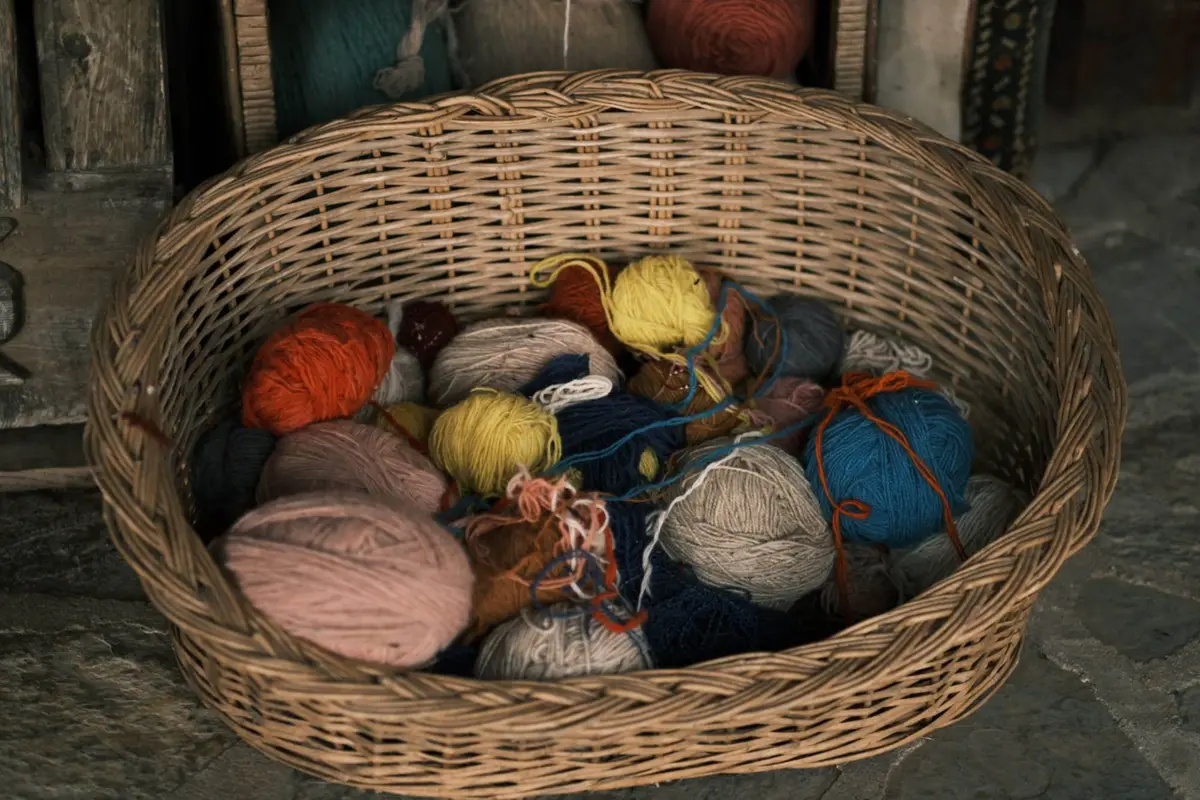
Sort yarn the way you shop for it: by weight first, then by color. Keep the band with each skein or tuck it inside the ball, so you know the fiber and the care instructions when you start a new project.
Yarn you won’t use for a while does best in a lidded bin. A lid keeps dust off and keeps curious pets and kids from unraveling it, and a clear bin still shows you the colors.
Keep needles and hooks together in a roll, a jar or a pencil case, sorted by size. A small pouch for stitch markers, a tape measure and snips saves a trip across the room.
Leftover bits too small for a full project can share one basket for scrap projects. When that basket is full, use some before you buy more.
7. Hang ribbon on a dowel
Ribbon tangles and creases when spools are tossed in a bin. Slide the spools onto a dowel, or stand them in a row in a shallow tray, and you can see every color and pull off exactly the length you need.
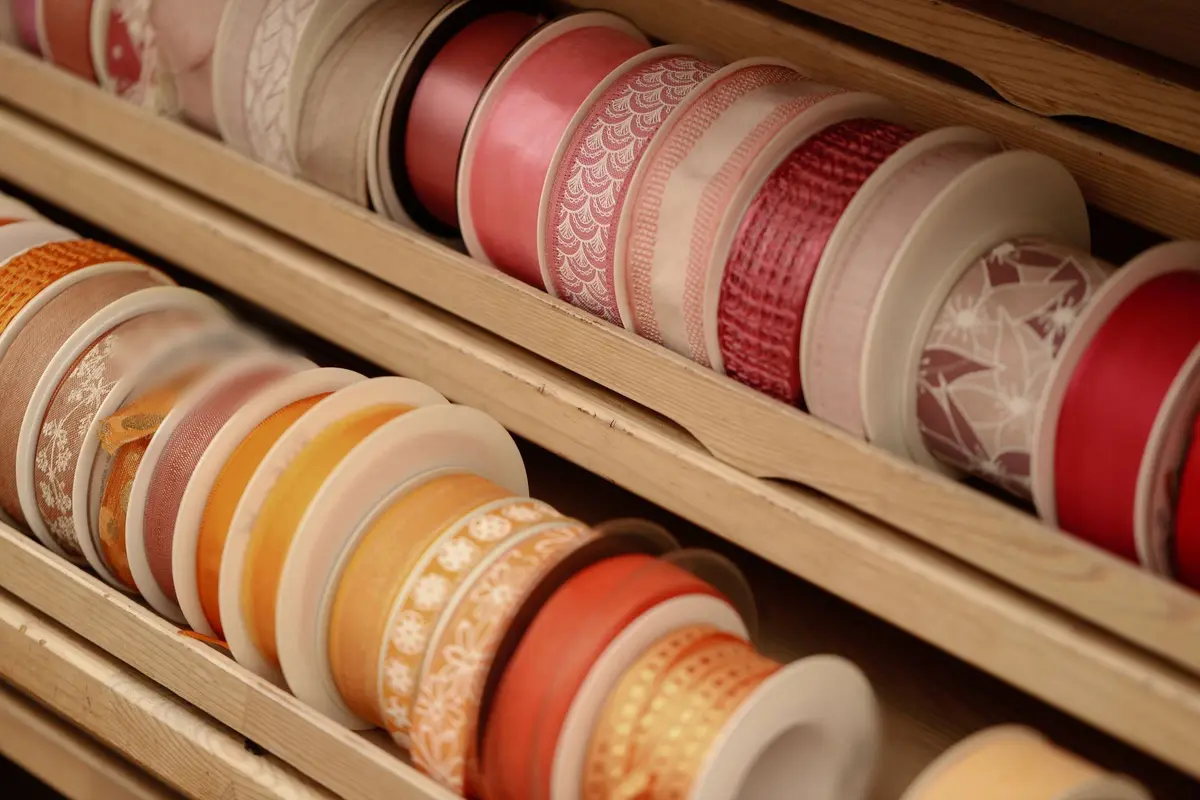
A dowel fits between two brackets on the wall, inside a cabinet or across a deep drawer. A tension rod in a cabinet or closet works the same way, with no drilling at all.
Sort spools by color or by width. Wind loose lengths of ribbon on clothespins or cardboard cards so they don’t knot, and tuck each cut end into the spool’s notch or hold it with a small clip.
Twine, string, decorative tape and lace trim work the same way. A second dowel below the first doubles the space in the same width.
Keep a pair of sharp scissors on a hook right beside the ribbon. A clean cut helps the ends resist fraying, and scissors that live where they’re used never wander off.
8. Keep small parts in a divided box
Beads, buttons, sequins, snaps and jewelry findings disappear in a big bin. A clear box with small compartments gives each type its own square, so you can see at a glance what you have.
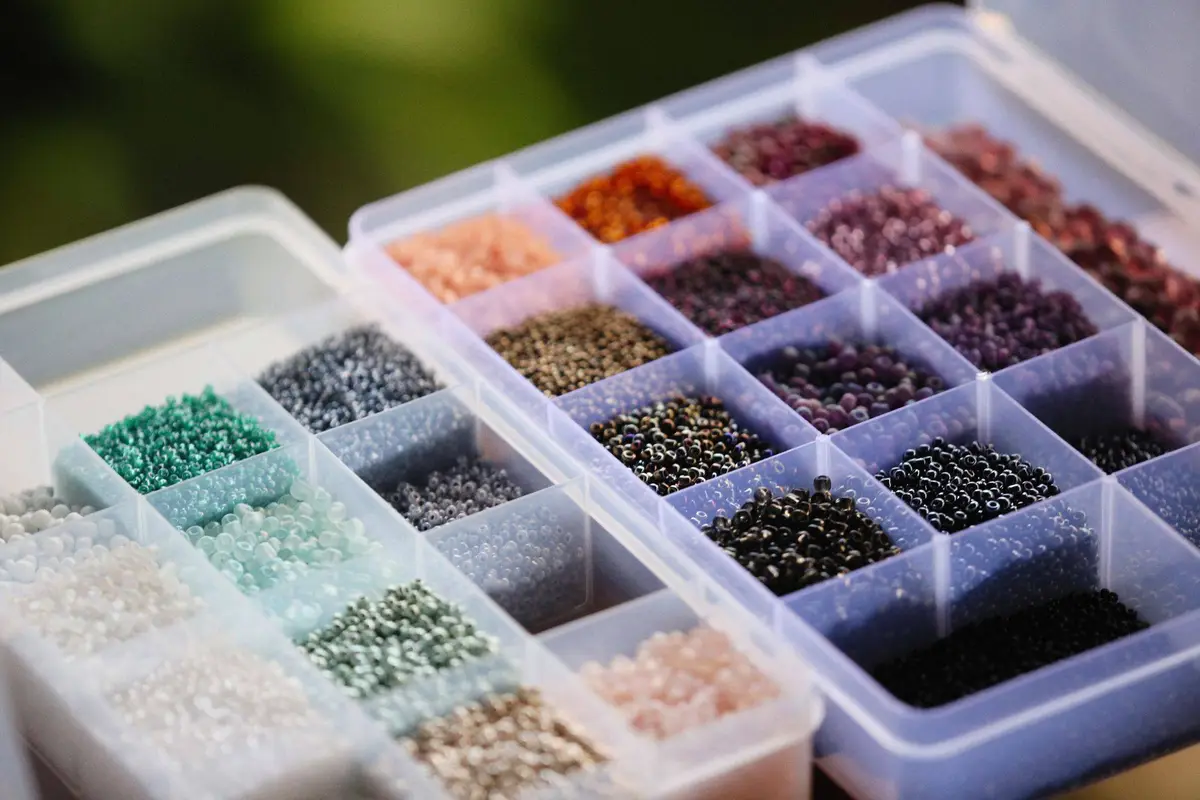
Sort by type first, then by color or size. A box for beading, one for sewing notions and one for embellishments is easier to manage than one huge box of everything.
Pick boxes with tight lids and dividers that stay put, and store them flat on a shelf or upright like books. Tight lids matter, since one tipped box of seed beads can take a long time to sort again.
Label the end of each box, so you can pull the right one without opening several. A small dish on your work surface catches loose pieces while you work, so nothing rolls off the table.
If young kids share the space, store these boxes up high, along with anything else in the room they shouldn’t use on their own. The kids organization hacks cover a separate, kid-friendly art station with supplies they can reach themselves.
9. Set up a cutting and work surface
A good work surface makes every project easier. Give yourself a sturdy table at a comfortable height, a self-healing cutting mat to protect it and good light from above or beside you.
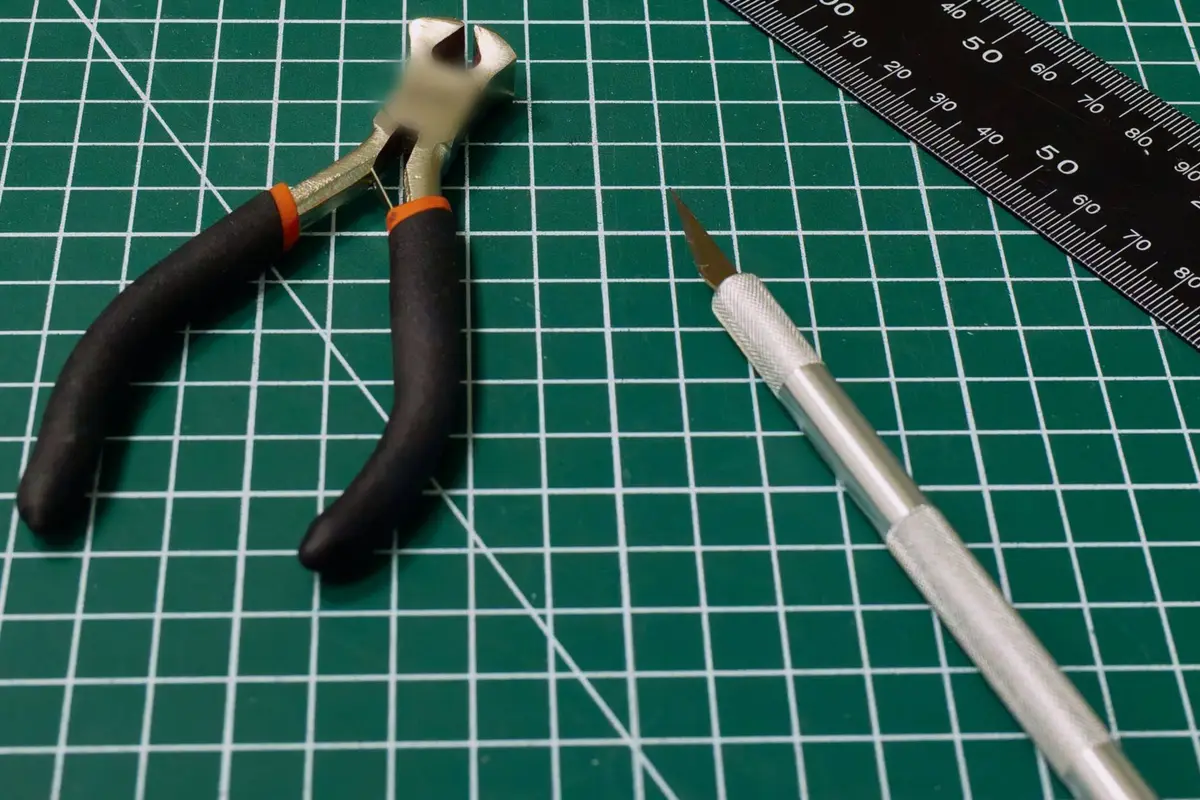
Keep the mat flat, out of direct sun and away from heat, so it doesn’t warp. A large mat can stay on the table, while a smaller one slides behind a desk or bookcase when you need the space.
Store cutting tools where they won’t get knocked off: in a cup with the blades down, in a drawer tray or on a pegboard hook. Put craft knives away with their blades covered or retracted, and keep them in a closed drawer or up high if kids share the room.
Keep food and drinks off the work surface, too. Paint, glue and glitter don’t belong near a snack, and a spilled drink can ruin a project in seconds.
Clear the table at the end of each session, even if the project isn’t done. Unfinished work goes to a bin of its own, which comes up below.
10. Turn a closet into a craft space
No spare room? A closet makes a compact craft space: shelves for bins on the sides, a desk or a narrow table in the middle and a pegboard on the back wall. When you’re done, you close the doors and the mess disappears.
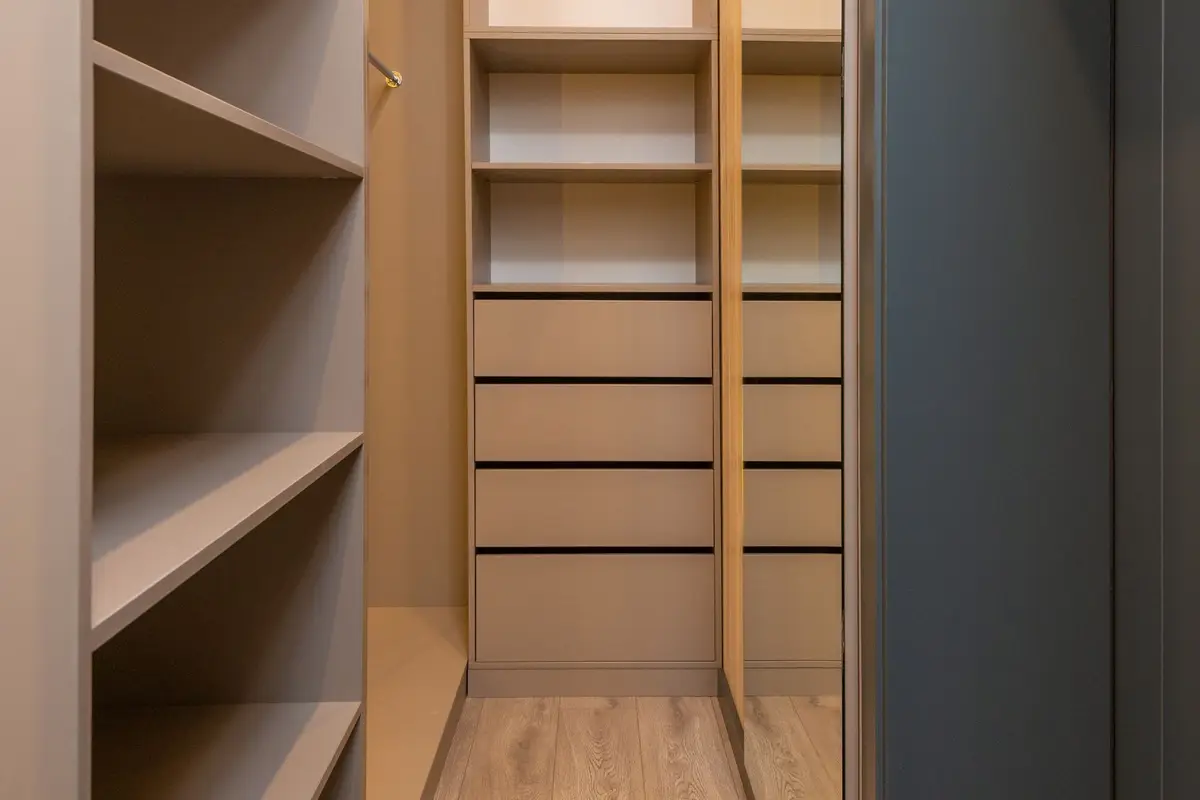
Empty the closet and measure the width, depth and height, plus the door opening. A reach-in closet often fits a desk with shelves above it, and a walk-in can hold shelves on both sides.
Take out the hanging rod, or keep it for fabric on hangers or a hanging organizer with pockets. A strip of hooks inside the door holds scissors, rulers and bags of projects in progress.
Plan the light, since most closets are dark. A plug-in or battery light under the top shelf makes cutting and stitching much easier.
If the closet is small, the small closet organization ideas show how to use every surface, from the top shelf to the floor and the back of the door. Move in only the supplies you use, since a closet holds less than a room, and that limit helps it stay sorted.
11. Keep a project-in-progress bin
Unfinished projects scatter across tables, chairs and couch cushions. Give each one a bin or basket of its own, with everything it needs inside: the materials, the pattern and the small tools you’re using.
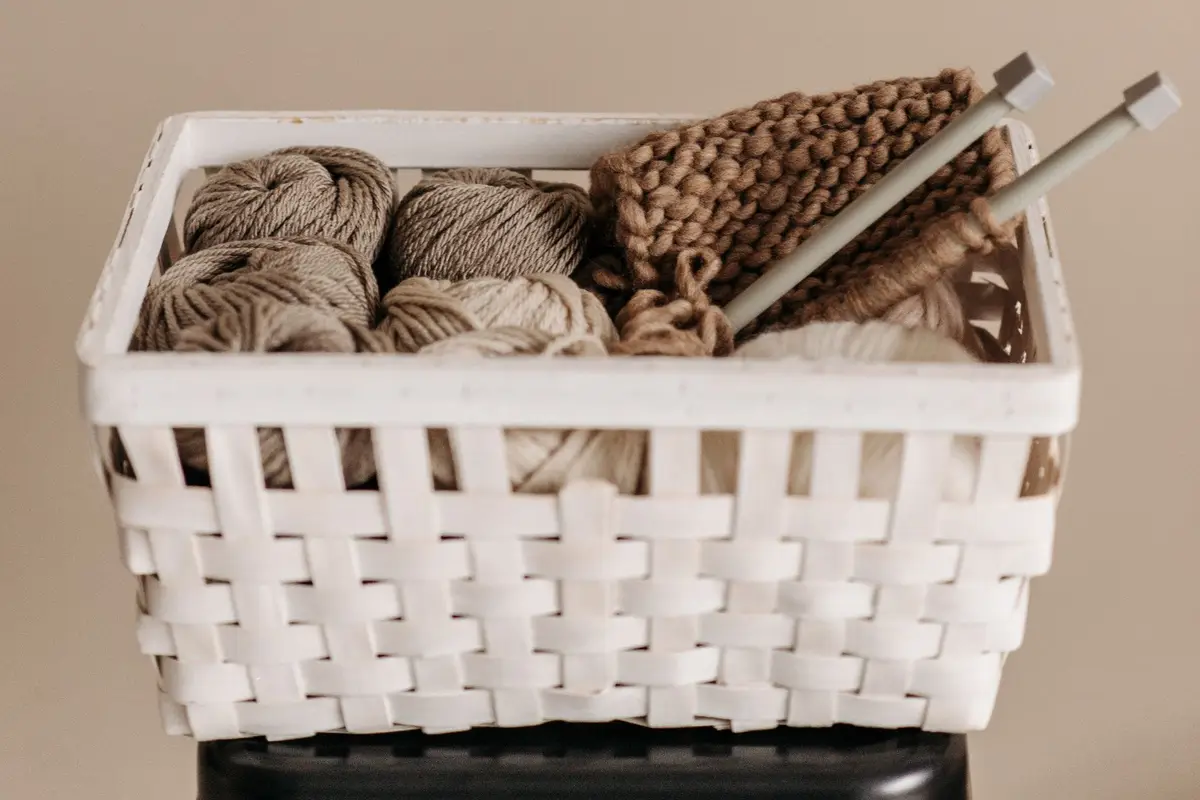
When you have a few spare minutes, grab the bin and start right where you left off. When time’s up, everything goes back in, and the table is clear for dinner.
Label each bin with the project’s name and a note about where you stopped, like the row you were on or the next step. A sticky note on the lid works fine.
Set a limit on how many projects can be in progress at once, such as one bin per shelf or one per person. A new project starts only when a bin is free, which keeps half-done crafts from piling up.
Every so often, look through the bins honestly. A project you haven’t touched in a long time can be finished, passed on or taken apart, so its supplies go back to their homes.
12. Set a supply limit to avoid over-buying
Craft supplies are easy to over-buy: a pretty paper pack, a new yarn, another set of markers. Give each supply one container, and when that container is full, you’re stocked until you use some up.
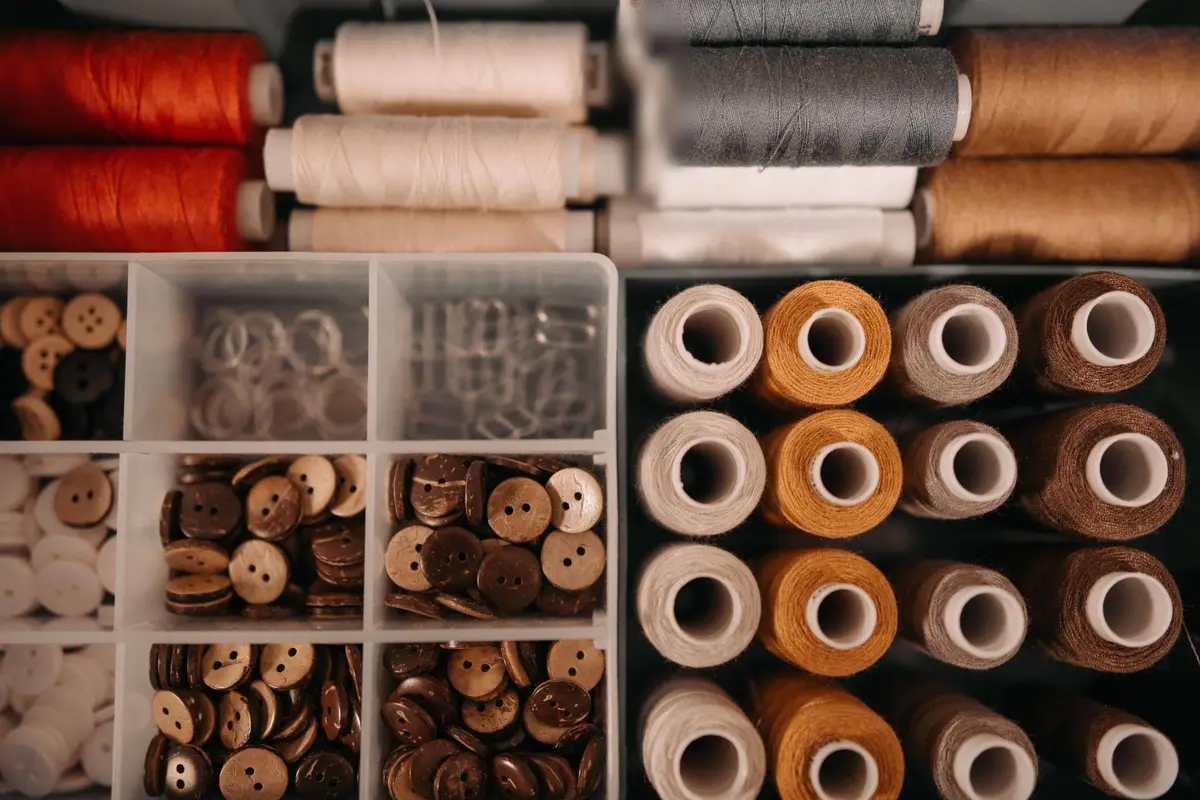
The container is the limit, not your plans for someday. One drawer of paper, one basket of yarn and one box of buttons is easy to see, easy to tidy and easy to keep.
Keep a running list of what the current project needs, and shop from that list. Check your bins before you leave, so you don’t come home with a third roll of the same tape.
Buy paints, glues and solvents in small amounts, so you use them up before they dry out and there’s little to store. Keep them in their original labeled containers, up high or in a closed cabinet away from kids, with anything that carries a warning label behind a lock and heavy containers below shoulder height.
A quick pass with the declutter checklist each season catches dried-out paint, dull blades and duplicates before they take over a shelf. Whatever you let go of makes room for supplies you’ll actually use.
Save this for later
Pin it to a board so it's there when you're ready to start.
Save to Pinterest(opens in a new tab)Make it easier
Free printable
30-Day Declutter Challenge Printable
A one-page declutter challenge for a month: one small spot to clear each day, easiest first, so the whole house gets a pass in short sessions.
Free tool
Enter the width, depth and height of a shelf, a drawer or a cube cubby, and see which standard bins and baskets fit, how many, and how they line up.
Frequently asked questions
How do I organize a craft room with a lot of supplies?
Sort everything by craft first, then pull out the supplies for projects you've already started. Give each craft one zone with labeled clear bins, and let go of anything dried out, broken or no longer used before you buy any storage.
What is the best way to store craft paper?
Store it flat in a stacking paper rack, shallow drawers or a file box with hanging folders, sorted by color or type. Keep it away from sunny windows and damp corners, which fade and warp it.
How can I fit a craft space into a small home?
Use a closet, a corner or a rolling cart. A closet with shelves and a narrow desk hides the mess behind doors, and a cart holds the current project and rolls away when you're done.
Where should I store paint and glue if I have kids?
Keep them in their original labeled containers, up high or in a closed cabinet, and put anything with a warning label in a locked cabinet. Keep food and drinks out of the craft area, and stay close by when kids use art supplies.