11 Pantry Organization Ideas Built Around Breakfast, Baking and Lunches
Sort a walk-in or reach-in pantry by meal: a breakfast station, a baking bin, dinner kits, a lunch bin, the floor, deep shelves and a weekly check.

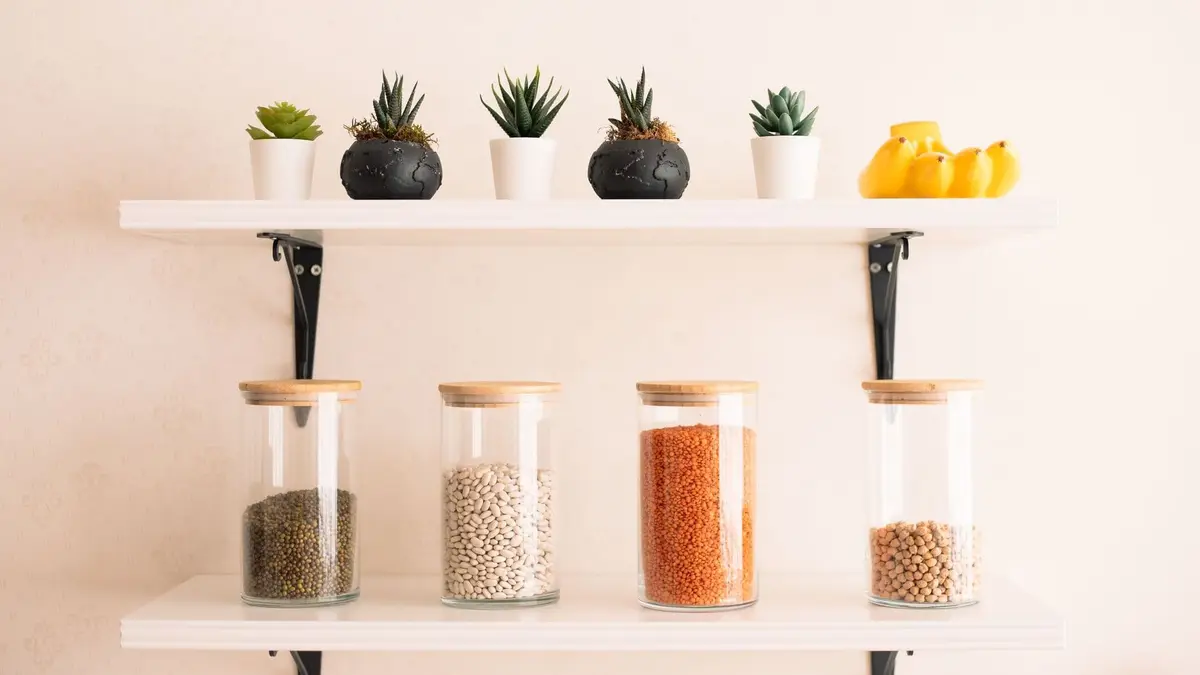
A pantry works best when it’s sorted by how your household eats, not just by type of food: give breakfast, baking, dinners and lunches their own zones, keep heavy and bulk items low, and make deep shelves easy to pull forward. A restock list and a quick weekly check keep it that way.
These 11 ideas suit a walk-in pantry, a closet with deep shelves or a tall pantry cabinet. If you’re working with a tight reach-in, the small pantry organization ideas cover the space-saving basics first.
1. Zone the shelves by meal
Instead of putting all the cans on one shelf and all the boxes on another, group food by when you eat it: breakfast, lunches, dinners, baking and snacks. Everything for one meal then lives in one spot, and nobody has to search three shelves to make dinner.
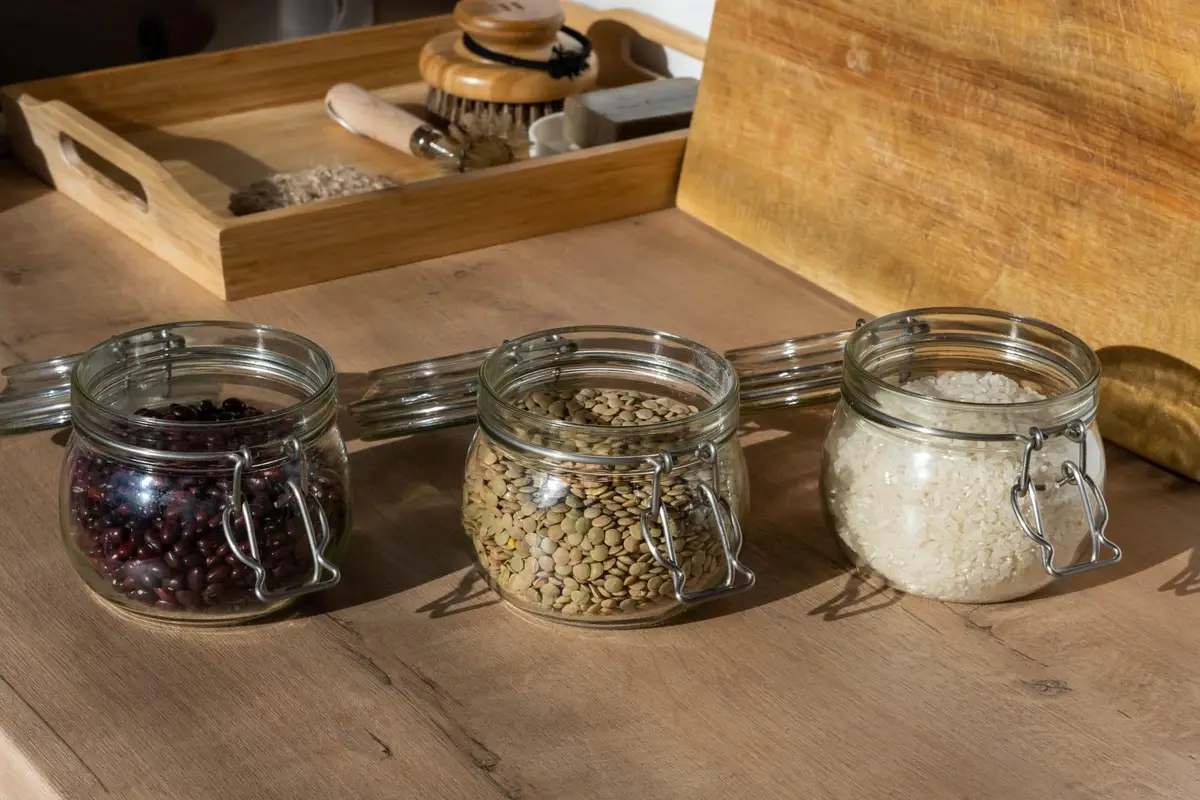
Start by pulling everything out and sorting it into piles on the counter, one pile per meal. Anything that fits more than one meal, like rice or canned tomatoes, goes with the meal you make most often.
Give each zone a shelf or a section of a shelf, and size it to its pile. Dinner ingredients usually need the most room, while baking supplies can often share a shelf with backups.
Put the zones you reach for every day between your waist and your shoulders. Baking and party supplies can go higher, and heavy items go low.
Label the shelf edge with the zone name, not only the bins. When someone unpacks groceries, they can see at a glance where each item belongs, even when the bin is out on the counter.
2. Set up a breakfast station
Mornings go faster when everything for breakfast sits together at a height everyone can reach: cereal, oats, granola, nut butter, honey, syrup, coffee and tea. One look tells you what’s running low before the morning it runs out.
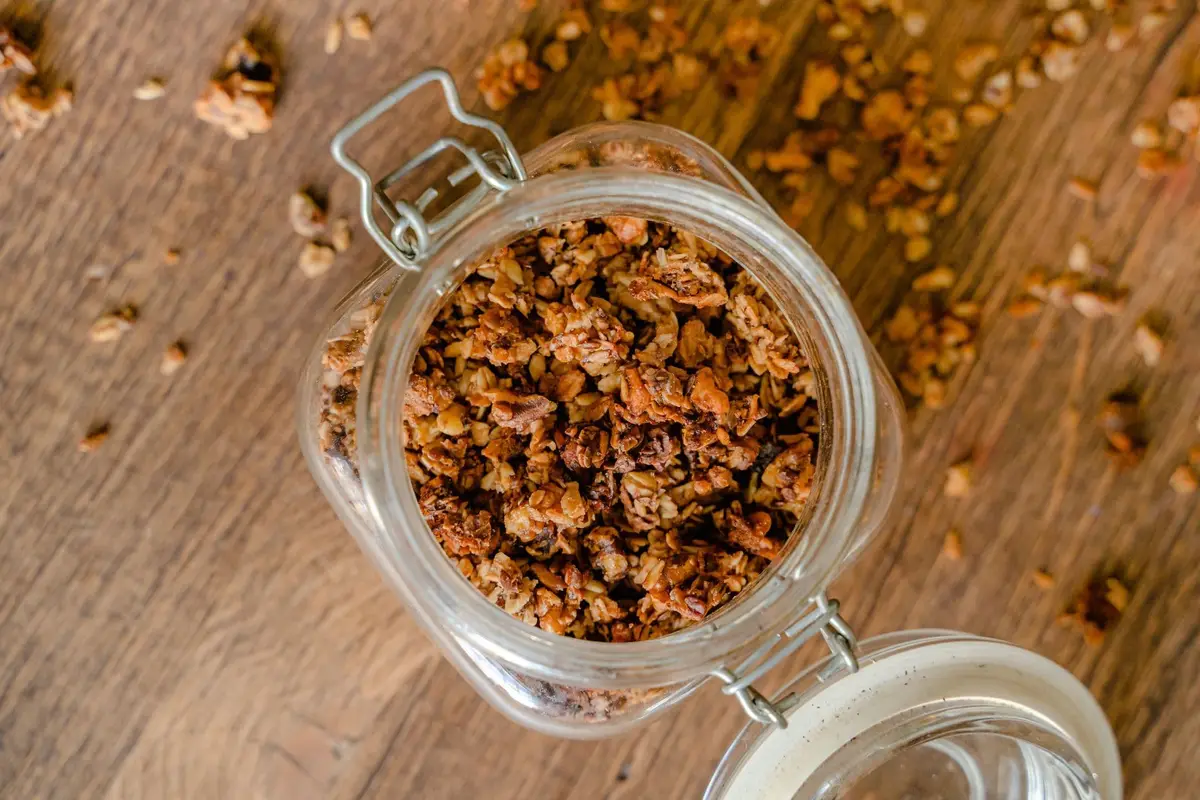
If the kids make their own breakfast, put the station on a lower shelf so nobody has to climb. Keep bowls and spoons in a nearby drawer or a small bin, so the whole routine happens in one spot.
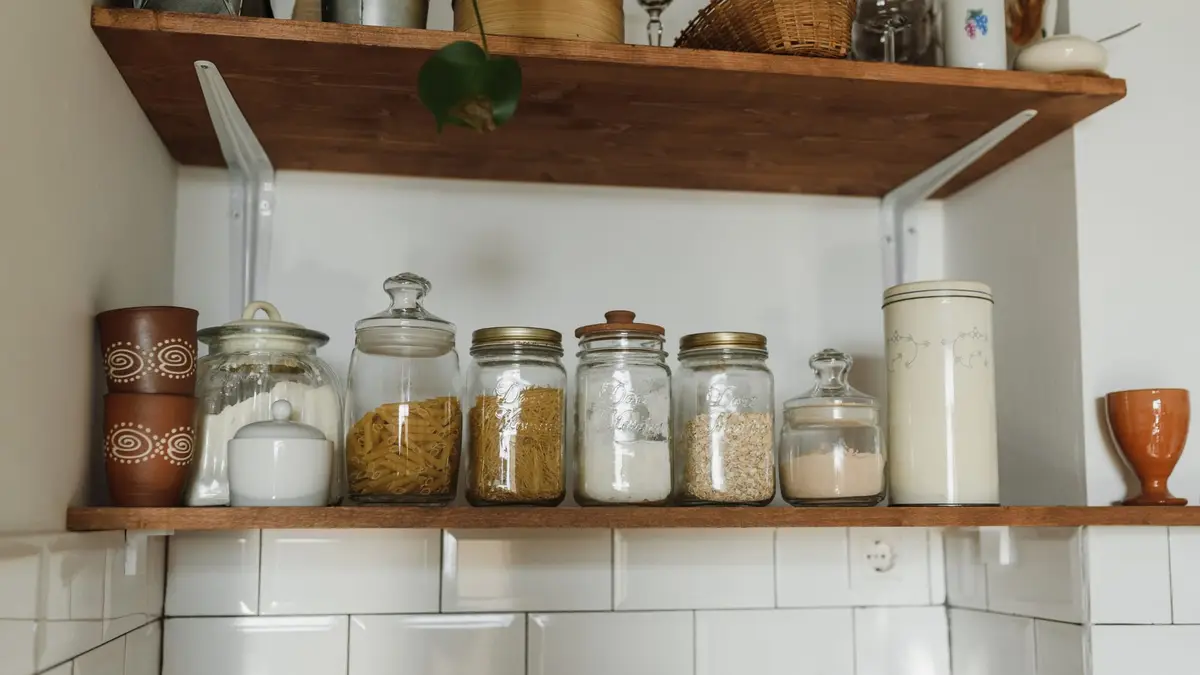
Cereal and granola stay crisp longer in tightly closed containers, and a container with a pour spout is easier for small hands than a bag that tears. A tightly closed glass, metal or heavy plastic container also keeps pantry pests out of the food.
Group toppings like raisins, dried fruit and seeds in one small bin you can lift out and set on the table. It saves a dozen trips back and forth.
Leave a little empty space at the front of the shelf for the bowl or mug that gets set down while someone pours. On a busy morning, anyone in the house should be able to make breakfast without asking where anything is.
3. Give baking its own bin
Baking supplies get used in bursts and then sit for weeks, so they’re easy to lose behind the everyday food. Gather them into one or two bins: flour, sugars, baking soda, baking powder, vanilla, sprinkles, chocolate chips and cupcake liners.
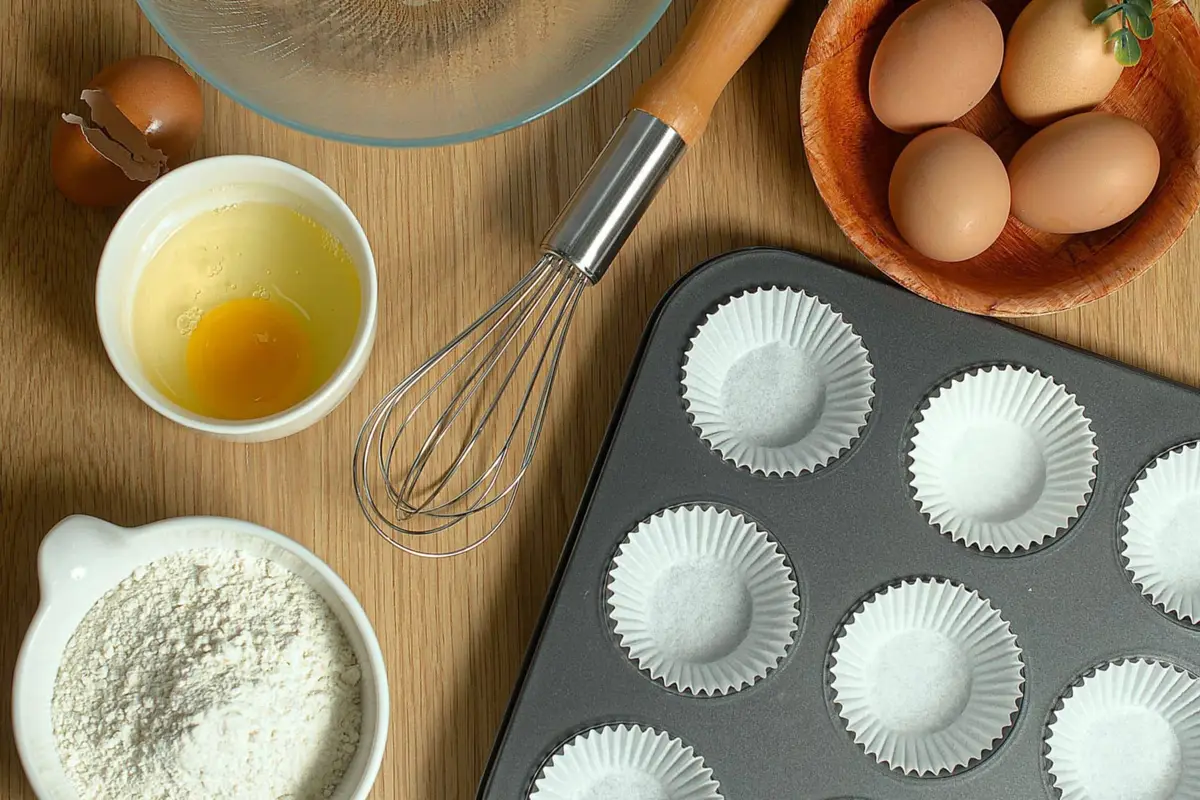
A bin with handles lets you carry the whole kit to the counter when you bake and slide it back onto a higher shelf when you’re done. Nothing gets left out, because everything has one place to go back to.
Flour and sugar are heavy, so put the bin on a shelf you can lift from without straining. Small items like sprinkles and food coloring do well in a little box inside the bin, so they don’t sink to the bottom.
Store opened flour in a tightly closed container. Flour and other grain products are a favorite of pantry pests, and a sealed container keeps them out.
Baking spices like cinnamon, nutmeg and ginger can live in the bin too. Matching jars with printable spice jar labels are easy to tell apart at a glance, even from the top of a stepladder.
4. Pack go-to dinners into kits
Pick the dinners you make most often and store their shelf-stable parts together. A pasta night kit might hold the pasta, a jar of sauce and a can of beans, and a taco night kit the shells, the rice and the seasoning.
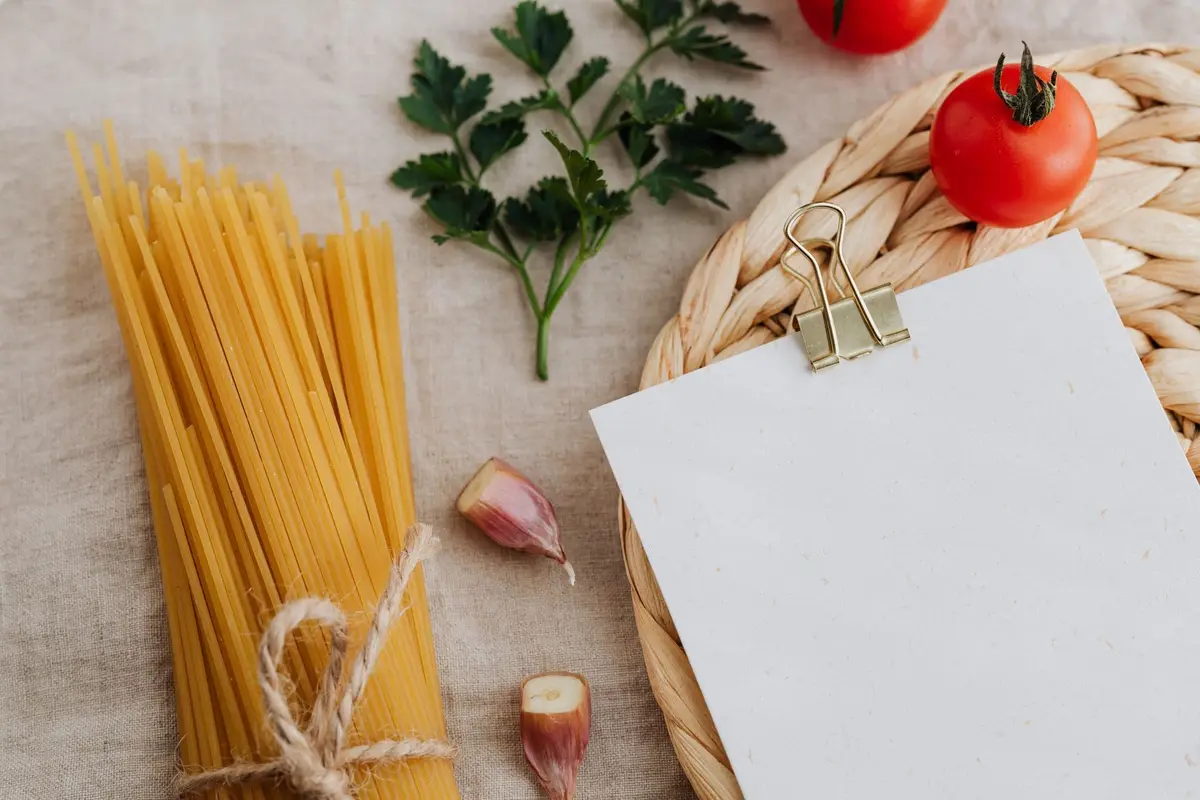
Use a shallow bin or basket for each kit, and tape a card to the front listing what goes in it. When the bin is missing something, you’ll notice before the night you need it.
Kits make busy weeknights easier. Anyone can pull the bin, check the card and start cooking, even if they didn’t do the shopping.
Keep the kits on your dinner shelf at eye level, with the meals you cook most often at the front. Ingredients that belong to several dinners can stay in the general dinner zone rather than being split up.
When you plan the week’s meals, plan around the kits. A full bin means one less dinner to shop for, and an empty one tells you exactly what to buy.
Start with two or three kits and add more once the habit sticks. A kit nobody uses is just another bin in the way.
5. Make a lunch-packing bin
School and work lunches come together faster when everything for them sits in one bin: crackers, granola bars, fruit cups, applesauce pouches, snack packs and napkins. Pull the bin out, pack the lunches and slide it back.
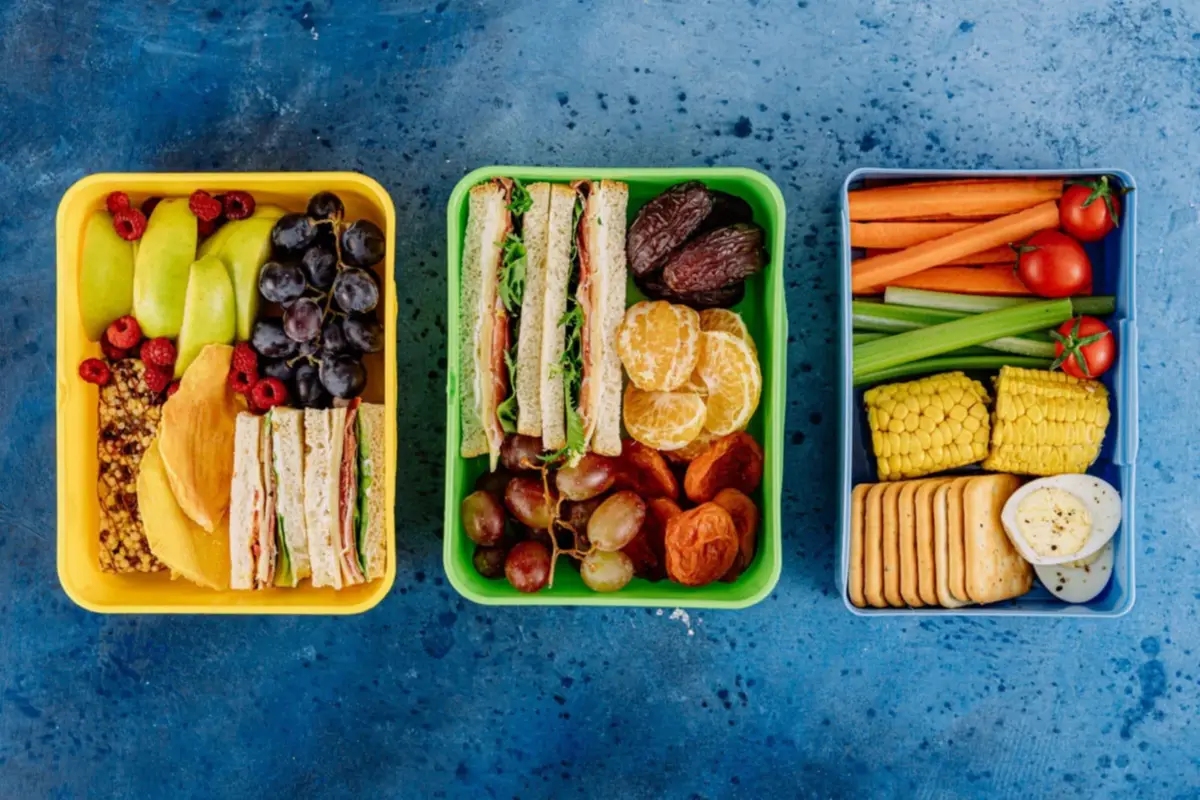
Keep it on a shelf older kids can reach, so they can pack their own lunch with a little help. Divide the bin into sections for a main, a snack and a treat, and they can choose one from each.
Refill the bin when you unpack the groceries. Moving snacks out of big boxes and into the bin right away saves time on school mornings, and the empty sections show you what to buy next time.
Lunch boxes, reusable containers and ice packs need a home too. Store the empty lunch boxes in a basket next to the bin, with their lids nested inside, so you’re not hunting for a matching lid at the last minute.
On the weekend, a quick look through the bin tells you whether it needs a restock before the week starts. Keep a separate stash of backups higher up, so the bin never runs completely dry midweek.
6. Put the pantry floor to work
The floor of a walk-in or deep pantry is good storage for heavy and bulky things: drinks, potatoes and onions, bulk bags of rice and flour, and pet food. A rolling cart or bins on wheels let you pull them out to reach what’s behind.
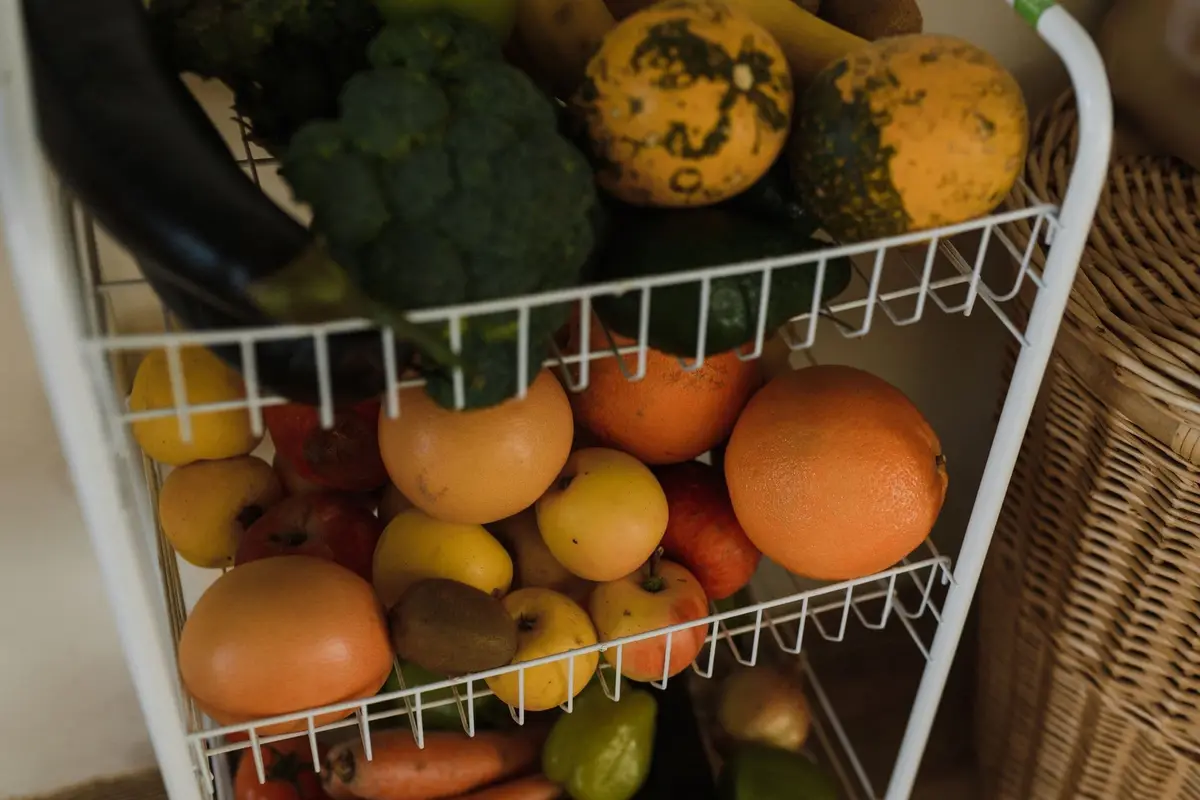
Keep heavy items low so nobody lifts them down from a high shelf. A case of drinks or a big bag of rice is much easier to slide out from the floor than to pull down from above.
Don’t set cans or cases of cans right on the floor. Moisture there can make metal cans rust, so put them on a low shelf, a cart or a sturdy riser instead.
Dry pet food and birdseed can draw pantry pests, so store them in a tightly closed container with a lid, not an open bag. A lidded bin on wheels is easy to scoop from and keeps the floor clean.
Leave a clear path to the shelves, so the floor never turns into a pile you have to step over. A slim step stool tucked against the wall makes the top shelf easy to reach safely.
7. Pull the back of deep shelves forward
Deep pantry shelves, and the corners where two runs of shelves meet, are where food gets lost. Long bins or baskets with handles work like drawers: pull the whole bin forward, take what you need and push it back.
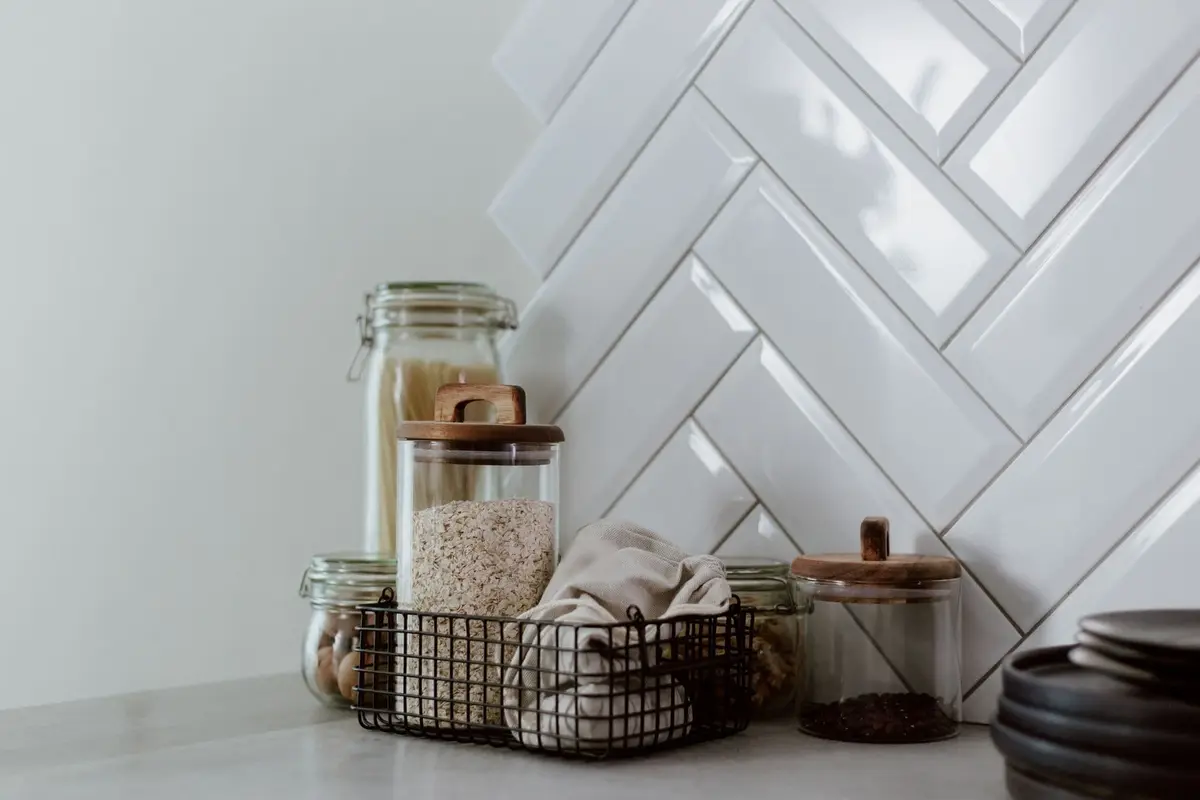
Measure the depth, width and height of each shelf before you buy. The bin size calculator shows which bin sizes fit and how many line up side by side, so you don’t end up with a gap or a bin that hangs off the edge.
Give each bin one category, like canned vegetables, pasta or snack backups, and label the front. One kind of food per bin makes it easy to see when something is running low.
In an L-shaped walk-in, the corner is the hardest spot to reach. Put a bin of backups or rarely used items there, so the easy shelves stay open for food you use every week.
Wire baskets let you see what’s inside from the side, while solid bins hide a busy mix and look tidier on open shelves. Either works, as long as the bin slides out easily when it’s full.
8. Corral bags, wraps and foil
Foil, plastic wrap, parchment, storage bags, trash bags and reusable bags tend to end up scattered over several shelves. Give them one bin or one section of shelf near the door, with the boxes standing upright like files, so you can see every one.
Stand the boxes on end in a deep bin or a magazine file, with the opening facing out. Pull one out by the end and the rest stay in place.
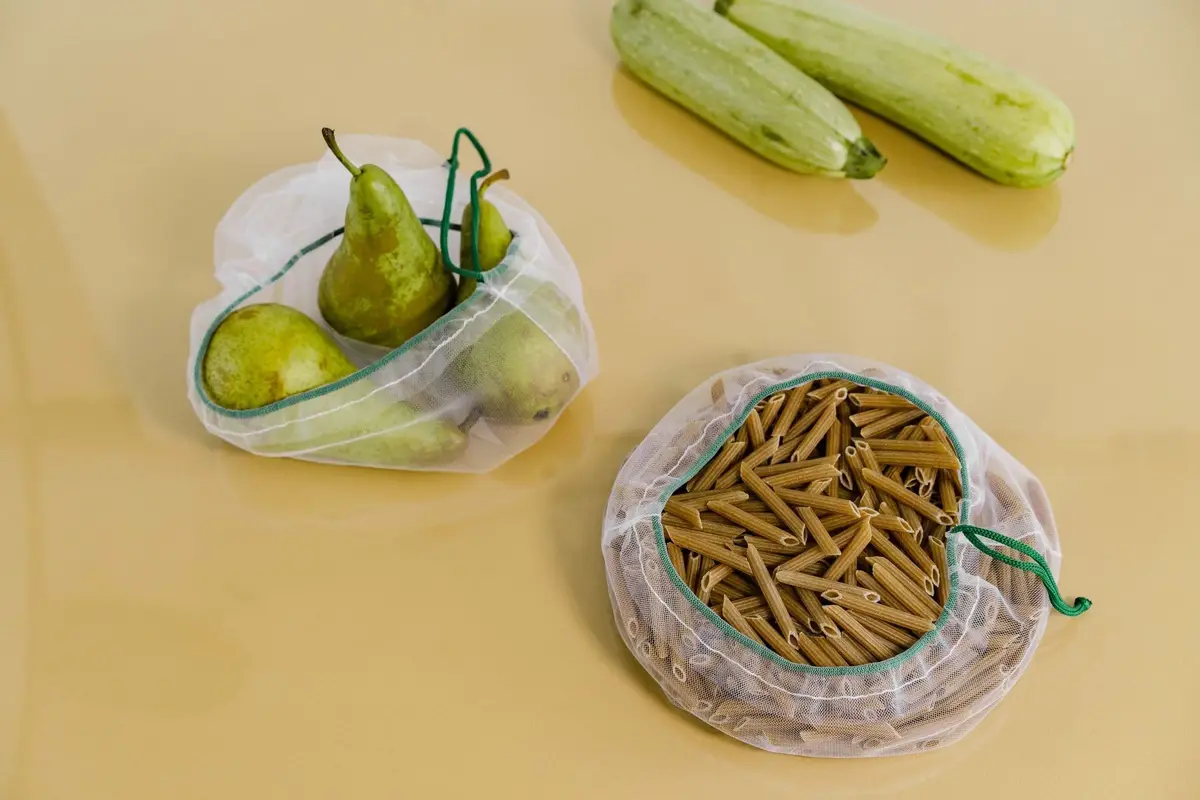
Reusable shopping bags and produce bags fold flat into one bag or a small basket. Keep as many as you actually use, and pass the extras on.
Paper grocery bags take up a surprising amount of room. Flatten them and stand them in the gap beside a shelf, or keep them all inside a single bag.
If the bags and wraps live near the lunch-packing bin, packing a lunch or wrapping leftovers takes one trip into the pantry instead of two.
Check the bin before you shop and note anything that’s down to its last few. Running out of storage bags halfway through packing lunches is a small problem that’s easy to avoid.
9. Rotate stock with first in, first out
When you unpack groceries, put new cans and boxes behind the ones already on the shelf. The oldest food stays in front, so it gets used first and nothing expires at the back.
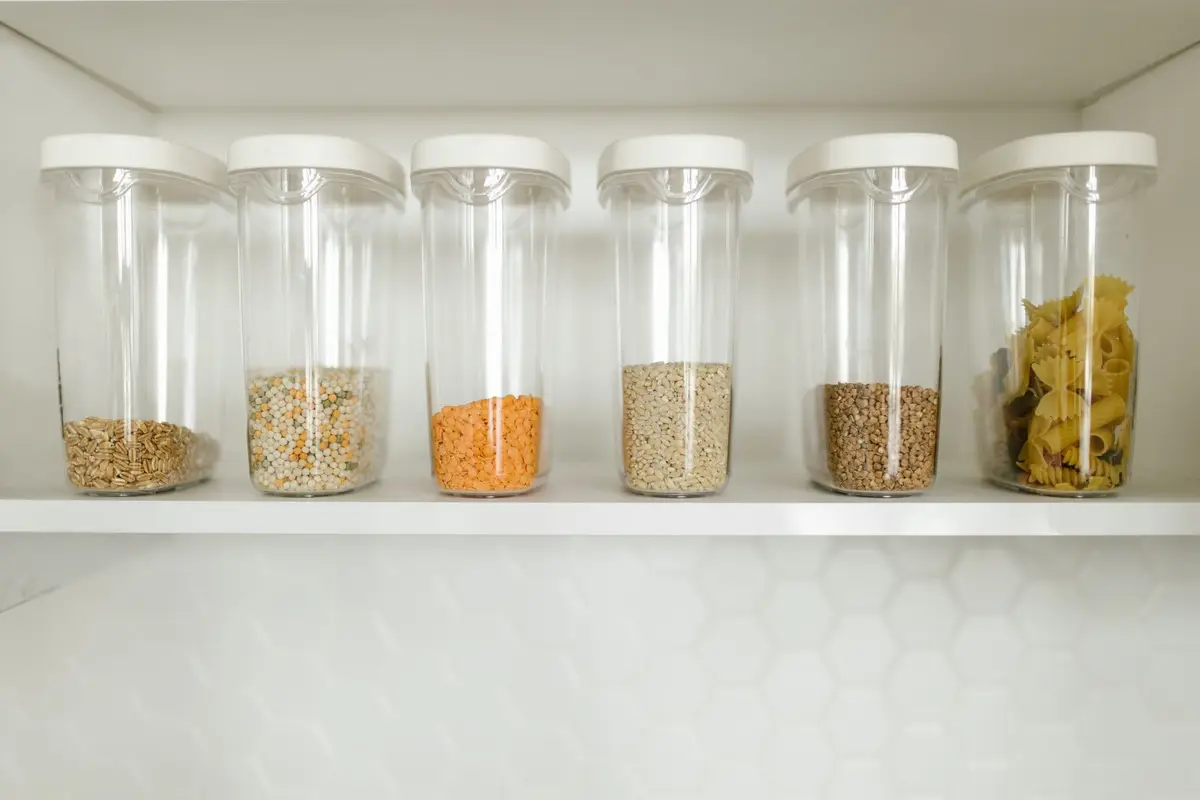
This habit is called first in, first out, and it works for cans, jars, boxes and bags alike. It takes a few extra seconds per item and saves you from throwing out food you forgot you had.
Line up identical items in a single row from front to back rather than side by side. You’ll see at a glance how many are left, and the front one is always the oldest.
If your household goes through some things slowly, write the month you bought them on the lid with a marker when you unpack. It’s easier to read than a tiny printed date.
Store canned food in a cool, dry spot, away from the range, hot pipes or a sunny window. Throw away any can or jar that is bulging, leaking, rusting or dented, or has a broken seal.
10. Keep a restock list on the door
Tape a list of your pantry staples to the inside of the door: the items you always want on hand and how many of each. Before you shop, a quick look at the shelves against the list tells you what to buy.
Hang a pen on a string or a clip next to it. Whoever opens the last box of pasta or the last can of beans marks it right away.
A printed grocery list sorted by store section makes the next step easy: copy the marked items onto it and shop the store in one loop.
Keep the staples list short and real. Write down what your household actually uses every week or two, not everything you might want someday.
Buy dry foods in amounts you’ll use up fairly soon. A huge bag that sits for months is more likely to go stale or draw pests than a smaller one you finish.
Update the list when your habits change, like a new breakfast favorite or a dinner you’ve stopped making. A list that matches the way you eat now is the one people keep using.
11. Do a weekly pantry check
Once a week, before you plan meals or shop, spend a few minutes in the pantry. Push forward anything that’s slid back, check the front row for dates and note what’s running low.
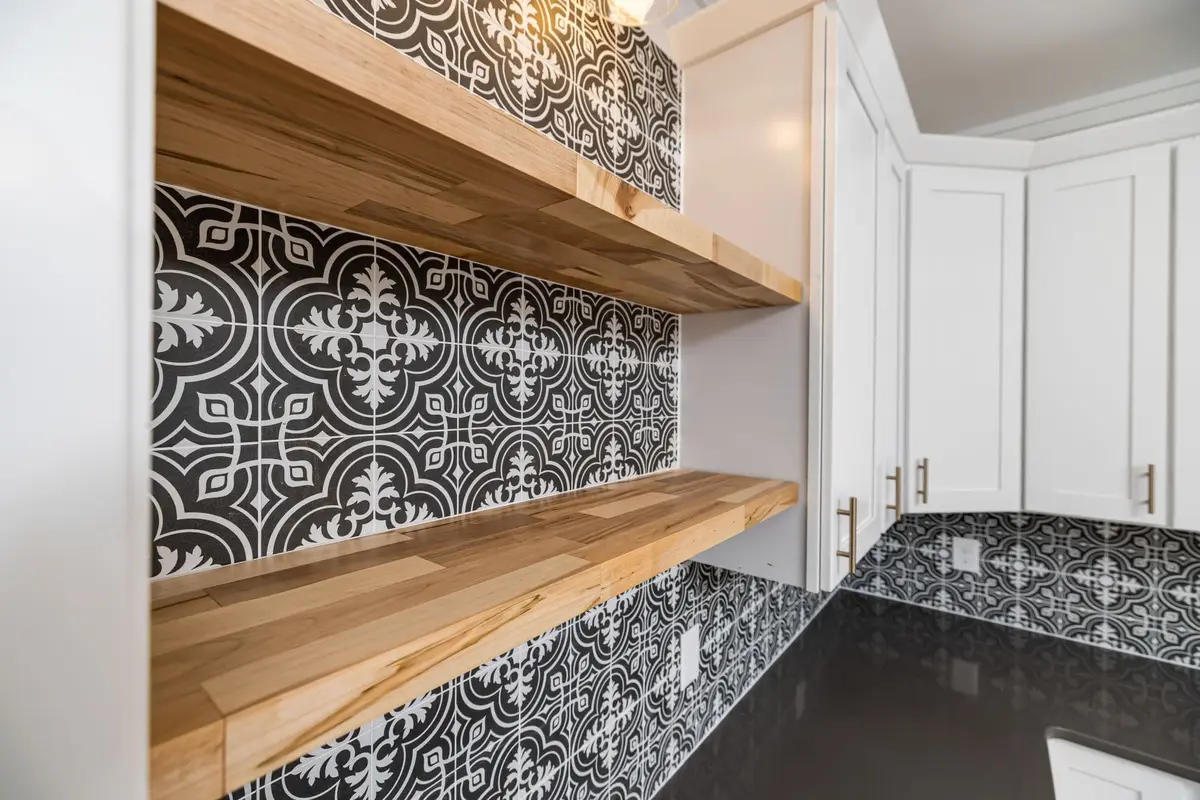
Wipe one shelf each week, working your way through the pantry in turn. Clean up spills and crumbs, and pay attention to corners, cracks and the floor along the walls, where food collects.
Look for signs of pests while you wipe, like small insects or webbing in flour, rice or cereal. Throw out anything that has them, and clean the shelf well before food goes back.
Use what you find to plan the week. Food that needs using up goes into a dinner on the meal planner, and empty spots go on the grocery list.
A few times a year, take everything out, wipe every shelf and check that each zone still fits what your household eats. If the breakfast shelf has grown and the baking bin has shrunk, move the zones to match.
Save this for later
Pin it to a board so it's there when you're ready to start.
Save to Pinterest(opens in a new tab)Make it easier
Free printable
A one-page grocery list sorted by store section, with a box to tick for every item, so you write the list once and shop the store in one loop.
Free printable
Free printable spice jar labels to cut out and stick on. Print the ready sheet of common spices, or type your own list and download labels made for your shelf.
Free tool
Enter the width, depth and height of a shelf, a drawer or a cube cubby, and see which standard bins and baskets fit, how many, and how they line up.
Frequently asked questions
How do I organize a walk-in pantry?
Sort the food by meal instead of by type, so breakfast, lunches, dinners, baking and snacks each get their own zone. Put the zones you use daily at eye level, heavy and bulk items on the floor or the lowest shelf, and rarely used things up high.
What can I store on the pantry floor?
Heavy and bulky things belong down low: drinks, bulk bags of rice or flour, produce like potatoes and onions, and pet food in a lidded bin. Keep metal cans on a low shelf or a cart rather than right on the floor, where moisture can make them rust.
Can I keep pet food in the pantry?
Yes, as long as it's in a tightly closed container rather than an open bag. Dry pet food and birdseed can draw pantry pests, so a lidded bin keeps them out and keeps the floor clean.
How do I keep track of what's in my pantry?
Keep a short list of staples on the inside of the door and mark items the moment you open the last one. A quick weekly look at the shelves, with older food moved to the front, shows you what to use up and what to buy.