12 Freezer Organization Ideas That Put an End to Mystery Bags
Sort a crowded freezer into zones, freeze food flat, label every bag with a date and set up a drawer, top or chest freezer so nothing gets lost.

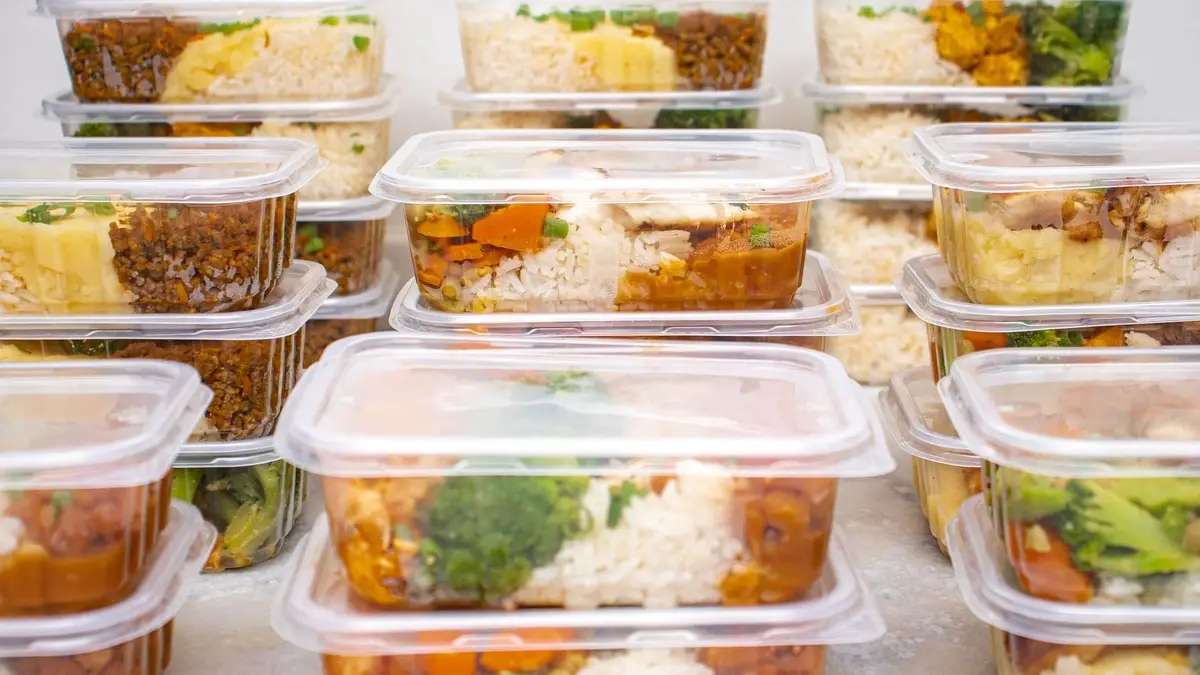
Freezer organization comes down to a few habits: clear out what’s past its best, give every kind of food its own zone, keep loose bags in bins, freeze food flat and label everything with a name and a date. Add a list on the door and use the oldest food first, and the freezer stays easy to search.
These 12 ideas work in a drawer freezer, a top freezer and a chest freezer. Start with the first two, since every idea after them depends on knowing what you have and where it lives.
1. Empty it and toss what’s past its best
Take everything out and set it in a cooler or a couple of insulated bags while you work, so nothing starts to thaw. Do it right before a grocery trip, when the freezer is at its emptiest.
Throw out anything you can’t identify. A bag with no label and no date is a guess, and a guess isn’t dinner.
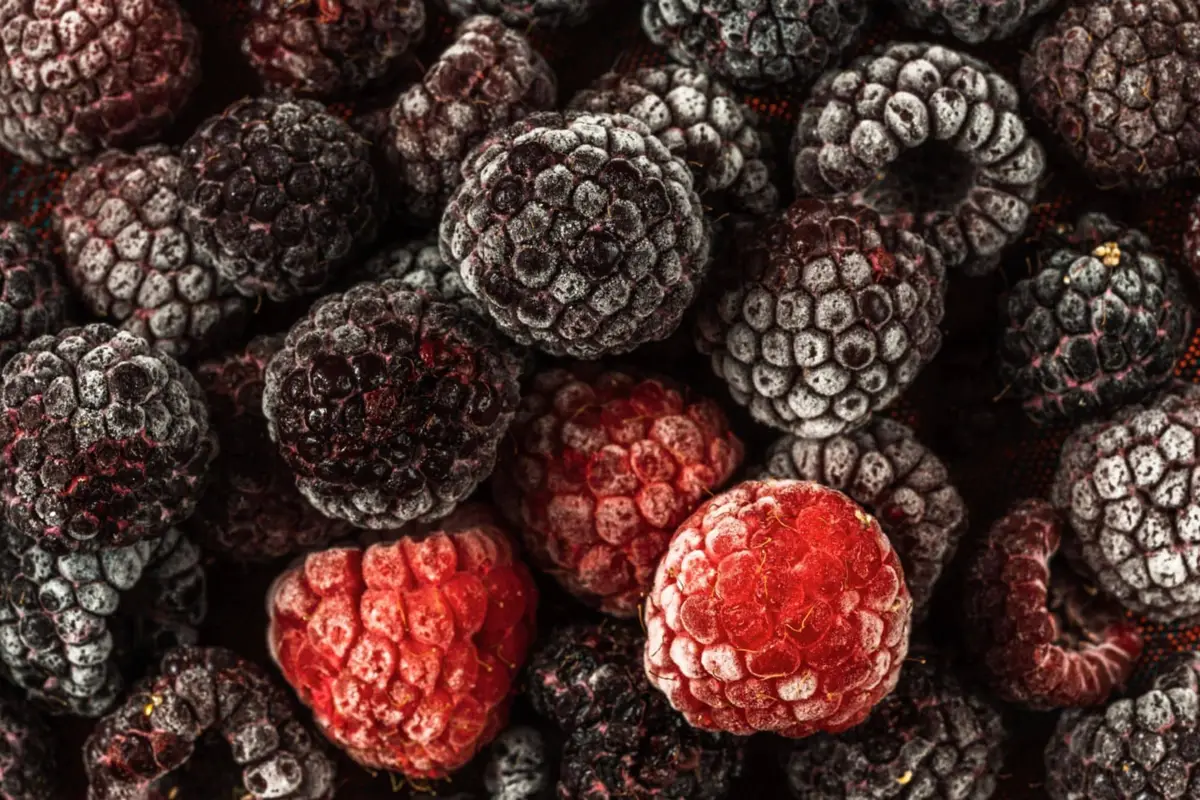
Look for freezer burn next: dry, tough, pale or grayish patches where air reached the food. It doesn’t make food unsafe, only drier and less tasty, so trim small spots and cook that food soon. Toss anything that’s mostly burned, since it won’t be worth eating.
Check for split packages, bags full of ice crystals and anything that has frozen into one solid block. Plan those into this week’s meals or let them go.
While the freezer is empty, wipe the shelves, drawers and door with warm, soapy water and dry everything well. Then put the food back by group, which is the next idea.
2. Give every kind of food a zone
Group what’s left the way you cook: meat and fish, vegetables, fruit, ready meals and leftovers, breakfast, bread and baked goods, and treats. Each group gets one shelf, one bin or one side of a drawer.
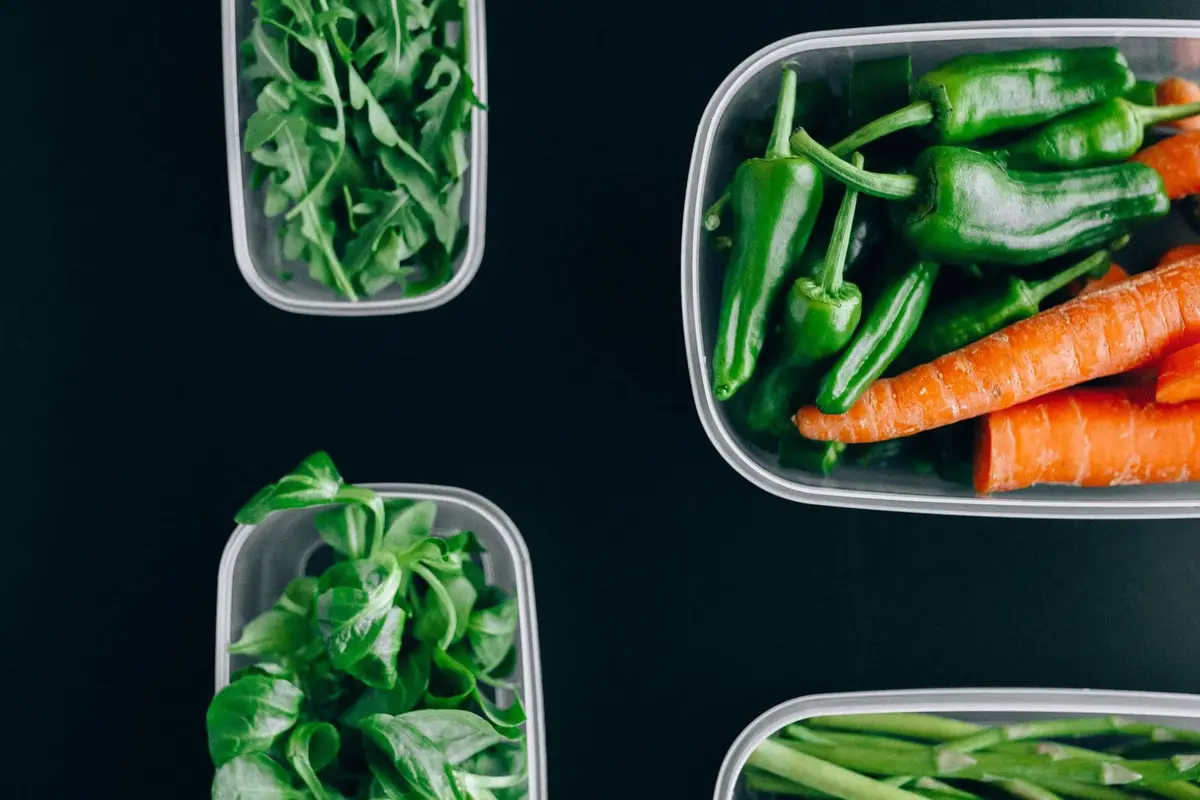
Zones mean you look in one place instead of digging through the whole freezer with the door open. Everyone in the house learns where the frozen peas live, and new groceries go straight to the right spot.
Keep raw meat and fish together in a bin of their own, away from bread and treats. A leaky package then makes one small mess instead of several.
Put the foods you reach for most at the front or on top: breakfast, everyday vegetables and quick lunches. Bulk buys and backups can go to the back or the bottom.
If a zone keeps overflowing, cook from it before you buy more. A zone that stays nearly empty can share its space with a neighbor, so the freezer never has a bin of air.
3. Corral loose bags in bins
Bags of frozen vegetables, fruit and nuggets slide around, tip over and freeze into odd shapes. A bin for each zone keeps them upright and together, and you pull out the whole bin to find what you need.
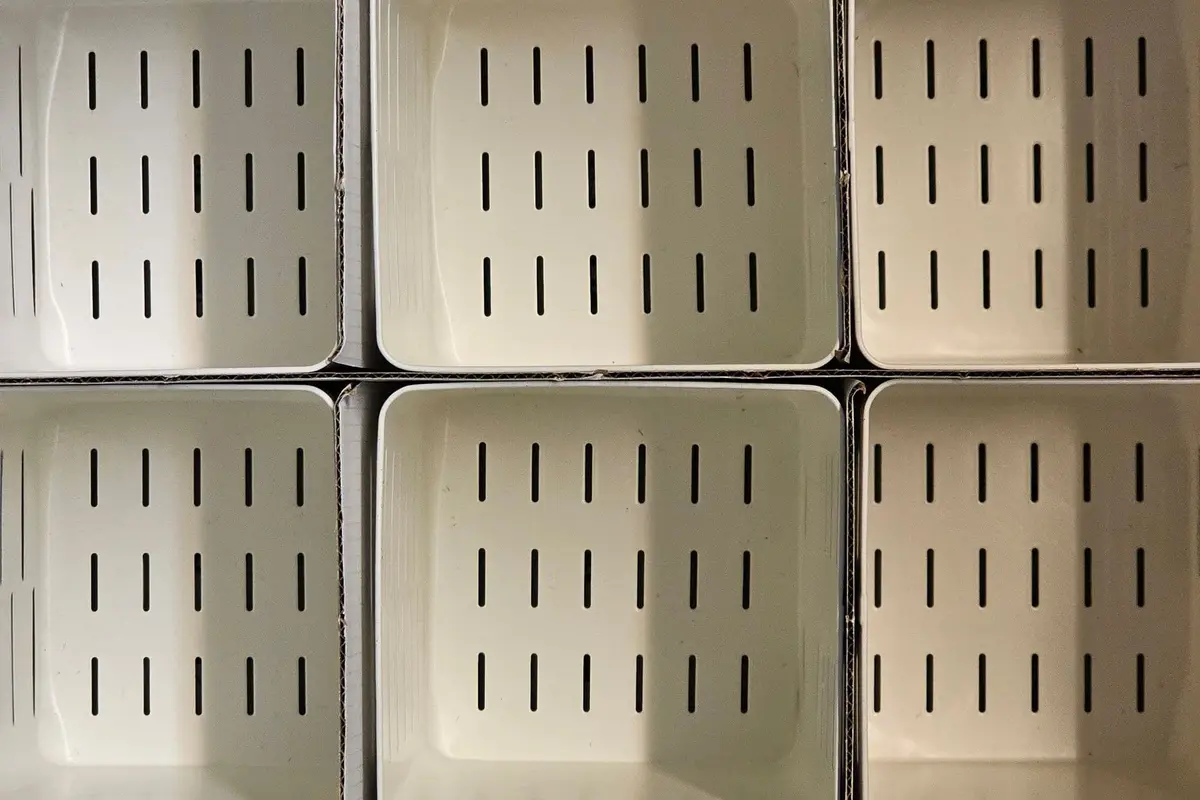
Pick bins that are shallow enough to see into and that slide in and out without catching on a shelf. Sturdy plastic holds up better in the cold than thin, flimsy plastic.
Slotted or open-sided bins let cold air move around the food, while solid bins catch crumbs and stray frost. Either works, as long as the bin fits the space.
Measure the inside of the freezer before you shop: the width, the depth and the height of each shelf or drawer, with room left for the door to close. The bin and basket size calculator turns those numbers into bin sizes that fit and shows how many line up side by side.
Choose bins with a handle or a cutout at the front for higher shelves, so they’re easy to pull down with cold hands. One bin per zone is plenty to start, and you can add more once you see what fills up.
4. Freeze food flat, then file it upright
Spoon soup, sauce, chili, ground meat or cooked grains into a freezer bag, press out the air and seal it. Lay it flat on a tray until it’s frozen solid. A flat bag freezes faster, thaws faster and takes far less room than a lumpy one.
Once the bags are frozen, stand them up in a bin like files in a drawer. You can flip through them and read every label without moving anything else.
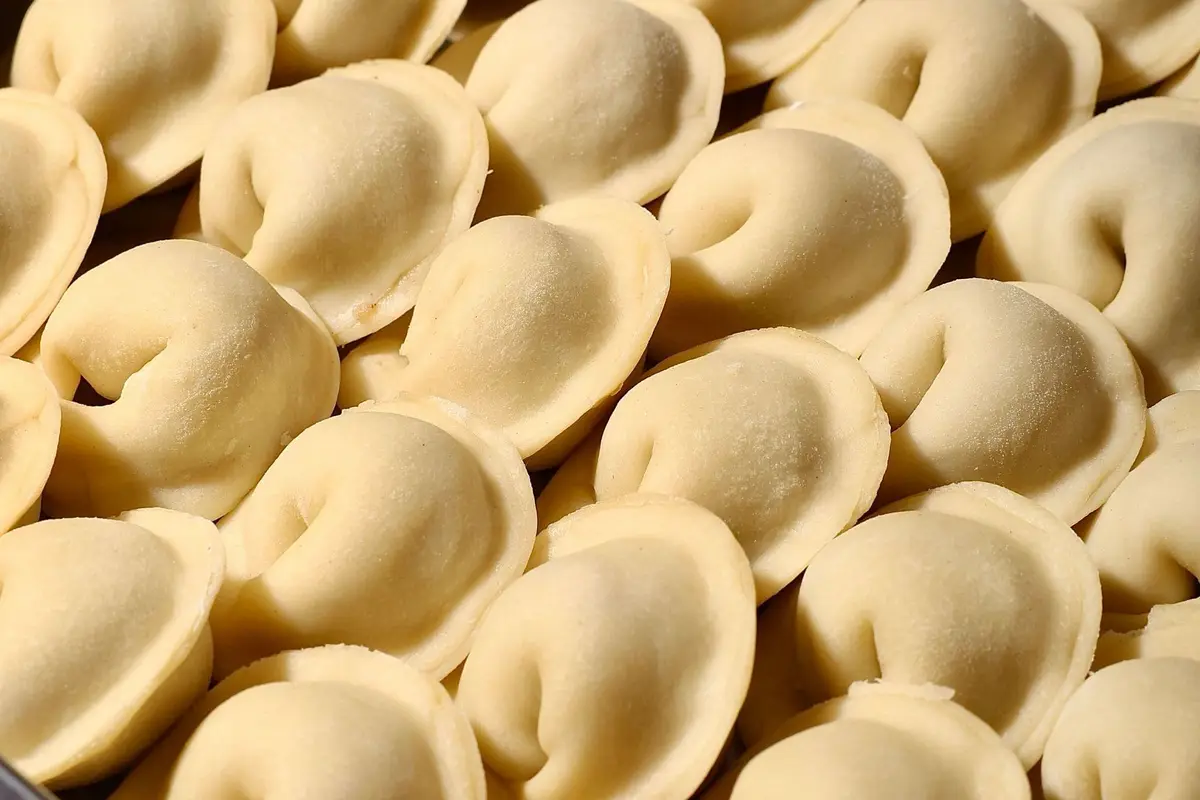
Loose foods like berries, dumplings, meatballs and cookie dough work almost the same way. Spread them on a tray in a single layer, freeze them, then tip them into a bag or container. They stay separate, so you can pour out exactly what you need.
Press as much air out of every bag as you can before you seal it. Air in the package is what dries food out and leaves those dull, frosty patches.
Leave a little room at the top of rigid containers of soup or broth, since liquids expand as they freeze. A lid that pops off in the freezer means a mess and a dried-out meal.
5. Label everything with a name and a date
Write what it is and the date it went in on every bag and container before it goes into the freezer. Add the amount, like the number of servings or cups, if you portion food out.
Frozen food looks alike once frost covers it. Chili or pasta sauce, chicken thighs or pork chops: a label settles it in a second, with no thawing to find out.
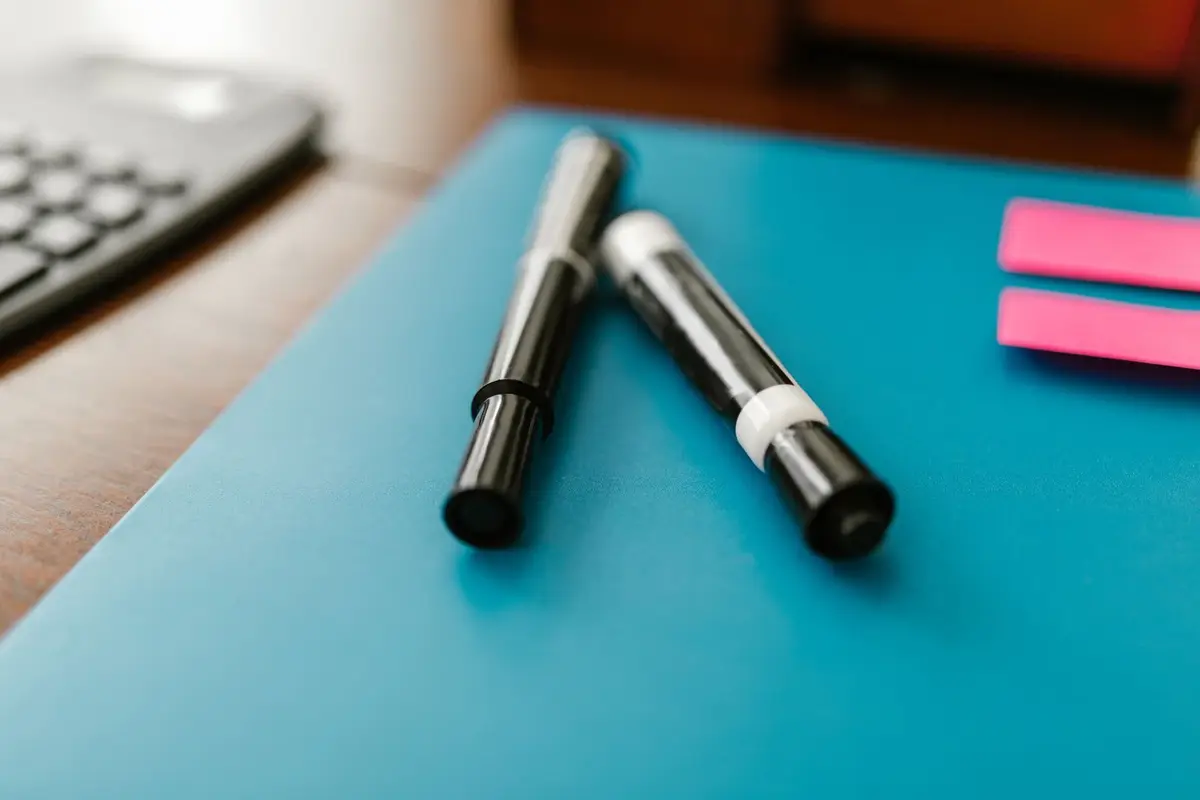
Keep a permanent marker and a roll of masking tape or freezer labels in a drawer near the freezer, so labeling takes no extra trip. Write on bags while they’re still empty and dry, since ink doesn’t stick well to a frosty surface.
Put the label in the same spot on every package, like the top corner, so labels line up when bags stand in a bin. Big, clear letters beat neat, tiny ones.
For containers you reuse, write on a strip of tape you can peel off later instead of on the lid itself. A dated label is also what makes it easy to use the oldest food first, which comes up in idea seven.
6. Keep an inventory list on the door
A list on the freezer door tells you what’s inside without opening it. Write each item and the date it went in, and cross it off when you take it out.
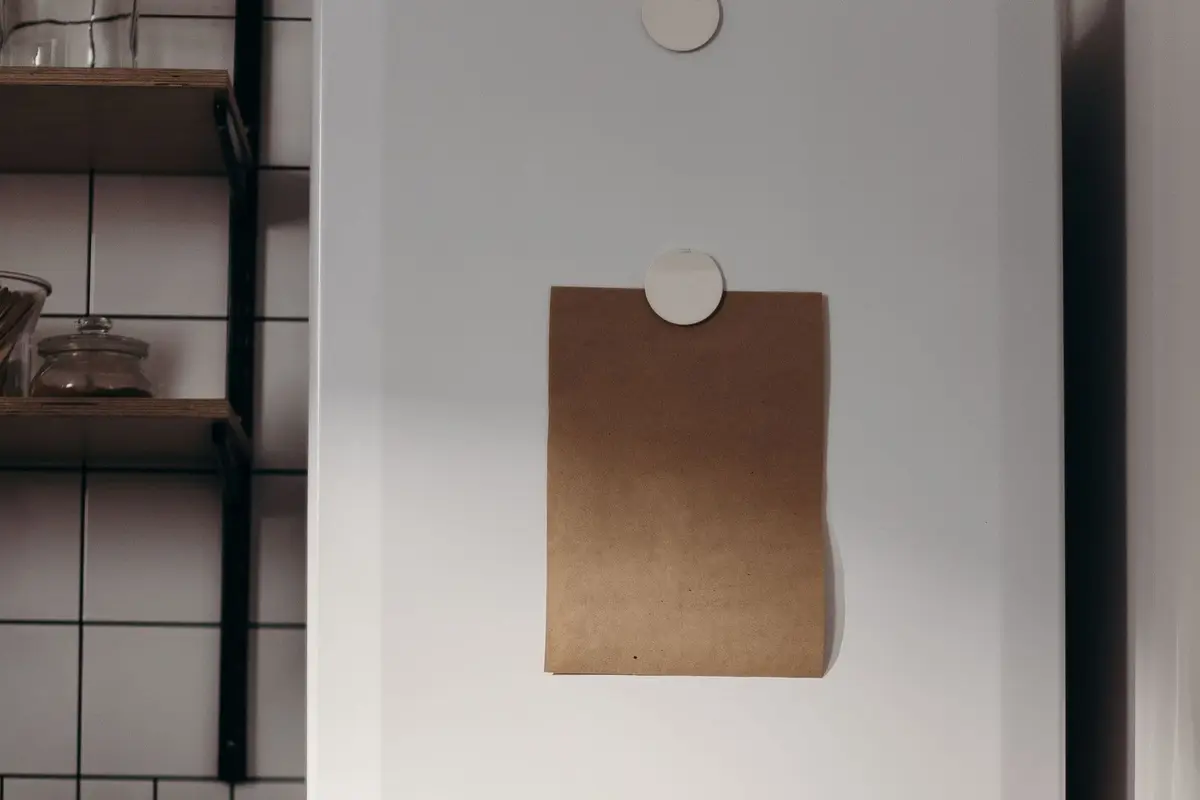
The list keeps the door closed and the cold air in, and it stops forgotten food from sitting at the back for months. It also shows you, at a glance, how many dinners are already waiting.
Hang the list where everyone can see it, with a pen on a string or a magnetic clip beside it. Group the items by zone, the same way the freezer is set up, so the list is quick to scan.
Before you shop, check the list and add whatever is running low to your printable grocery list. You won’t come home with a third bag of peas when two are already inside.
If you’d rather skip paper, a note on your phone works too. What matters is updating it every time food goes in or comes out, so the list always matches what’s really in the freezer.
7. Use the oldest food first
When you put new groceries away, move the older packages to the front or the top and put the new ones behind or below them. That way the oldest food is always the easiest to grab.
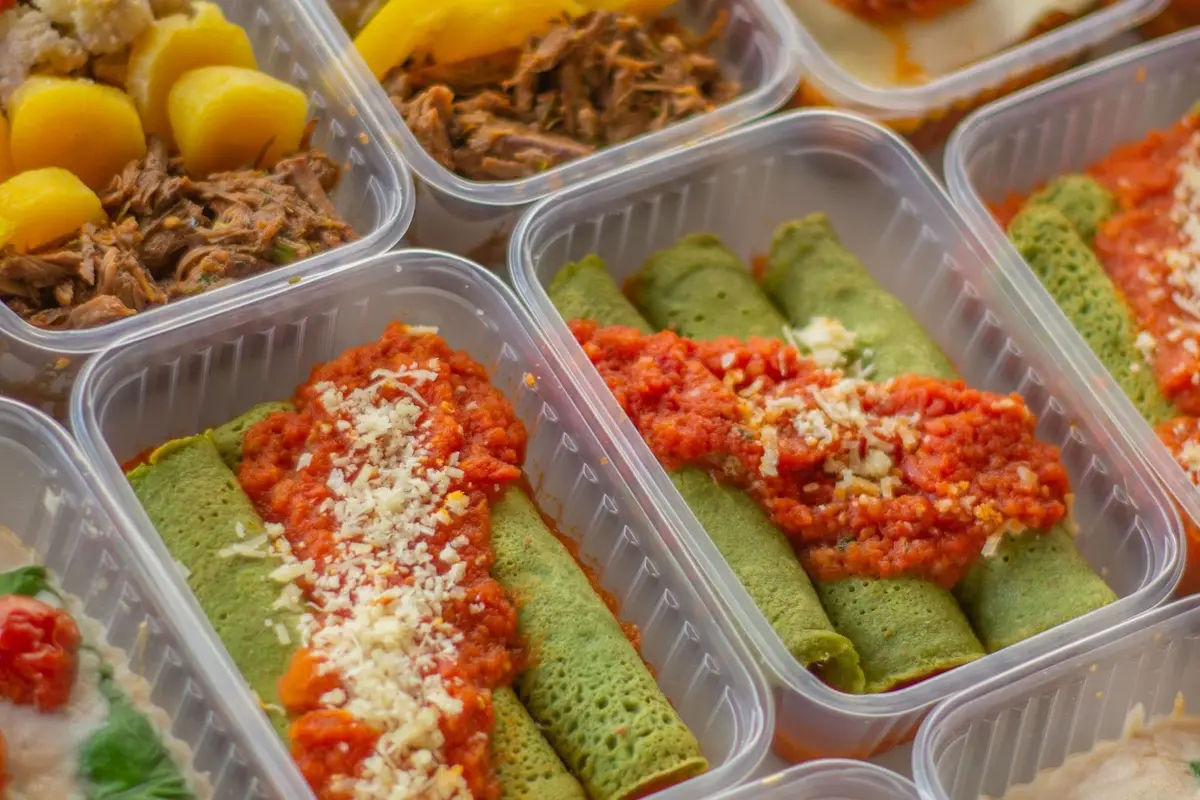
Food that stays frozen solid stays safe, but its quality slowly drops the longer it sits. Taste, texture and color are at their best when you eat it sooner, so the oldest package should always be the next one out.
Dated labels make this easy. Once a week, look for what’s been in the longest and plan a meal around it.
The weekly meal planner has room for a week of dinners, so fill one or two nights from the freezer before you plan the rest. It’s an easy way to keep food moving instead of piling up.
Keep a small “eat first” bin at the front for leftovers and opened bags that need using soon. Everyone in the house knows to check it before reaching for something new.
8. Plan a drawer freezer drawer by drawer
A bottom freezer or a freezer with pull-out drawers works best when each drawer holds one or two zones. Give the top drawer the everyday food you grab often and the bottom drawer the bulk meat and backups.
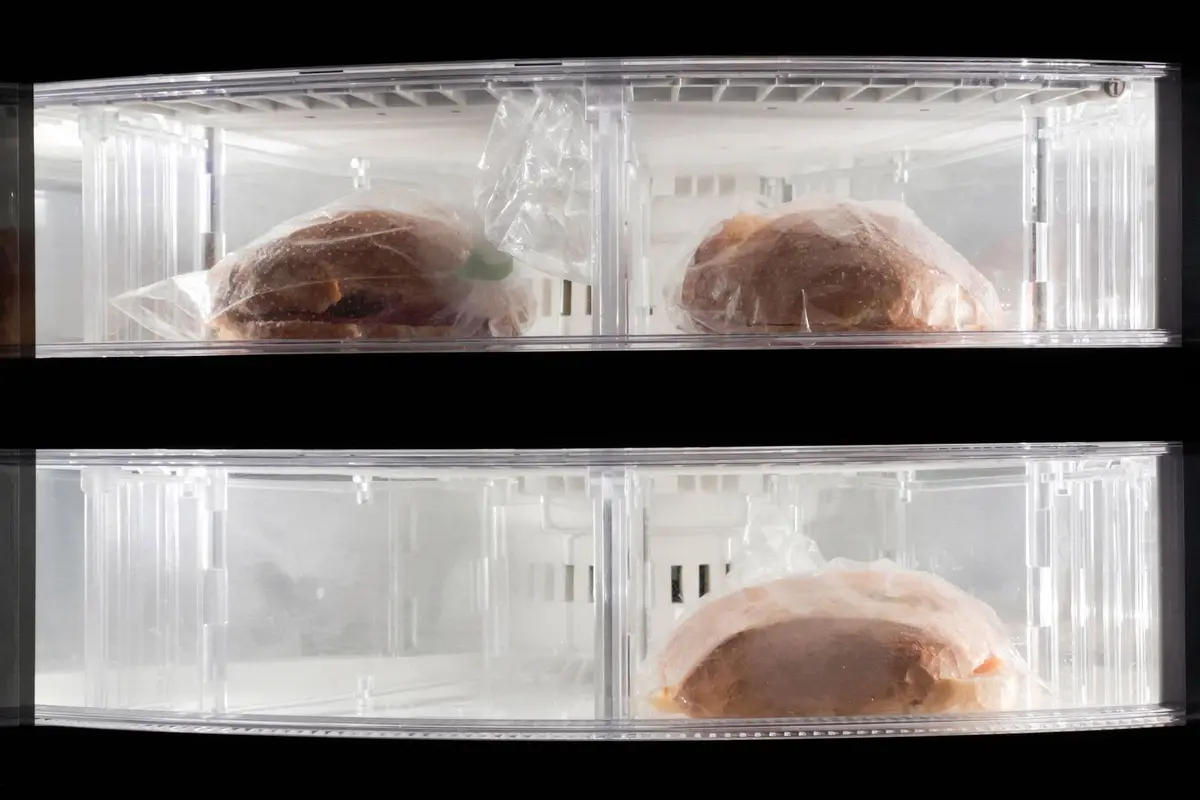
Deep drawers fill up in layers, and the bottom layer gets forgotten. Use bins or dividers to split each drawer into sections you can see from above, and file flat bags upright so nothing hides underneath.
Clear drawers show you what’s inside before you pull them out. If yours are solid, put a small label on the front of each drawer with its zone.
Measure the depth and height of each drawer, and leave a little gap at the back so the drawer closes easily and cold air can move. A shallow sliding tray on top of a deep drawer adds a second level for small things like butter, nuts and ice packs.
Keep the drawer you open most at the height that’s easiest to reach. Give it breakfast, lunches and weeknight vegetables, and save the low, hard-to-see corners for food you only need now and then.
9. Stack bins in a top freezer
A top freezer is short and deep, so food piles up in front and slides to the back. A shelf and stackable bins turn that one big space into levels you can actually reach.
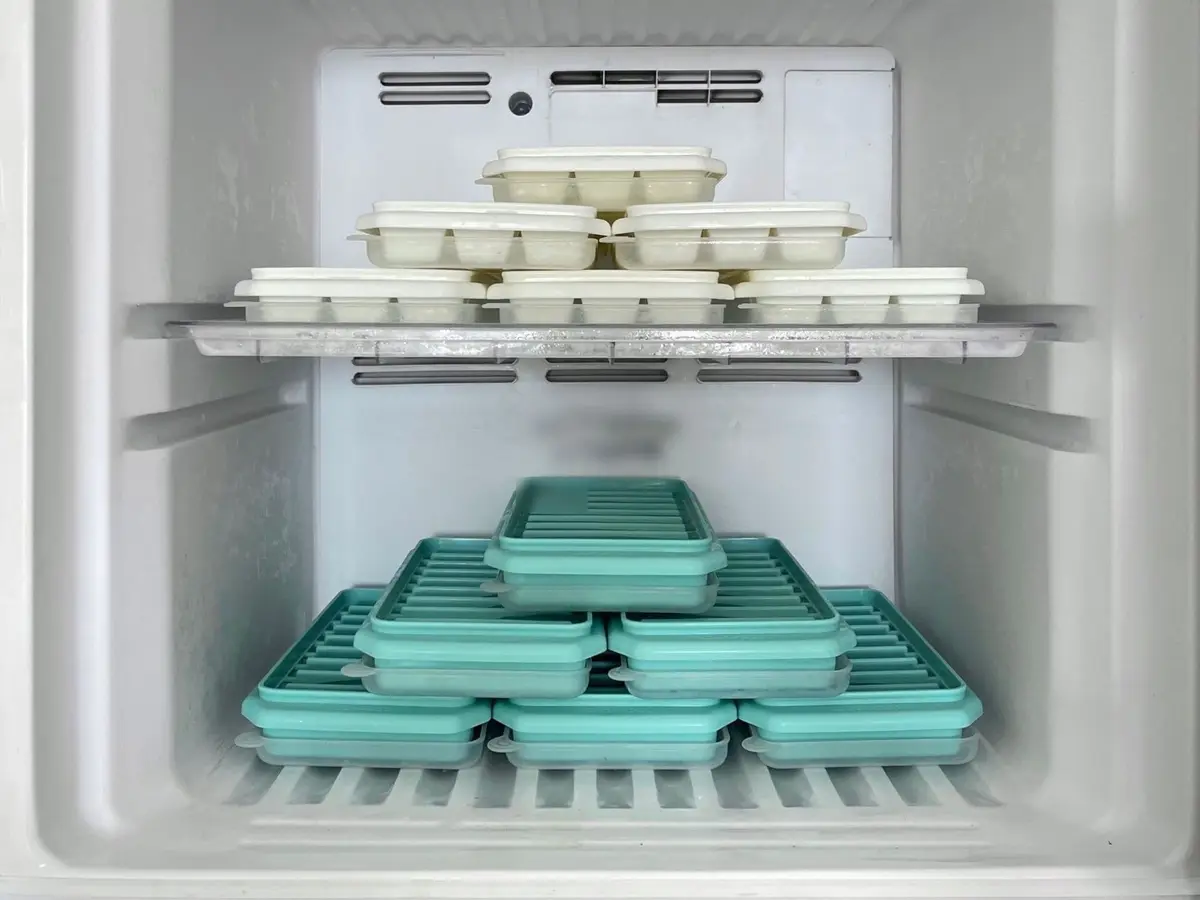
Add a wire shelf or a sturdy riser across the middle to split the space in two. Flat bags of vegetables and frozen meals go underneath, and ice trays and small containers sit on top.
Stack bins that are the same size so they sit steadily, and keep the heaviest ones on the bottom. Long, narrow bins that pull out like drawers work well in a deep top freezer, since one tug brings the back of the freezer to the front.
Use the door shelves for small, light things you grab often, like ice packs, nuts or a bag of frozen fruit for smoothies. Keep heavy items off the door, so it closes easily every time.
Leave a little space at the back and between packages so cold air can move around the food. A top freezer crammed wall to wall is hard to search and slow to freeze anything new.
10. Give a chest freezer baskets and a map
A chest freezer holds a lot, but everything below the top layer is hard to see. Baskets with handles let you lift out a whole layer at once and reach what’s underneath.
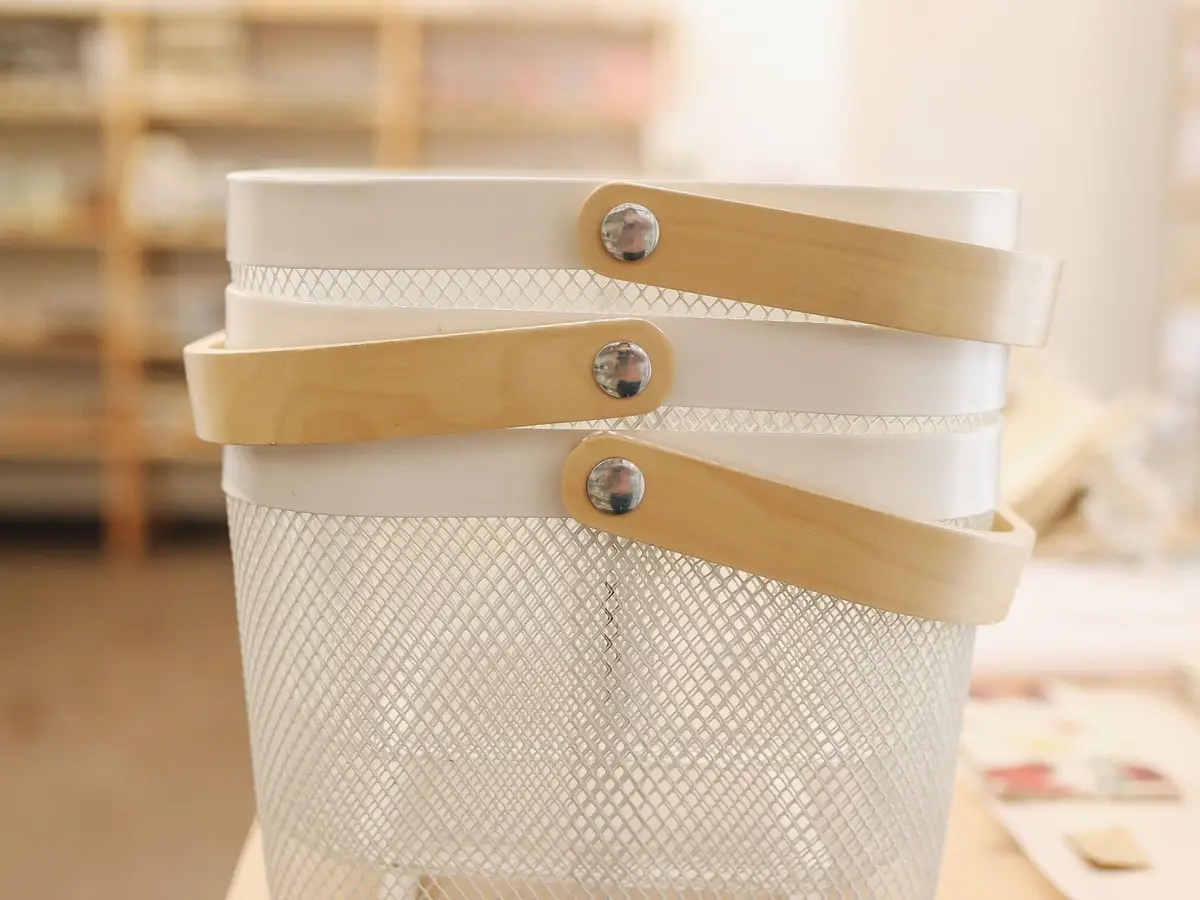
Measure the inside of the chest before you buy baskets, and pick ones that stack or sit side by side across the floor. Give each basket a zone, and use different colors or labeled handles so you know which is which from above.
If your chest freezer has a hanging basket at the top, fill it with the things you use most. Store bulk meat, backups and anything you use less often on the bottom.
Stand flat bags upright in rows across the width of the freezer, like files in a long drawer. You can read every label from above without unpacking a thing.
Tape a simple map inside the lid showing which basket holds what, and add the chest freezer to your inventory list too. In a chest freezer, out of sight really does mean out of mind, so the map and the list do the remembering for you.
11. Leave room for air and add food slowly
A freezer stuffed with unfrozen food can’t freeze it quickly, and food that freezes slowly loses quality. Add only as much new food at a time as will freeze within a day, and spread it out.
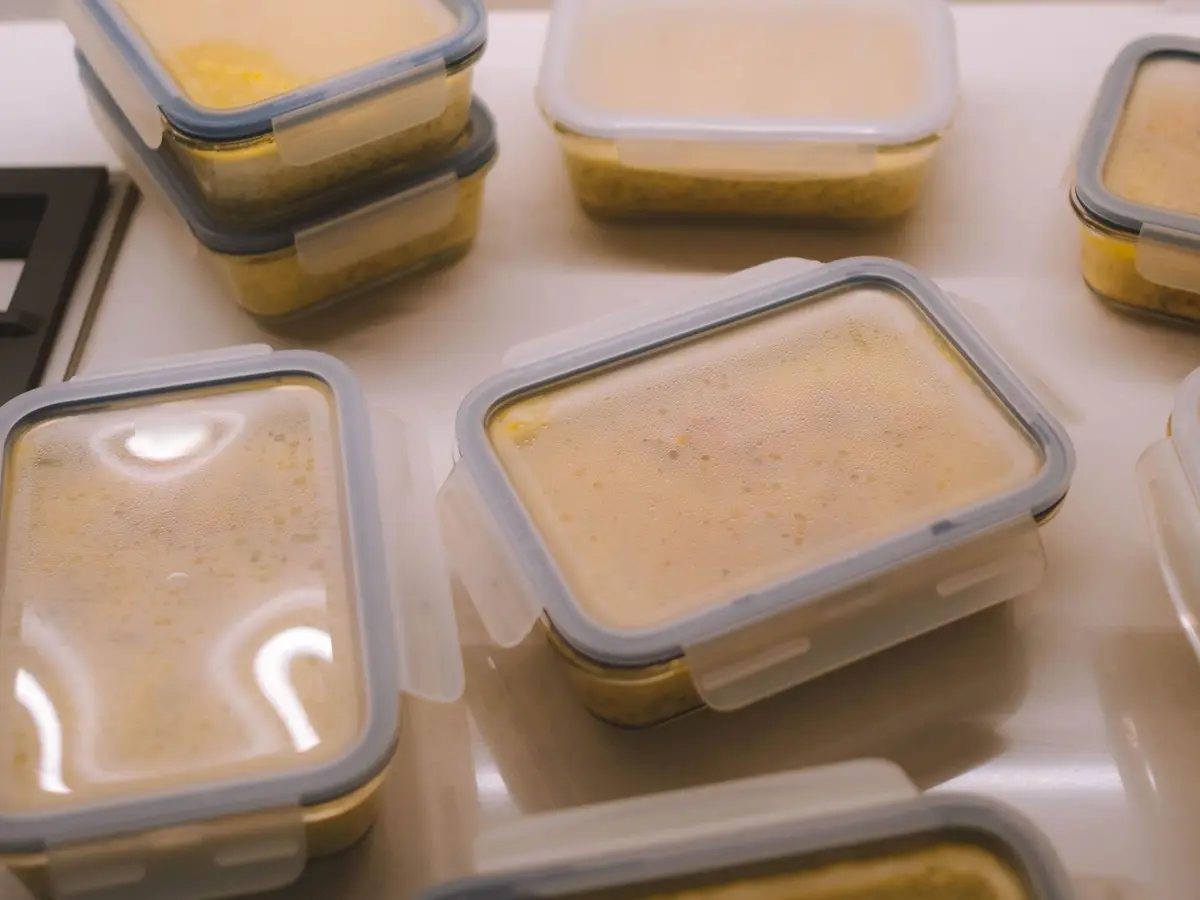
Cool cooked food quickly before you package it. Then leave a little space between the new packages so cold air can move around them, and stack them close together once they’re frozen solid.
A freezer full of frozen food runs most efficiently, so there’s no need to keep it half empty. The trick is keeping that fullness organized, with room around anything new.
Keep the freezer at zero degrees Fahrenheit or colder, and put a freezer thermometer inside to check it now and then. Food keeps its quality longer when the freezer stays cold and steady.
Don’t wedge bags into every last gap. If you have to push the door to close it, take a few things out, so the door shuts easily and seals all the way around.
12. Do a quick check once a month
Set aside a few minutes once a month to open each zone and pull the oldest food to the front. Check the list against what’s really there, and fix any labels that have rubbed off.
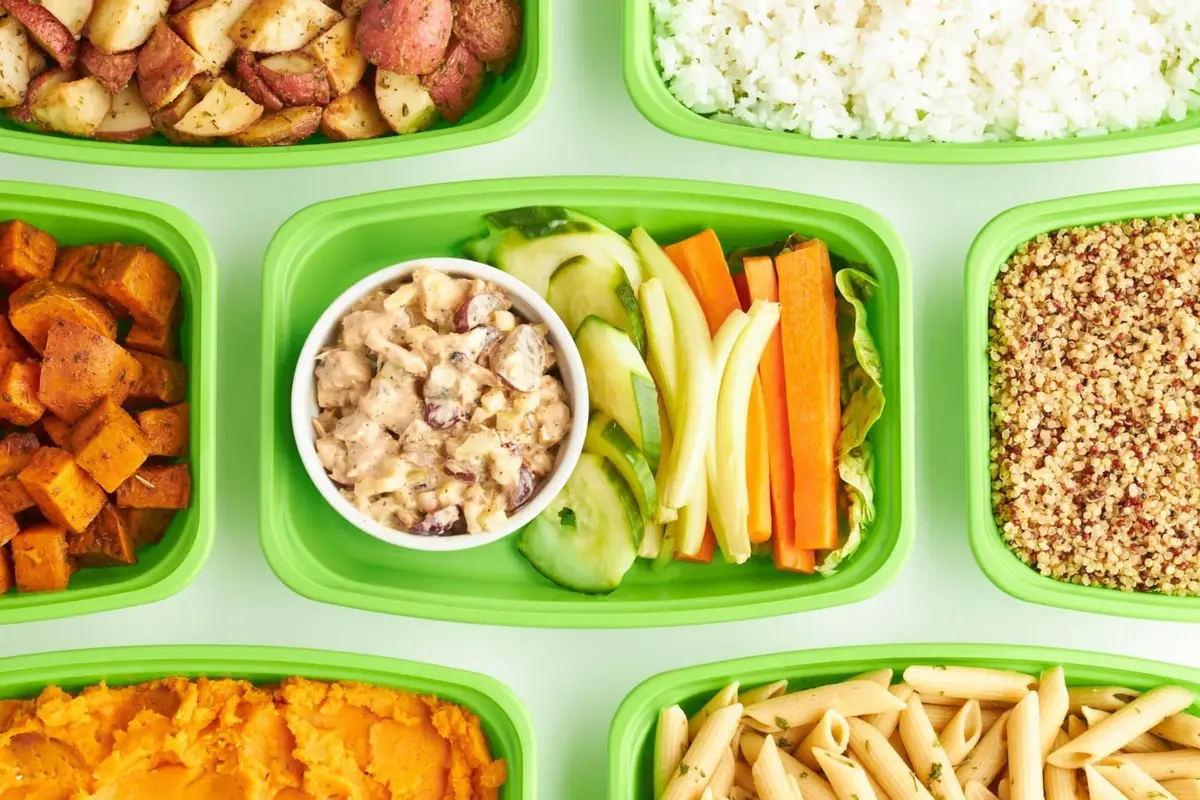
Toss anything that’s freezer-burned past saving, and move food you want to use soon into the “eat first” bin. Then plan a few meals around what you found, so next week’s dinners partly come from the freezer.
Look for frost building up on the walls and shelves. A thin layer is normal, but thick frost takes up space and makes bins stick, so defrost the freezer when it needs it, following its manual.
Glance at the thermometer while the door is open, and wipe up any spills before they freeze into sticky patches. Add anything you’re out of to the grocery list.
Put the check on your monthly cleaning schedule, so it comes around on its own. A few minutes each month keeps the freezer from sliding back into a jumble of mystery bags.
Save this for later
Pin it to a board so it's there when you're ready to start.
Save to Pinterest(opens in a new tab)Make it easier
Free printable
A free one-page meal planner with a row for each day, a column for each meal, and room for the shopping list and the prep. Plan the week once, then shop once.
Free printable
A one-page grocery list sorted by store section, with a box to tick for every item, so you write the list once and shop the store in one loop.
Free tool
Enter the width, depth and height of a shelf, a drawer or a cube cubby, and see which standard bins and baskets fit, how many, and how they line up.
Frequently asked questions
How do I organize a small freezer?
Clear out anything old or unlabeled, then give each kind of food one bin or one shelf. Freeze soups, sauces and ground meat flat in bags and stand them up like files, and keep a list on the door so you don't open the freezer to find out what's inside.
What's the best way to organize freezer drawers?
Give each drawer one or two zones and split deep drawers with bins or dividers, so nothing gets buried at the bottom. Stand flat bags upright with their labels facing up, and keep the food you use most in the drawer that's easiest to reach.
Is freezer-burned food safe to eat?
Yes. Freezer burn makes food dry, tough and less tasty, but it doesn't make it unsafe. Trim off small dry patches before or after cooking, and toss food that's mostly burned, since it won't taste good.
Should a freezer be full or half empty?
A freezer full of frozen food runs most efficiently, so a well-stocked freezer is a good thing. When you add a lot of unfrozen food at once, though, leave space around the new packages so cold air can reach them, then pack them closer together once they're frozen solid.