How to Clean a Coffee Maker, From the Carafe to the Reservoir
Wash the basket and carafe after each pot, descale with vinegar or a descaling solution once a month, then run plain water until the coffee tastes fresh.

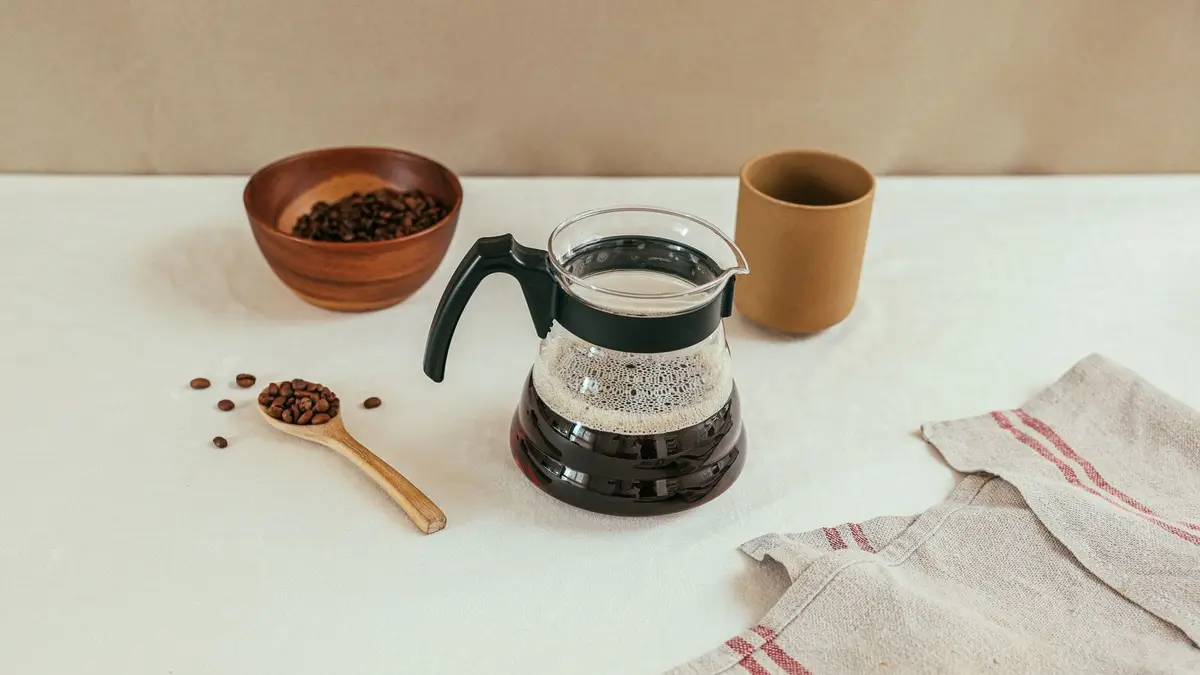
To clean a coffee maker, wash the filter basket and carafe in warm, soapy water after every pot and leave the lid open so the inside dries. Once a month, descale it: run white vinegar and water (or the descaling solution your manual names) partway through a cycle, let it rest, finish the cycle, then run plain water two or three times.
That’s the whole routine for a drip coffee maker. The steps below cover each part, from the reservoir to the warming plate, plus single-serve pod machines and a coffee maker that smells.
What you need
- Your coffee maker’s manual, or its care page on the maker’s website
- Dish soap, warm water and a soft sponge
- A small soft brush, like a bottle brush or an old toothbrush
- Plain white vinegar, or a descaling solution made for coffee makers
- A few lint-free cloths and some paper towels
- A little uncooked rice or coarse salt, for a stained carafe
1. Unplug it and let it cool
Switch the coffee maker off, unplug it and wait until the warming plate and the shower head are cool to the touch. Most of the cleaning happens with the machine unplugged, and you only plug it back in to run the descaling and rinse cycles.
Never put the base in water or hold it under the tap. The base holds the heating element and the wiring, and makers of both drip and pod machines say it should never be immersed in water or any other liquid.
While it’s unplugged, look over the cord and the plug. If the cord is cracked, damaged or loose, replace the appliance rather than keep using it.
2. Empty the grounds and wash the basket every day
Toss the paper filter and the used grounds as soon as the pot is done. Wet grounds left in the basket overnight turn sour, and the damp warmth inside the machine is exactly what mold likes.

Lift out the filter basket and wash it in warm, soapy water. If you use a permanent mesh filter, rinse it from the outside in, so the water pushes the fine grounds out of the mesh instead of deeper into it.
Use a soft brush on the corners of the basket and around the small drip-stop valve at the bottom, where oily coffee residue builds up. A sticky valve is the reason some machines drip onto the warming plate after you pull the pot out.
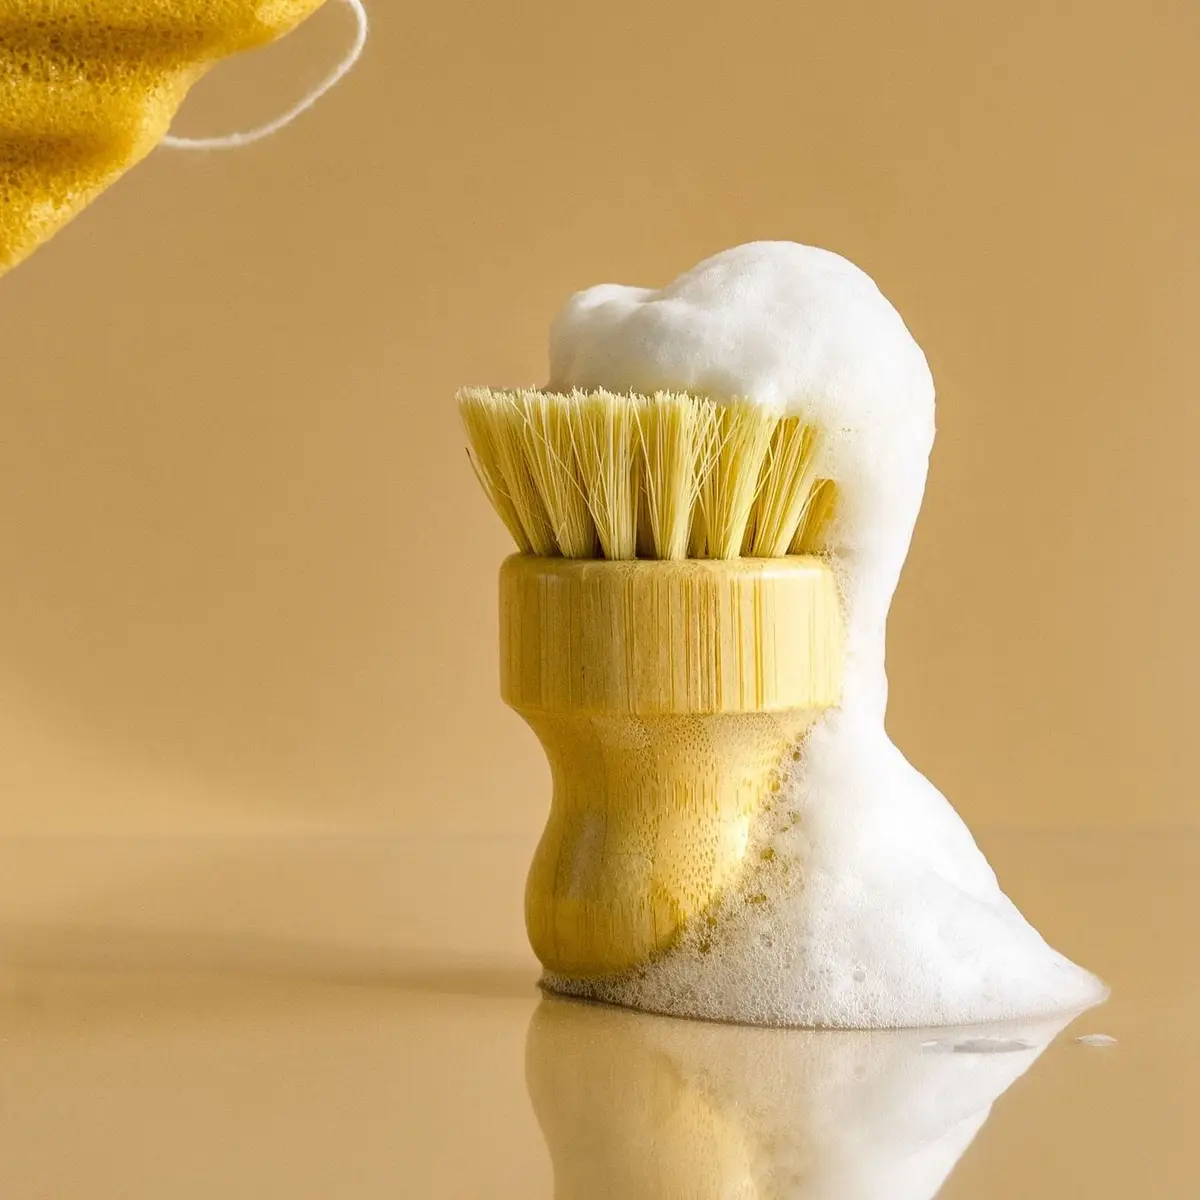
Rinse everything well so no soap is left to flavor tomorrow’s coffee. Then set the basket on a towel to dry and leave the lid of the machine open, so air can reach the inside.
3. Wash the carafe and lift coffee stains
Wash the carafe in warm, soapy water after each pot, the same as the basket. A sponge reaches most of it, and a bottle brush gets into the bottom corners of a narrow pot.
If the manual says the carafe is dishwasher safe, the top rack is the usual spot. Some makers warn against the hottest sanitizing setting, since that much heat can damage the parts.
For brown stains and a cloudy film
A dull brown ring inside the pot is old coffee oil, and it comes off with a gentle scrub you can do without a brush. Add warm, soapy water and a small handful of uncooked rice, then swirl the pot so the grains rub against the glass.

For a tougher ring, use a spoonful of coarse salt and a few ice cubes with a splash of water instead. Swirl for a minute, pour it out and wash the pot again with soap.
A cloudy, chalky film on the glass is usually mineral scale from hard water, not coffee. The descaling cycle in step five takes care of it, since the vinegar runs right into the carafe.
4. Wipe the reservoir and the lid
The water reservoir stays damp and dark, which is why it needs attention even though only water goes in. Wipe the inside and the underside of the lid with a damp, lint-free cloth, reaching into the corners.
Don’t dry the inside of the reservoir with a towel, since lint can stay behind and end up in the next pot. Leave the lid open and let it air dry completely instead.
If your reservoir lifts out, rinse it at the sink a couple of times and let it dry before it goes back on. Pour out any water left over from yesterday rather than brewing with it, and start each pot with fresh, cold water.
5. Descale with vinegar or a descaling solution
Hard water leaves minerals inside the tubes and the heating element, and over time that scale slows brewing, cools the coffee and dulls the taste. Descaling dissolves it. Check the manual first: some makers call for plain white vinegar, some for vinegar mixed with water, and some for their own descaling solution.
With white vinegar
- Empty the carafe and the basket, and put a clean paper filter in the basket to catch any loosened scale.
- Fill the reservoir with white vinegar, or with vinegar and water in the amount your manual gives. A common mix is about one part vinegar to two parts water.
- Plug the machine in and start a brew cycle. Partway through, once some of the solution has run into the carafe, switch it off.
- Let the hot solution sit inside the machine for about half an hour, so it can loosen the scale.
- Switch the machine back on and let it finish the cycle. Pour the solution down the sink and throw the filter away.

With a descaling solution
A descaling solution made for coffee makers is the other choice, and some makers ask for it instead of vinegar. Follow the directions on its label exactly, including how much to use and how much water to add.
If your machine has a clean button
Many drip machines have a cleaning cycle that runs the solution through slowly on its own, with pauses built in. Fill the reservoir as the manual directs, press the button and let it run, then go on to the rinse in the next step.
6. Rinse with plain water until the smell is gone
Fill the reservoir with fresh, cold water and run a full brew cycle with an empty basket. Pour the water out, let the machine cool for a few minutes, and repeat.
Most machines need two or three plain water cycles before the vinegar smell and taste are gone. Sniff the steam and the carafe after each one, and run another cycle if you still notice vinegar.
Then wash the carafe and the basket once more with warm, soapy water. Your next pot of coffee should taste clean, with nothing sour in it.
7. Clean the warming plate, the shower head and the outside
The warming plate collects drips that bake on every morning. Let it cool completely, then lay a wet paper towel over the stains and leave it until they soften. Wipe the plate with a damp cloth and dry it.
The shower head is the spot above the basket where hot water drips onto the grounds. With the machine cool, wipe it with a damp cloth, and use a soft brush on the small holes if coffee or scale has built up around them.
Wipe the outside of the machine with a damp, soapy cloth and dry it, wiping stainless steel along the grain so streaks don’t show. Spray any cleaner onto the cloth, never onto the machine, so nothing seeps into the controls.
While the counter is clear, it’s a good moment to wipe the area under and behind the coffee maker too. If the whole corner needs a rethink, see our ideas for coffee station organization.
8. Clean a single-serve pod machine
A pod machine follows the same idea with a few different parts. Turn it off and unplug it, then remove the pod holder and wash it, along with the drip tray, in warm, soapy water.
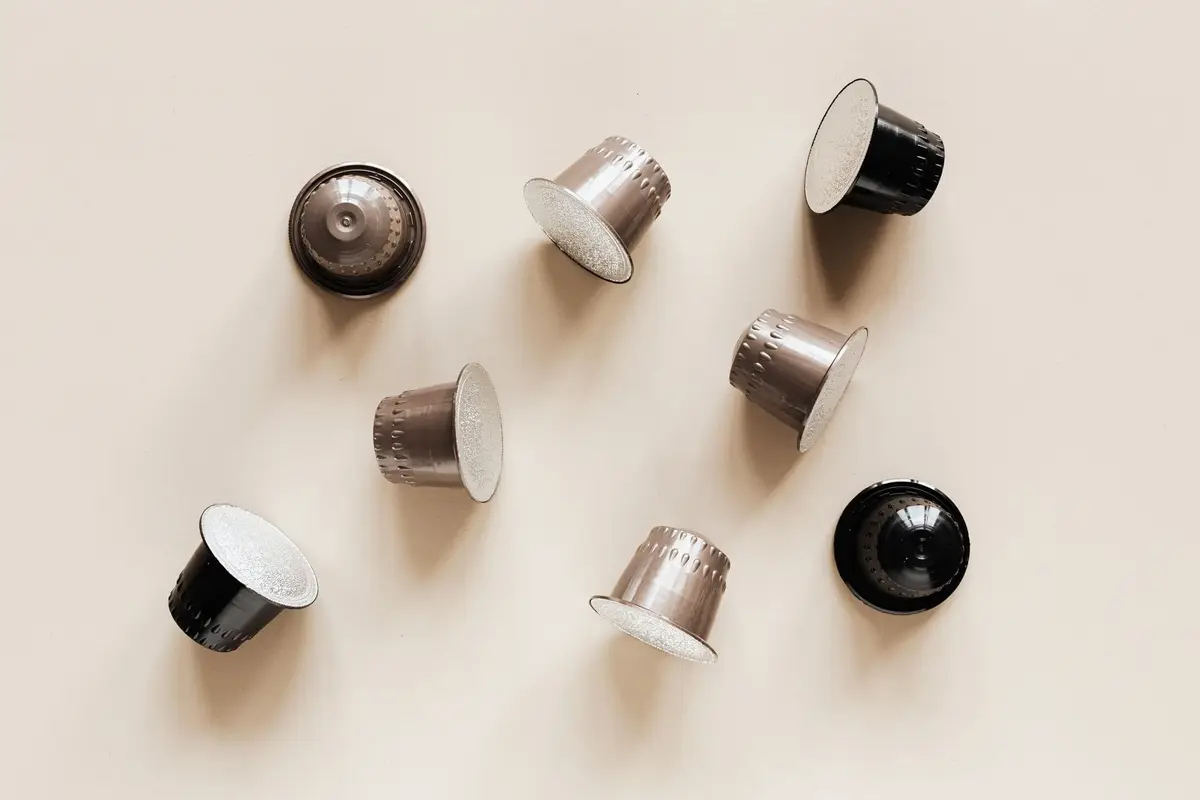
Pod machines have sharp needles that pierce each pod, one in the pod holder and one under the lid. Keep your fingers away from them. To clear grounds from a needle, many manuals have you gently work a straightened paper clip into it, then run water-only brew cycles with no pod in place.
Wipe the water reservoir the same way as in step four, and let it air dry. Descale the machine as often as the manual says, which for many pod brewers is every few months, using the descaling solution and the steps it names.
9. Fix a coffee maker that smells
A musty or sour smell means coffee, water and warmth have been sitting together somewhere. Mold grows where things stay damp, so the cure is to clean the damp spots and then let them dry.
Start with the filter basket and the drip-stop valve, then the carafe lid, the reservoir and the shower head. Run a full descaling cycle and the plain water rinses, and wash every removable part again afterward.
To keep the smell from coming back, empty the grounds and any leftover water every day and leave the lid open between pots.
If the whole kitchen still smells off, the sink drain and the fridge are the next places to check. Our sink cleaning hacks cover the drain and the basin, and our fridge cleaning hacks cover spills and shelves.
What not to use
- Bleach. Bleach mixed with vinegar or other acids gives off chlorine gas, and mixed with ammonia it gives off other toxic gases. Use one product at a time, and only the ones your manual allows.
- Abrasive pads and scouring powders. They scratch the carafe and the warming plate, and scratches hold stains.
- Water on the base. Wipe the base with a damp cloth only, and never immerse it.
- Vinegar against your manual. If the maker says to use a descaling solution instead, follow the manual.
How often to clean a coffee maker
- After every pot: empty the grounds, wash the basket and the carafe, and leave the lid open to dry.
- Once a week: wipe the reservoir, the lid, the shower head, the warming plate and the outside.
- Once a month: descale with vinegar or a descaling solution, then rinse with plain water. Do it more often with hard water, or as often as your manual says.
A monthly reminder makes the descaling automatic, and the monthly cleaning schedule has a spot for it. Pair it with other small appliance jobs, like the steam trick in our microwave cleaning hacks, and the whole counter stays fresh.
When you’re done, unplug the coffee maker if you won’t use it again soon. Unplugging small appliances when they’re not in use is a simple habit that also lowers the risk of an electrical fire.

Save this for later
Pin it to a board so it's there when you're ready to start.
Save to Pinterest(opens in a new tab)Make it easier
Free printable
A room-by-room deep cleaning checklist for the jobs a weekly clean skips, from the oven and the grout to the vents and baseboards.
Free printable
Monthly Cleaning Schedule Printable
A one-page monthly cleaning schedule: the daily and weekly basics at the top, then one deeper area for each week, so every corner of the house gets its turn without a cleaning weekend.
Frequently asked questions
How often should I descale my coffee maker?
About once a month is a good rhythm for a drip machine you use every day, and more often if you have hard water. Your manual has the final word, and many single-serve brewers ask for a descale every few months instead.
Can I use apple cider vinegar or lemon juice instead of white vinegar?
Some makers say both can work, but white vinegar is the usual choice because it leaves the least flavor behind. Apple cider vinegar can leave a taste that lingers, and lemon juice needs the same plain water rinses afterward.
How do I know my coffee maker needs descaling?
Brewing that takes longer than it used to, coffee that tastes flat or a white, chalky crust in the reservoir or on the carafe all point to mineral scale. If you can't remember the last time you descaled, it's due.
Can the coffee pot and filter basket go in the dishwasher?
Only if the manual says they're dishwasher safe. When they are, the top rack is the usual spot, and some makers warn against the hottest sanitizing setting because it can damage the parts.
Can I use bleach to clean a coffee maker?
Skip it. Bleach isn't part of the usual steps for a coffee maker, and bleach mixed with vinegar or other acids gives off chlorine gas, so it never belongs in the same cleaning session as a vinegar cycle.