12 Sink Cleaning Hacks for Stainless, Porcelain and Composite Sinks
Scrub stainless along the grain, go gentle on porcelain, wash the drain basket, clear hard water spots on the faucet and never mix your cleaners.


The best sink cleaning hacks are small and nightly: empty the sink, rinse it and wipe it dry before bed, and wash the drain basket every day. Then match the deeper scrub to the material, with baking soda along the grain on stainless, gentle cleaners on porcelain and the maker’s advice on composite, and never mix cleaners.
These 12 hacks cover the basin, the drain, the faucet and everything that sits around the sink. Use one cleaner at a time, rinse between them, and wear rubber gloves for anything stronger than dish soap.
1. Empty and wipe the sink every night
A sink full of dishes overnight turns into a sink with a film, a smell and a stain by morning. Make the last kitchen job of the day an empty sink: load the dishwasher, wash what’s left and put away the drying rack.

Run warm water around the basin to rinse away crumbs, then wipe the whole sink with a soapy sponge or cloth. Give the faucet handles a quick wipe while you’re there, since they’re touched with greasy hands all day.
Finish by drying the basin and the faucet with a towel. Water left to dry on its own leaves spots, especially in homes with hard water, and a dry sink stays cleaner longer.
After you’ve prepared raw meat, poultry or seafood in or near the sink, wash it with warm, soapy water and then use a sanitizer, following the product label. Let the sink air dry afterward.
This whole routine takes about two minutes. Done every night, it means the deeper scrubs in this list come around less often and go faster.
2. Scrub stainless steel with baking soda along the grain
Stainless steel has a grain, faint lines that run in one direction across the metal. Scrubbing with the grain instead of in circles keeps the finish even and hides tiny scratches.
Rinse the sink so the surface is damp, then sprinkle baking soda over the bottom and sides. Scrub with a soft sponge or a nonscratch pad, moving back and forth along the grain.
The baking soda is mild enough for steel but gritty enough to lift water spots, dried food and the dull gray film that builds up over a week. Pay extra attention to the corners and the area around the drain, where grime collects.
Skip steel wool and harsh scouring powders. Abrasives can leave scratch marks on many surfaces, and stainless steel shows every one of them under kitchen lights.
Rinse the sink well with warm water until no gritty residue is left. Then move straight to drying and buffing, which is the next hack.
3. Dry and buff stainless, with a drop of oil if the maker allows
Most of what makes a stainless sink look dirty is water spots. Drying the sink right after you rinse it is the single easiest way to keep it shining.

Use a soft, lint-free towel and wipe along the grain, the same way you scrubbed. Get into the corners and around the drain, where water pools after everything else is dry.
For extra shine, check your sink’s care guide first. If the maker allows it, put a few drops of mineral oil or olive oil on a dry cloth and buff it into the steel along the grain, then wipe off the extra with a clean part of the cloth.
A thin layer of oil helps water bead up and roll off instead of drying into spots. Use only a few drops, since too much leaves the sink greasy and attracts dust.
Buff once a week at most. On the other nights, a quick dry with a towel keeps the finish looking almost as good.
4. Go gentle on porcelain, enamel and fireclay
White porcelain, enameled cast iron and fireclay sinks have a glossy glaze on top. That glaze is what keeps them easy to clean, and harsh products can wear it away.

For everyday cleaning, use warm water, a few drops of dish soap and a soft sponge. For stains from coffee, tea or tomato sauce, make a paste of baking soda and water, spread it over the stain and let it sit for a few minutes before you scrub gently.
Avoid harsh abrasive powders, steel wool and stiff scrub pads, which can scratch the glaze and leave dull spots that stain faster. Chlorine bleach can dull the shine on porcelain enamel too, so check the care guide before using it.
Gray marks from pots and pans often wipe away with the same baking soda paste. Rinse the paste off completely and dry the sink with a towel.
Set a rubber mat or a sink grid in the bottom if you wash heavy pots there. It cushions the glaze against chips and keeps metal pans from leaving marks.
5. Follow the maker’s guidance on composite and granite composite
Composite sinks, including granite composite, are made from stone dust and resin. They’re tough, but each maker has its own list of cleaners that are safe and ones that aren’t.
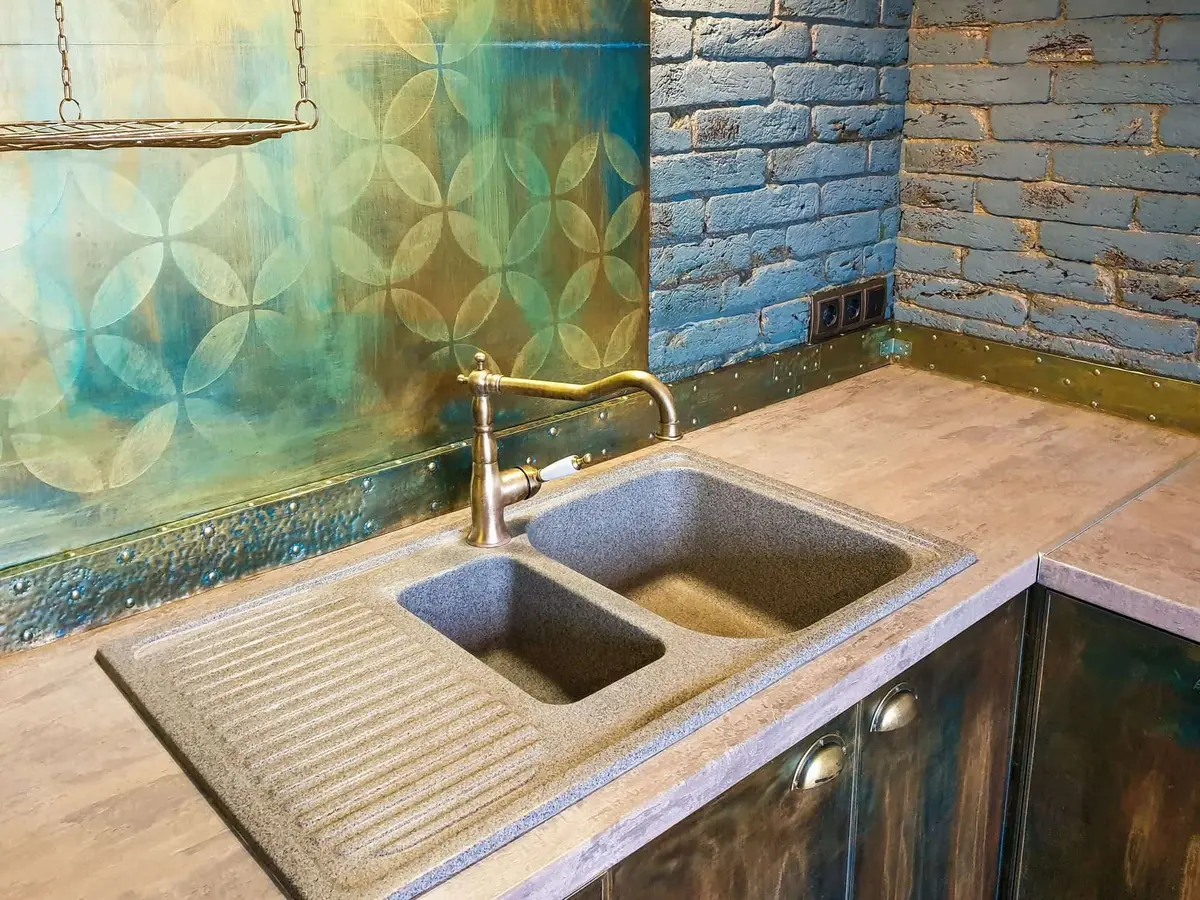
Look up the care guide for your sink before trying anything new. Most say the same basics: warm water, mild dish soap and a soft sponge for daily cleaning, with a gentle rinse and a dry towel at the end.
Dark composite sinks show hard water as a chalky white haze. Drying the sink after each use is the best way to prevent it, and the care guide will say whether a mild vinegar rinse is allowed for any haze that’s already there.
Test any new cleaner on a small hidden spot first, such as the corner under the drainboard. Some strong cleaners and bleach can discolor composite over time.
Rinse well after every cleaning, so no soap film is left behind to dull the finish. A clean, dry composite sink keeps its deep, even color for years.
6. Wash the drain basket and stopper every day
The drain basket catches food bits all day, and that’s exactly why it starts to smell. Pull it out each night, knock the scraps into the trash, and wash it with hot, soapy water.
An old toothbrush gets into the holes of the strainer and around the rubber seal, where slime builds up. Scrub the underside of the stopper too, since it sits in dirty water every time the sink is full.
Then scrub the rim of the drain opening itself. A dark ring forms under the lip where a sponge can’t reach, and the toothbrush fits right into it.
If the drain is slow, don’t reach for a chemical drain opener while there’s other cleaner in the sink. Drain openers react with bleach and other products, and they can splash back out of a blocked drain, so read the label, wear rubber gloves and eye protection, and never mix them with anything.
A basket that’s washed daily rarely smells. Put the drain basket on the same nightly routine as wiping the sink, and the two jobs take one extra minute together.
7. Grind ice and coarse salt in the disposal, if the manual allows
Our kitchen cleaning hacks cover cutting the power and scrubbing under the splash guard. This hack goes after the buildup on the grinding parts you can’t see.

Check the disposal’s manual first, since some makers recommend against certain tricks. If yours allows it, drop in a good handful of ice cubes and a sprinkle of coarse salt.
Run cold water, switch the disposal on and let it grind until the ice is gone. The ice and salt scrub film off the grinding parts and the inside walls as they break up.
Never put your hand into the disposal, even when it’s switched off. If something falls in, cut the power at the switch and the circuit breaker, or unplug it, and lift the object out with tongs.
Follow with a long rinse of cold water. Use cold water whenever the disposal runs, since it keeps grease firm so it gets chopped and flushed instead of coating the pipes.
8. Scrub the faucet base and handles with an old toothbrush
The base of the faucet is where water, soap and grime collect in a ring that a sponge slides right over. An old toothbrush reaches into that seam and the gaps around each handle.
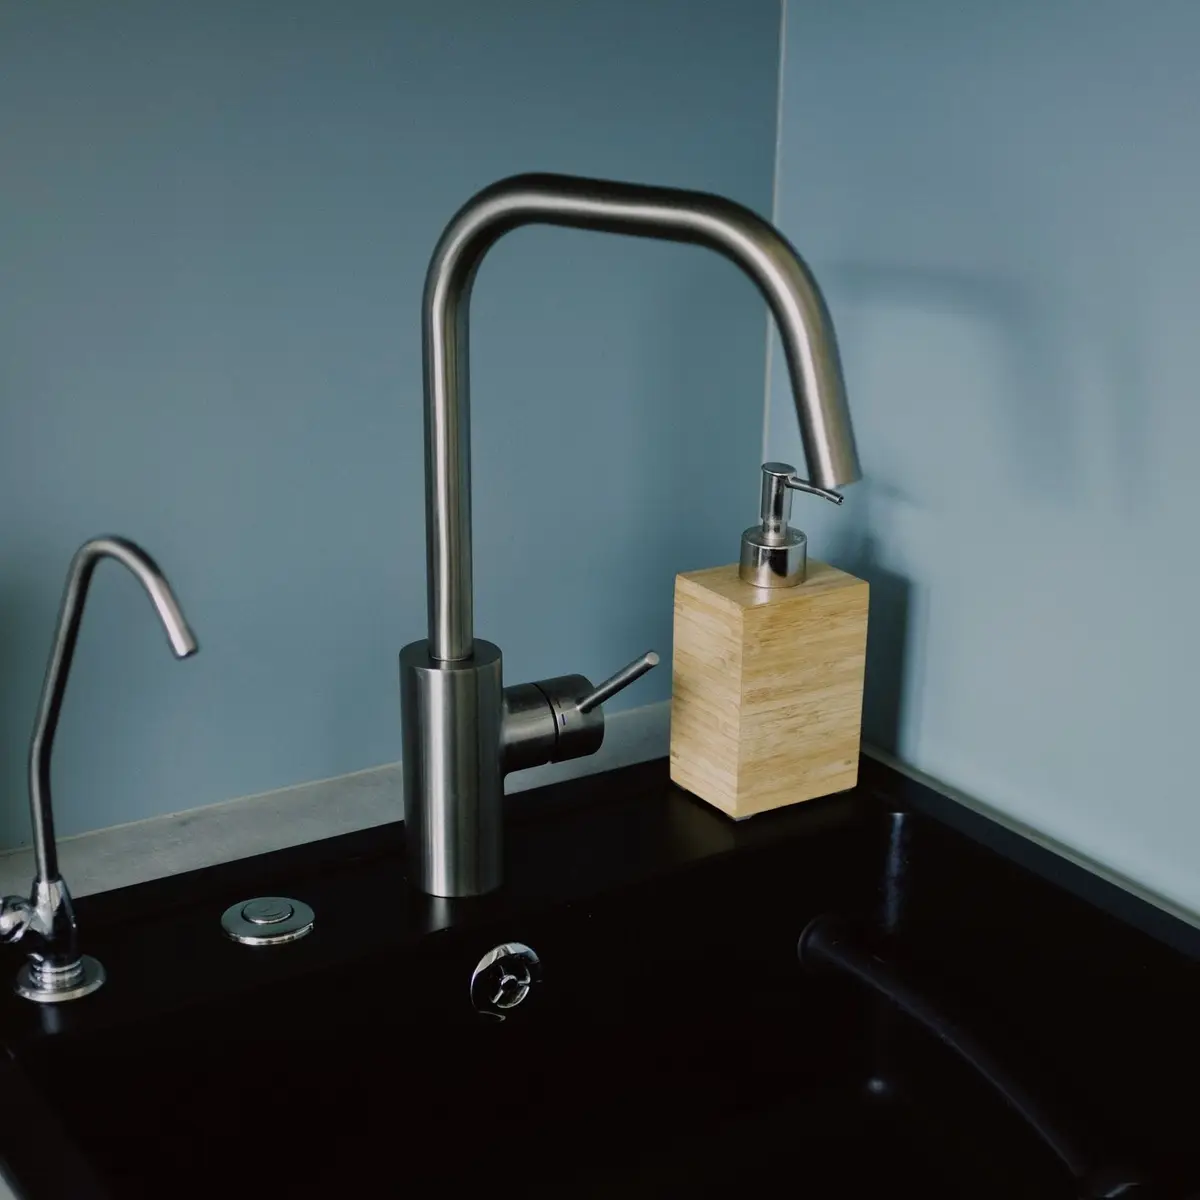
Dip the brush in warm, soapy water and scrub in small circles around the base, along the back where it meets the counter and around the sprayer and soap pump if you have them. Work under the lever and around the handle joints too.
Rinse with a damp cloth, since running water over the base just pushes dirty water back into the seam. Then dry everything with a towel.
Check the faucet’s finish before using anything stronger than soap. Brushed, matte black and brass finishes can be damaged by abrasive cleaners, while most chrome tolerates a little baking soda.
Wipe the handles every night as part of the nightly reset. Once a week, give the base this deeper scrub with the toothbrush, and the ring never gets a chance to build up.
9. Lift hard water spots off the faucet with vinegar
Chalky white spots on a faucet are minerals left behind when hard water dries. A mild acid like white vinegar dissolves those deposits so they wipe away.
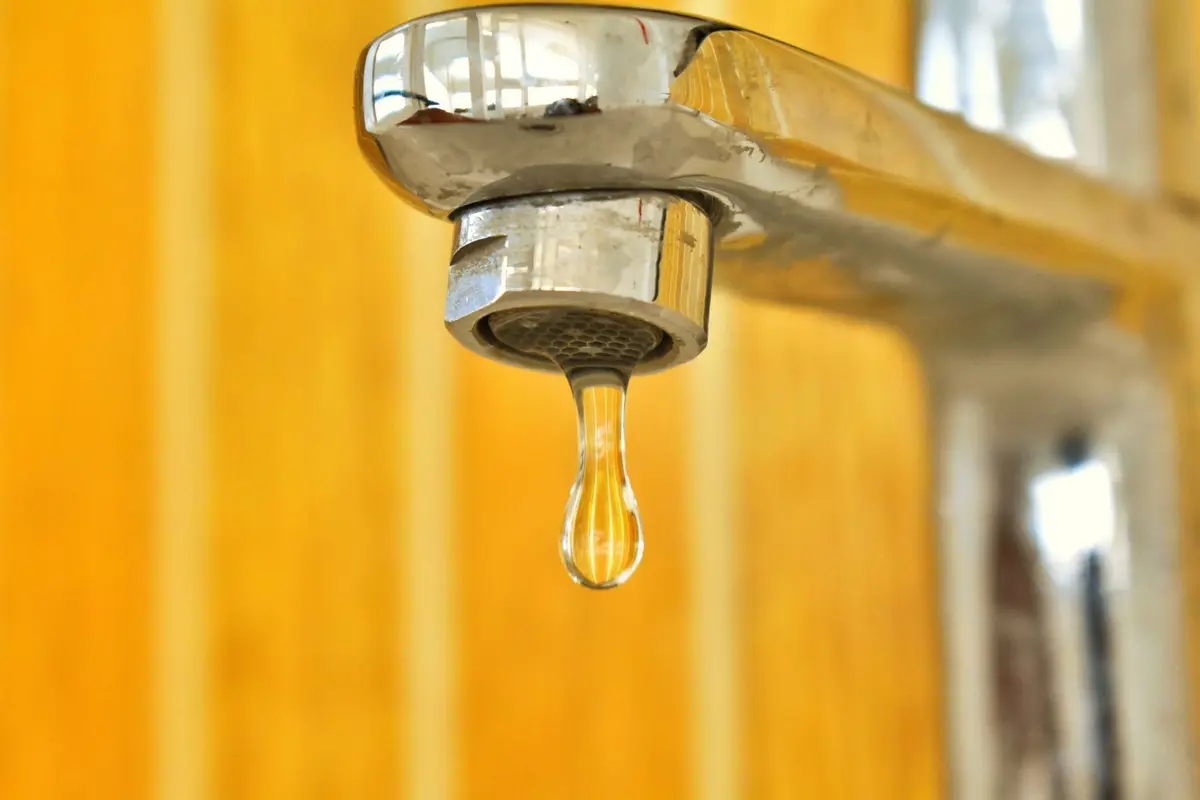
Soak a cloth or a paper towel in white vinegar and wrap it around the spotted part of the faucet. Leave it in place for a while, so the vinegar can work into the buildup.
Remove the cloth, scrub any stubborn spots with an old toothbrush, and rinse the faucet with plain water. Dry it with a towel right away so new spots don’t form.
Never use vinegar in the same session as bleach. Vinegar is an acid, and mixing it with bleach releases chlorine gas, so finish one product, rinse completely and wait before using the other.
Check your faucet’s care guide before using vinegar on specialty finishes such as matte black, brass or bronze. A quick test on the underside of the spout shows whether it leaves a mark.
10. Clean the sink rim and the caulk line
Where the sink meets the counter, a thin seam collects grime, and on an undermount sink a lip hides under the counter’s edge. Both are easy to miss with a quick wipe.
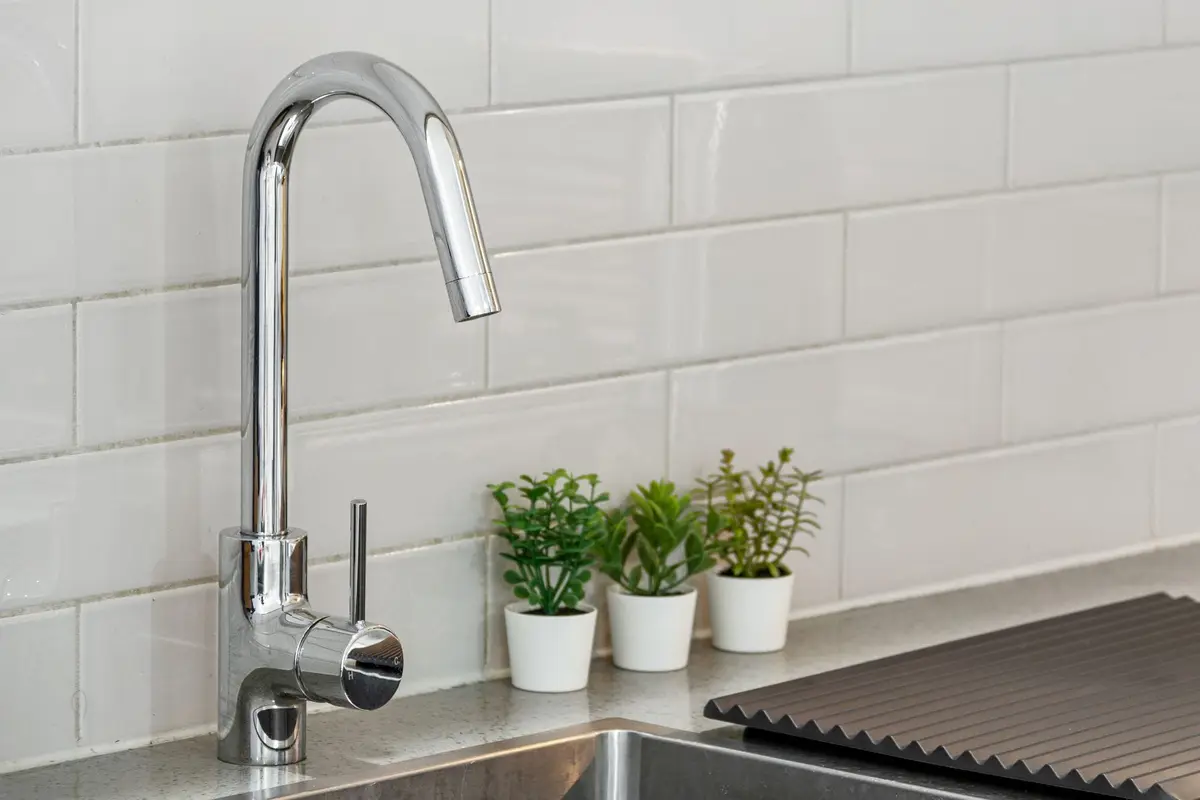
Run an old toothbrush dipped in warm, soapy water along the seam all the way around the sink. For an undermount sink, reach under the counter’s edge with the brush or a cloth wrapped around a finger.
Next, check the caulk line along the backsplash and around the sink. If you see dark spots of mold on the caulk, scrub them with detergent and water and dry the area completely, since moisture is what lets mold grow back.
Caulk that’s cracked, peeling or stained deep inside can’t be scrubbed clean. Replacing it keeps water from seeping under the counter and into the cabinet below.
Dry the whole edge with a towel when you’re done. If the counter around the sink is natural stone, our guide to how to clean granite countertops covers the cleaners that are safe on it.
11. Give the sponge and brush a caddy that drains
A sponge left lying in a puddle by the faucet never dries, and a wet sponge breeds bacteria fast. A caddy that drains keeps the sponge, the dish brush and the scrubber up off the wet counter.
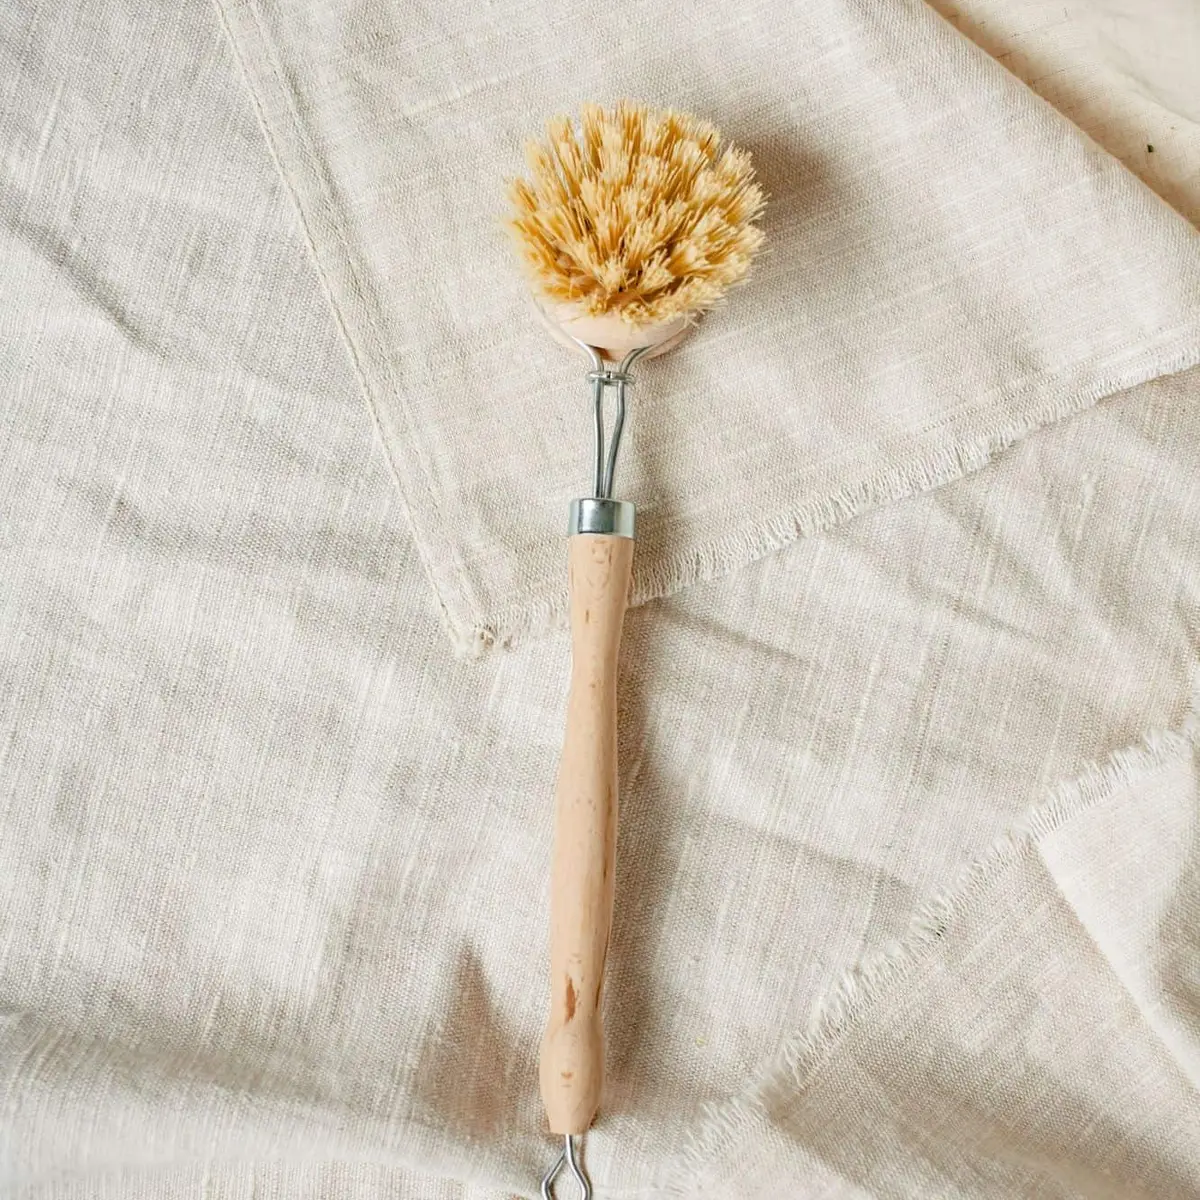
Choose one with slots or holes in the bottom, so water runs out instead of pooling. Stand the sponge on its edge, and store the dish brush bristles up so air can reach them.
Rinse the caddy itself every week. A slimy film forms in the bottom where drips collect, and it moves right back onto the sponge.
Replace sponges often, about once a week or as soon as they smell or fall apart. Wash the dish brush in hot, soapy water each week, and swap it once the bristles splay out flat.
Keep everything inside the sink or on a tray instead of loose on the counter, and wipe under the caddy when you do the nightly reset. The space under the sink deserves the same care, and our guide to organizing under the kitchen sink shows how to keep cleaners stored safely there.
12. Wash the dish rack and drying mat each week
A dish rack holds clean dishes, but it sits in a damp spot by the sink all day. Water collects in the tray underneath, and a pink or black film builds up within a week or two.
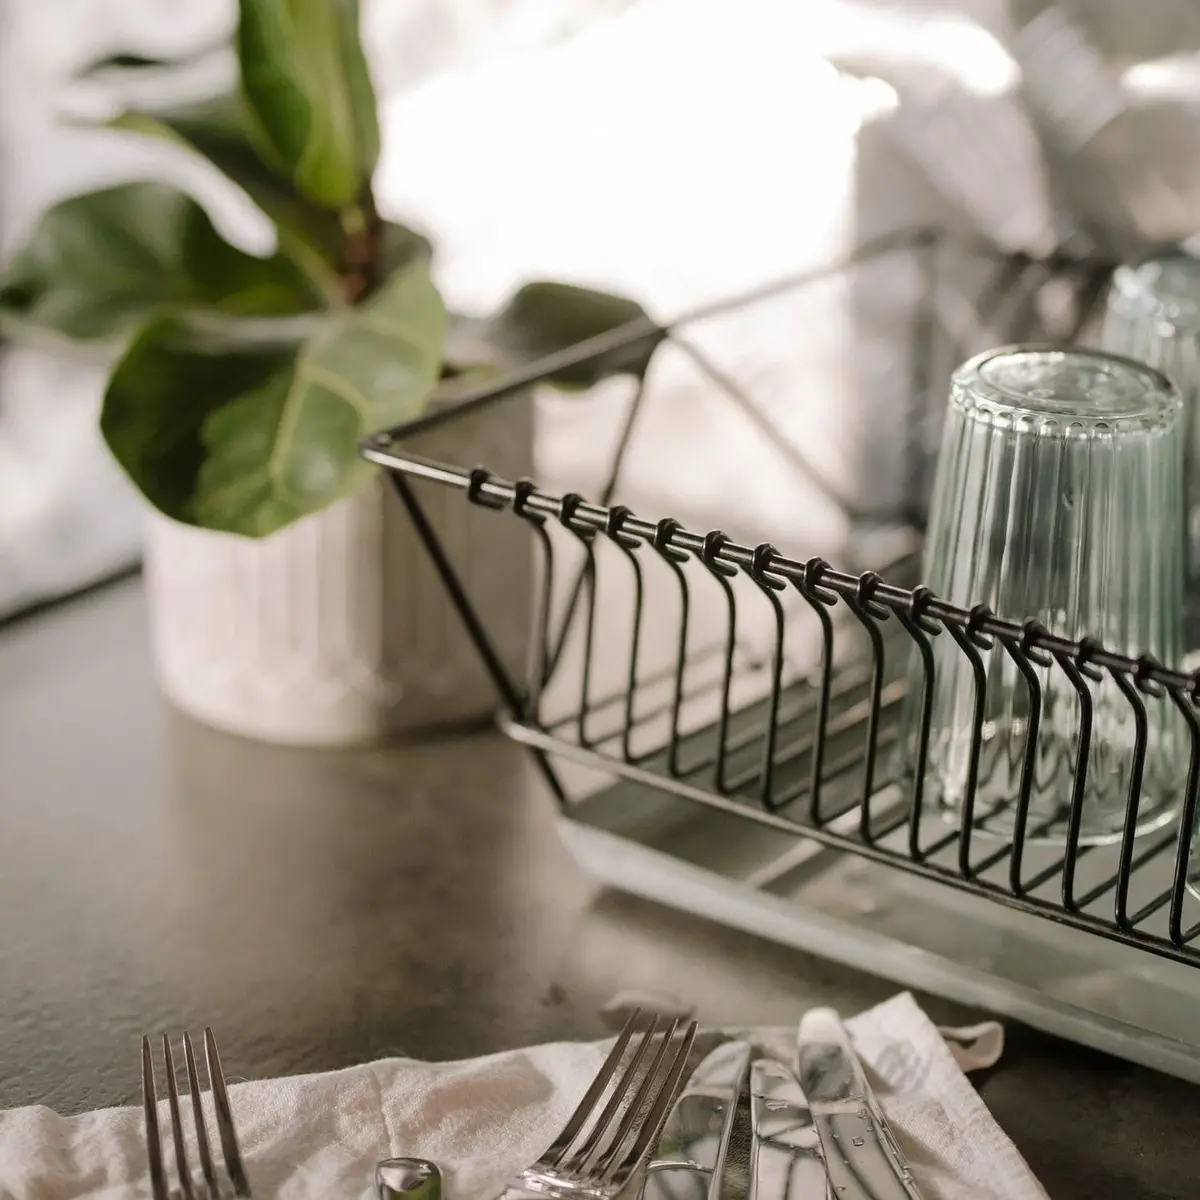
Once a week, empty the rack and wash it in the sink with hot, soapy water. Scrub the corners, the joints of the wires and the drip tray with a brush, then rinse everything well.
Let the rack and tray dry completely before you set them back up. A silicone or fabric drying mat can go through the washer or the dishwasher, if the label allows, while a plastic tray just needs a good scrub.
Put on rubber gloves for this job if you use a stronger cleaner on mildew, and keep the window open or the fan running. Use one product at a time, rinse it off, and never combine it with anything else.
When the sink area is done, the rest of the kitchen comes next. Our fridge cleaning hacks and stove cleaning hacks take the same small-steps approach, and the Sunday reset checklist keeps the weekly jobs together in one place.

Save this for later
Pin it to a board so it's there when you're ready to start.
Save to Pinterest(opens in a new tab)Make it easier
Free printable
Weekly Cleaning Schedule Printable
A one-page weekly cleaning schedule: a few quick jobs every day, plus one focus area a day, so the whole house gets done without a cleaning marathon.
Free printable
Sunday Reset Checklist Printable
A one-page Sunday reset routine: clear the kitchen, the laundry and the living spaces, then get ready for Monday and plan the week, so the week starts calm instead of in a scramble.
Frequently asked questions
What's the best way to clean a stainless steel sink?
Rinse it, sprinkle baking soda over the damp basin and scrub with a soft sponge in the direction of the grain. Rinse well and dry it with a towel, which stops water spots before they form.
Can I use bleach in my kitchen sink?
A diluted bleach solution can sanitize a sink after you've washed it, but use it on its own and rinse well. Never mix bleach with vinegar, ammonia, drain openers or other cleaners, and check the maker's care guide first, since bleach can dull some porcelain enamel and composite finishes.
How do I get hard water spots off the faucet?
Wrap the spotted area in a cloth or paper towel soaked in white vinegar and leave it for a while, then scrub gently with an old toothbrush. Rinse with plain water and dry the faucet so new spots don't form.
How often should I clean the kitchen sink?
Empty, rinse and wipe it every night, and wash the drain basket every day. Give it a deeper scrub, with the faucet, the rim and the caulk line, once a week.
Is it safe to put ice in a garbage disposal?
It depends on the model, so check the manual first. Where the manual allows it, a handful of ice cubes with cold water helps knock buildup off the grinding parts. Never reach into the disposal with your hand; if something falls in, cut the power and use tongs.