12 Fridge Cleaning Hacks for Sticky Shelves and Grimy Door Seals
Empty it before a grocery run, wash shelves without cracking the glass, scrub the door seals and coils, and keep the fridge at forty degrees or colder.

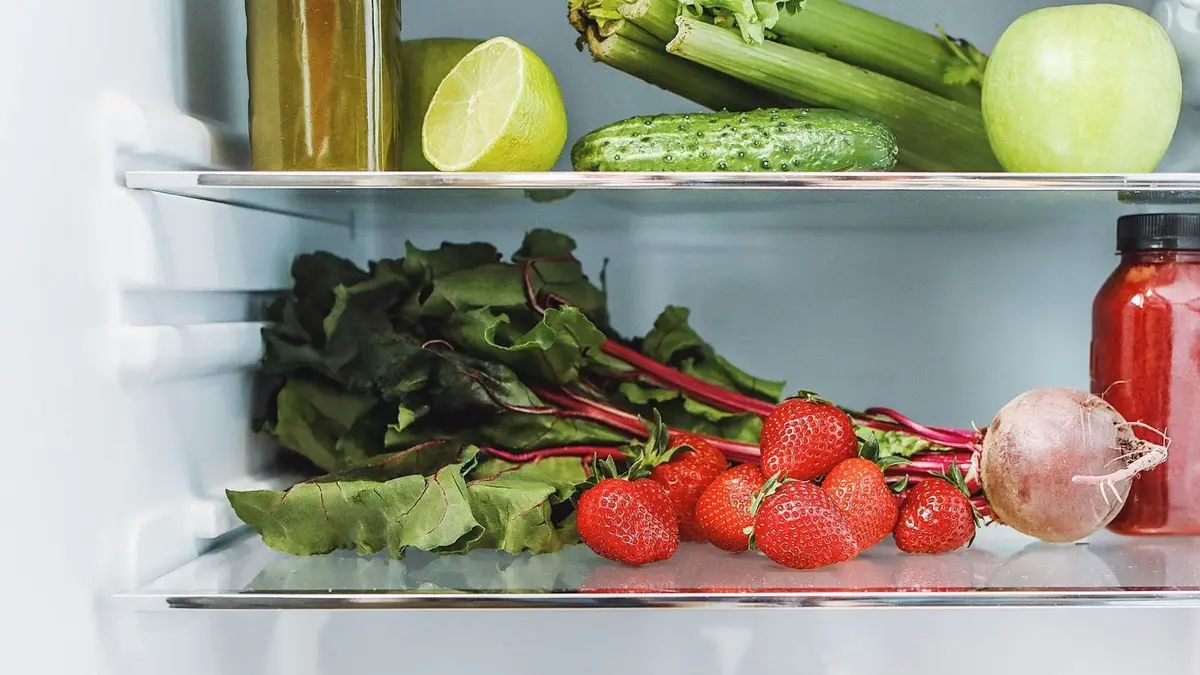
The best fridge cleaning hacks start with an almost empty fridge: clean it right before a grocery run, toss what’s past its best, and wash the shelves and drawers in warm, soapy water. Then wipe the inside with baking soda and water, scrub the door seal with an old toothbrush, vacuum the coils with the fridge unplugged, and keep it at forty degrees Fahrenheit or colder.
These 12 hacks work through the fridge shelf by shelf, from the crisper drawers to the dust under it. Our kitchen cleaning hacks cover the quick weekly wipe; this list is the deeper clean.
1. Clean it right before a grocery run
The easiest time to clean a fridge is when it’s nearly empty. Plan the job for the day you’d shop anyway, so there’s less to move, less to keep cold and less to sort.
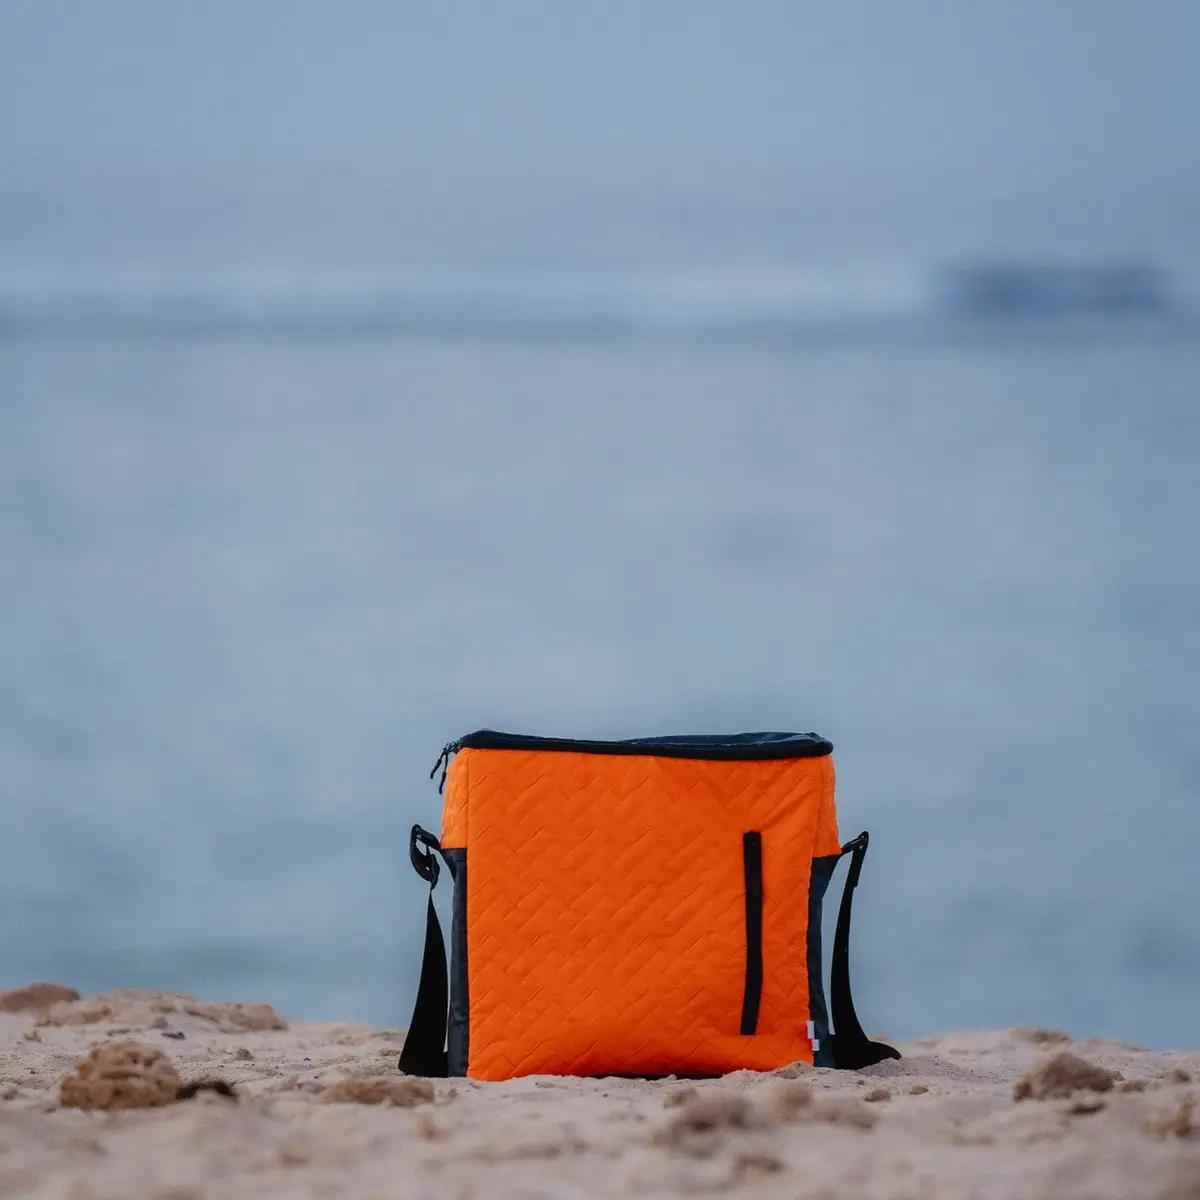
Set out a cooler or a couple of insulated bags with ice packs before you start. Food from the fridge shouldn’t sit out for more than two hours, so anything you want to keep goes straight into the cooler while you work.
Work top to bottom, one shelf at a time, and keep the door closed whenever you step away. A fridge that stays shut between shelves stays cold, and the food in the cooler has a shorter wait.
Leave the freezer closed while you clean the fridge, unless you’re doing both. Glance at your list on the way out the door and add anything you used up, so the new groceries go into a clean, cold fridge the same afternoon.
2. Toss anything expired, moldy or unlabeled
Before you wipe a single shelf, sort the food. Throw out anything spoiled, anything past its date and anything with no date at all, because a jar you can’t place is a guess.
Leftovers are the usual trouble spot. Cooked food keeps for about four days in the fridge, so anything older goes, even if it looks and smells fine.
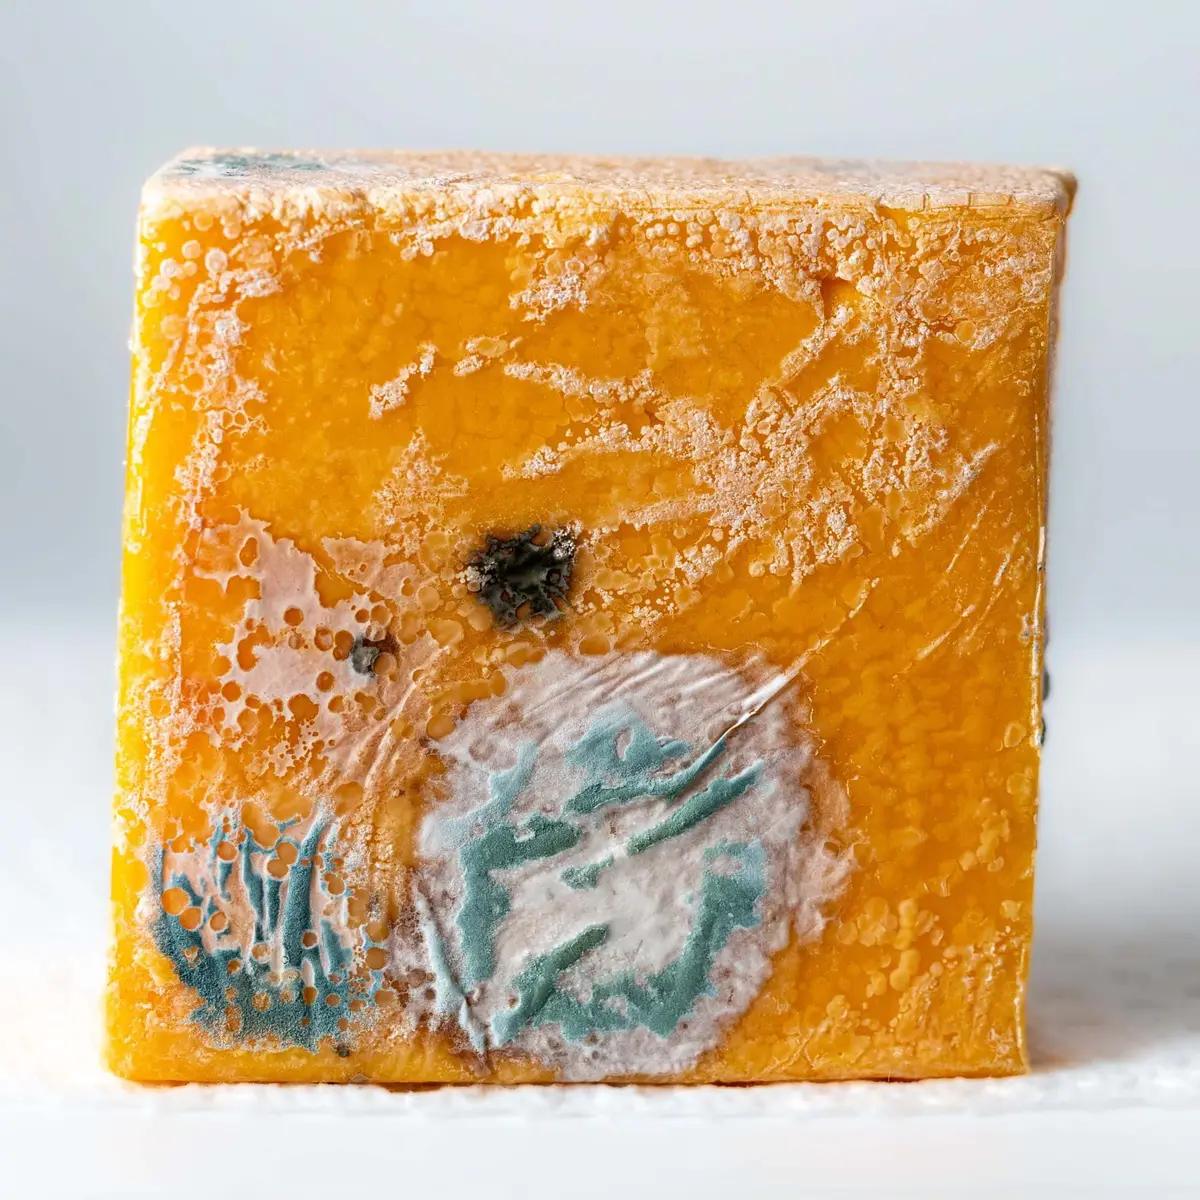
Look closely at soft foods like yogurt, sour cream, soft cheese and jam. If you see mold on them, throw the whole container away, since mold spreads below the surface of soft food where you can’t see it.
Wrap moldy food in a bag before it goes in the trash, so the spores don’t drift around the kitchen. Then wipe the spot on the shelf where it sat with hot, soapy water before anything else goes there.
Check sauces and dressings in the door too. A half-used bottle that has been open for ages takes up room and rarely gets finished, so let it go.
3. Wash shelves and drawers, and let the glass warm up first
Pull out every removable shelf, drawer and door bin. Wash each one in the sink with warm water and dish soap, rinse it and let it air dry on a towel.
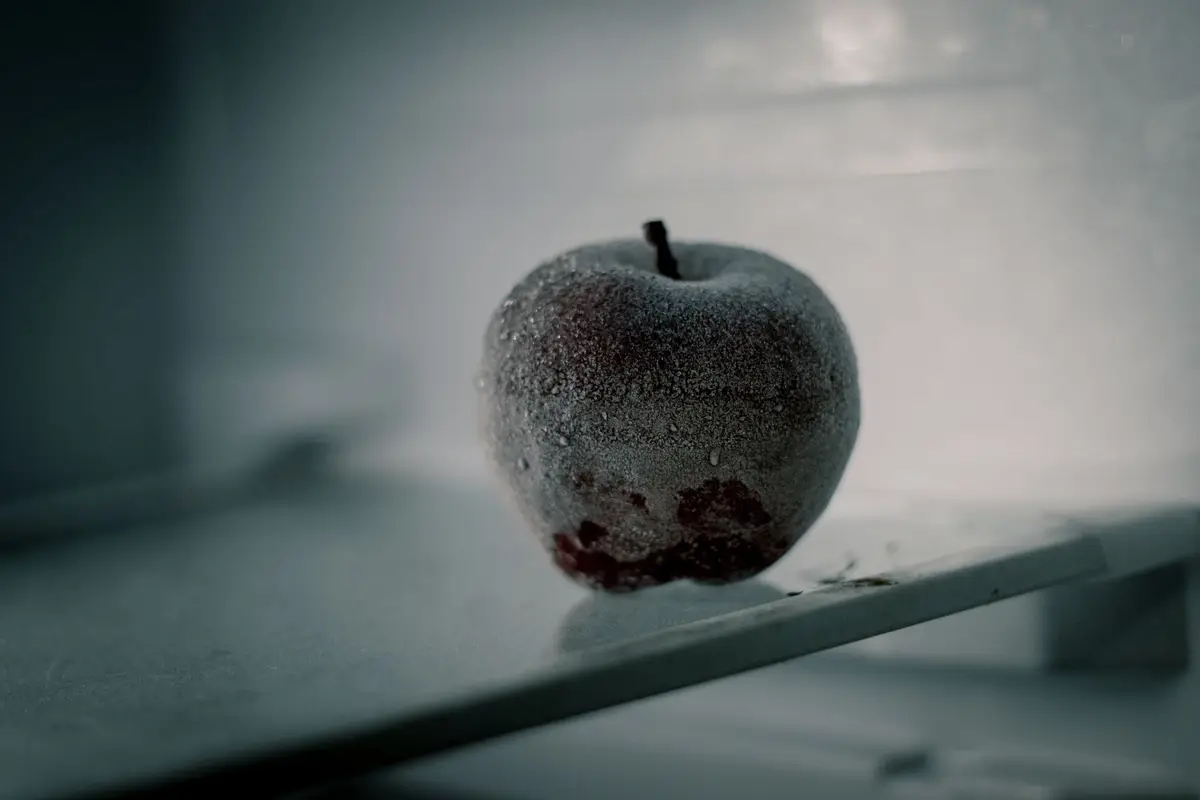
Glass shelves need one extra step. Let a cold glass shelf sit on the counter until it reaches room temperature before it meets warm water, because the sudden change can crack it.
That wait is a good time to clean everything else. Wipe the walls while the shelves warm up, then wash them once they no longer feel cold to the touch.
If a shelf won’t come out, wash it in place with a soft cloth and warm, soapy water, then go over it with a cloth dipped in clean water. Lift the crisper drawers out completely, since crumbs and drips collect underneath them on the floor of the fridge.
Dry every piece fully before it goes back. Water left in the corners of a drawer turns into a damp, musty spot within a week.
4. Wipe the inside with baking soda and warm water
With the shelves out, the walls, the ceiling and the floor of the fridge are easy to reach. Stir about two teaspoons of baking soda into a quart of warm water and use it with a soft cloth to wipe every surface.
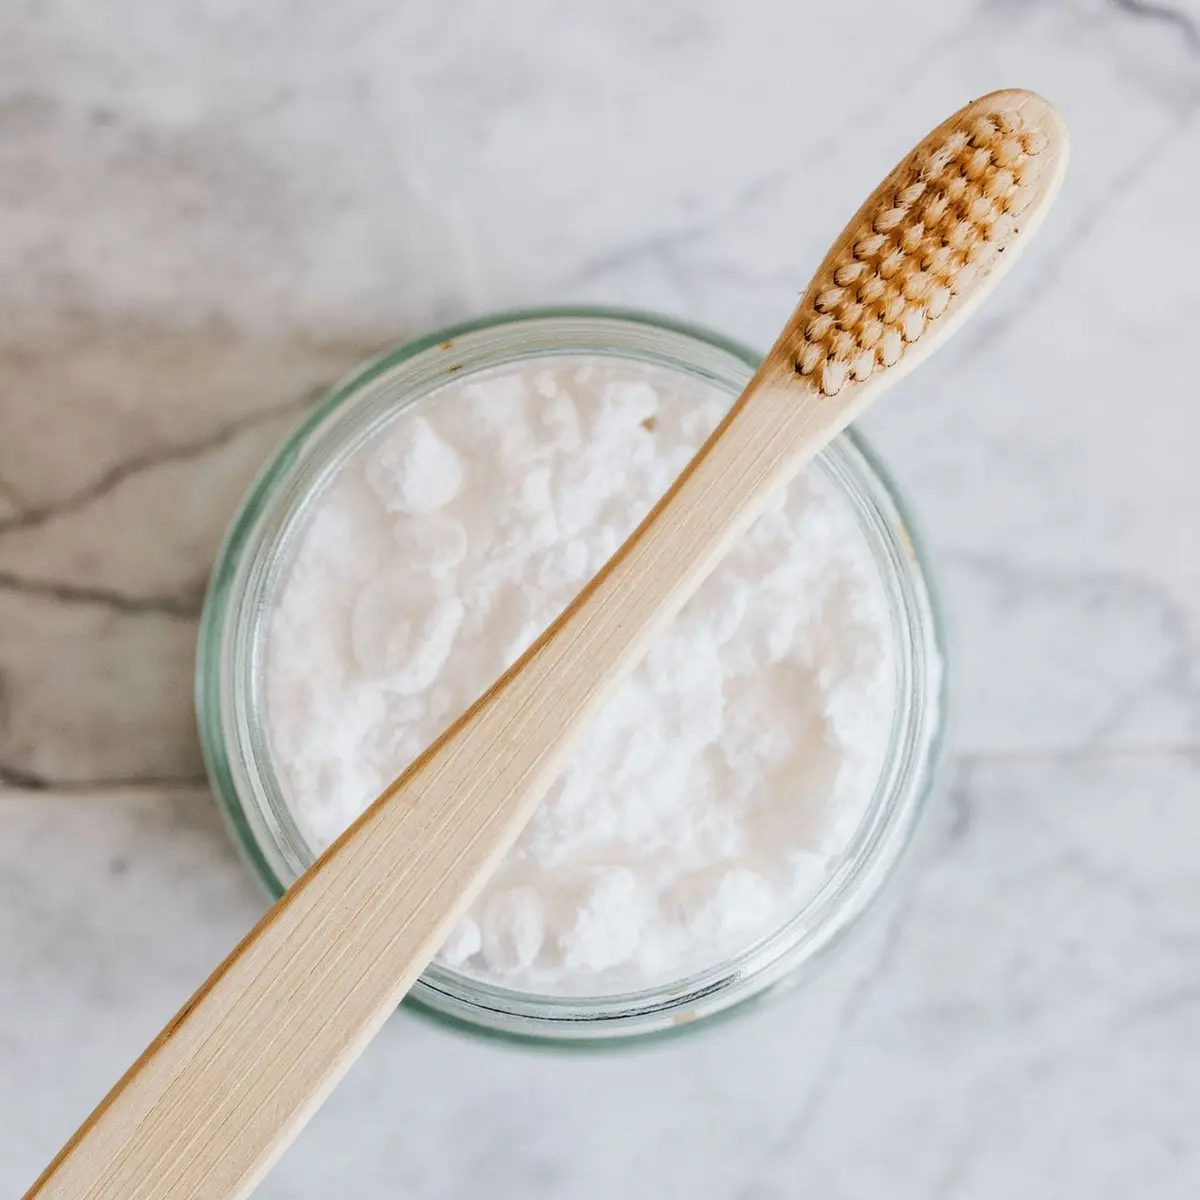
Baking soda lifts film and old smells without leaving a perfume behind. Skip solvents, harsh cleaners and anything strongly scented inside the fridge, because their fumes can find their way into food and ice.
Start at the top and work down, so drips land on parts you haven’t cleaned yet. Pay attention to the back wall, the shelf rails and the grooves where the drawers slide, which hold sticky spills you can’t see from the front.
For a dried spill, lay a cloth soaked in the warm baking soda water over it for a few minutes. It softens enough to wipe away without scraping.
Rinse with a clean, damp cloth and dry with a towel. Leave the door open for a minute so any last moisture can escape before the food goes back in.
5. Line the crisper drawers so the next spill lifts out
Crisper drawers catch leaking produce, soggy leaves and dirt from roots. A liner on the bottom of each drawer turns the next cleanup into a quick swap.
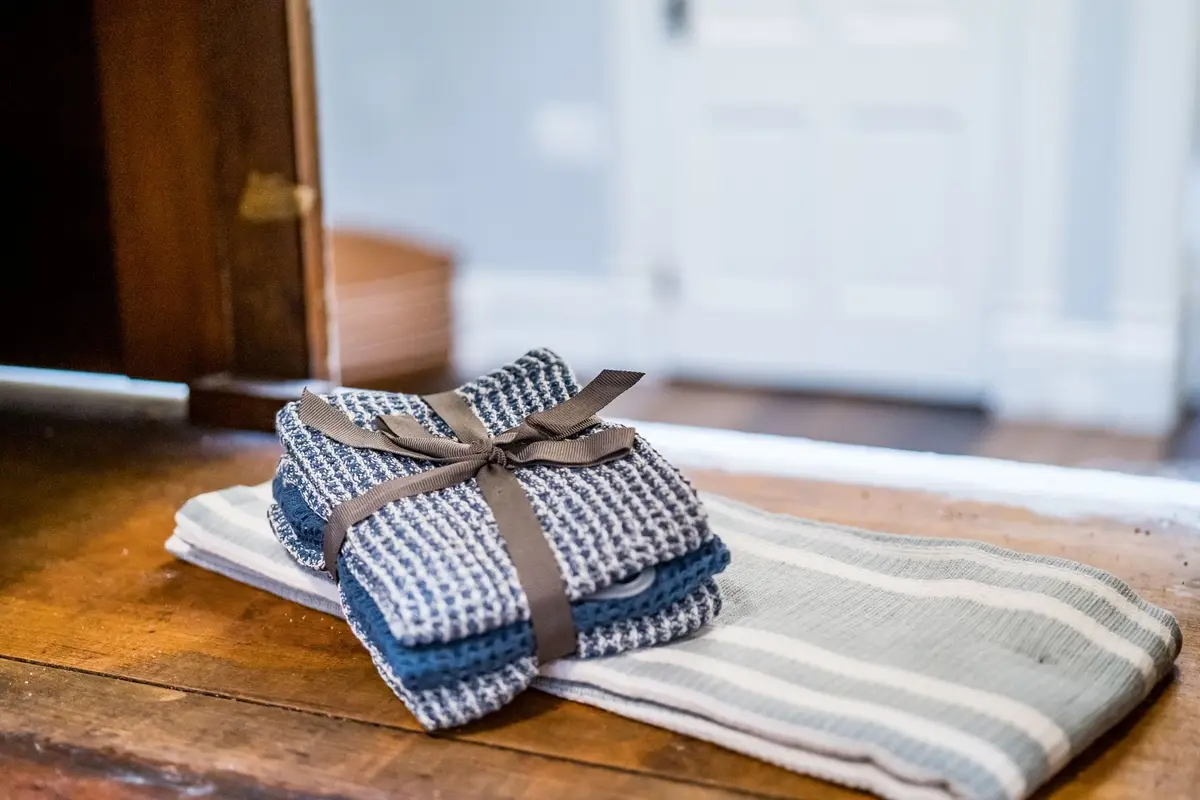
A clean, dry dish towel folded to fit works well, or a washable mat cut to the size of the drawer. Either one soaks up drips from produce and keeps it from sitting in moisture, which helps it last longer.
Keep two liners per drawer so there’s always a clean one ready. When a liner looks damp or stained, pull it out, toss it in the wash and drop in the spare.
Shelf liners work on wire or glass shelves too. Pick ones that wipe clean or go through the washer, and trim them so they don’t block the vents at the back of the fridge, since cold air needs to move.
Measure the inside of each drawer before you cut anything. A liner that bunches up at the edges traps crumbs instead of catching them.
6. Scrub the door seal and its folds with a toothbrush
The rubber gasket around the door keeps cold air in, and its folds collect crumbs, drips and sticky residue. Wipe it with warm, soapy water, then rinse with a cloth dipped in clean water.
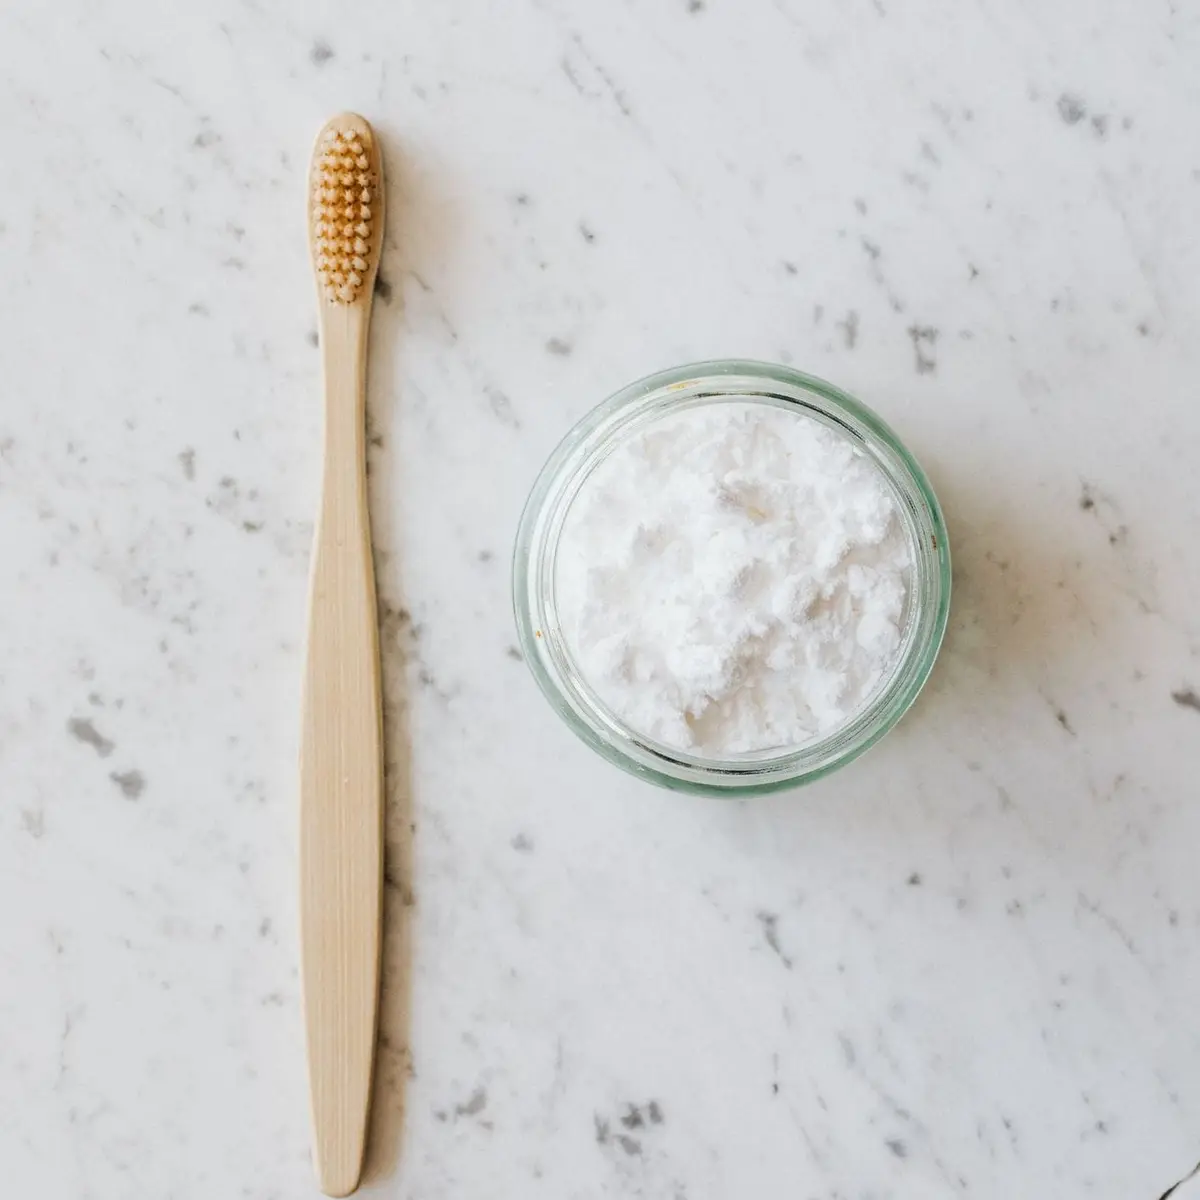
An old toothbrush reaches into the grooves where a cloth can’t go. Work along the seal in short strokes, pulling the folds open gently with your other hand so you can see inside them.
The baking soda water from the last idea works here too, if you’d rather skip soap. Either way, dry the gasket fully when you’re done, because moisture left in the folds is what invites mold.
While you’re there, check that the seal closes properly. Shut the door on a sheet of paper and try to pull it out; if it slides out easily, the seal isn’t tight and may need replacing.
Don’t pull or stretch the gasket hard. It’s attached in a groove around the door, and a torn or loose seal lets warm air in all the time.
7. Treat mold on the seal with soap, water and a dry finish
Black or gray spots in the folds of the gasket are often mold, which grows where moisture sits. Unplug the fridge, put on rubber gloves and scrub the spots with warm water and a little dish soap.
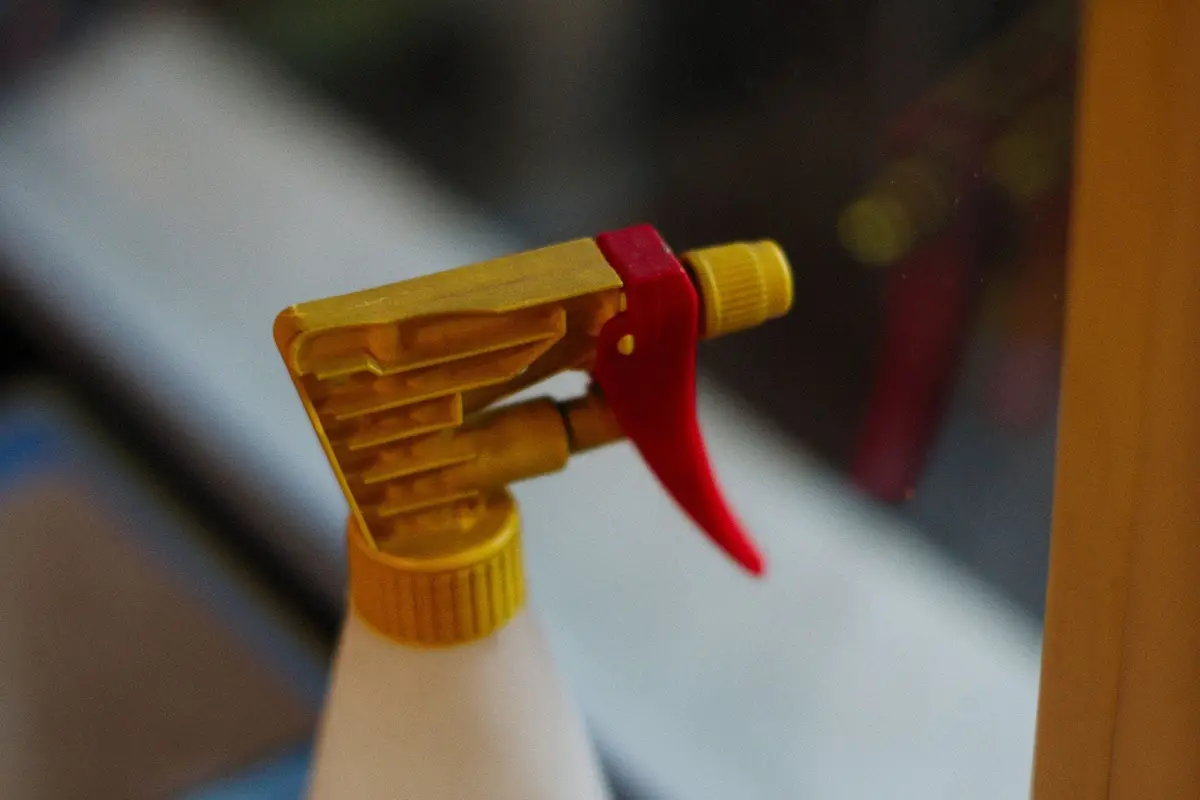
Mold comes off hard, smooth surfaces with detergent and water. Use the toothbrush to get into every fold, then rinse with a clean, damp cloth.
The most important step is drying. Go over the whole seal with a dry towel, then leave the door open for a few minutes so the folds can air out completely before you plug the fridge back in.
If the spots come back or won’t lift, check the manual before you try a stronger cleaner. Some gaskets don’t hold up to bleach or harsh products, and the maker’s instructions say what’s safe.
Never mix cleaners while you work on mold. Bleach mixed with ammonia or with other cleaning products can release dangerous fumes, so use one product at a time and rinse well between them.
8. Clean the ice and water dispenser and its drip tray
The dispenser on the door gets touched every day and splashed just as often. Wipe the paddle, the spout area and the surround with a soft cloth and warm, soapy water, then dry it.
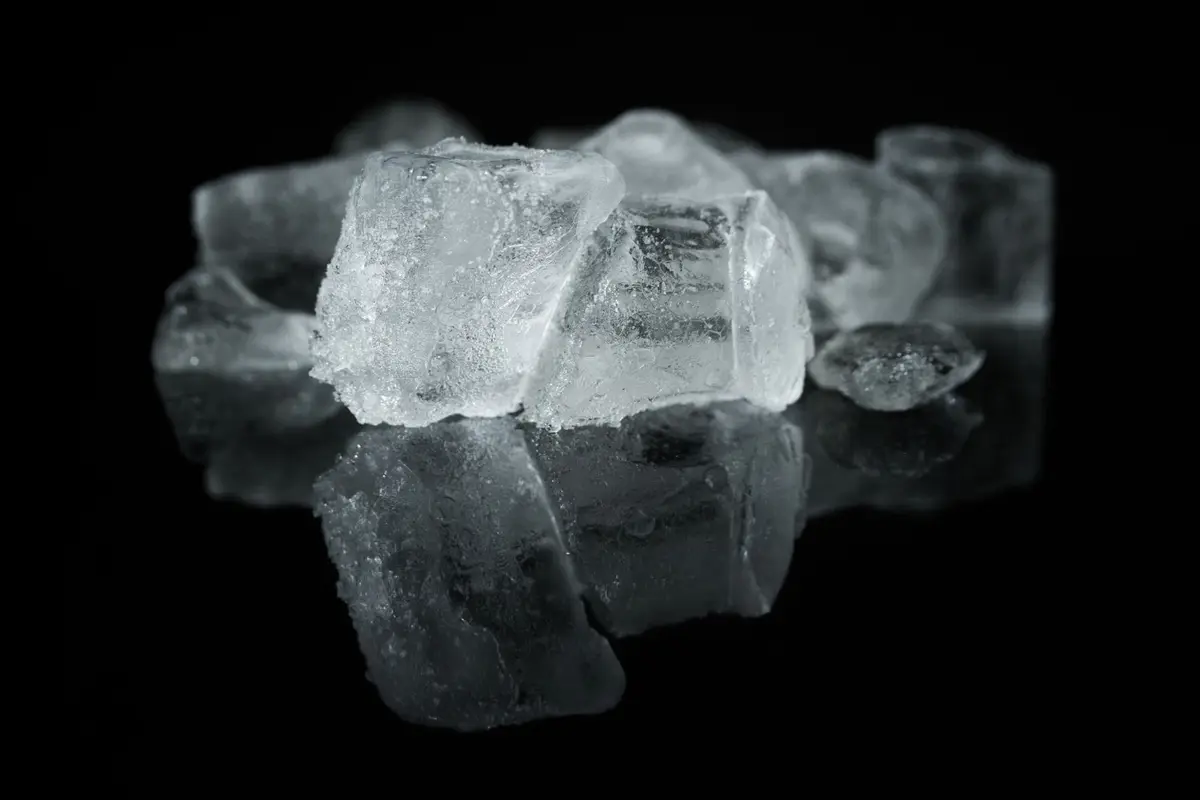
The small tray under the spout collects drips that dry into chalky white rings. Many trays pop out, so lift it out and soak it in white vinegar for a while, since a mild acid like vinegar dissolves hard water deposits.
Scrub the tray with a toothbrush, rinse it well and dry it before it goes back. If your tray doesn’t come out, lay a vinegar-soaked cloth on it for a few minutes, then wipe.
The ice maker, the ice bin and the water filter follow the manual. Some bins lift out for washing in warm water, and most filters have a set replacement schedule.
Toss old ice now and then, since it can pick up smells from the fridge. A fresh batch tastes better and frees up the bin for a quick wash.
9. Vacuum the coils with the fridge unplugged
The condenser coils release the heat the fridge pulls out of your food. When they’re covered in dust, the fridge has to work harder to stay cold.
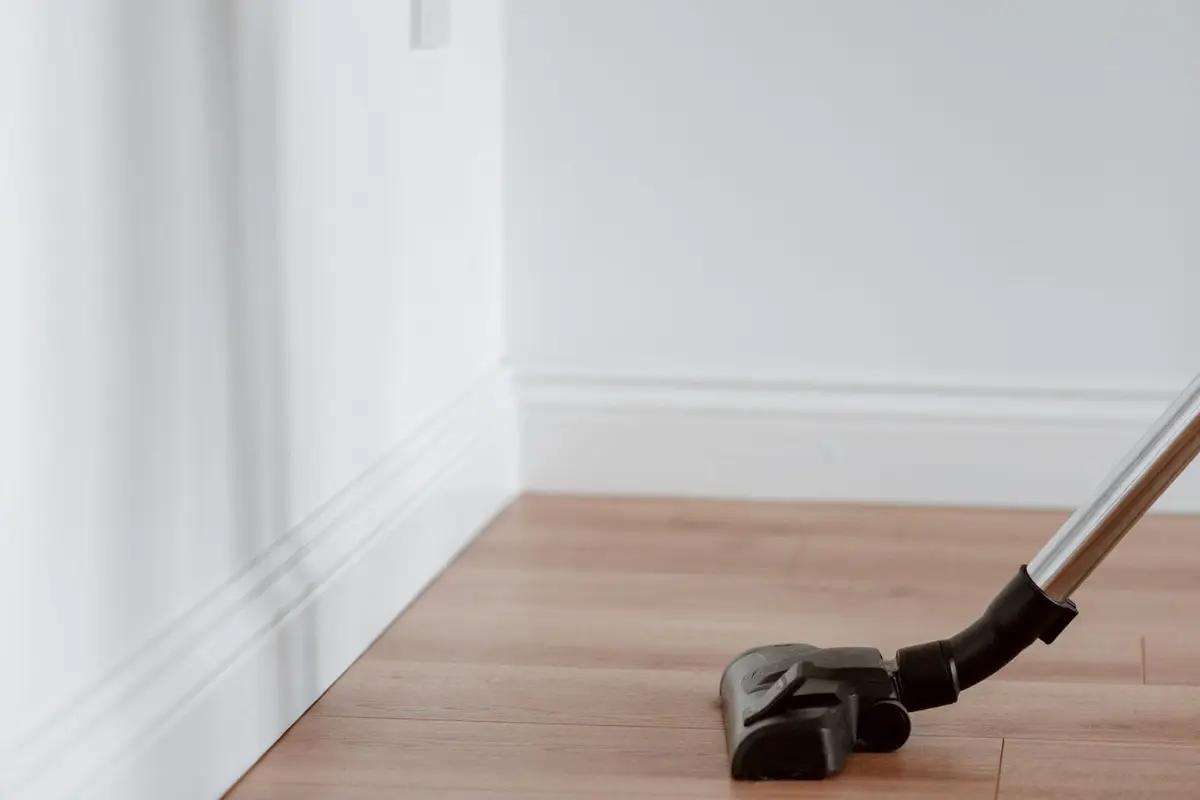
Unplug the fridge before you start. On older models the coils are on the back, and on most newer ones they sit underneath, behind a grille at the bottom front.
Check the manual to see how your grille comes off and where the coils are. Then use the vacuum’s brush attachment, or a long coil brush, to lift the dust, and vacuum the floor under the fridge while you’re there.
Work gently, since coils and the thin metal fins around them bend easily. If the coils are sealed behind a panel you can’t open, leave them to a repair service.
Put the grille back, plug the fridge in and make sure air can still move around it. Vacuuming the coils every few months keeps lint and pet hair from building up again.
10. Empty and wash the drip pan if you can reach it
Many fridges have a shallow drain pan underneath that catches water from the defrost cycle. That water usually evaporates, but spills and dust can leave the pan sticky and smelly.
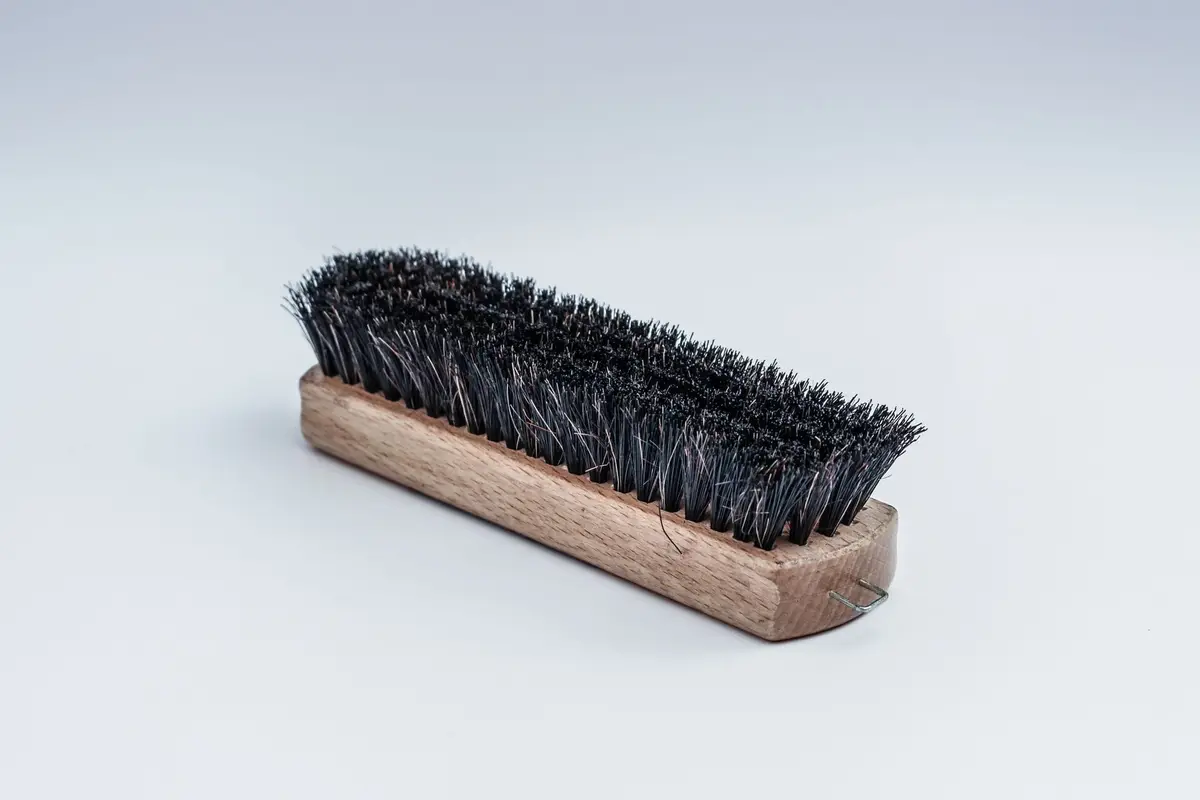
Check the manual first: it shows whether your fridge has a pan and whether it slides out from the front. Some pans are only reachable from the back, and some fridges don’t have one at all.
If yours slides out, unplug the fridge, pull the pan out slowly and keep it level so any water doesn’t spill. Wash it in warm, soapy water with a stiff brush, rinse it and dry it.
A musty smell near the floor of the kitchen is often a sign the pan needs attention. Wipe up any drips on the floor underneath while the pan is out.
Slide it back the way it came, then plug the fridge in. Add the pan to the same day you vacuum the coils, so both jobs happen with the grille off.
11. Wipe the outside, the handles and the top
The outside of the fridge gets more hands on it than almost anything in the kitchen. Wash the doors and handles with warm water and a mild dish soap, then rinse with a clean, damp cloth and dry them.

On a stainless steel finish, wipe in the direction of the grain, the faint lines in the metal. Streaks disappear faster that way, and a soft cloth won’t scratch the surface.
The handles need extra attention, since everyone grabs them. Wipe them every night as part of closing the kitchen, along with the faucet handles and the cabinet pulls.
Don’t forget the top of the fridge. It collects a sticky mix of dust and cooking grease that gets worse the longer it sits, so wipe it with warm, soapy water whenever you clean the coils.
If your counters need the same treatment, our guide to how to clean quartz countertops covers the gentle cleaners that are safe on stone. The microwave nearby gets its own list in microwave cleaning hacks.
12. Check the leftovers and the temperature once a week
A weekly check keeps the fridge from sliding back into a jumble of forgotten containers. Pick a day, often the night before trash pickup, and open every container.

Toss leftovers that are more than about four days old and anything that has started to spoil. Clear containers help a lot here, since you can see what’s inside without lifting a single lid.
Wipe any fresh spills you find while the door is open. A drip wiped the day it happens takes seconds; the same drip after a week takes scrubbing.
Glance at a fridge thermometer each week too. The fridge should stay at forty degrees Fahrenheit or colder to keep food safe, and a thermometer tells you more than the dial does.
When the check is done, rinse the containers in the sink and wipe the basin before bed. Our sink cleaning hacks keep that last step quick, and a monthly cleaning schedule is a handy place to note the coils and the deep clean so they come around on their own.

Save this for later
Pin it to a board so it's there when you're ready to start.
Save to Pinterest(opens in a new tab)Make it easier
Free printable
A room-by-room deep cleaning checklist for the jobs a weekly clean skips, from the oven and the grout to the vents and baseboards.
Free printable
Monthly Cleaning Schedule Printable
A one-page monthly cleaning schedule: the daily and weekly basics at the top, then one deeper area for each week, so every corner of the house gets its turn without a cleaning weekend.
Frequently asked questions
How often should I clean my refrigerator?
Wipe spills the day they happen and check the leftovers once a week. Give the whole fridge a deep clean every few months, and vacuum the coils on about the same schedule, or as often as the manual says.
How do I clean mold from a refrigerator door seal?
Unplug the fridge, then scrub the seal and its folds with warm, soapy water and an old toothbrush, rinse with a clean damp cloth and dry it completely. If the spots come back or won't lift, check the manual before you reach for anything stronger, and never mix cleaners.
What should I use to clean the inside of a fridge?
Warm water with a little baking soda stirred in, about two teaspoons to a quart, handles the walls, the ceiling and the corners. Wash the shelves and drawers in warm, soapy water, and skip solvents and strong-smelling cleaners, since their fumes can end up in food and ice.
Can I put cold glass fridge shelves in hot water?
Not straight from the fridge. Let a glass shelf sit on the counter until it reaches room temperature first, because warm water on cold glass can crack it.
Do I need to unplug the fridge to clean the coils?
Yes. Unplug it before you vacuum or brush the coils, whether they sit at the back or behind the grille at the bottom. Follow the manual for how to reach them, and plug the fridge back in once you're done.