12 Mug Storage Ideas for Small Spaces That Free Up a Cabinet Shelf
Keep the mugs you use, box up the rest and hang, stack or file them on hooks, rails, a mug tree or a drawer that fits a small kitchen.

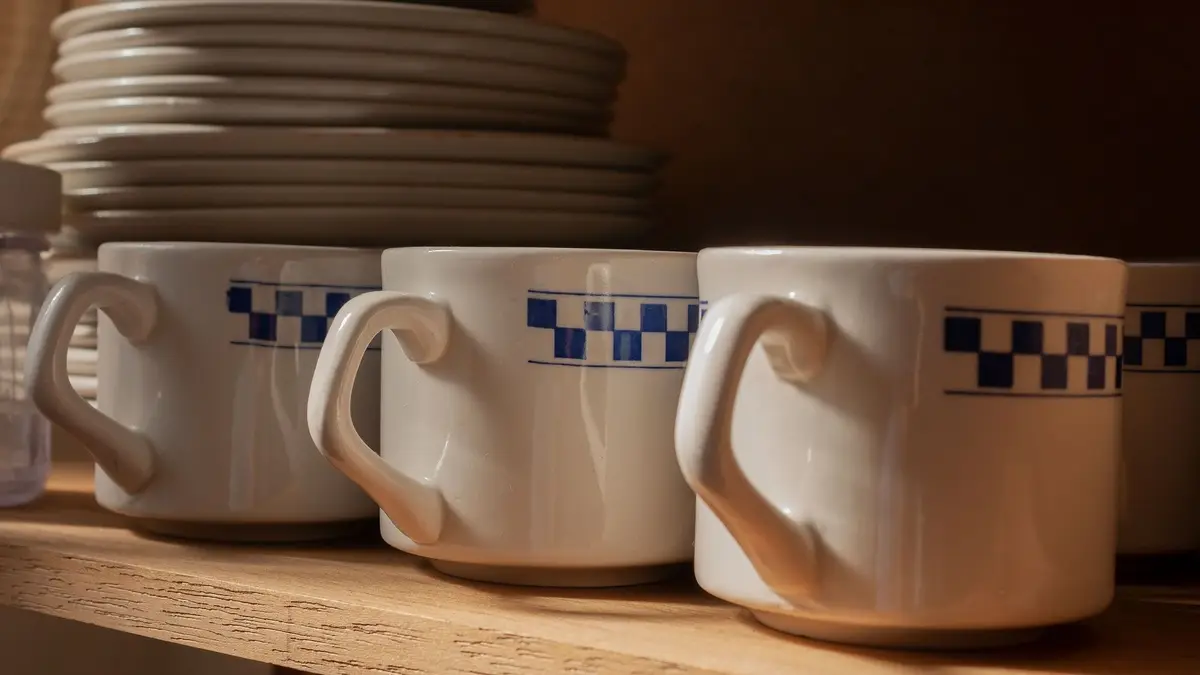
The best mug storage ideas for small spaces start with fewer mugs: keep one or two per person plus a few for guests, and box up the rest. Then move the everyday ones off the cabinet shelf and onto hooks under a shelf, a wall rail, a mug tree or a drawer near where you make coffee or tea.
These 12 ideas suit a small kitchen, an apartment or a coffee corner with almost no room. Start with the first two, since every idea after them works better with a shorter row of mugs.
1. Keep the mugs you actually use
Take every mug out of the cabinet and set them on the counter. Most kitchens have far more mugs than anyone drinks from, and they fill a whole shelf in a small space.
A good number to keep is one or two per person who drinks coffee or tea every day, plus a few for guests. A household of two that rarely hosts can often manage with a single short row.
Pull out the mugs nobody chooses first. Chipped rims, cracked handles, stubborn stains and the ones that are too small, too heavy or too hot to hold can all go.
If you can’t decide, put the doubtful mugs on a separate shelf for a few weeks. Any mug that nobody reaches for in that time is one you won’t miss.
Keep favorites that match how your household drinks: big mugs for slow morning coffee, smaller ones for tea and a couple of sturdy ones for kids. A short, well-chosen collection fits almost anywhere, and the rest of these ideas get easier.
2. Store the extras somewhere else
Some extra mugs earn a place in the home but not in the kitchen. The set you use for guests, the seasonal ones and the spares for a busy weekend can live in a box out of the way.
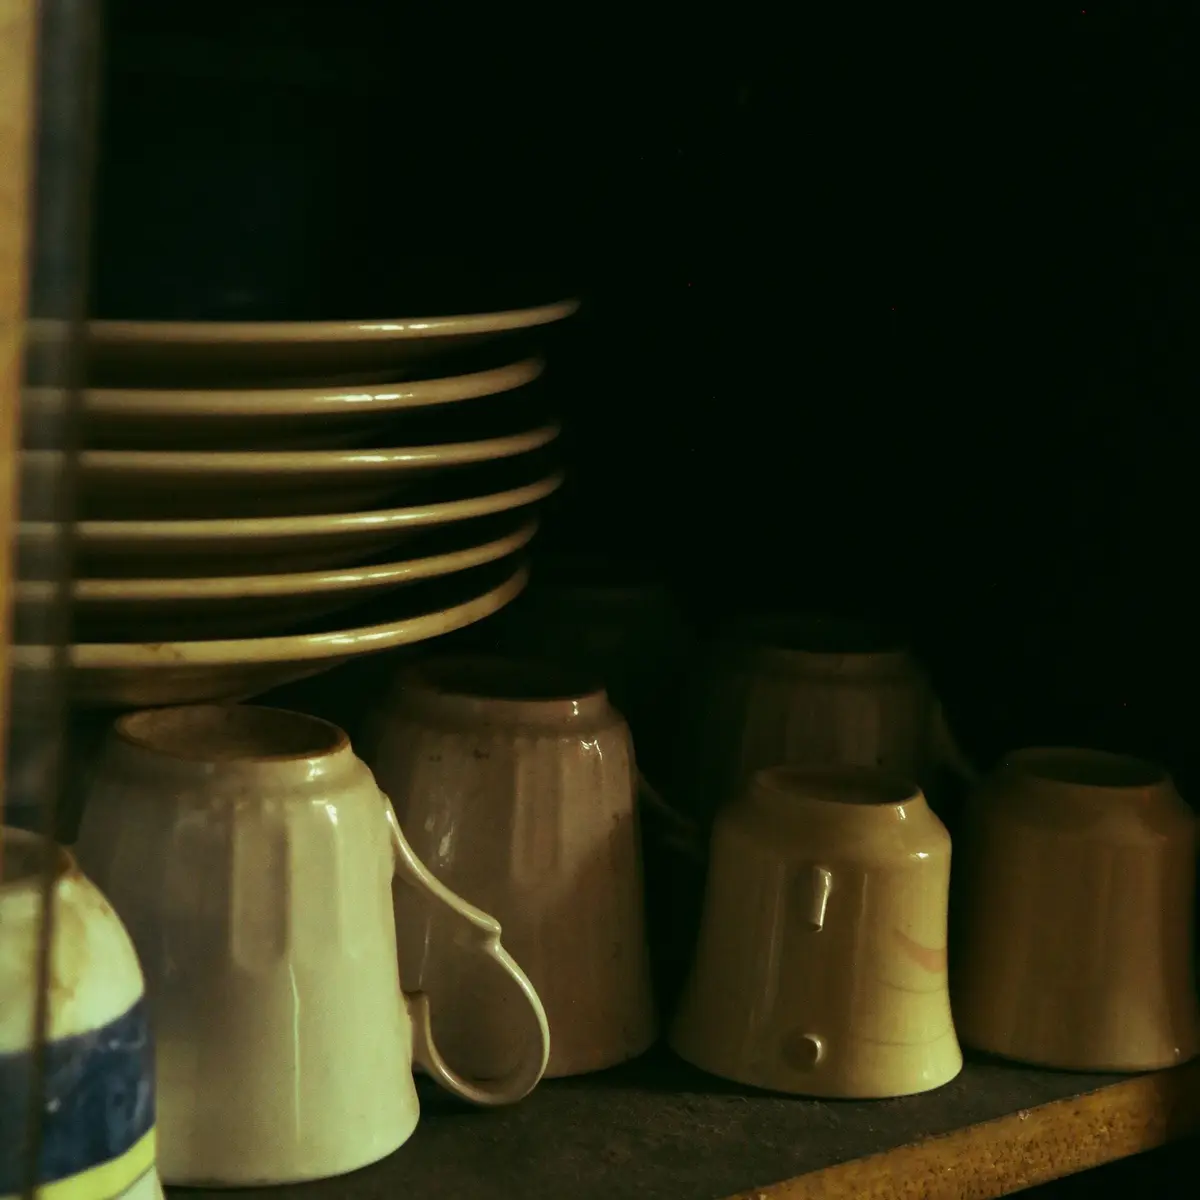
Wrap each one in a dish towel or a sheet of paper and pack them upright in a sturdy box. Label the box with what’s inside, so it’s easy to find when guests come.
Put the box on a high closet shelf, under a bed or with other entertaining things. Heavy boxes belong low, so set it on the floor of a closet if it’s full of thick stoneware.
A hutch or a cabinet outside the kitchen works too. Stack the spare mugs at the back of a shelf, upside down to keep dust out, and leave the front for things you use more often.
Swap mugs in and out with the seasons if you like. When a new favorite comes into the kitchen, an older one goes into the box or out the door, so the everyday row stays the same size.
3. Hang mugs from hooks under a shelf or cabinet
The underside of an upper cabinet or a sturdy shelf is wasted space in most kitchens. A row of cup hooks turns it into a place for a whole line of mugs, with no shelf space used at all.
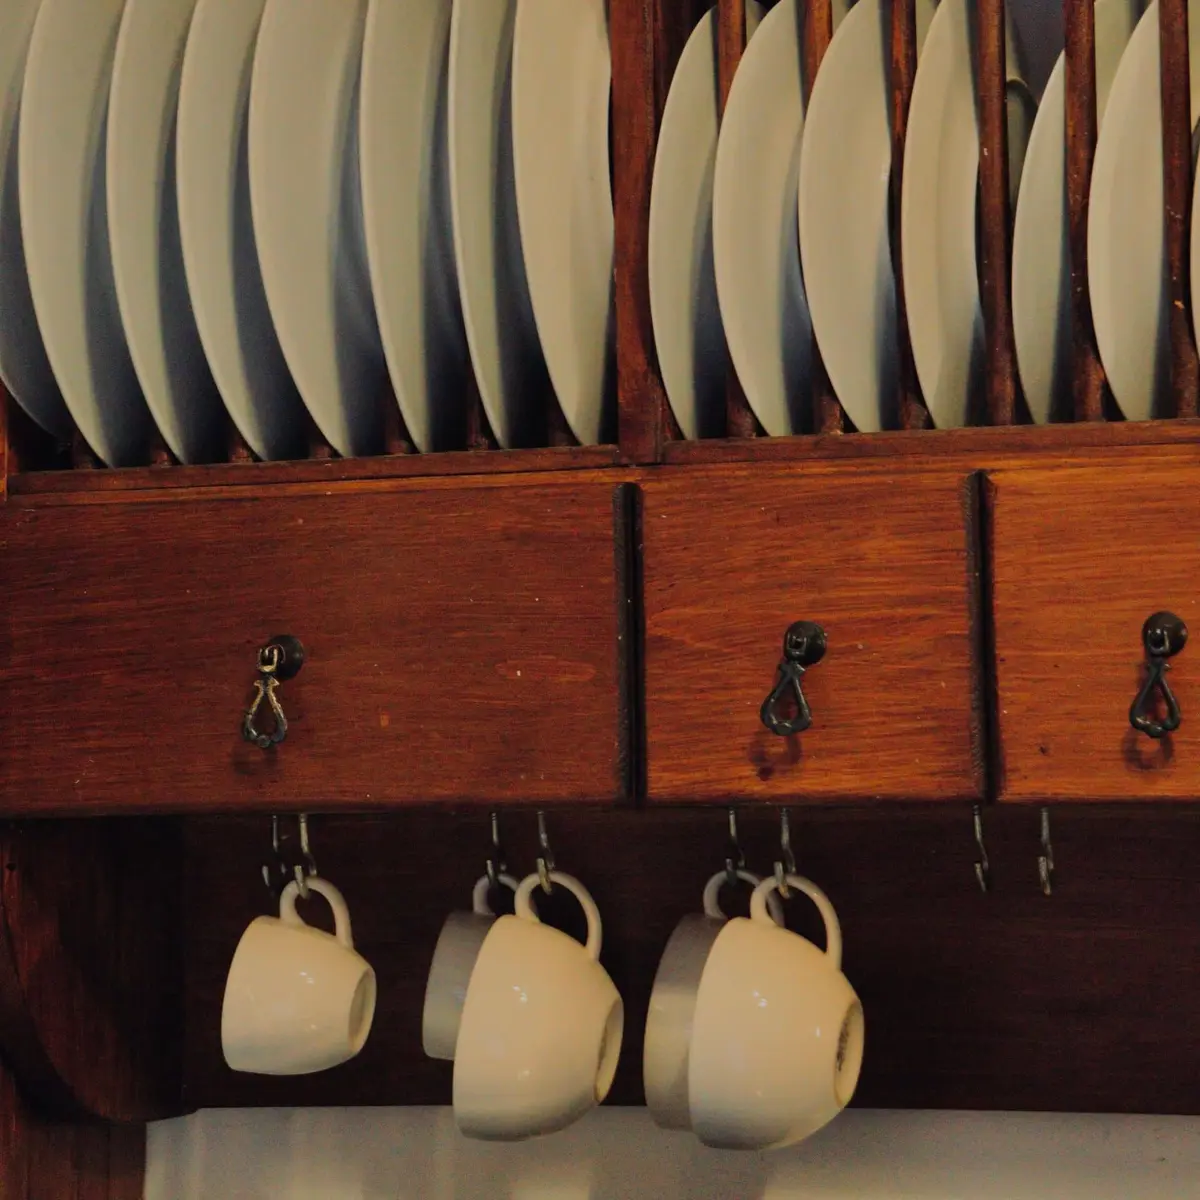
Screw the hooks into the solid bottom panel of the cabinet or the shelf, not into thin backing. Space them a little wider than your widest mug, so the mugs don’t clink together when you take one down.
Check the clearance before you drill. The hanging mugs need to clear the coffee maker, the kettle and anything else on the counter below, and you need room to lift each one off its hook.
Hang mugs by their handles with the open side facing the wall or down, so dust stays out. Put the ones you use most at the end closest to where you pour.
This works especially well over a coffee or tea spot. The mugs hang right above the kettle, and the counter underneath stays clear for making the drink.
4. Slide an under-shelf rack into the cabinet
If you can’t drill, use the space under a cabinet shelf instead. An under-shelf rack slides onto the shelf edge and holds a row of mugs hanging below it, with nothing screwed in.
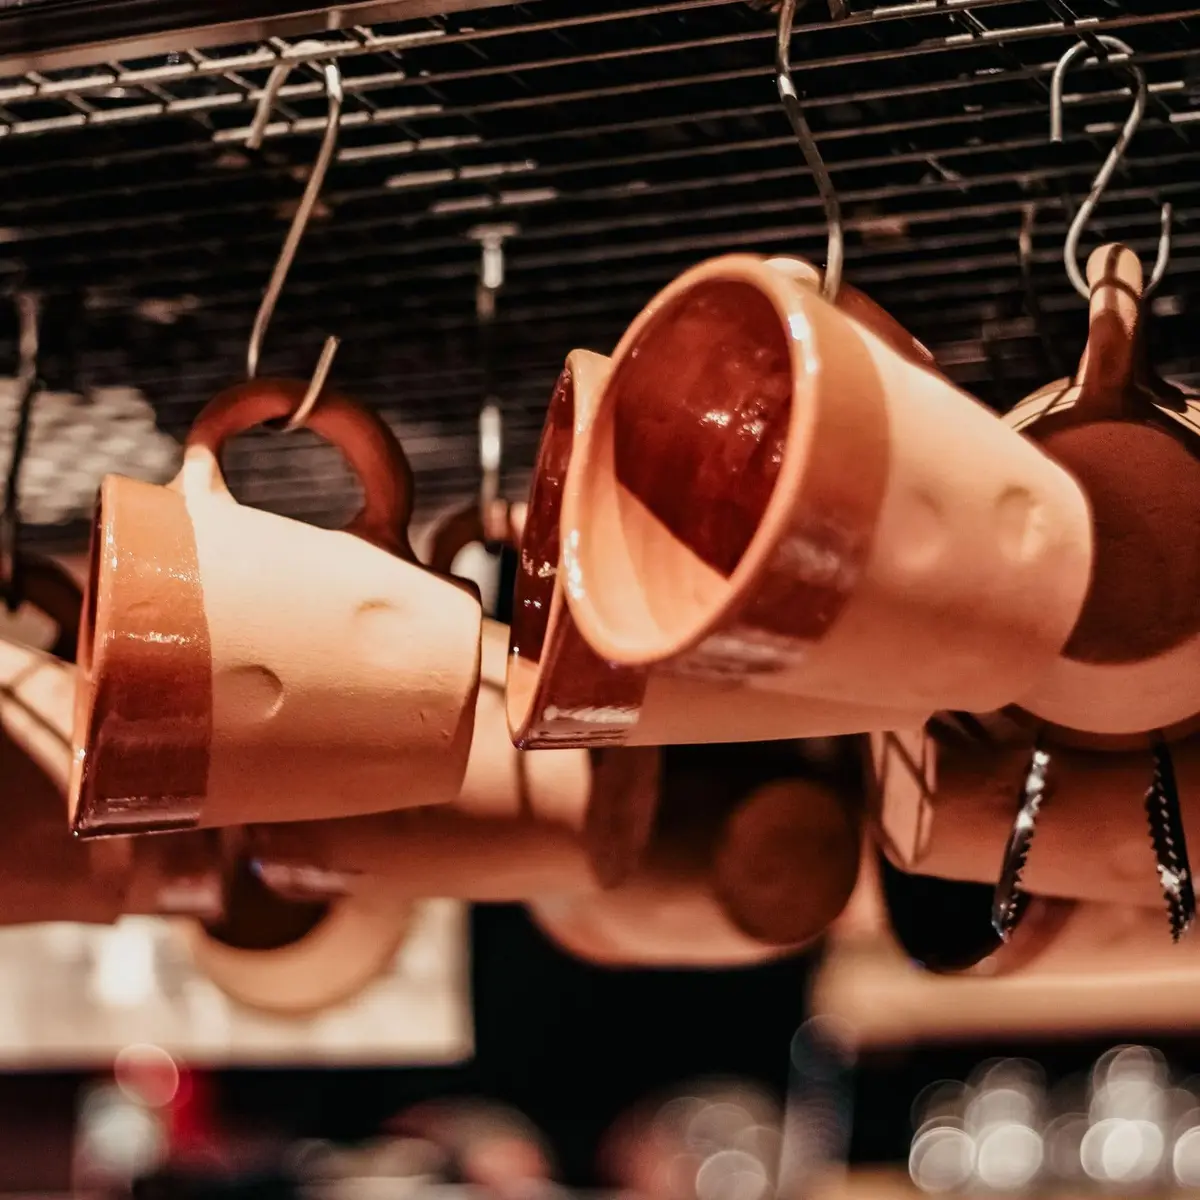
The mugs hang in the empty gap between the shelf and the top of whatever sits below. In a small kitchen, that gap can hold as many mugs as a whole extra shelf.
Measure the shelf depth and thickness before you buy, so the rack clips on firmly. Leave enough room under it for the items on the shelf below.
A shelf riser does the same job for stacks. Set one in the cabinet and you get two levels in the space of one, with mugs on top and plates, bowls or glasses underneath.
The inside of the cabinet door can help too. A narrow rack there can hold travel mug lids or a few light cups, as long as it clears the shelves when the door closes.
5. Mount a wall rail with hooks
A rail with hooks fits into a narrow strip of wall, like the space beside a window or at the end of the counter. It holds a row of mugs at eye level, ready to grab.
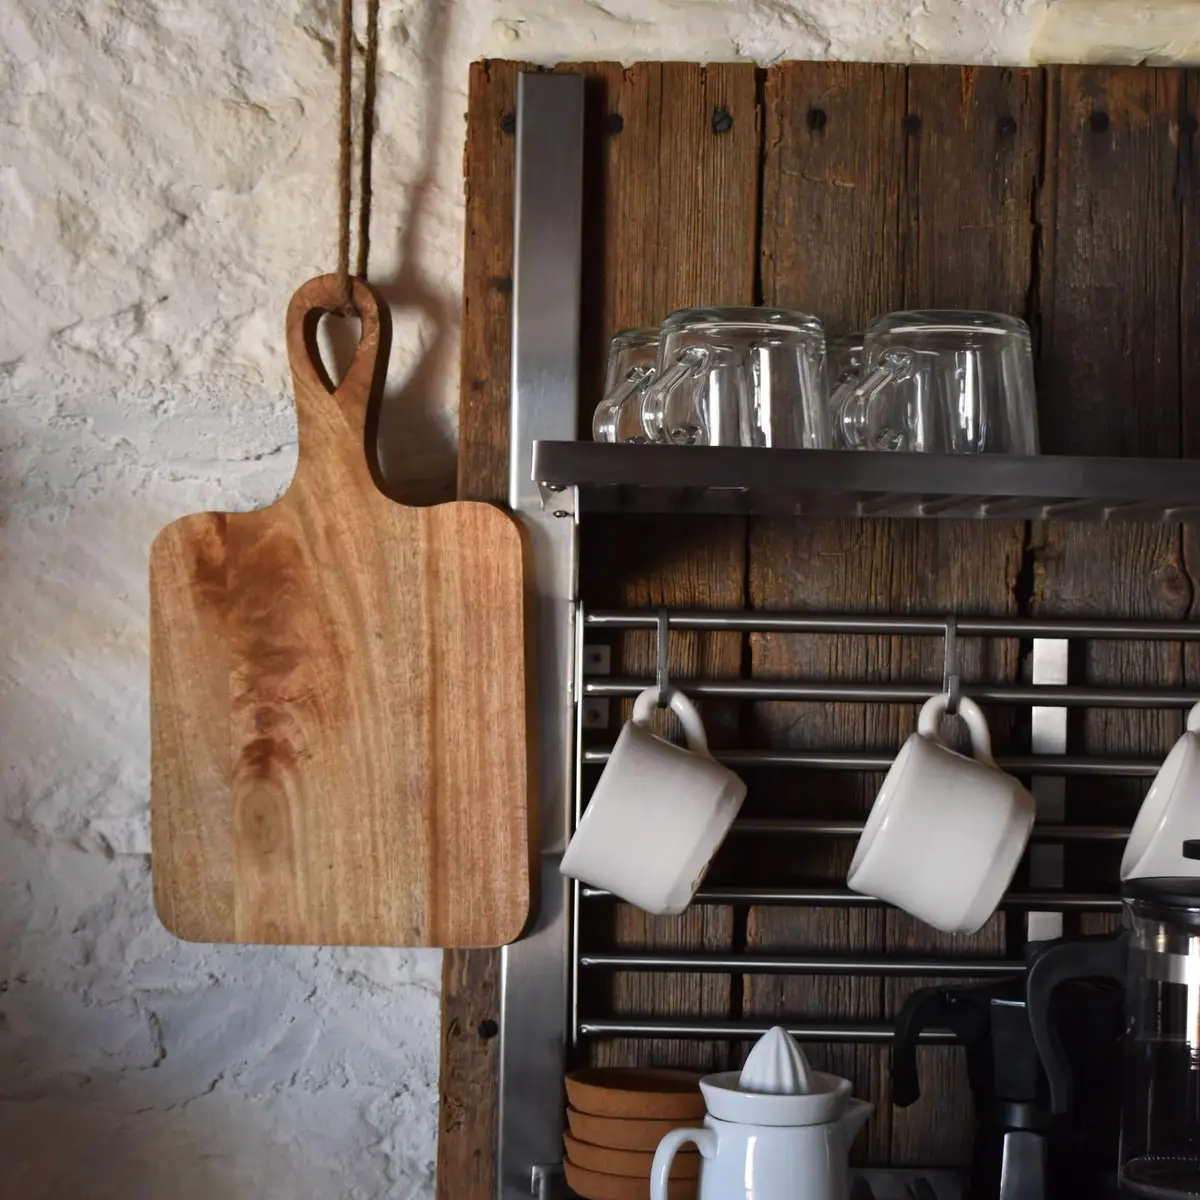
A full row of ceramic mugs is heavier than it looks. Screw the rail into wall studs, or use anchors rated for the weight, and skip adhesive hooks for anything heavier than a dish towel.
Keep the rail away from the stove. Reaching over hot burners for a mug is a burn risk, and things stored above the cooktop can fall onto it.
Hang the mugs a little apart, and leave space below for the counter to stay usable. A second rail lower down can take small pans, a cutting board or a tea towel.
For more ways to use bare walls in a small kitchen, these kitchen wall organization ideas cover rails, shelves and hooks for the rest of the room. Mugs are often the first thing to move up there.
6. Hang a pegboard for mugs and small shelves
A pegboard gives you hooks and small shelves that move around as your needs change. It suits a small kitchen where every bit of wall has to work hard.
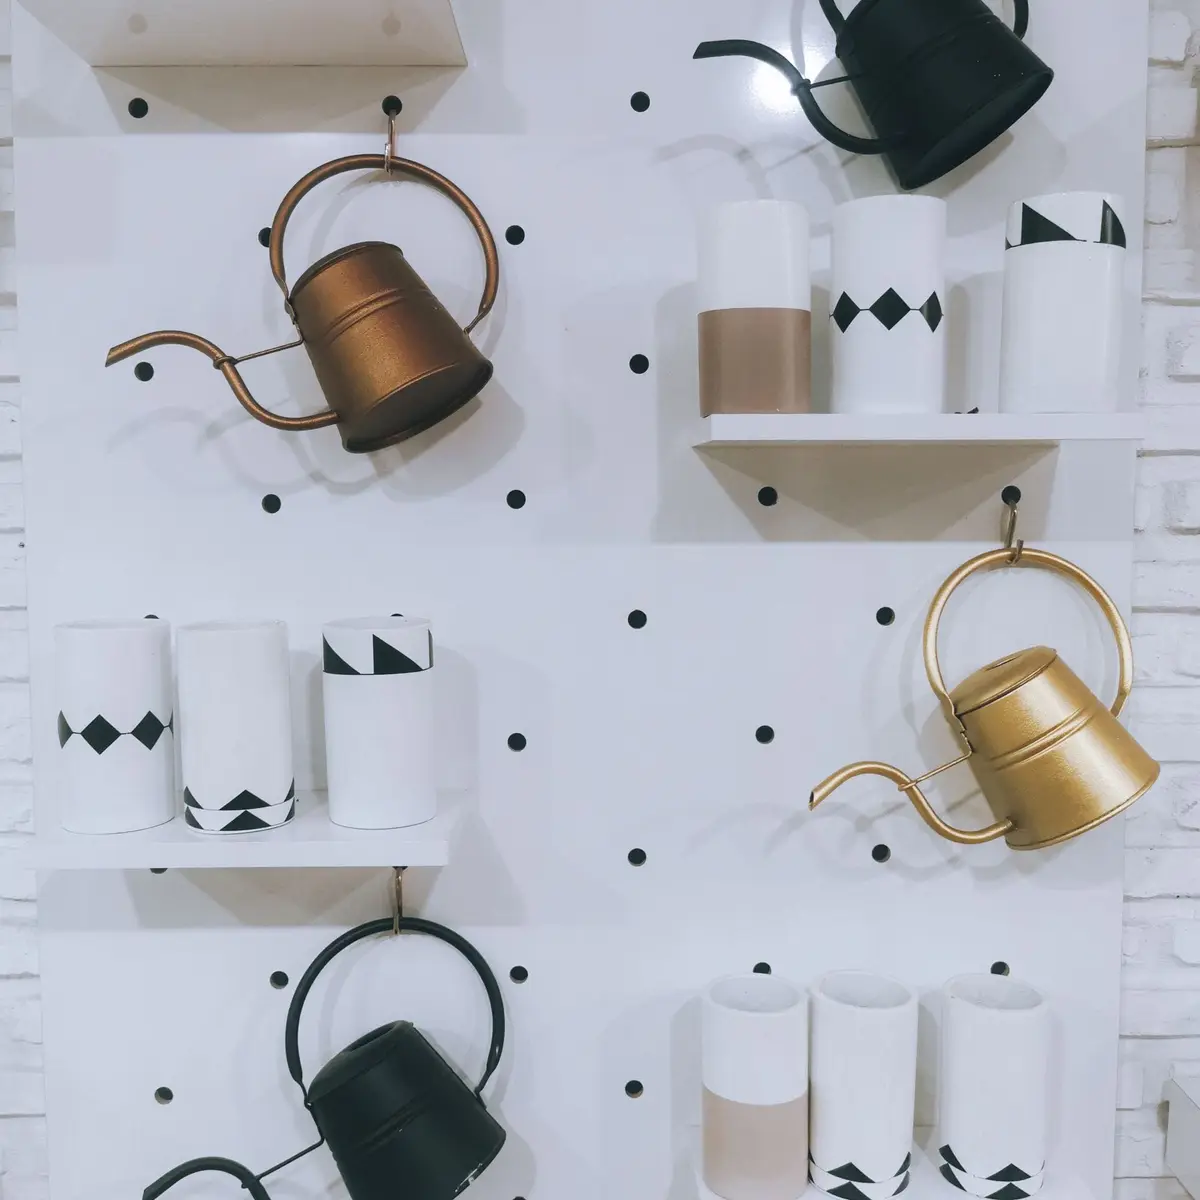
Mount the board on spacers so the hooks have room to slip in behind it, and screw it into studs or rated anchors. Pick a size that fits the wall without crowding the counter.
Hang mugs from single hooks and add a couple of small shelves for cups without handles, sugar or a tin of tea bags. Leave a few empty holes for new things later.
Arrange the board around how you make your drinks. Everyday mugs at the height you reach most easily, spares higher up and anything breakable away from where elbows swing.
Repaint the board to match the wall or keep it a crisp white so it blends in. A tidy pegboard looks like part of the kitchen rather than one more busy spot.
7. Stand a mug tree on the counter
A mug tree holds a handful of mugs on a footprint smaller than a dinner plate. It needs no drilling, so it’s an easy choice for renters.
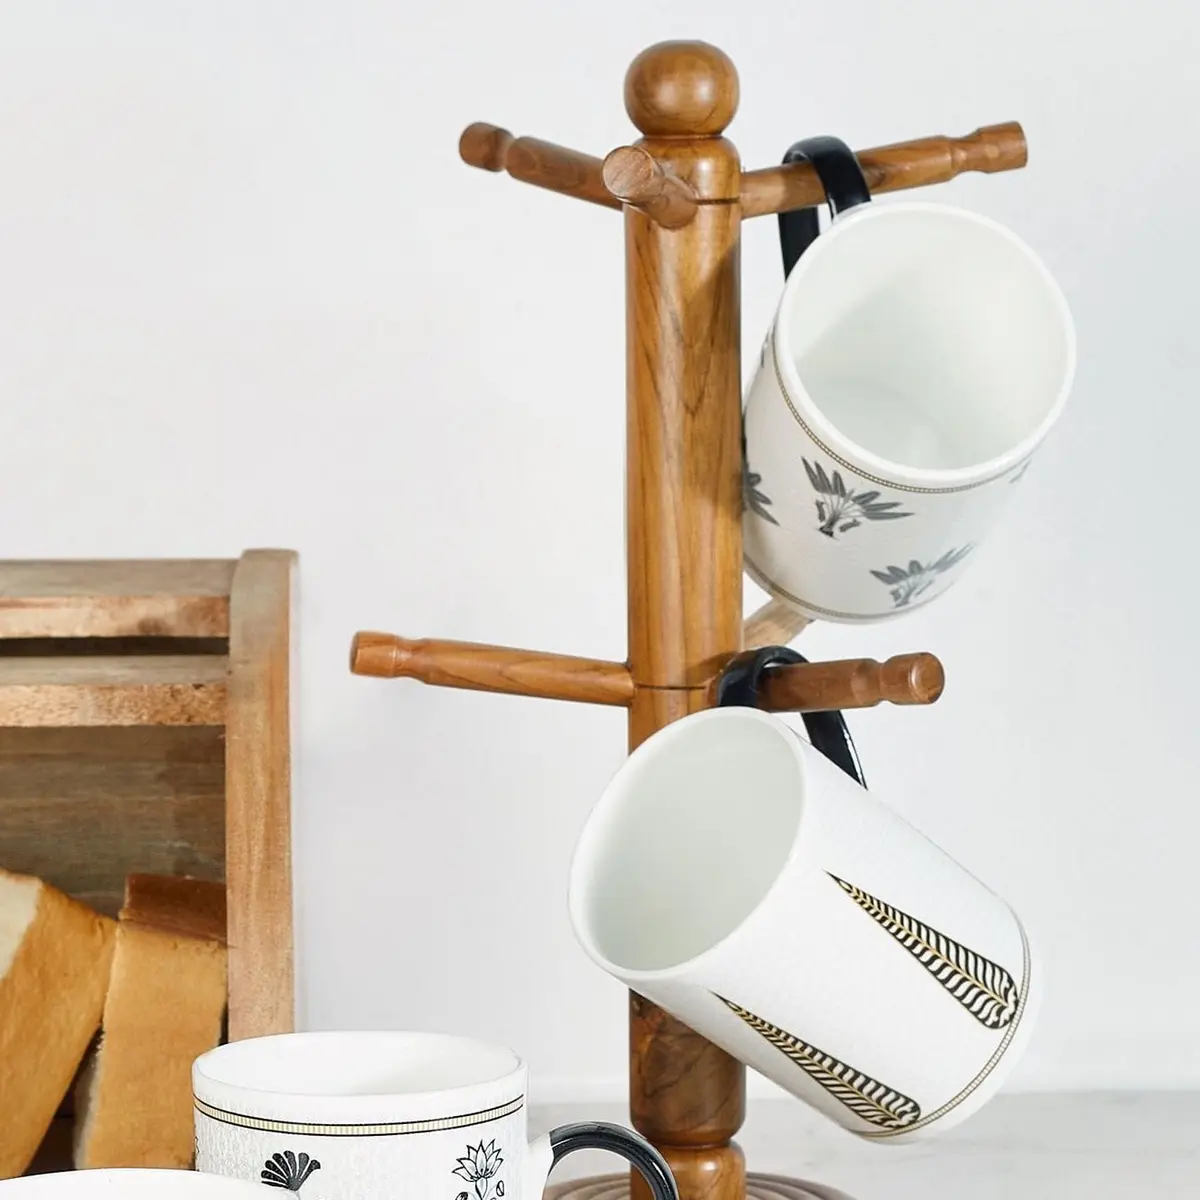
Pick one with a heavy, wide base so it doesn’t tip when you pull a mug off. Wood and metal trees are steadier than thin, light ones.
Put the tree at the back corner of the counter next to the coffee maker or kettle. It uses vertical space that’s usually empty, and the mugs are right where you pour.
Hang the heaviest mugs on the lowest arms and lighter ones on top. That keeps the tree balanced and makes it less likely to wobble.
A tree holds only the everyday mugs, which is part of the point. Once it’s full, the collection has reached its limit, and the rest can live in a cabinet or the box from idea two.
8. Pick mugs that stack
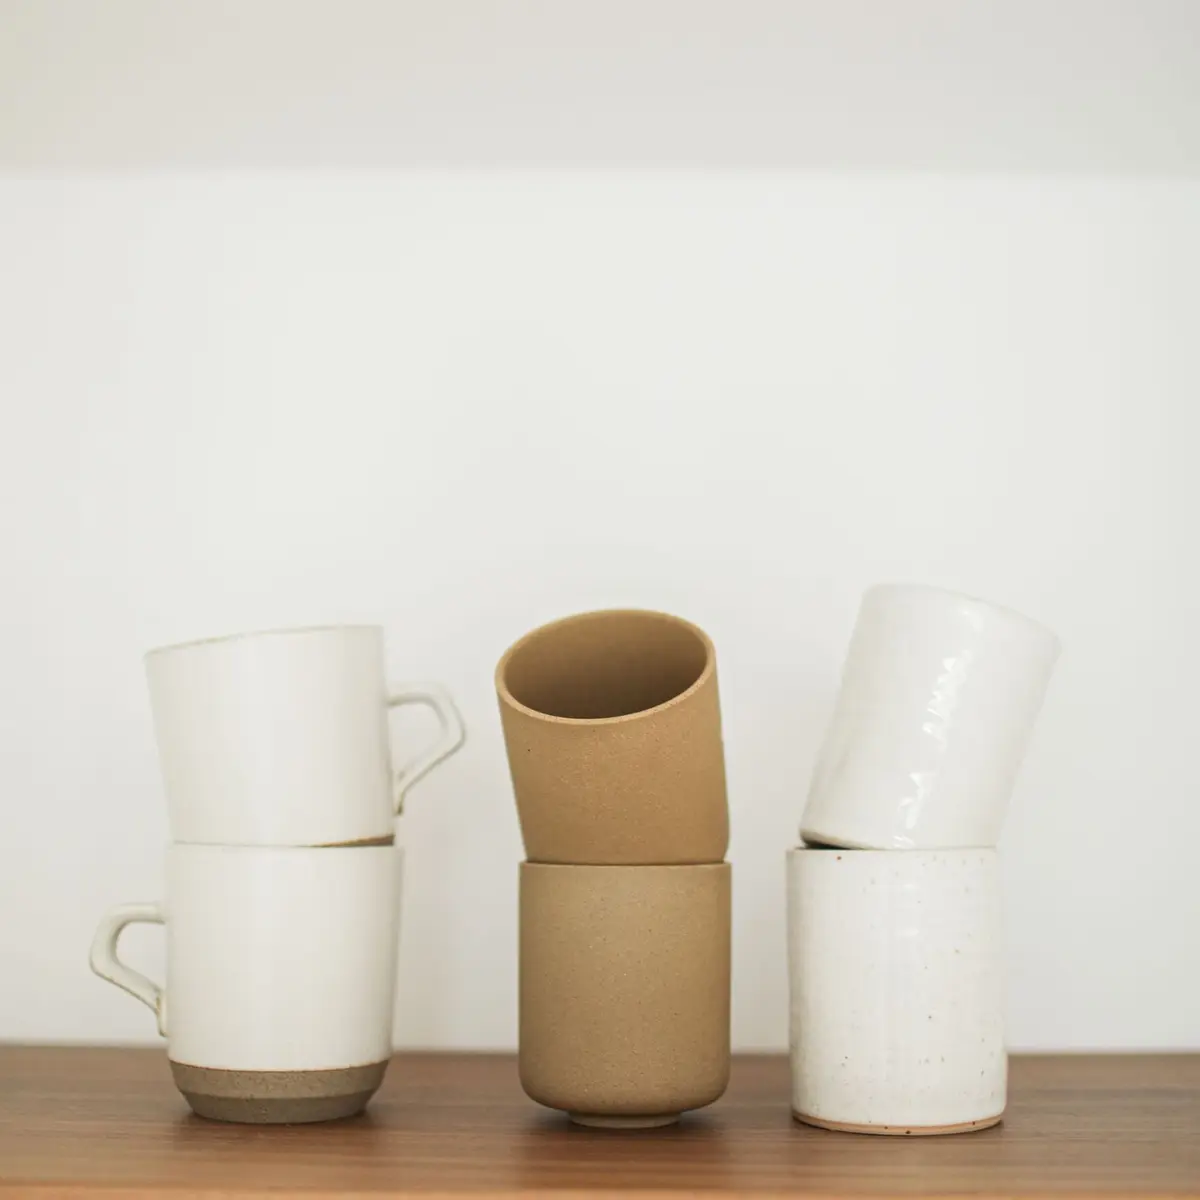
Mugs with straight sides and a matching shape stack neatly, two or three high. A stacking set takes a fraction of the shelf space of mugs from different sets.

Stack only mugs made to nest or sit flat on one another. Mugs that wobble or rest on their rims chip easily, and a tall stack of mismatched shapes is one bump away from a crash.
Keep each stack short, so pulling out the top mug doesn’t mean lifting the whole tower. Put the heaviest mugs on the bottom and the lightest on top.
Slip a soft pad or a folded paper towel between delicate mugs if they rub. That small layer protects the glaze on the inside and the rim of the mug below.
When it’s time to replace mugs, choose a stacking style and stick with it. Over time, the whole collection fits into one tidy corner of a cabinet shelf.
9. Give mugs an open shelf by the coffee and tea
A single open shelf above the coffee or tea spot keeps mugs right where you use them. It’s a good fit for a small kitchen where the cabinets are already full.
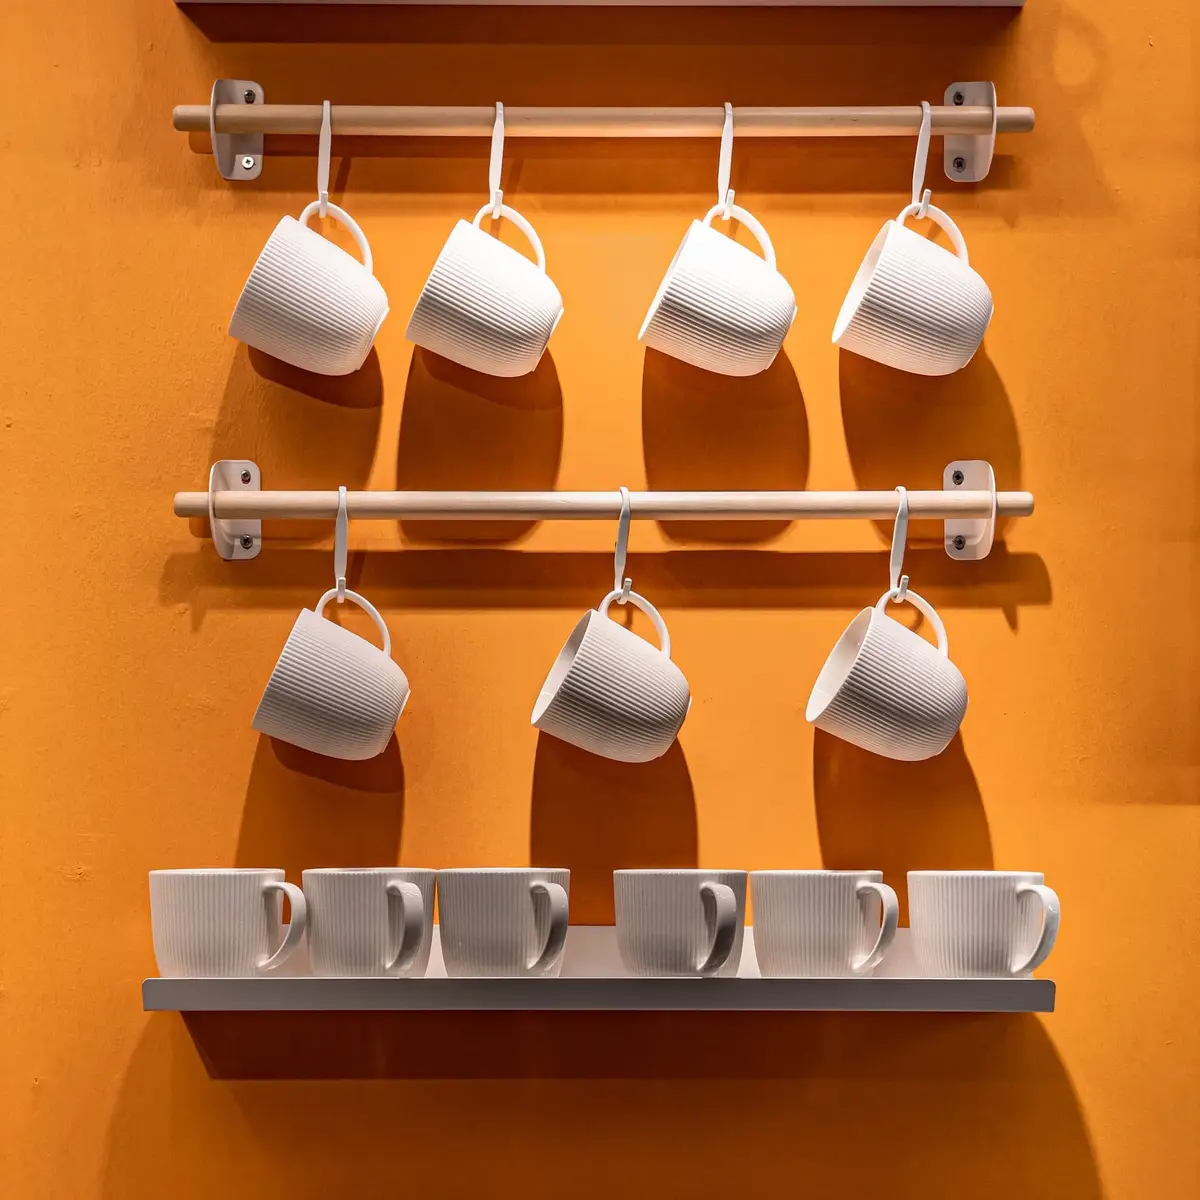
A short floating shelf or a pair of shelves with a rail between them holds a row of mugs and a few small things like sugar or a jar of tea bags. Mount it into studs, and keep the heaviest pieces on the lowest shelf.
Open shelves stay dust-free when the mugs on them are used every day. Put the everyday ones there and keep the spares inside a cabinet.
If there’s no wall to spare, a slim rolling cart in a gap beside the counter can play the same role. Mugs go on the top tier, and coffee or tea supplies sit below.
For the rest of that corner, these coffee station organization ideas set up the machine, the beans and the filters around the mugs. When everything for a morning drink lives in one spot, the rest of the counter stays clear.
10. Give mugs a drawer
A deep drawer near the coffee maker can hold more mugs than you’d think. You see every one from above, and nothing is stored over your head.
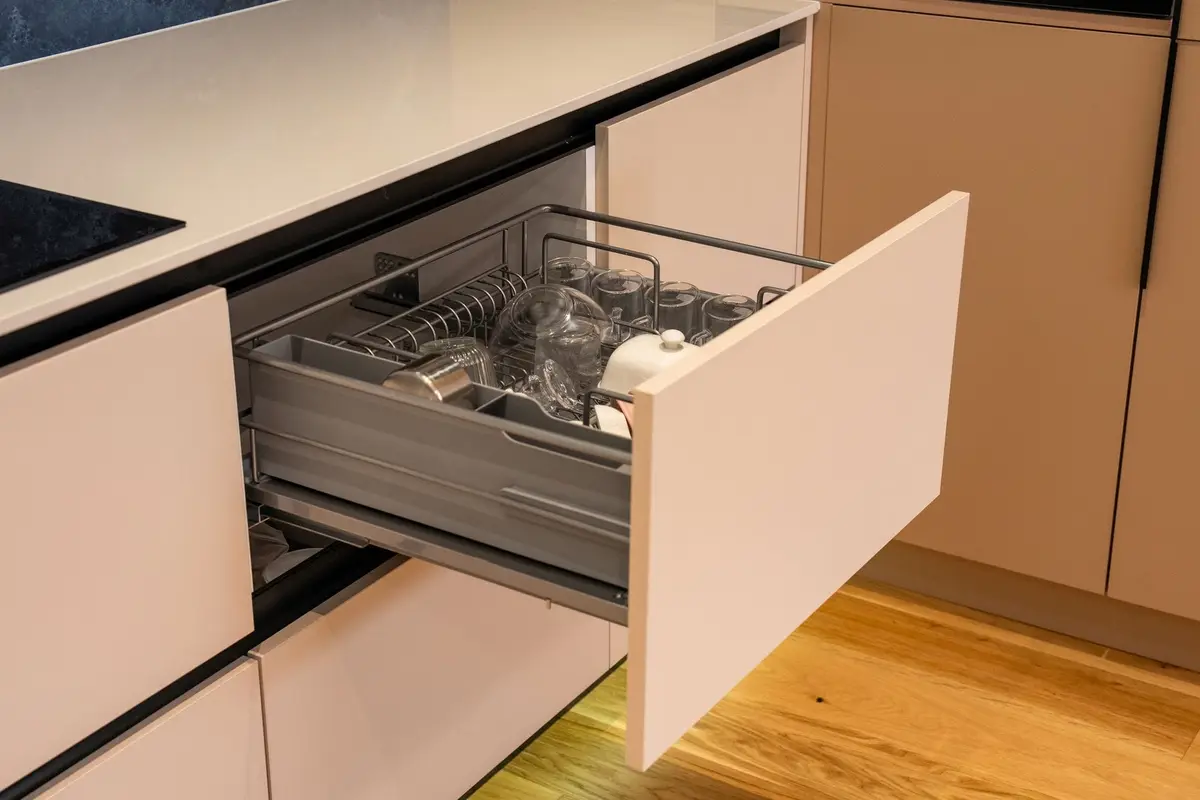
Stand the mugs upright in rows with the handles all pointing the same way. A non-slip liner on the bottom keeps them from sliding and clinking when the drawer opens and closes.
Measure the drawer height first and check that your tallest mug clears the drawer above. Short, wide mugs fit best; tall ones may need a deeper drawer.
A drawer is easy for kids to reach, so it’s a handy spot for their cups too. Give them the front row, and keep the delicate mugs toward the back.
Add a couple of simple dividers if the drawer is wide. Mugs on one side and glasses or travel cups on the other keep the drawer orderly instead of turning it into a jumble.
11. Keep travel mugs with their lids
Travel mugs and water bottles tend to take over a cabinet, and their lids wander off on their own. Give the cups one shelf and the lids one small bin right beside them.
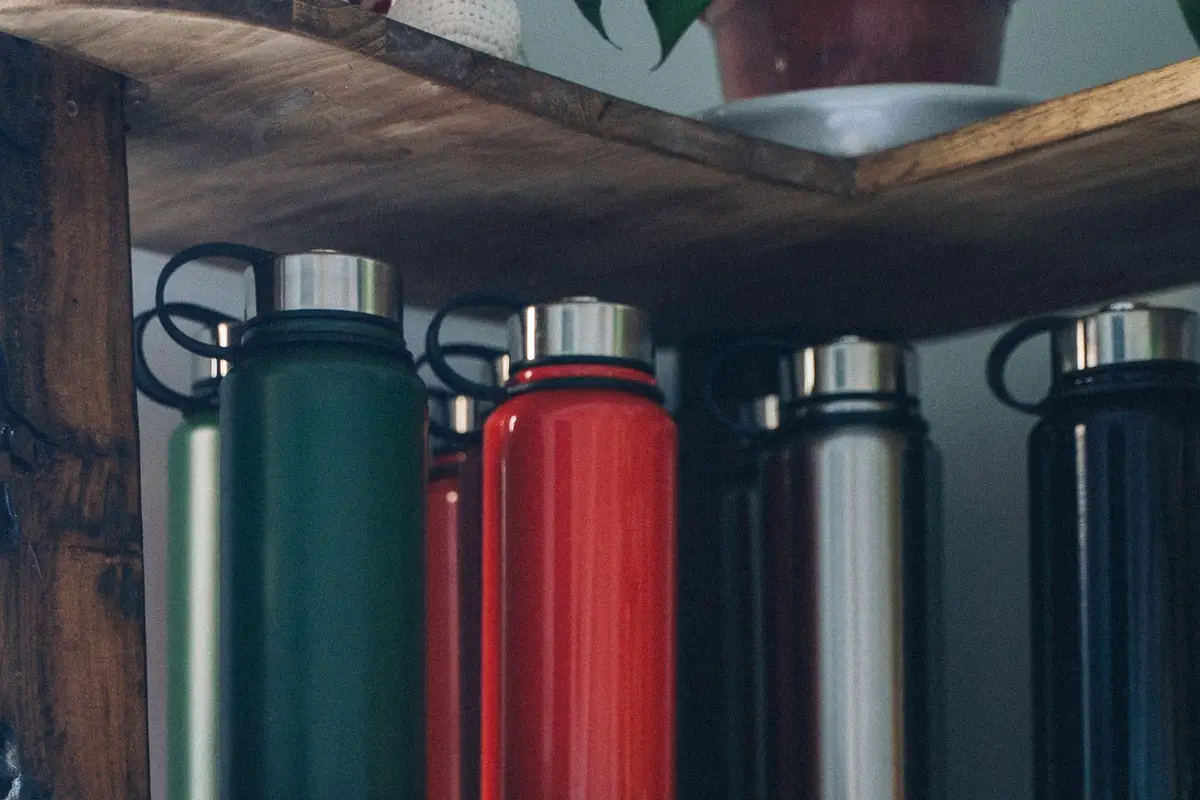
Store the cups open, without the lids on, so the insides dry completely after washing. A sealed, damp cup can start to smell stale.
Stand the lids on edge in the bin, like files, so you can see each one. It’s the same trick that keeps a cabinet of food storage containers from turning into a lid hunt.
Match every cup to a lid now and then. Recycle any cup or lid that has lost its partner, and keep only as many travel mugs as the household carries on a busy day.
Put this shelf near the door or the coffee spot, wherever the morning rush passes. When the cups and lids sit together, getting out the door with a hot drink takes seconds.
12. Show off a few special mugs
Some mugs are worth looking at: one a friend made, one from a trip or one passed down in the family. Give a few of them a spot where they can be seen.
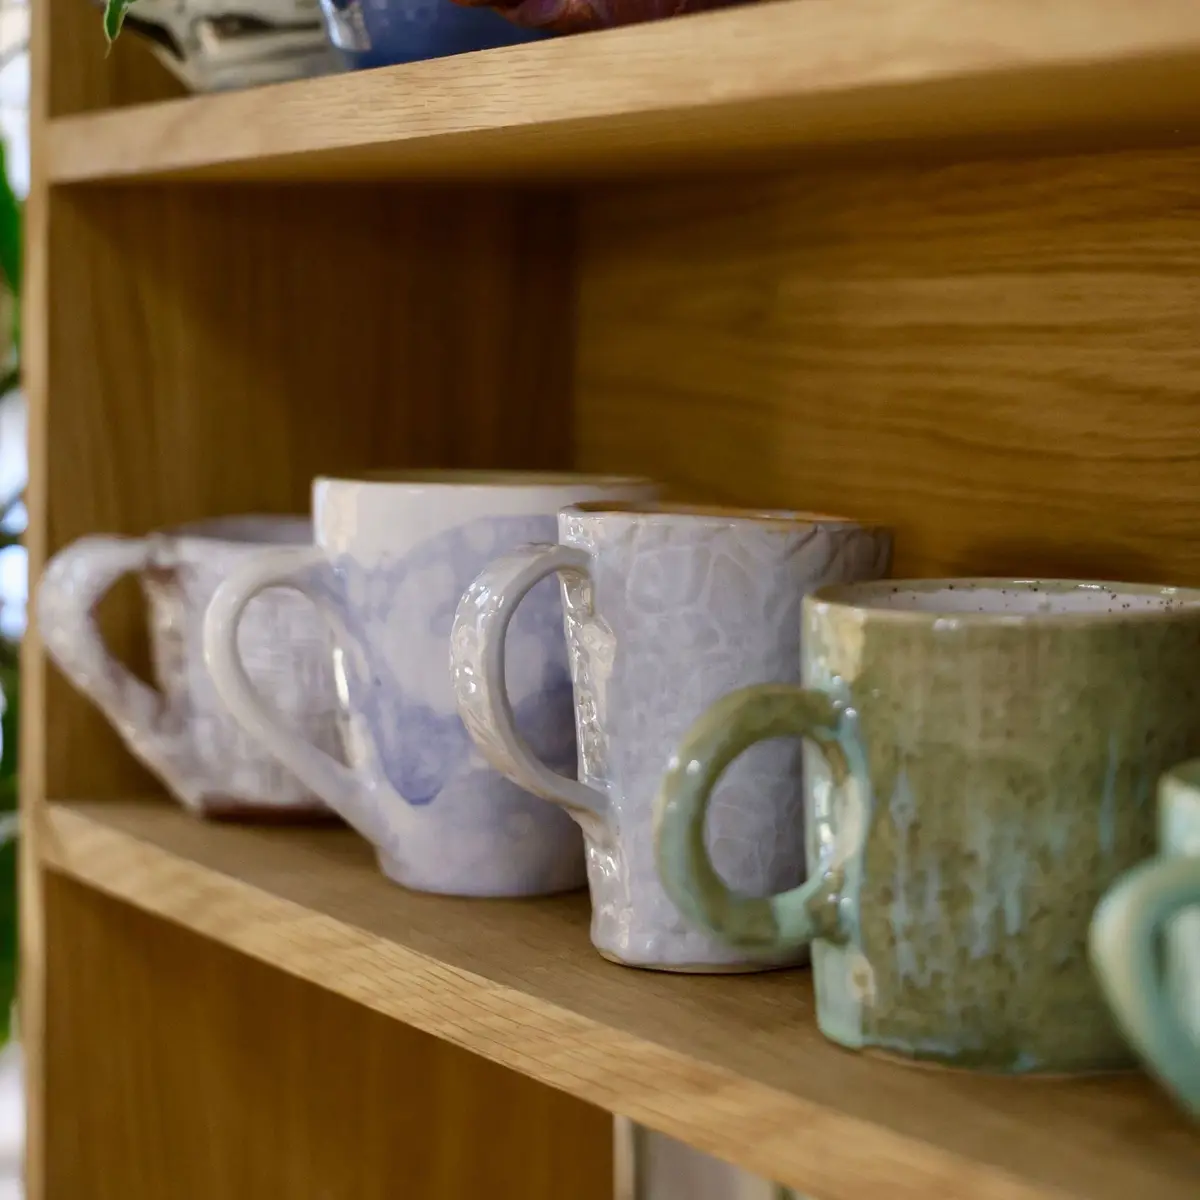
A short open shelf, the top of a hutch or a corner of the coffee spot works well. Keep the display small, so it reads as a few favorites rather than another cluttered shelf.
Put heavy or fragile pieces on a low, steady shelf, away from doors that swing and elbows that bump. Mugs that matter most are the ones you’d hate to see break.
Rotate the display now and then with mugs from the box in idea two. A swap every few months keeps the corner fresh without adding more.
Use them, too. A special mug that gets filled on a slow weekend morning earns its spot far more than one that only collects dust.
Save this for later
Pin it to a board so it's there when you're ready to start.
Save to Pinterest(opens in a new tab)Make it easier
Free printable
A room-by-room declutter checklist that tells you exactly what to look for, with four piles to sort into so nothing ends up back on the shelf.
Free printable
Sunday Reset Checklist Printable
A one-page Sunday reset routine: clear the kitchen, the laundry and the living spaces, then get ready for Monday and plan the week, so the week starts calm instead of in a scramble.
Frequently asked questions
How many mugs do I really need?
One or two per person who drinks coffee or tea every day, plus a few for guests, covers most homes. Keep the favorites everyone reaches for and box up or pass on the rest.
How do I store mugs in a small kitchen with no cabinet space?
Use the wall and the underside of shelves. Hooks under a shelf, a rail with hooks or a small pegboard hold a row of mugs in a strip of wall, and a mug tree on the counter takes up less room than a single plate.
Is it better to hang mugs or stack them?
Hanging keeps every mug in view and saves shelf space, while stacking suits matching mugs with straight sides in a cabinet. Many small kitchens use both: everyday mugs on hooks and the spares stacked on a shelf.
Where should I not store mugs?
Skip the space right above the stove, since reaching over hot burners is a burn risk and things can fall onto the cooktop. Keep heavy mugs off high shelves and away from flimsy adhesive hooks too.
How do I keep travel mugs and their lids together?
Store the cups open on a shelf so they dry fully, and keep the lids in a small bin right beside them. Toss any cup or lid that has lost its match, so every one in the bin works.