12 Food Storage Container Organization Ideas That End the Lid Hunt
Match every lid, let go of the orphans, nest containers by shape and file lids upright, so the cabinet or drawer opens without an avalanche.

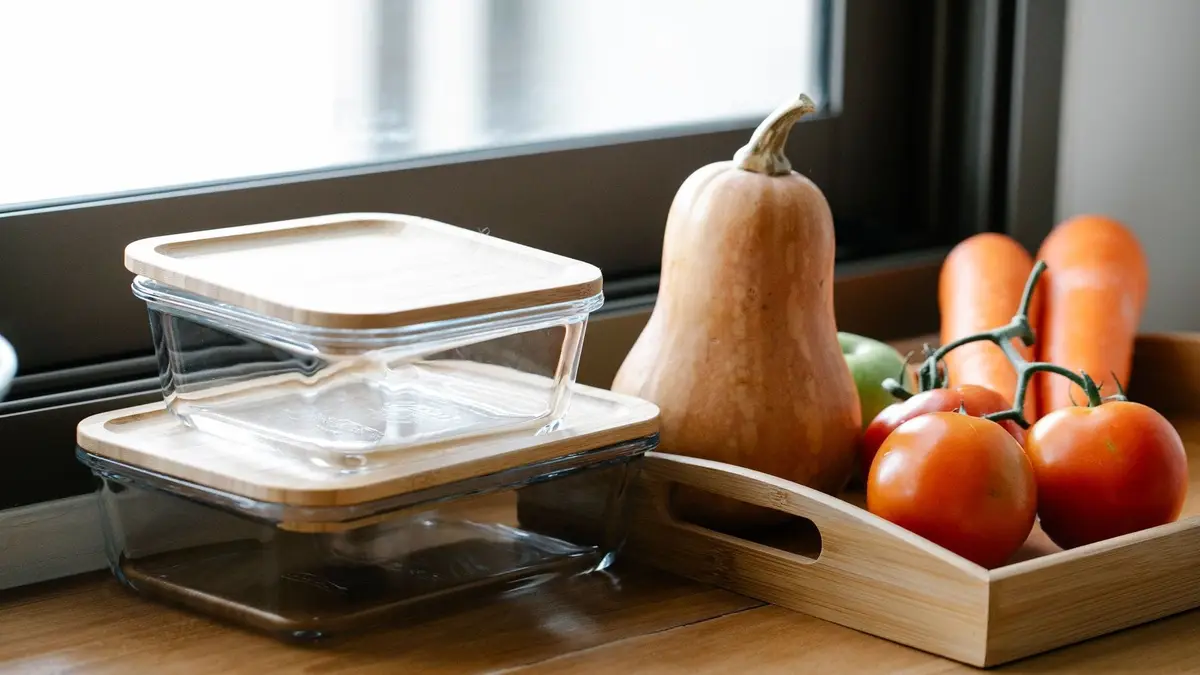
Food storage containers stay organized when every base has a lid, the collection is cut down to a few shapes that nest, and the lids stand on edge in a bin beside the stacks. Give them one spot between the fridge and the dishwasher, set limits for takeout tubs and lunch containers, and clear out stained or warped pieces now and then.
These 12 ideas work in a cabinet, a deep drawer or a pull-out bin. Start with the first two, since sorting and cutting down make every idea after them much easier.
1. Match every container to a lid and let the orphans go
Empty the whole collection onto the counter or the kitchen table, including the ones hiding in the fridge, the dishwasher and the lunch bags. Seeing everything at once shows how many you really own.
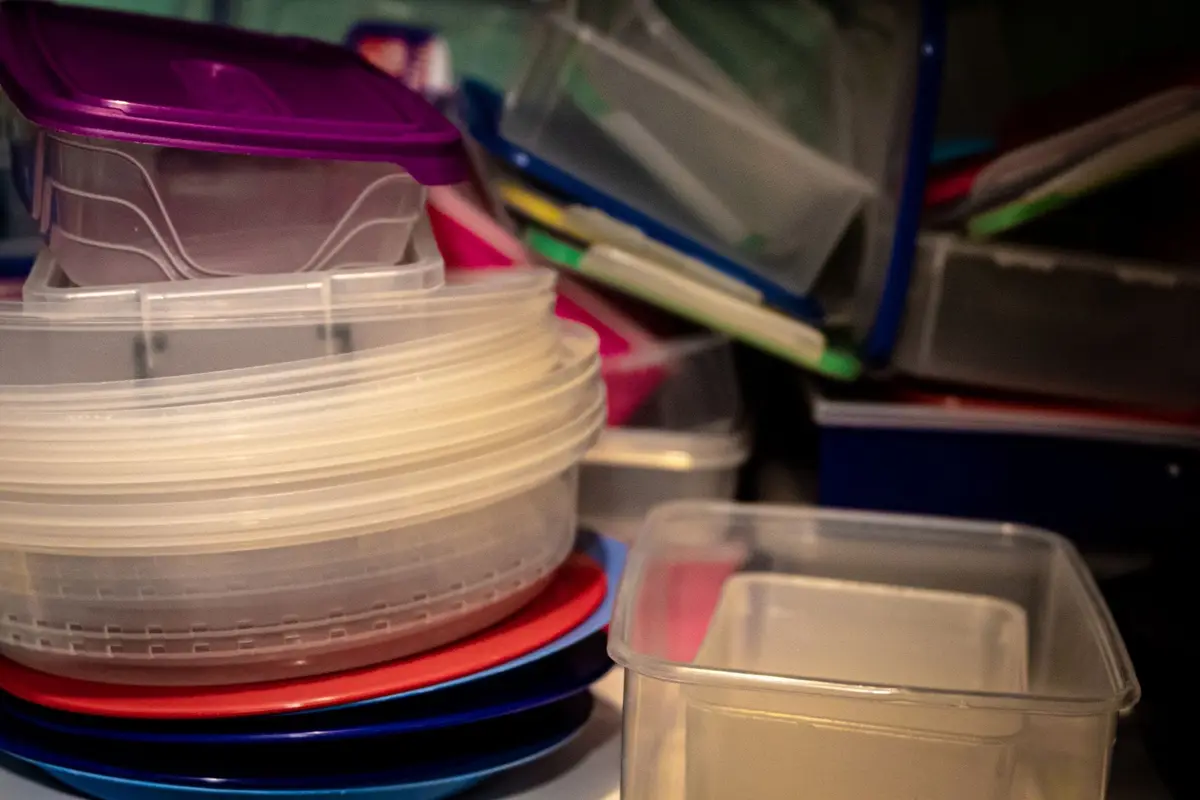
Snap a lid onto each base. Any base without a lid and any lid without a base goes into a separate pile, and that pile leaves the kitchen.
Check each matched pair as you go. Press the lid down and make sure it closes all the way around, since a lid that pops up at one corner won’t keep food fresh or keep soup inside a lunch bag.
Look for the extras that sneak in over time: tubs from yogurt or spreads, bakery boxes and the odd container from a party. If they don’t have a real job, recycle them according to your local rules.
When you’re done, the pile on the counter is smaller, every piece in it works, and you know exactly what’s going back into the cabinet. Everything after this step gets easier with fewer pieces to fit.
2. Cut down to one or two styles that stack
A mix of containers from different sets never stacks well. Each brand has its own curve and rim, so the pieces wobble, tip and leave gaps that waste the shelf.
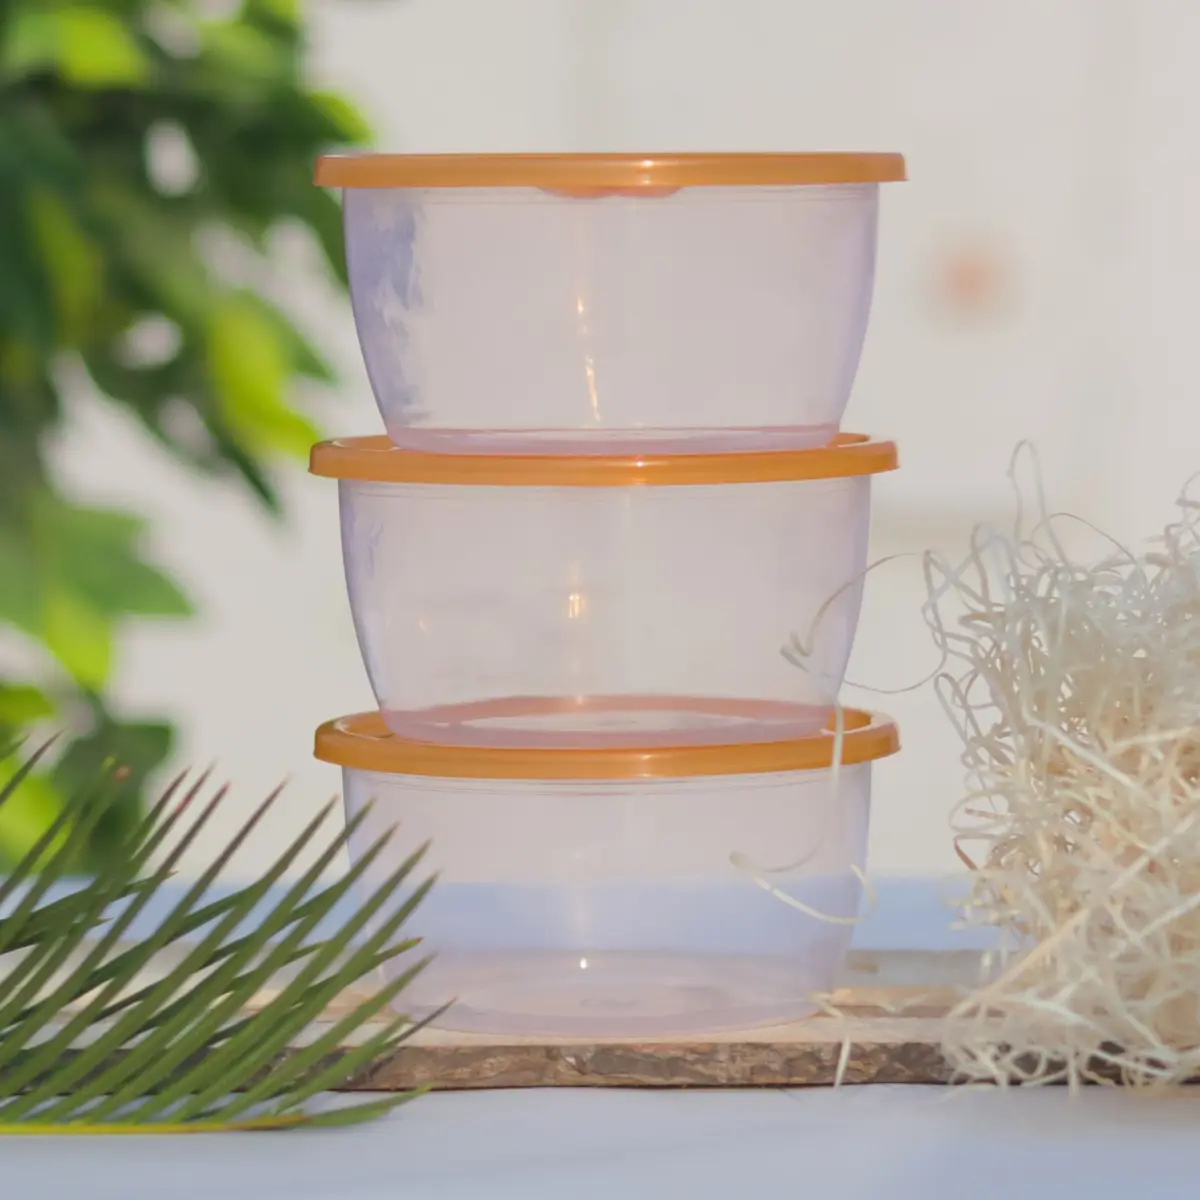
Pick one or two styles and stick with them: for example, one round set for soups and sauces and one rectangular set for leftovers and lunches. Sets designed to share lids are even better, since one lid then fits several sizes.
Decide how many you actually need by thinking through a normal week. Count the leftovers you save, the lunches you pack and the bulk food you portion out, then keep that many plus a few spares.
Glass and plastic can live side by side, as long as each material sticks to a single style. When a piece breaks or wears out, replace it with the same style, so the collection stays uniform.
The same edit works on other things that multiply in a kitchen. These mug storage ideas use the same keep-what-you-use approach for the mug shelf.
3. Nest containers by shape and size
Nesting turns a messy pile into a few short towers. Put rounds inside rounds and rectangles inside rectangles, with the largest on the bottom and each smaller one tucked inside the next.
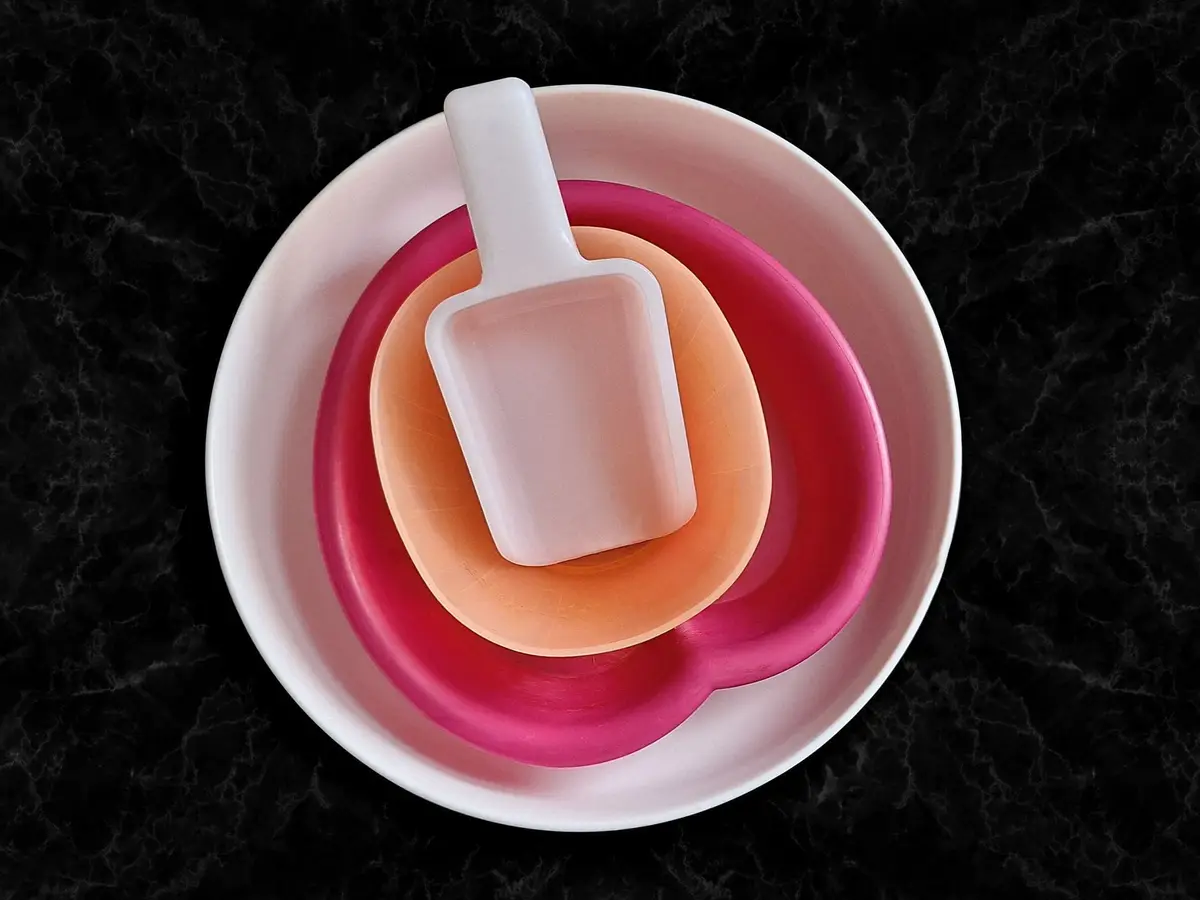
Keep each tower short enough to lift with one hand, so pulling out a container never means lifting a heavy stack. Two or three short towers side by side are easier to use than one tall one that leans.
Fill the smallest gaps too. Tiny dressing and dip cups can sit inside the smallest nested container, so they don’t roll loose in the back of the cabinet.
If your containers don’t nest at all, stack them with lids on instead, same size on same size. A row of identical stacks still looks tidy and is easy to scan.
Nest them the same way every time you put them away. When the towers always look the same, a missing piece stands out, and so does the extra one that doesn’t belong.
4. Stand the lids upright in a file sorter or bin
Lids cause most of the mess. Lying flat, they slide, pile up and hide one another, so you end up digging through the whole stack to find one.
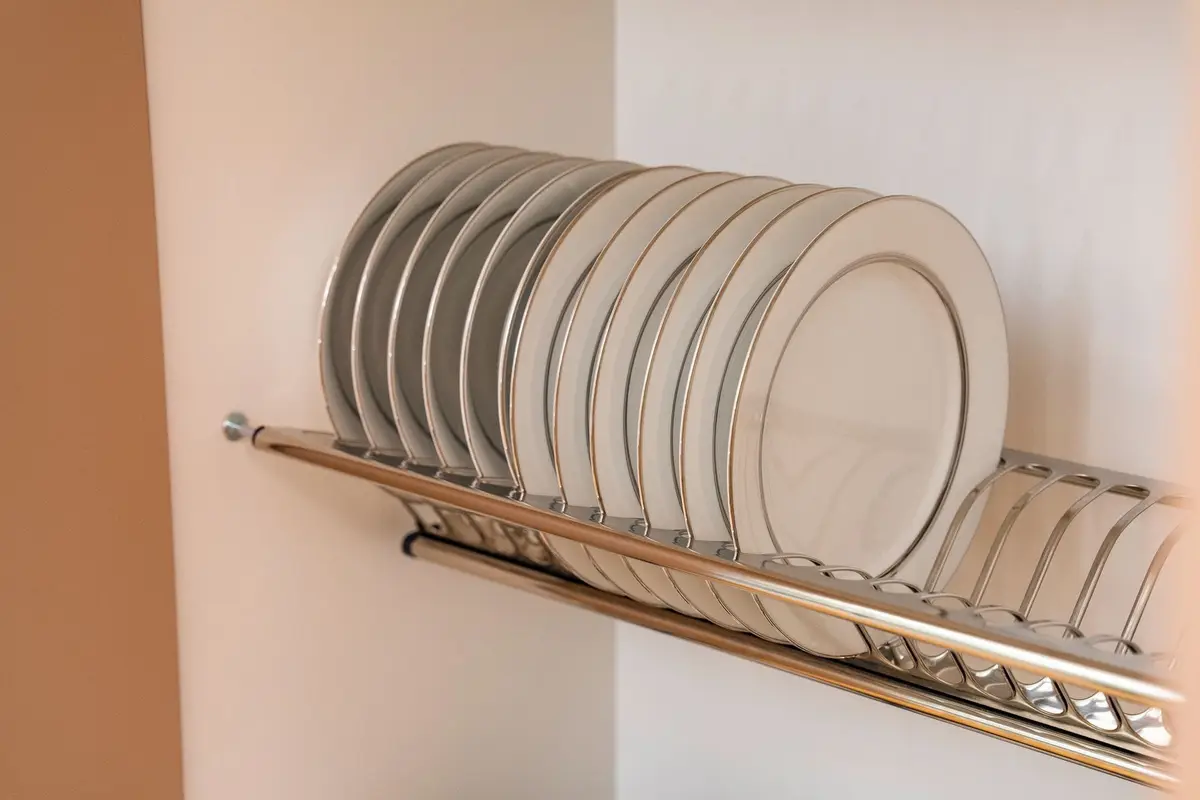
Stand them on edge instead, like plates in a rack or files in a drawer. A desk file sorter, a narrow bin, a small dish rack or a lid organizer made for the job all hold them upright.
Sort the lids from smallest to largest so the one you need is quick to spot. If you use two styles, give each style its own row or its own section of the bin.
Keep the lid holder right next to the nested containers, on the same shelf or in the same drawer. When a lid and its base live a hand’s width apart, matching them takes a second.
Put lids back on edge every time you unload the dishwasher. The file system only works if lids stay filed, and putting them away upright takes no longer than dropping them in a pile.
5. Decide whether lids stay on or come off
There are two ways to store containers, and both work. The right one depends on how much room you have and how many containers you keep.
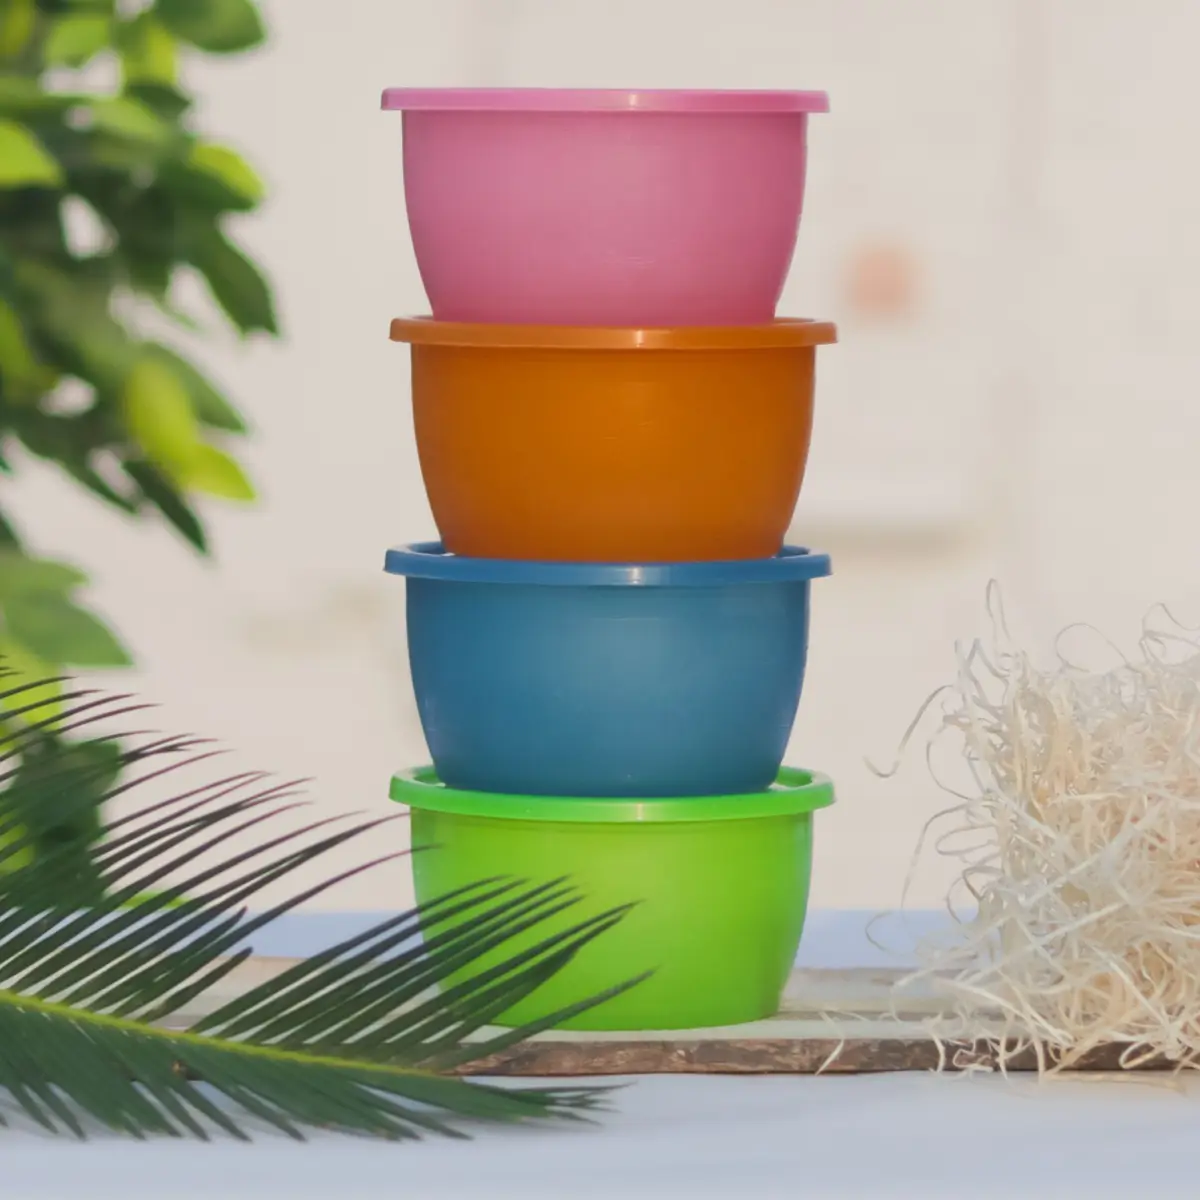
Lids on is the simplest system. Each container is ready to grab, nothing goes missing and stacks of the same size sit steadily, so it suits a small collection on a roomy shelf.
Lids off fits far more into the same space. The bases nest into short towers and the lids stand in a file beside them, which suits a big collection or a tight cabinet.
Many kitchens do best with a mix. Keep the few containers you use every day with their lids on at the front, and nest the rest with the lids filed behind them.
If you store containers with lids on, rest each lid loosely on top rather than snapping it shut. A sealed, empty container can trap a little moisture and smell stale the next time you open it.
6. Give them a deep drawer or a pull-out bin
A deep drawer near the counter is one of the easiest places to keep food storage containers. You look straight down into it, so every stack and lid is in view at once.
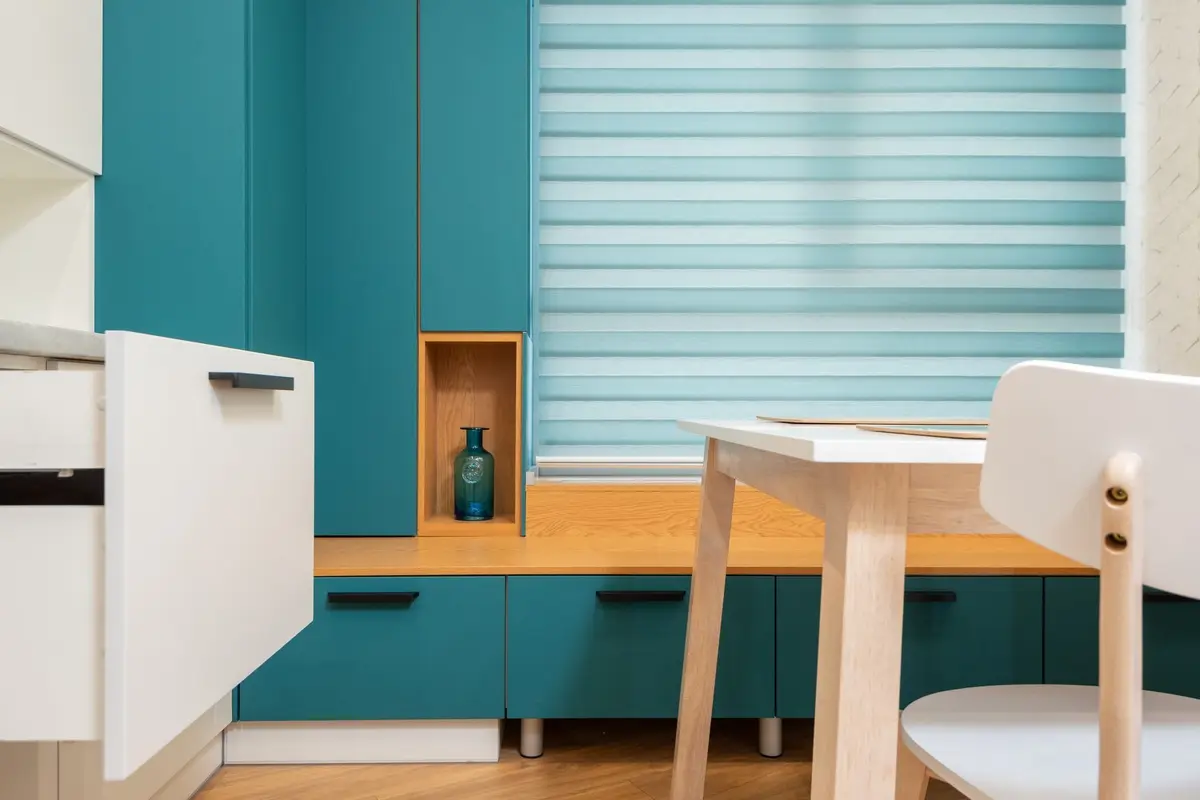
Put the nested towers at the front and the lid file at the back or along one side. A couple of simple dividers keep the towers from sliding when the drawer opens and closes.
In a lower cabinet, put the whole collection in a pull-out bin or a sturdy basket with a handle. One tug brings the back of the cabinet to you, with no kneeling down and reaching behind other things.
Measure the drawer or the cabinet before you buy anything: the width, the depth and the height, leaving room for the door or the drawer front to close. The bin size calculator turns those numbers into bins that fit.
Leave a little room at the top of the drawer. Containers that just clear the drawer above will catch every time it opens, and the stacks end up knocked over.
7. Keep heavy glass low and light plastic higher
Glass containers are heavy, and they break if they fall. Store them on the lowest shelf, in a bottom drawer or at about waist height, never on a high shelf you have to reach up to.
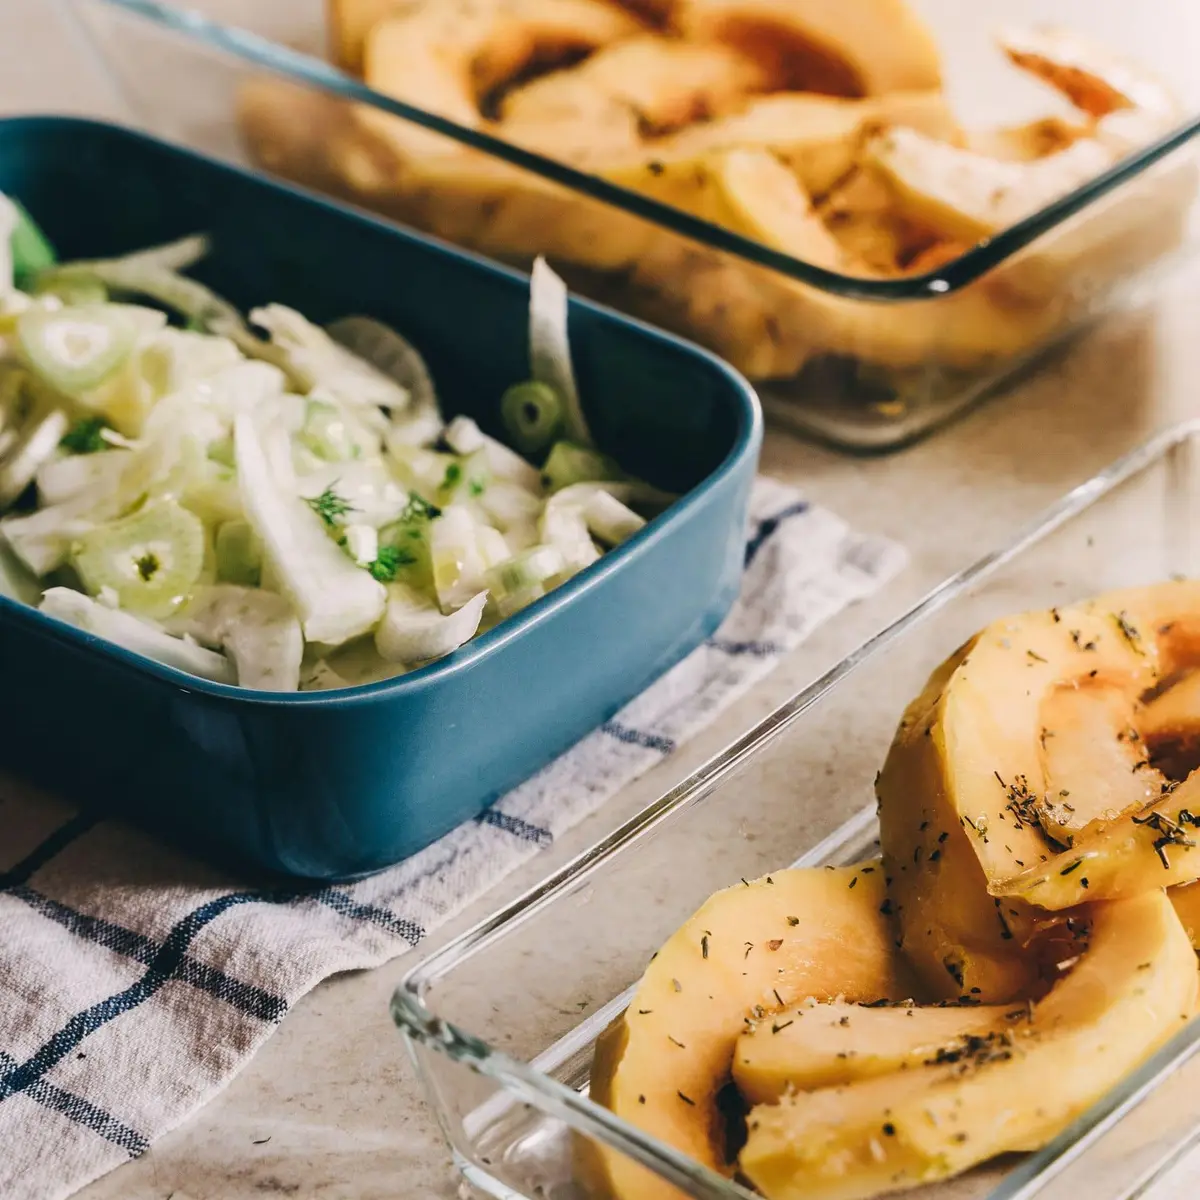
Plastic is light, so it can go up higher if space is short. Put the plastic pieces you use least on the upper shelf and keep the everyday ones within easy reach.
Many glass containers have plastic lids, and those lids can still go in the same file sorter as the rest. Keep glass bases nested with a folded towel or a soft liner between larger pieces if they clink.
Glass and ceramic labeled for the microwave are a good choice for reheating leftovers. Check the maker’s directions before a glass container goes from the freezer to the oven, since not every piece handles big temperature changes the same way.
When you have both materials, give each its own zone. Glass on the bottom and plastic above it keeps the heavy pieces safe and the light ones easy to grab.
8. Store them between the fridge and the dishwasher
The best spot for food storage containers is on the path they travel. They come out of the dishwasher clean, get filled at the counter and go into the fridge, so somewhere along that route saves steps every day.
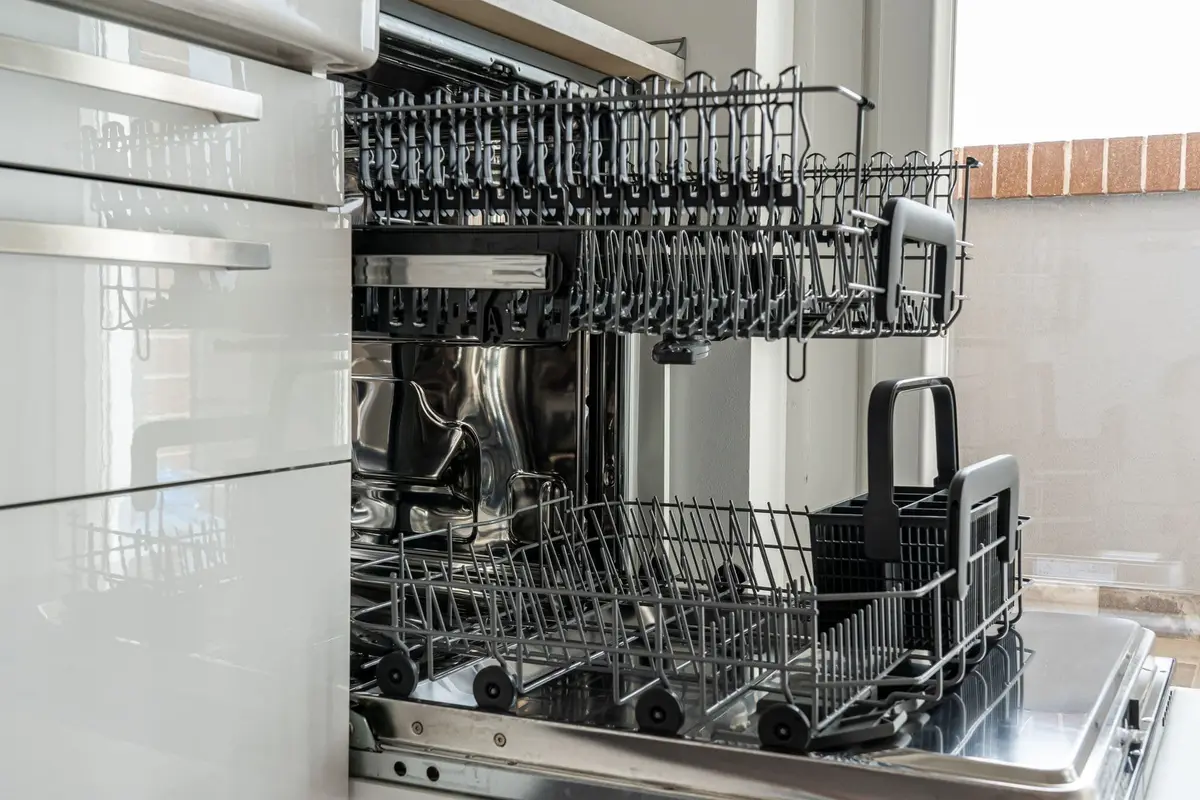
A drawer or cabinet next to the dishwasher makes unloading quick. Clean containers go straight from the rack to their spot, and the lids get filed without a trip across the kitchen.
Keep a short stretch of counter clear near the fridge for packing leftovers. These kitchen counter organization ideas help free up that space and give each part of the counter one job.
Put leftovers away soon after the meal. Refrigerate them within two hours, in shallow containers so they cool quickly, and eat them within three to four days.
Clear containers help here too. You can see what’s inside without opening every lid, which makes it easier to eat the leftovers before they’re forgotten at the back of the fridge.
9. Set a limit for takeout containers
Takeout containers pile up fast because they feel too useful to toss. Give them one small spot, like a single bin or one stack in the back of the cabinet, and recycle anything that doesn’t fit.
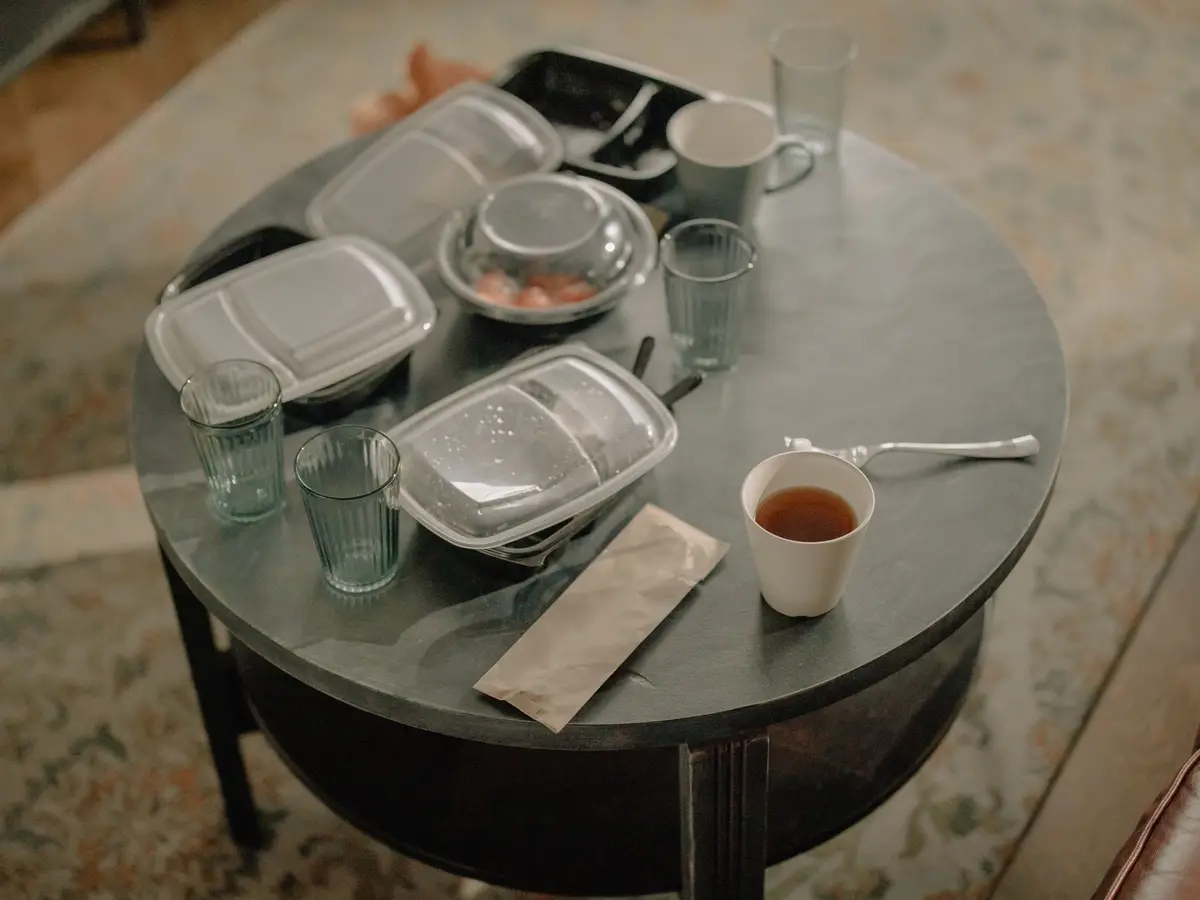
Keep the sturdiest ones with lids that still snap closed. Thin, cracked or cloudy pieces can go straight into the recycling.
Use the ones you keep for jobs where you won’t need them back: sending leftovers home with guests, carrying snacks to a picnic or holding small parts in the garage. They’re handy for anything you’d rather not lend your good containers for.
Most takeout containers aren’t made for the microwave. Warm food on a plate or in a container labeled microwave-safe instead, and keep takeout pieces for cold storage.
When new takeout arrives and the spot is already full, an older one leaves. That one-in, one-out rule keeps the stash from slowly taking over the whole cabinet.
10. Set aside a bin for packed lunches
Lunch containers have a different job from leftovers, so give them their own bin. Keep the lunch boxes, small snack containers, dip cups and reusable utensils together, so packing a lunch means grabbing one thing.
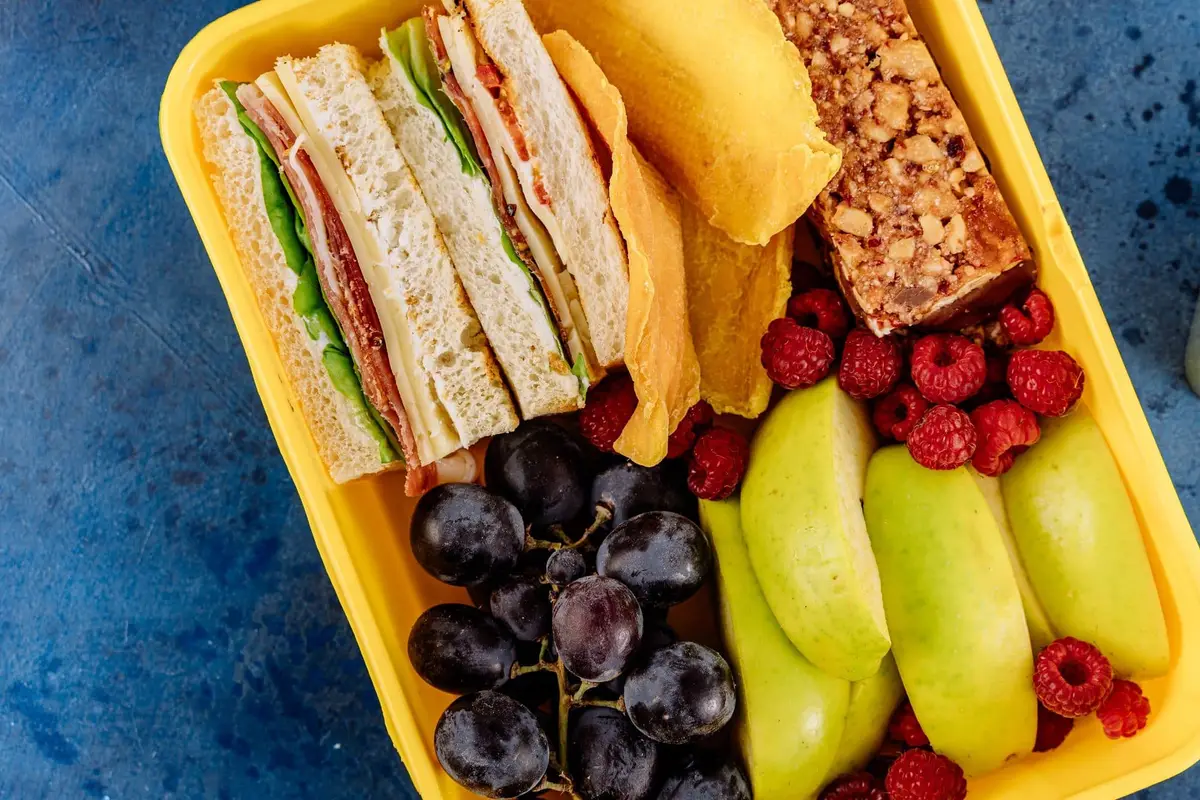
Put the bin on a low shelf near the fridge. Kids who pack their own lunches can reach it, and the lunch boxes don’t take over the main container stacks.
Keep the cold packs in the freezer, in one spot, so they’re ready in the morning. An insulated lunch box with at least two cold sources, like a frozen gel pack and a frozen water bottle, keeps cold food cold until lunchtime.
Empty and wash lunch containers as soon as they come home. Anything perishable left over after lunch should be thrown out rather than brought back and saved.
Planning the week’s lunches ahead makes this bin even easier to use. The printable meal planner has room to jot down lunches next to dinners, so you know which containers you’ll need each day.
11. Label the spot and post a lid chart
Labels keep the system working after the first week. A label on the shelf edge, the drawer front or the bin tells everyone where containers and lids go back.
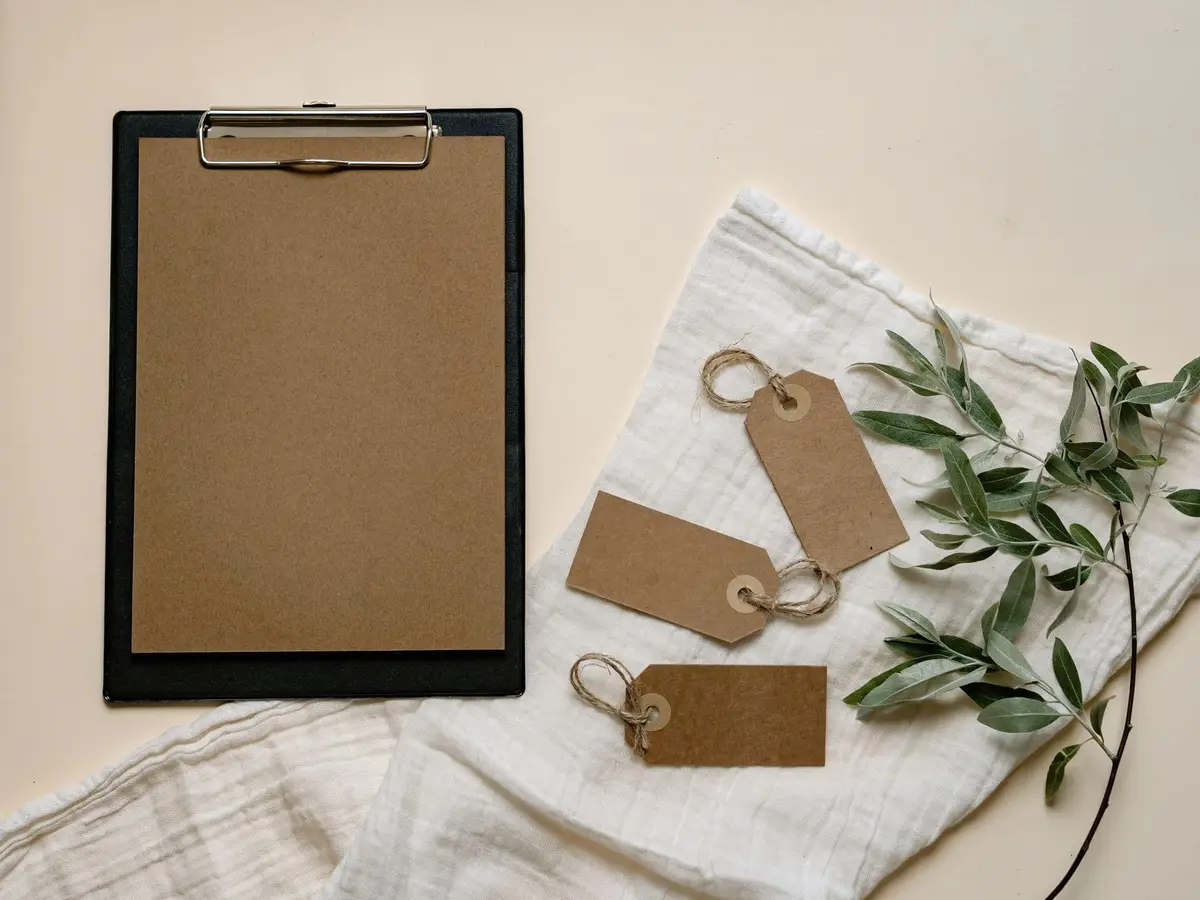
Use short words like “lids,” “glass,” “lunch” or “takeout.” For young kids, add a simple picture so they can put things away too.
If lids and bases are hard to match, try a color code. Put a small dot of the same color on the bottom of each base and the inside edge of its lid, and pairs find each other at a glance.
A chart taped inside the cabinet door can also help. Draw each container shape with its matching lid size, or note which drawer holds which style, so nobody has to guess.
Labeling the shelf instead of the container means the label stays put no matter which container is out. More cheap tricks like this are in these kitchen organization hacks.
12. Clear out stained, warped and cracked containers
Food storage containers wear out, and old ones creep back into the stack. Once a season, take a few minutes to check every piece and let go of what’s past its best.
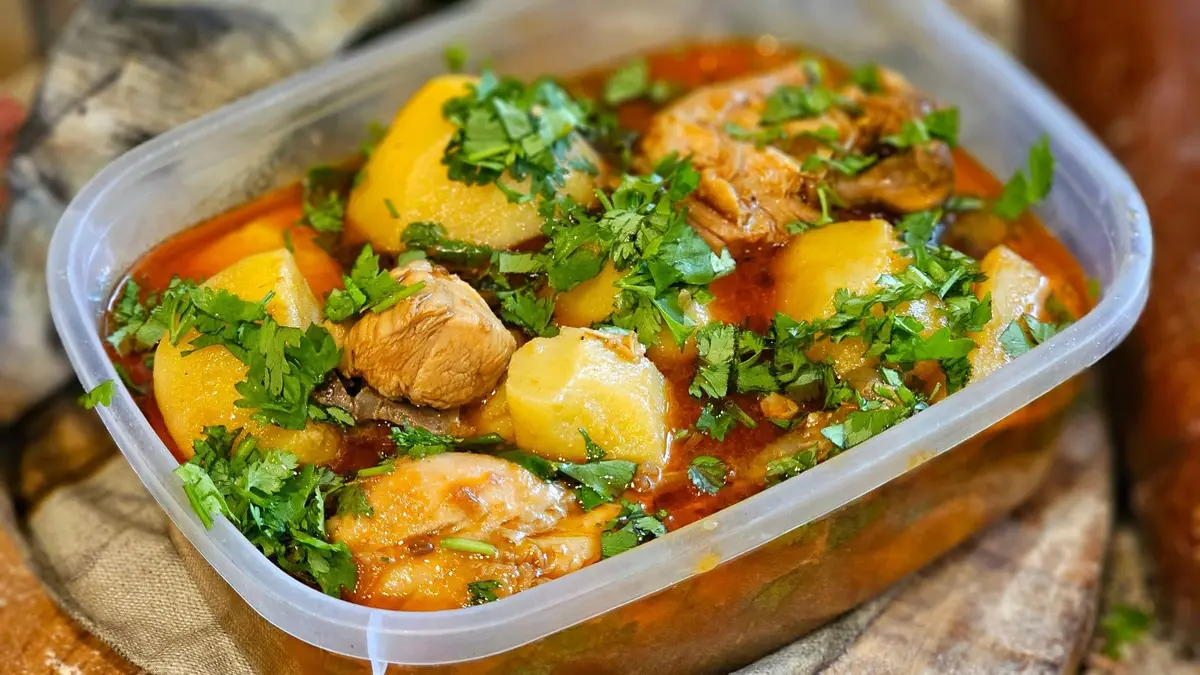
Look for stains from tomato sauce or curry that won’t scrub out, lingering smells, cloudy or deeply scratched plastic and bases that have warped in the heat. Check that every lid still seals all the way around.
Toss anything cracked or chipped, glass included. Old, scratched or cracked plastic is also a poor choice for the microwave, so give reheating jobs to glass or ceramic labeled for it.
Replace what you let go with the same style you already use. That keeps the stacks nesting neatly and the lid file simple.
Add the check to a regular decluttering pass, like the one on the declutter checklist, so it comes around on its own. A few minutes each season keeps the collection small, safe and easy to put away.
Save this for later
Pin it to a board so it's there when you're ready to start.
Save to Pinterest(opens in a new tab)Make it easier
Free printable
A room-by-room declutter checklist that tells you exactly what to look for, with four piles to sort into so nothing ends up back on the shelf.
Free printable
A free one-page meal planner with a row for each day, a column for each meal, and room for the shopping list and the prep. Plan the week once, then shop once.
Free tool
Enter the width, depth and height of a shelf, a drawer or a cube cubby, and see which standard bins and baskets fit, how many, and how they line up.
Frequently asked questions
How do I organize food storage containers with lids?
Pair every base with a lid first and let go of anything that has lost its match. Then nest the bases by shape, largest on the bottom, and stand the lids on edge in a bin or file sorter right beside them, sorted by size.
Should I store food containers with the lids on?
Lids on works when you have room and only a handful of containers, since each one is ready to grab. If space is tight, nesting the bases and filing the lids separately fits far more into the same cabinet.
Where is the best place to keep food storage containers?
Somewhere between the fridge and the dishwasher, at a height you can reach without stretching. A deep drawer or a low cabinet with a pull-out bin works well, with heavy glass on the lowest level.
When should I throw out plastic food containers?
Let go of containers that are cracked, warped, deeply scratched or stained, or whose lids no longer seal. Old, scratched or cracked plastic is also a poor choice for reheating, so move that job to glass or ceramic labeled for the microwave.
Can I reuse takeout containers for leftovers?
They're fine for cold storage, but most takeout containers aren't made for the microwave, so warm the food on a plate or in a container labeled microwave-safe. Keep only as many as fit in one small spot and recycle the rest.