11 Kitchen Wall Organization Ideas From the Backsplash to the Door
Put the bare walls in your kitchen to work with rails, hooks, open shelves, a pan rail and an herb wall, mounted securely and kept clear of the stove.

The best kitchen wall organization ideas use the bare spots you already walk past: a rail with hooks for utensils by the stove, open shelves for everyday dishes, a row of hooks for mugs, a pan rail and a board for the shopping list. Mount each one into studs or anchors that hold the weight, and keep anything that can burn away from the stovetop.
These 11 ideas start with finding the wall space and checking what it can hold, then move around the kitchen from the stove to the sink to the door. Pick the two or three that fit the walls you have, since a wall covered edge to edge looks as cluttered as a crowded counter.
1. Find the empty wall and check what’s behind it
Walk around the kitchen and look for the bare stretches: the backsplash between the counter and the upper cabinets, the wall beside a window, the end of a cabinet run, the narrow strip next to the fridge and the back of the door. Most kitchens have more open wall than it seems.
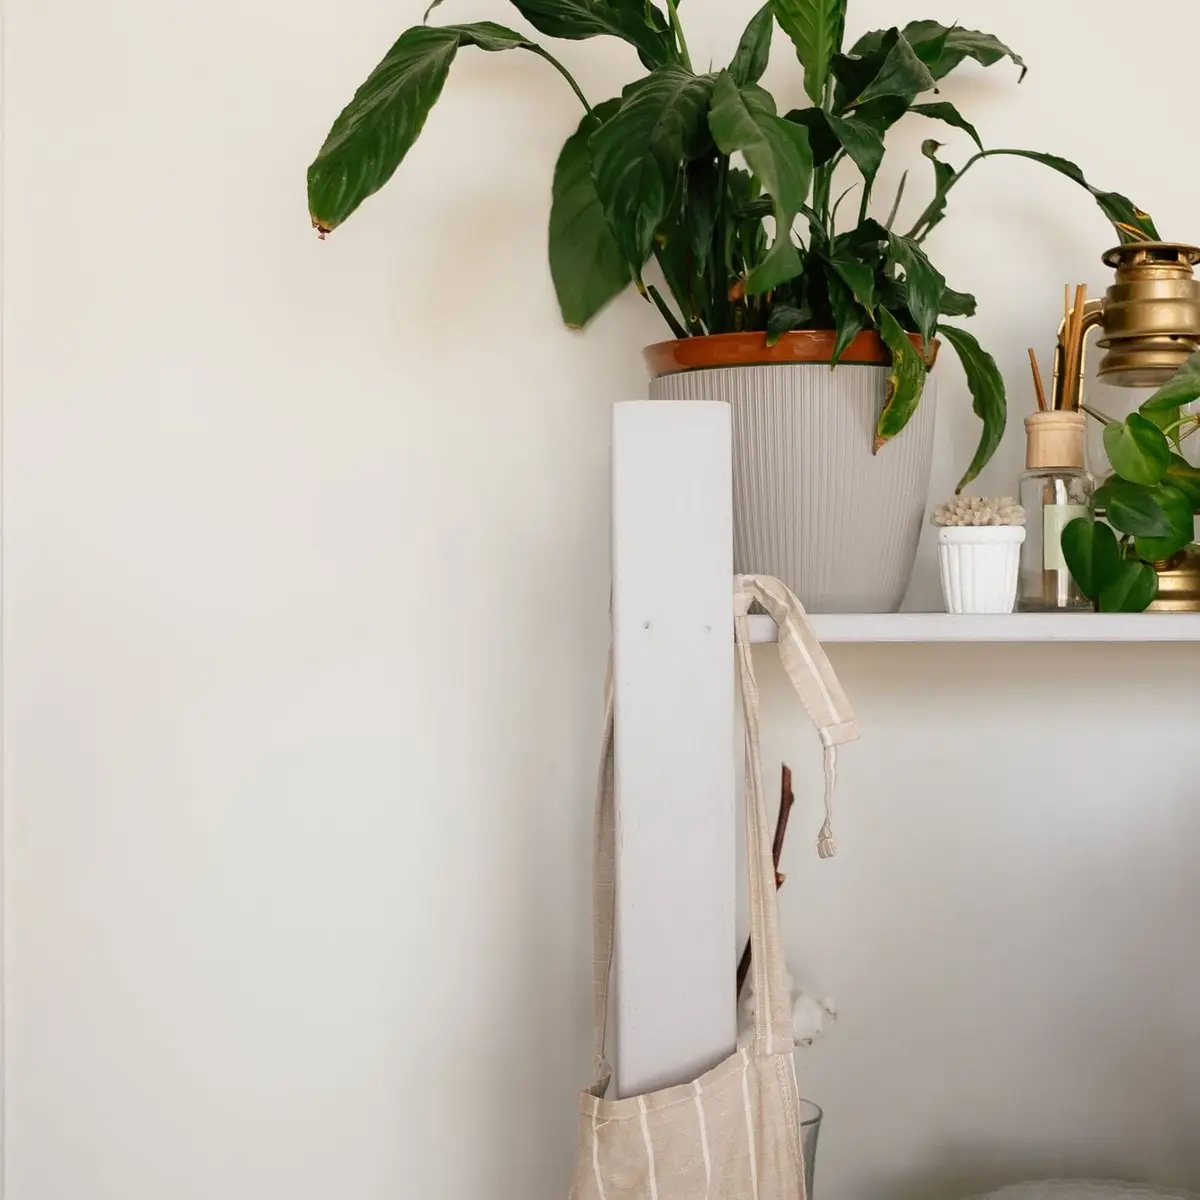
Match each spot to a job. The backsplash by the stove suits cooking tools, the wall by the sink suits brushes and towels, and the wall by the door suits keys, lists and bags.
Everything that moves to the wall is one less thing on the counter. These kitchen counter organization ideas cover what’s worth keeping out and what can go.
Before you drill, find out what the wall is made of and where the studs are. Shelves, rails and anything heavy belong in the studs, with screws long enough to reach them, while lighter things can go on anchors rated for the weight they’ll carry.
Check for pipes and wiring before you drill near the sink, the stove or an outlet. In a rental, ask your landlord first, and look at the no-drill options in the FAQ below.
2. Hang cooking utensils on a rail by the stove
A rail on the backsplash with a row of S-hooks keeps spatulas, ladles, whisks and a strainer within reach of the burners. You grab what you need without opening a drawer, and the crock on the counter can go.
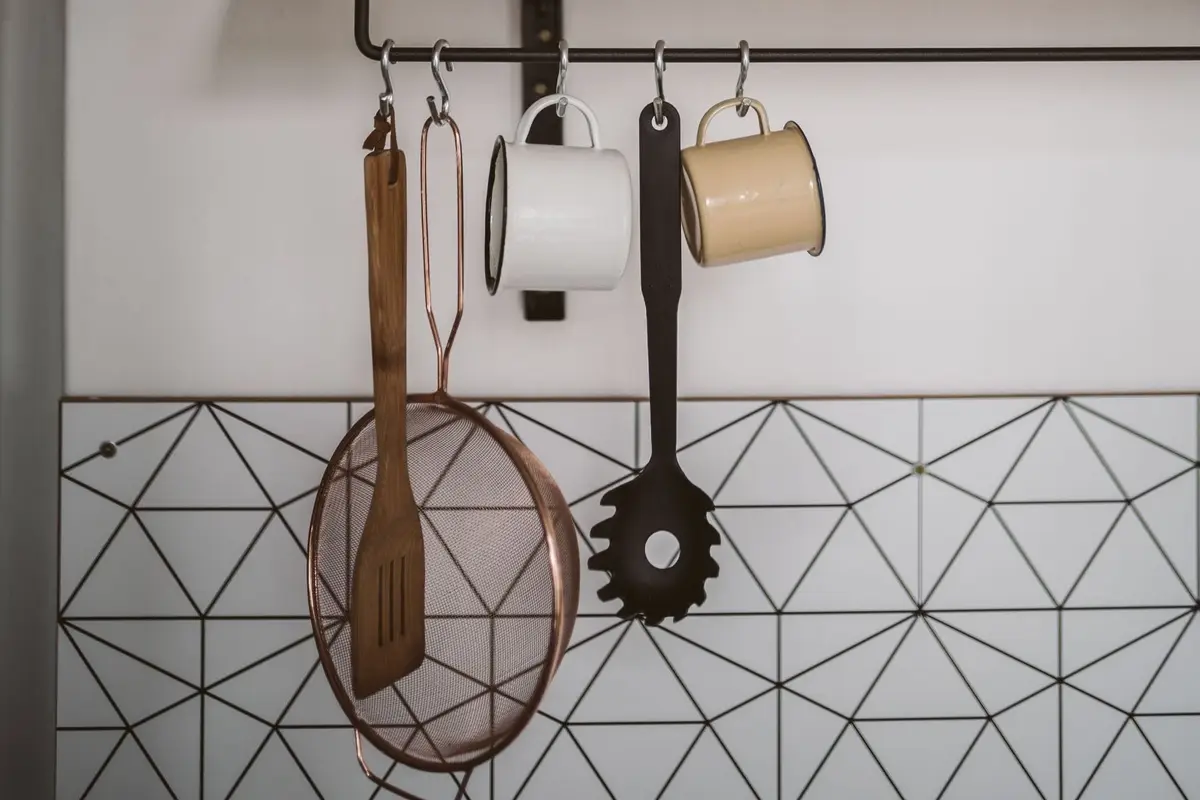
Mount the rail at a height you can reach without stretching, with enough room below it that long tools don’t rest on the counter. Hang the tools you use most in the middle and the rest toward the ends.
Keep the rail beside the stove rather than right behind the burners. Anything that can catch fire, like wooden spoons, towels, oven mitts and paper, should stay away from the stovetop.
A magnetic knife strip can share the same wall. Mount it high enough that small children can’t reach the blades, away from the stove and the edge of the sink, and set each knife on spine first so the edge doesn’t scrape the magnet.
Leave a few hooks empty for later. A rail that’s packed end to end turns into a jumble, and tools knock each other off their hooks.
3. Give everyday dishes open shelves
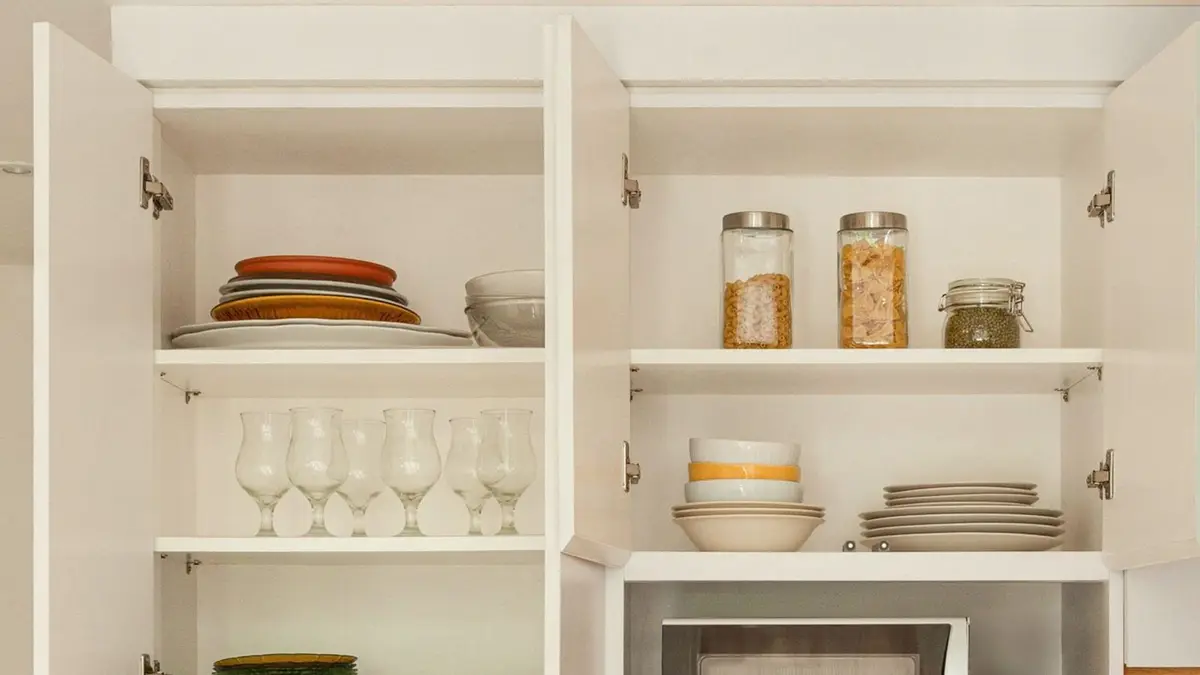
Open shelves put the plates, bowls and glasses you use every day right where you reach for them. Dishes that get used and washed daily don’t sit long enough to gather dust.
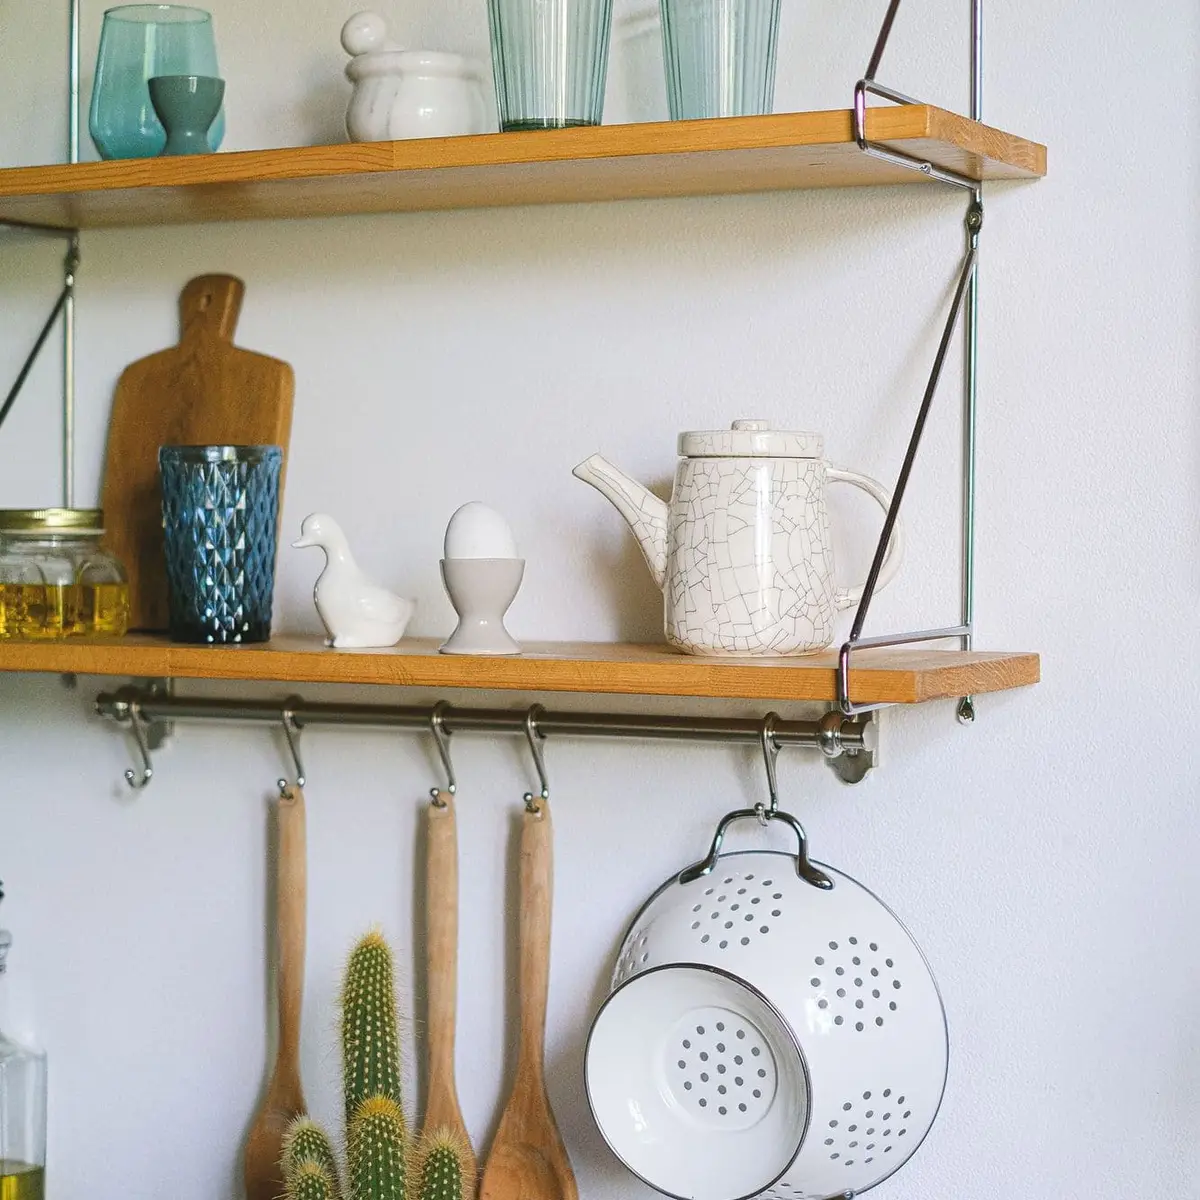
Put shelves near the sink or the dishwasher, so unloading is a short trip. Keep heavy and large pieces, like dinner plates and serving bowls, on the lower shelf, and lighter cups and small bowls up top.
Mount the brackets into wall studs, and choose brackets rated for the load you’ll put on them. Stacks of plates are heavier than they look, and a sagging shelf is a warning sign.
A thin rail or lip along the front edge of each shelf keeps things from sliding off when the shelf gets bumped. That matters most for glassware and anything breakable.
Keep the shelves edited to what you use in a typical week. Extra dishes and the ones for guests can stay in a cabinet, so the open shelves look calm instead of crowded.
4. Use floating shelves for glasses and jars
A slim floating shelf or two above the counter holds drinking glasses, jars of everyday staples and a small plant without the look of a full cabinet. Short, shallow shelves fit spots too narrow for anything else.
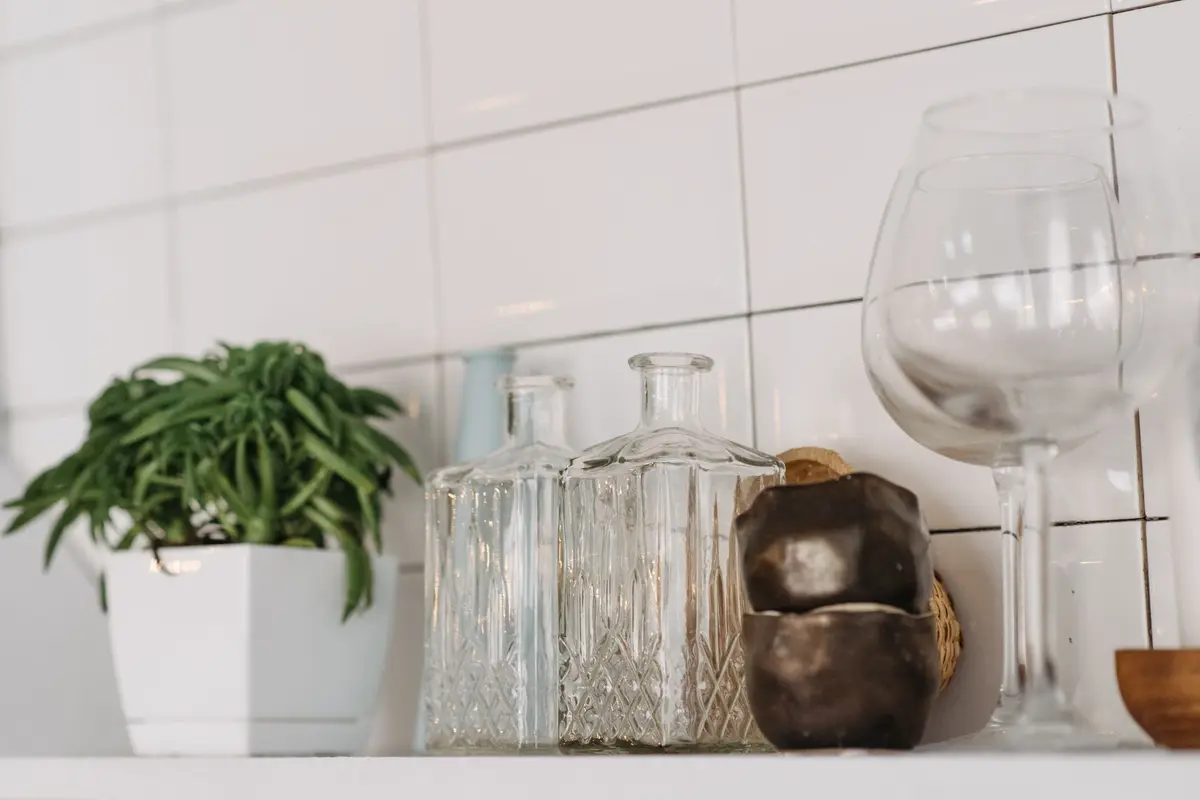
Floating shelves depend completely on their hidden bracket, so mount them into studs and keep the load light. Glasses, small jars and spices are a good fit, while stacks of heavy plates need a shelf with visible brackets.
Group things by use: drinking glasses on one shelf, cooking staples on another. Clear jars let you see when the rice or oats are running low.
A wall-mounted spice rack works on the same principle, with narrow rows that hold jars one deep. Place it near the stove but not over it, where heat and steam won’t reach the jars.
Wipe the shelves when you wipe the counters. Kitchen grease settles on everything near the stove, and a quick pass keeps the jars and glasses clean.
5. Hang mugs on a row of hooks
A row of hooks under a shelf or on a board turns a stack of mugs into a single tidy line. You can see every mug at once, and the cabinet shelf they used to fill opens up for something else.
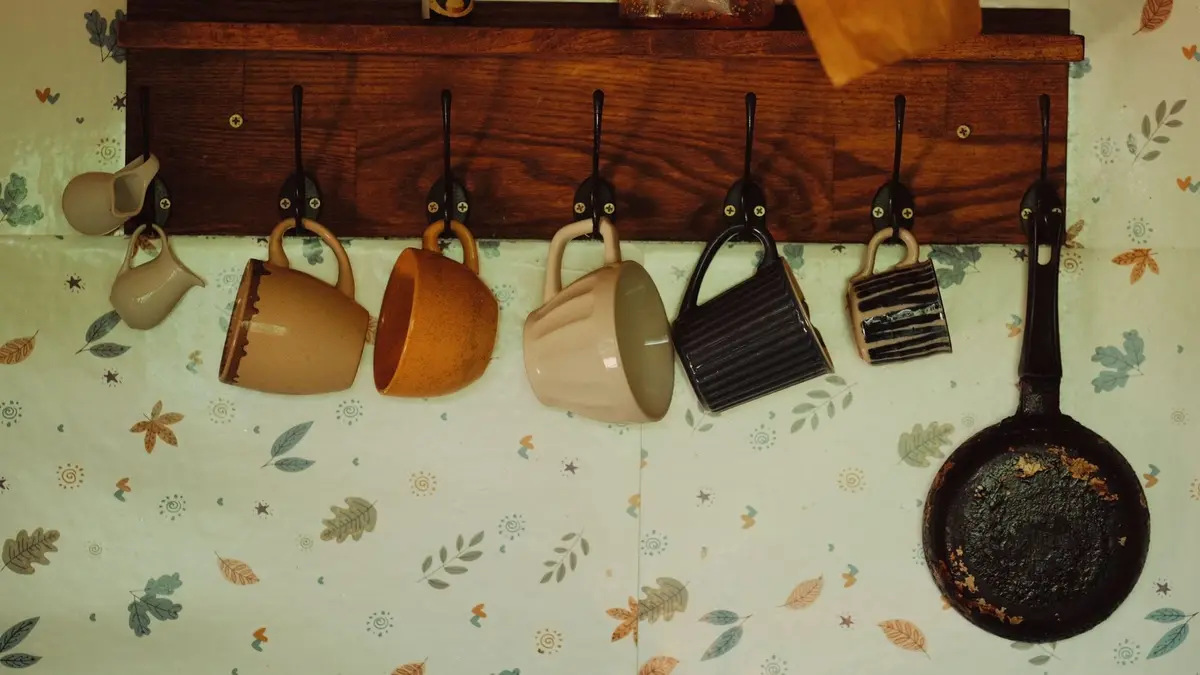
Mount the hooks a little farther apart than the widest mug, so they don’t clink together when you take one down. Screw the board or shelf into studs, since a full row of mugs adds up.
Hang the mugs near where you make coffee or tea, so the kettle, the mugs and the spoons are all in one spot. For more on that corner, these tea organization ideas cover the tea itself.
Keep only the mugs the household actually reaches for. A short row of favorites looks better than every mug you own crowded onto a long one.
A small shelf above the hooks can hold sugar, honey or a jar of tea bags. Keep it light, and check that the shelf and hooks don’t block a cabinet door.
6. Hang cutting boards and towels on hooks
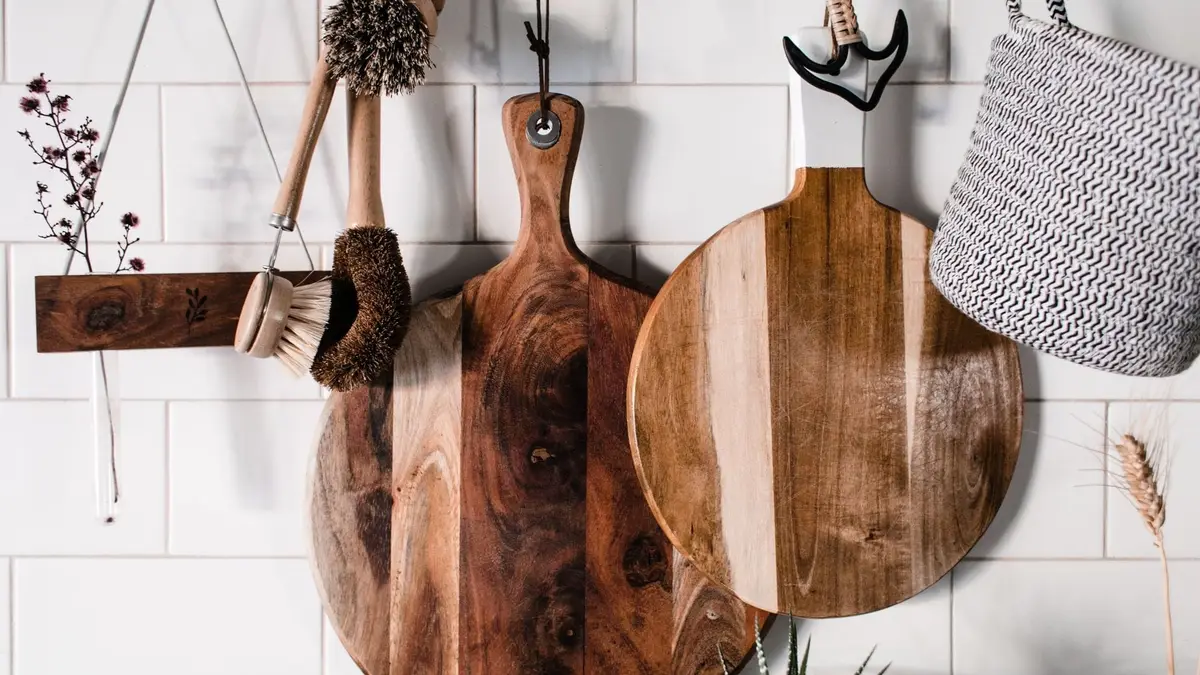
Cutting boards take up a lot of cabinet space for something that’s flat. A sturdy hook or two on the wall near the prep area holds them by their handles, ready to grab.
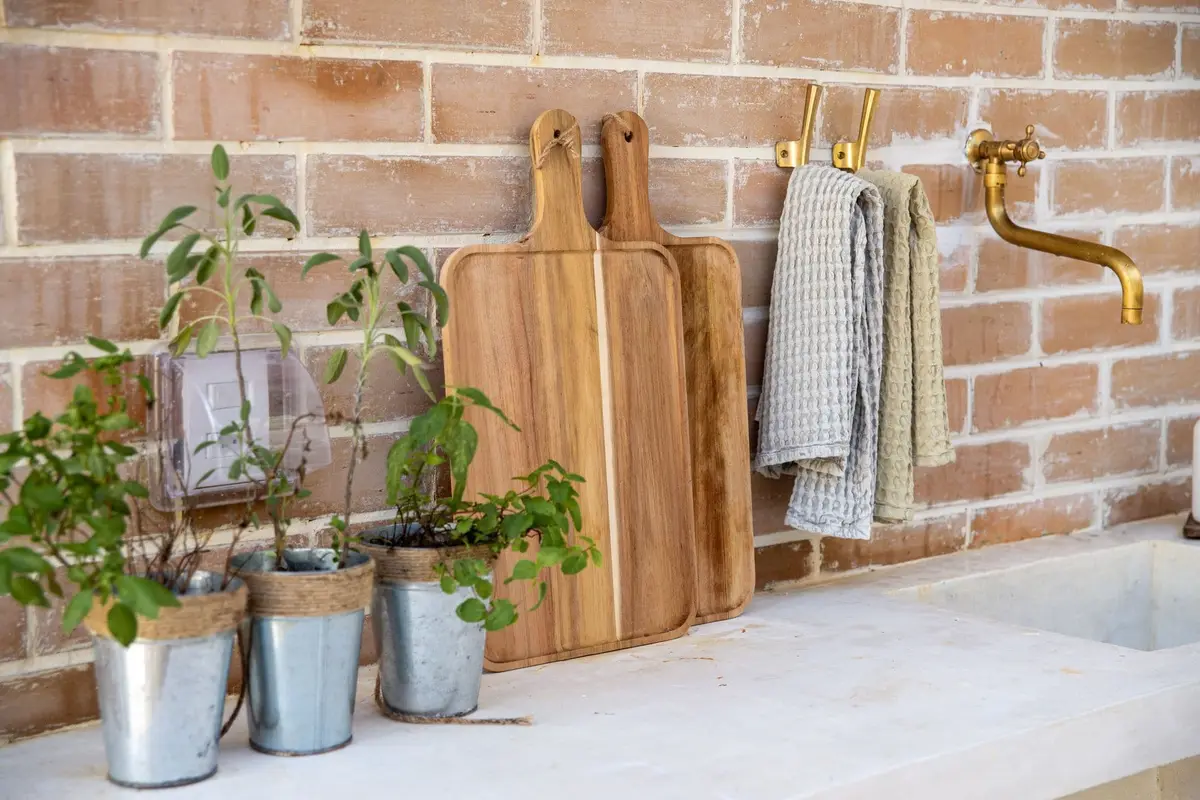
Hanging lets air reach both sides of a wooden board, as long as it goes up completely dry. Give each board its own hook if you can, so you don’t have to lift one off to reach another.
A couple of hooks for dish towels nearby keep them in reach of the sink and off the oven handle. Keep towels and wooden boards away from the stovetop, where they can catch fire.
Boards without a hole or a loop can stand on a narrow ledge against the wall instead. A small rail at the front of the ledge keeps them from sliding.
If a board is too heavy to hang on a single hook, screw a sturdier hook into a stud or store it flat on a low shelf instead. The wall is for the boards you use every day.
7. Hang pans on a rail or a wall pot rack
A rail or a wall-mounted pot rack holds skillets and saucepans in a single row, where you can see each one and grab it by the handle. It frees a whole cabinet for food or small appliances.
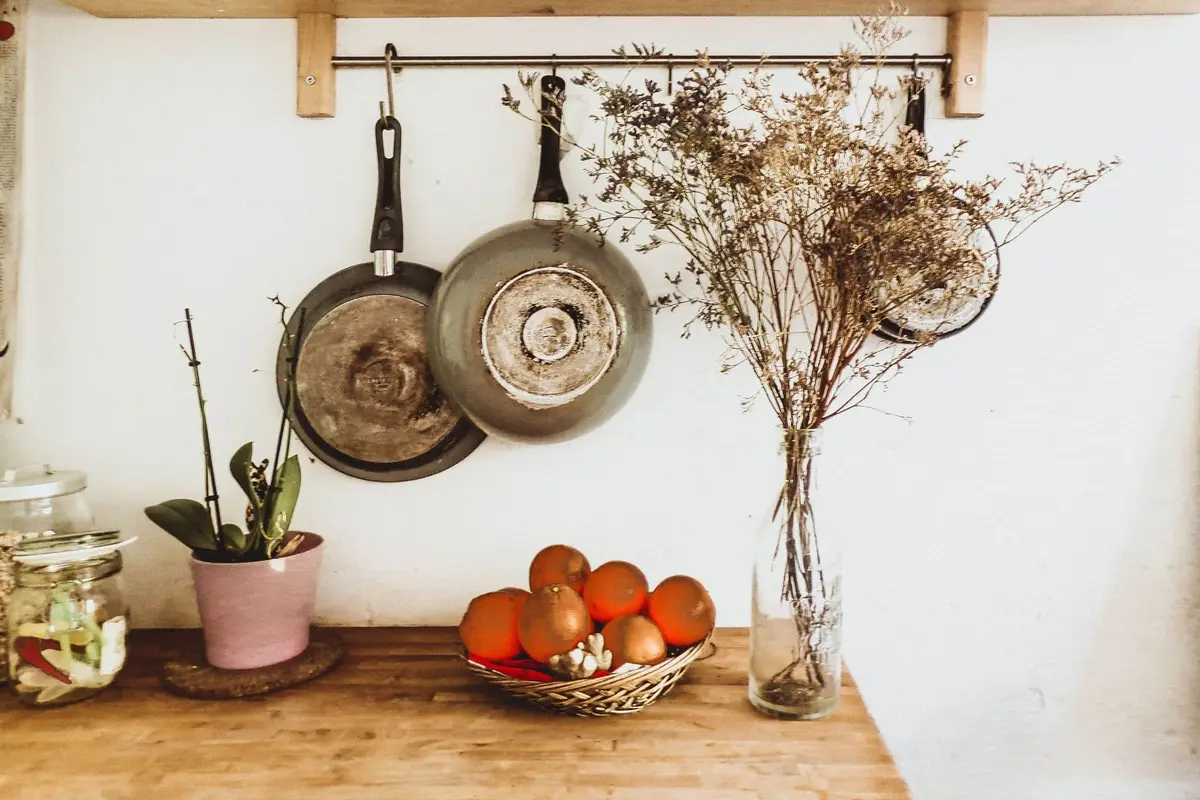
Pans are heavy, so this is the job that most needs studs. Mount the rail or rack into the framing behind the wall with screws long enough to reach it, and spread the weight across several studs if the rack is wide.
Hang the pans you use most and keep heavy cast iron on a low shelf instead. A heavy pan pulled from a high hook is hard to control.
Place the rack where nobody brushes past it and where pans won’t swing into the stove. Hanging lids can go on the same rail with their own hooks.
Wipe hanging pans now and then, or simply rinse them before you cook. Grease and dust settle on anything that hangs near the stove.
8. Grow herbs or hang a produce basket
Small pots of herbs on a wall rail or hanging rods give you fresh basil, parsley or rosemary right where you cook. A sunny wall near a window works best for anything that’s growing.
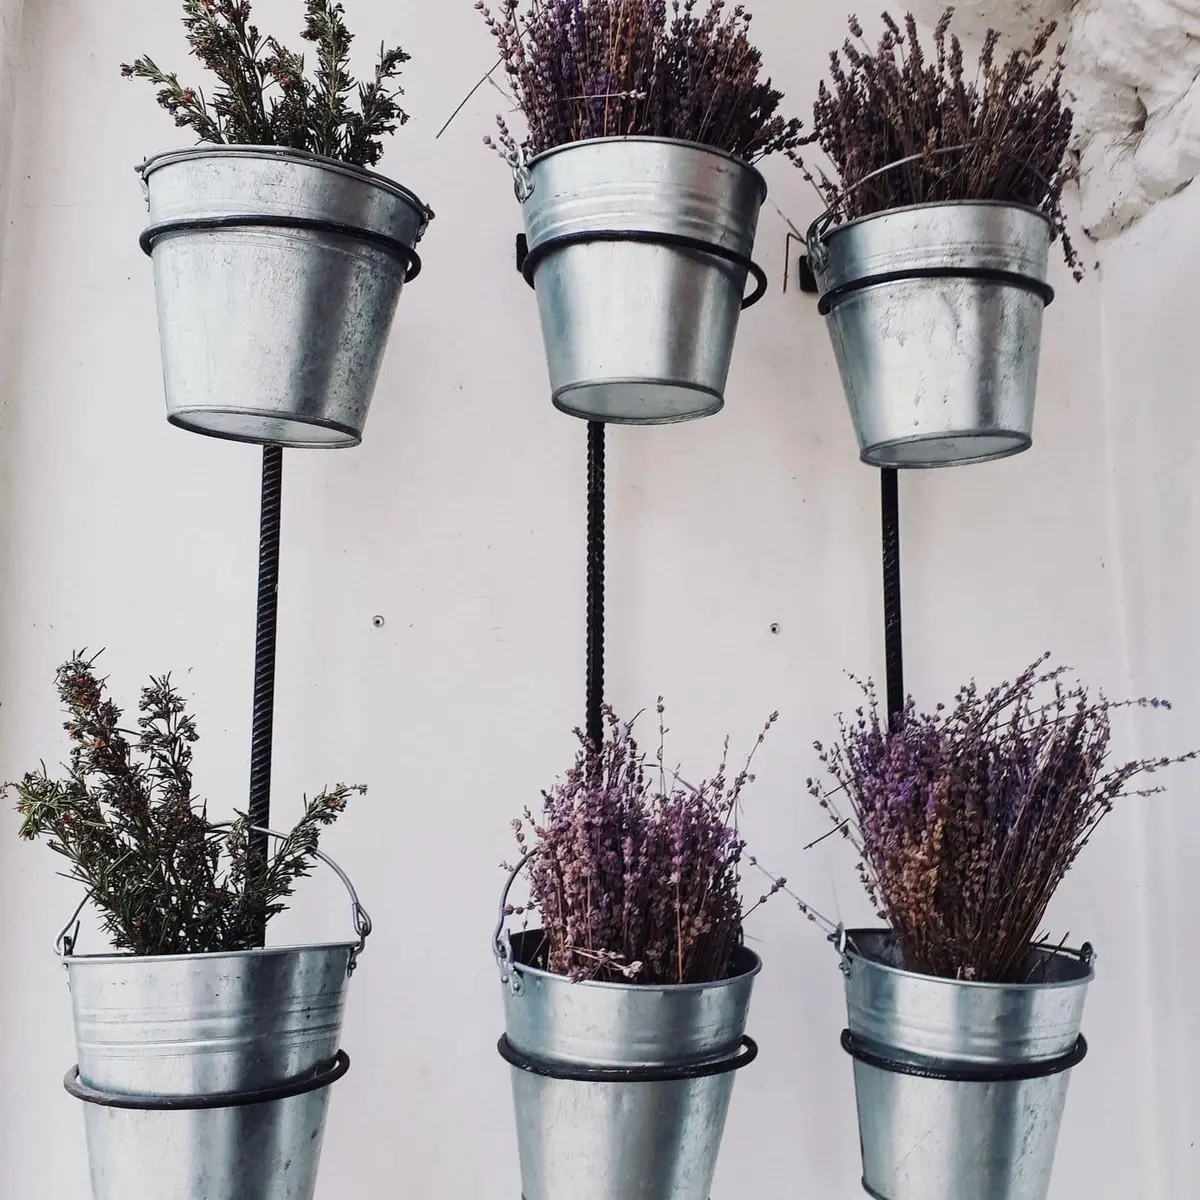
Choose light pots, like metal or plastic, instead of heavy ceramic or glass. Lighter planters are easier on the wall and safer if one falls.
A hanging wire or woven basket on a hook holds onions, garlic and potatoes, or fruit that ripens on the counter. It keeps them in the air, where you can see what’s left, and off the counter.
Hang baskets and planters on hooks screwed into studs or ceiling framing, not on adhesive hooks. Water and soil add weight, and a wet pot pulls harder on a hook than a dry one.
Put a tray under herbs to catch drips, and keep them out of the way of the stove’s heat. Trim them often and they’ll keep growing.
9. Fit hooks and a slim shelf into a narrow spot
A strip of wall too narrow for shelves can still hold a lot. A short rail with hooks, a small glass or wood shelf below it and a basket on the counter turn an empty corner into a working station.
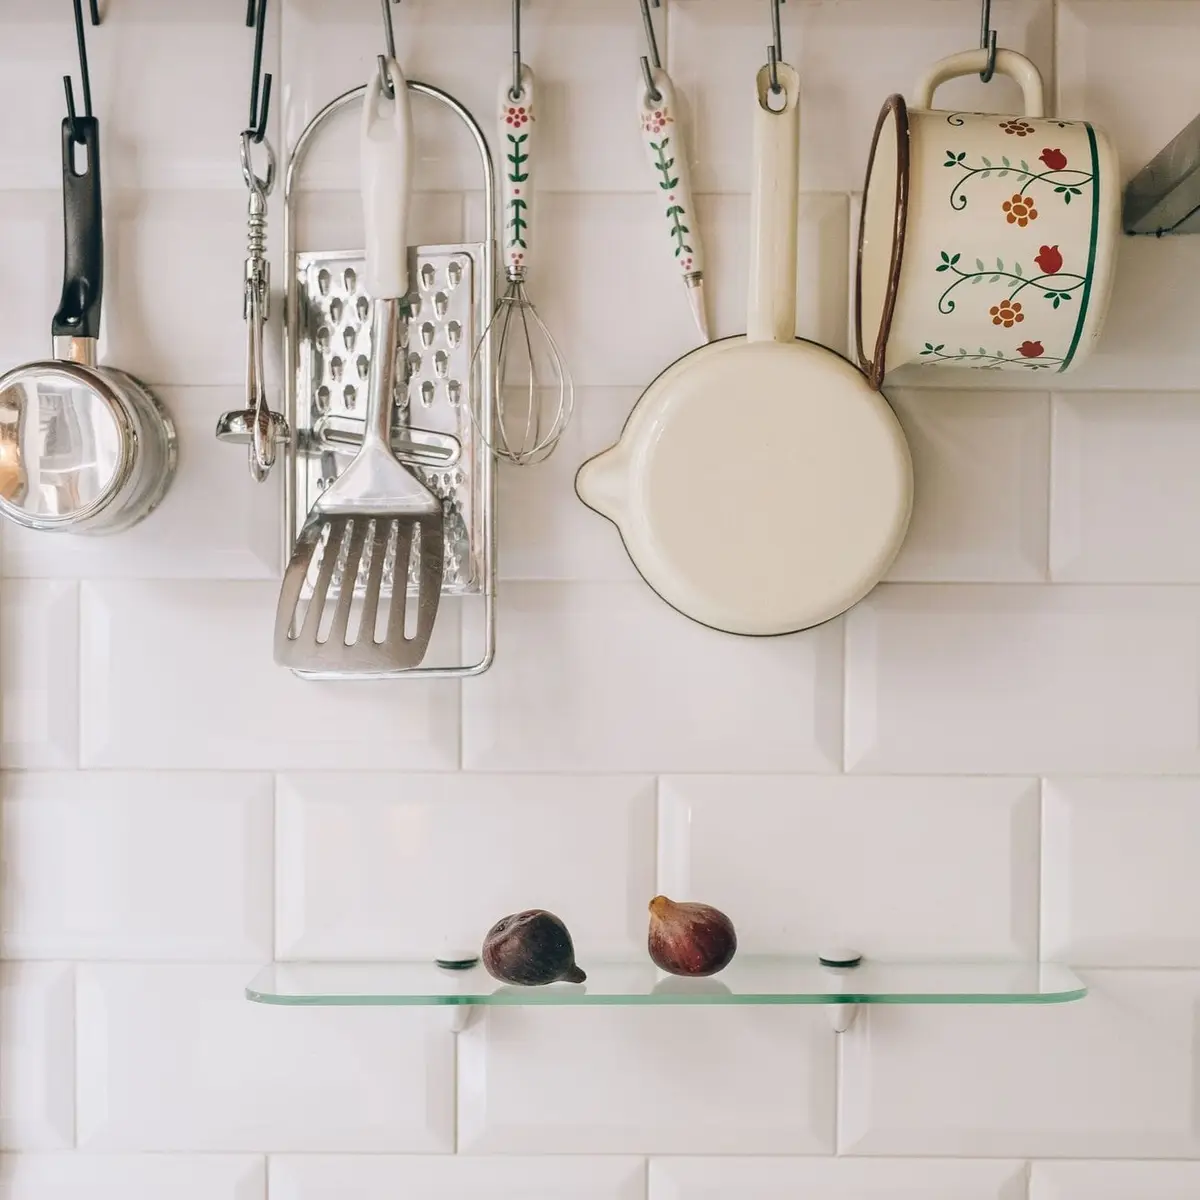
A pegboard or a wire grid does the same job and adjusts as your needs change. Hooks, small shelves and baskets click on and move around, so you can rearrange the board without new holes in the wall.
Mount a pegboard on spacers, so there’s room behind it for the hooks, and screw it into studs at the corners. A wire grid hangs on screws or hooks across its top edge.
This works well beside the fridge, at the end of a counter or on the side of a cabinet. In a galley or a studio kitchen, these small kitchen organization ideas find more spots like it.
Keep the narrow spot for one category, like baking tools or coffee things. A board with a little of everything looks busy and is hard to keep up.
10. Hang brushes and paper towels by the sink
The wall beside or above the sink is the place for the things you clean with. A short rail with S-hooks holds dish brushes, a bottle brush and a scrubber, so they drip dry instead of sitting in a puddle.
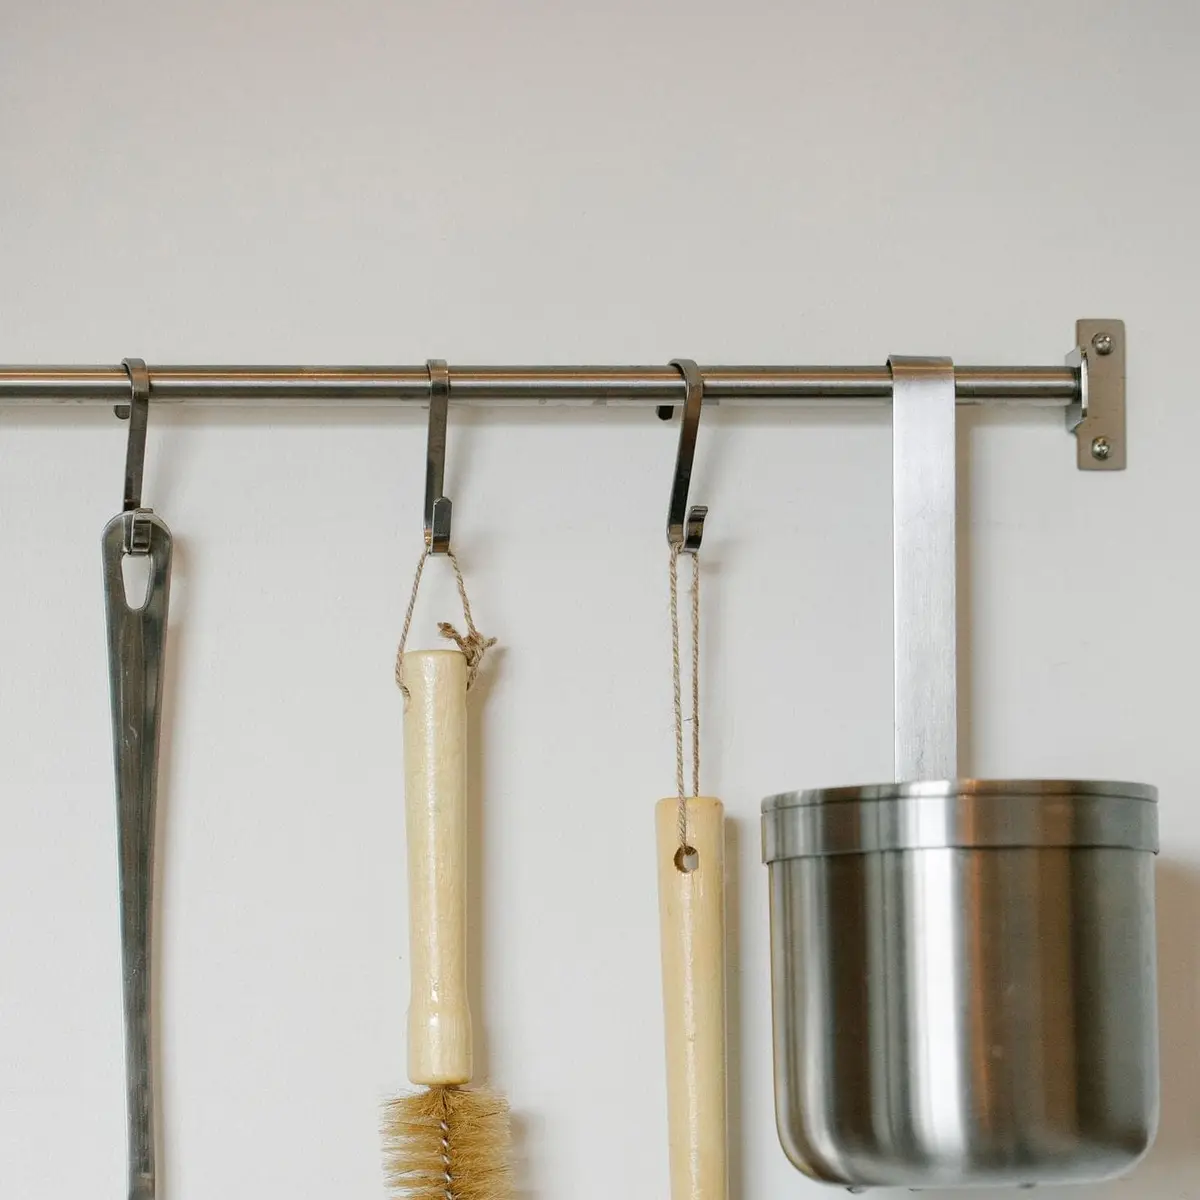
A wall-mounted paper towel holder frees the counter of its roll. Mount it within reach of the sink but away from the stove, since paper catches fire easily.
A small cup on the rail holds a sponge or a scraper, as long as it has holes in the bottom to drain. Swap brushes and sponges out as they wear, and wash the cup now and then.
Keep the sink wall for cleaning tools only. Food and dishes stay on the shelves, so nothing dripping lands on clean plates.
If the backsplash is tile, drill through the grout lines when you can, or use a bit made for tile. Adhesive hooks work for a light brush or two, but not for a full rail.
11. Add a landing board for lists and notes
A board on the wall by the kitchen door or the fridge is the household’s message center: the shopping list, this week’s dinners, reminders and the things that need signing. Everyone knows where to look.
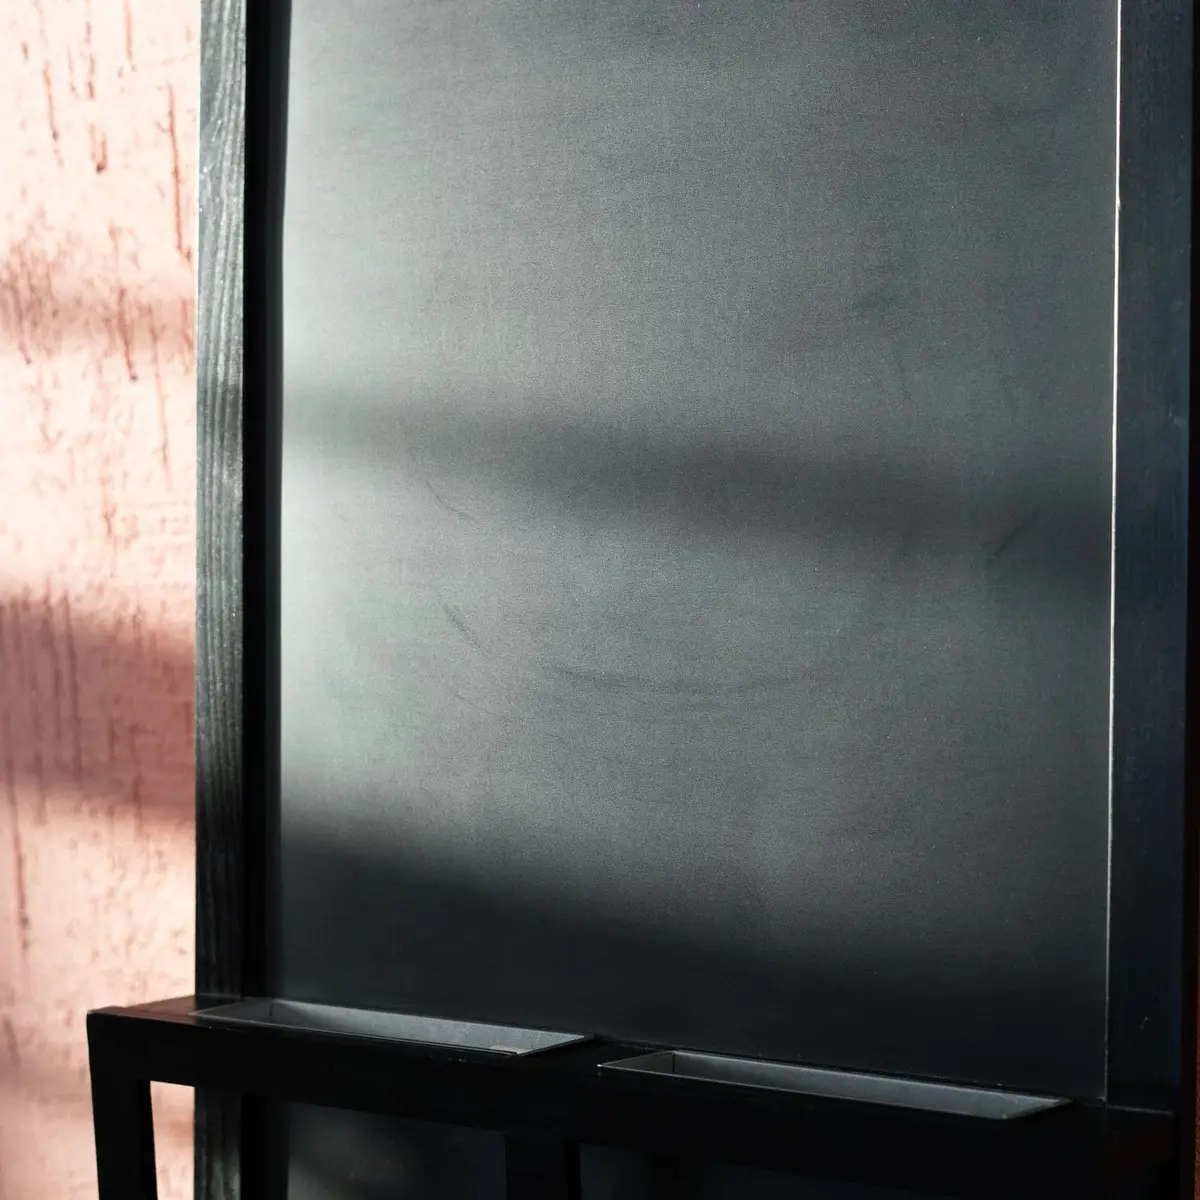
A chalkboard, a whiteboard, a cork board or a metal board with magnets all work. Pick one big enough for a list and a few papers, but small enough that it doesn’t become a wall of clutter.
Clip the printable grocery list to the board and add to it as things run low. The weekly meal planner can hang beside it, so the shopping list and the dinner plan stay together.
Add a hook or two below the board for keys or the reusable bags. Things that leave the house with you belong by the door, not on the counter.
Clear the board once a week, when you plan meals and shop. Old notes and outdated papers come down, so the board only shows what matters now.
Save this for later
Pin it to a board so it's there when you're ready to start.
Save to Pinterest(opens in a new tab)Make it easier
Free printable
A free one-page meal planner with a row for each day, a column for each meal, and room for the shopping list and the prep. Plan the week once, then shop once.
Free printable
A one-page grocery list sorted by store section, with a box to tick for every item, so you write the list once and shop the store in one loop.
Frequently asked questions
How do I organize a kitchen with no cabinet space?
Use the walls. A rail with hooks holds utensils and pans, a couple of sturdy shelves hold everyday dishes and jars, and a row of hooks takes the mugs, so the few cabinets you have can hold food and bulky things.
What can I hang on a kitchen backsplash?
Light, everyday things work best: a rail with S-hooks for spatulas and ladles, a magnetic knife strip, a paper towel holder and a small shelf for oil or salt. Keep anything that can burn, like towels and wooden boards, away from the stovetop.
Are open shelves a good idea in a kitchen?
They're a good fit for dishes and glasses you use every day, since those get washed often and don't gather dust. Keep heavy and breakable pieces on the lower shelves, and mount the brackets into wall studs or anchors rated for the load.
How do I hang shelves without drilling in a rental?
Ask your landlord first, since some leases allow small screw holes that you patch when you move out. If drilling is out, use freestanding shelves against the wall, tension rods or over-the-door racks, and keep adhesive hooks for light things like towels and measuring cups.