11 Nursery Dresser Organization Ideas That Grow With Your Baby
Plan a baby dresser drawer by drawer: diapering supplies up top, small bins for socks, filed bodysuits, a sleep drawer and a drawer to grow into.

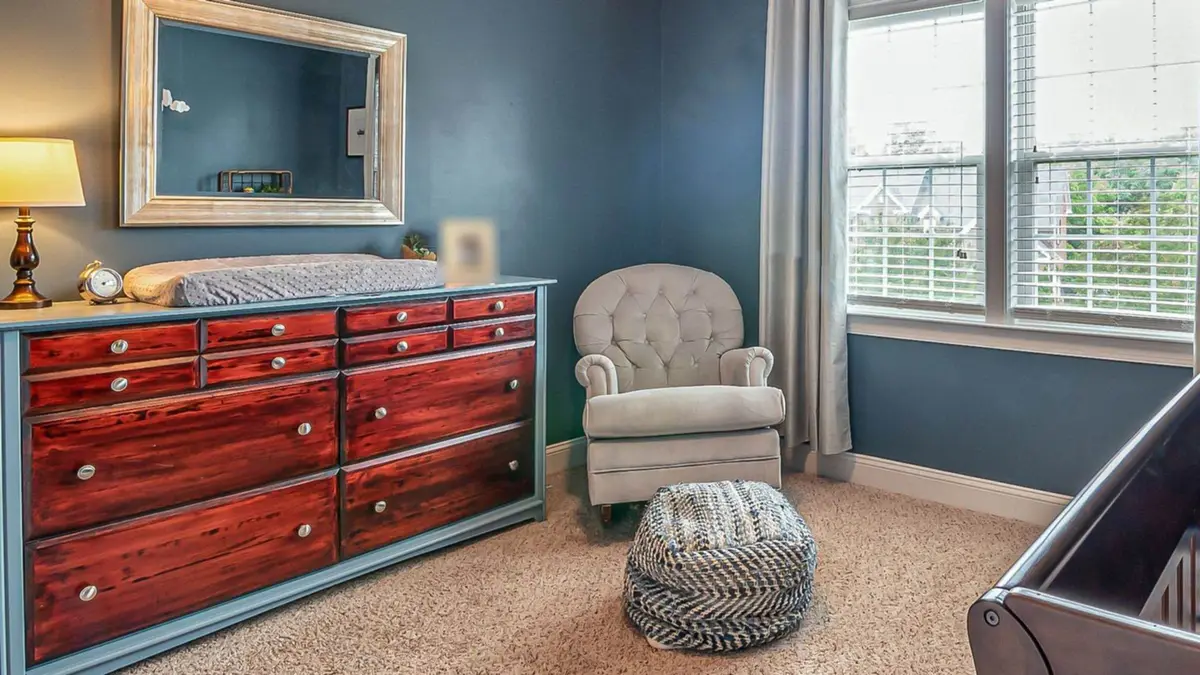
Nursery dresser organization starts with the top drawer: fill it with diapering supplies if the dresser doubles as a changing station, then give every other drawer one job, from sleepers to socks. Small bins divide the tiny pieces, clothes stand on edge so you can see them all, and the dresser is anchored to the wall before anything goes in.
These 11 ideas cover only the dresser and its drawers. For the rest of the room, from the crib to the closet, see the nursery organization ideas.
1. Plan each drawer by how often you open it
Before anything goes in, decide what each drawer holds based on how often you’ll reach for it. The top drawer gets what you use many times a day, the middle drawers hold everyday clothes, and the bottom drawer takes extras and backups.
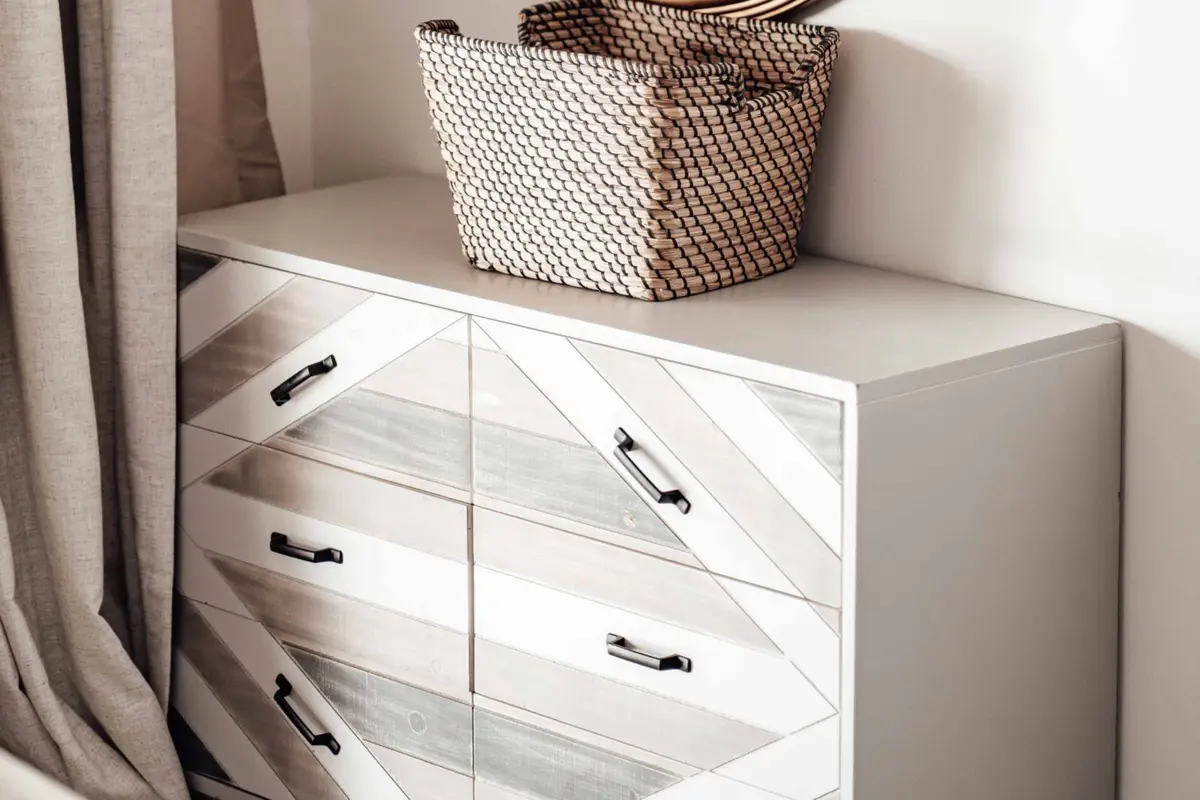
If the dresser doubles as a changing station, the top drawer belongs to diapering: diapers, wipes, cream and a spare outfit or two. That way everything is a short reach from the pad, and your other hand can stay on your baby.
Everyday clothes go in the next drawer down: bodysuits, pants, sleepers and socks. Things you need less often, like sweaters, special outfits and spare crib sheets, can sit lower, where bending down now and then is no trouble.
For the first few weeks, stick a note inside each drawer that says what lives there. Anyone helping out, from a partner to a grandparent, will know where clean clothes go without asking.
Expect the plan to change. As your baby grows, diapering supplies shrink and clothes take up more room, so look at the layout again every season and move things around.
2. Turn the top into a safe changing station
A dresser top at a comfortable height makes a good changing station, as long as it’s set up with safety in mind. Use a contoured changing pad with raised sides, and pick one that sits fully on the top of the dresser.
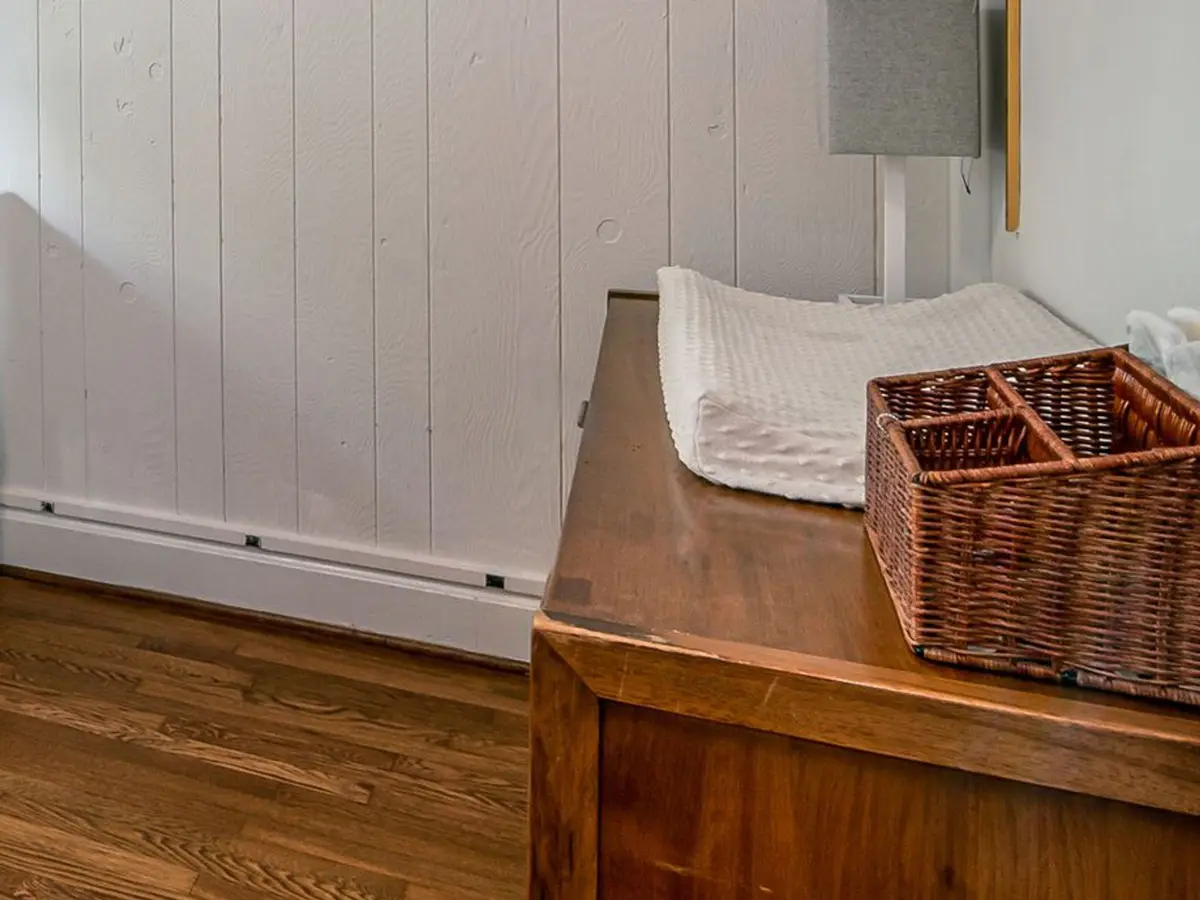
Skip hinged add-ons that fold out past the edge of the dresser. A baby’s weight near an overhanging edge can tip the whole piece forward.
Never leave your baby alone on the dresser, not even for a moment, and keep one hand on them the whole time. Use the pad’s safety strap at every change, but treat it as a backup to your hand, never a replacement.
Keep supplies within your reach but out of your baby’s. A divided caddy on the far side of the pad holds wipes, cream and a few diapers, with the rest in the top drawer just below.
If something you need isn’t in reach, pick your baby up and take them with you. Restocking the caddy each evening keeps those trips rare, and the middle of the night never starts with an empty wipes container.
3. Anchor the dresser before you fill it
Anchor the dresser to the wall before the first drawer is filled. Furniture with drawers can tip over, and children can use open drawers like steps to climb, so anchoring is one of the simplest ways to prevent an accident.
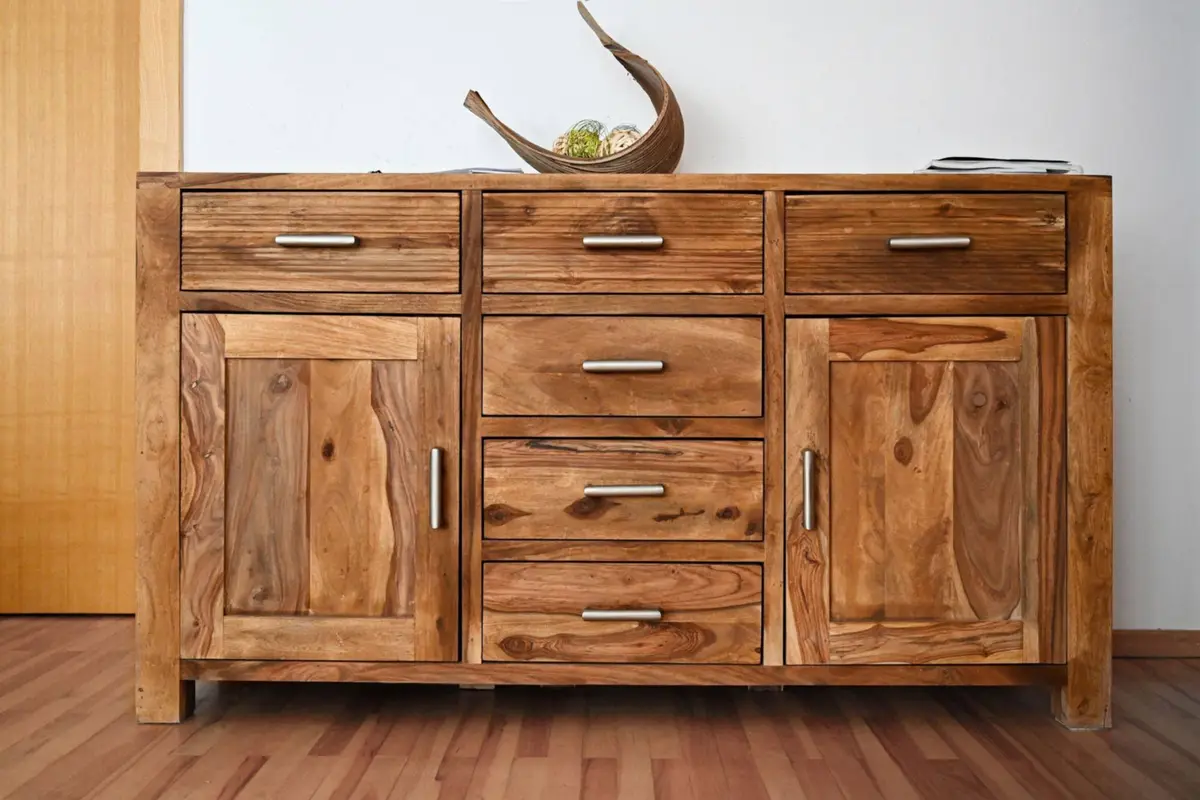
An anchor kit has a bracket for the wall, a bracket for the dresser and a strap that connects them. Attach the wall bracket, move the dresser close to the wall, fasten the second bracket, connect the strap and tighten it. Then give it a firm tug to make sure it holds.
A drill, a screwdriver and a stud finder are all the tools you need. Follow the kit’s directions for your type of wall, and use the hardware it calls for.
Keep the top clear of toys and anything else a curious toddler might climb up to reach. Baby lotion, a favorite stuffed animal or a music box can all look like a reason to pull out a drawer and step up.
Check the strap whenever you move the dresser or rearrange the room, and tighten it if it has worked loose. It takes a minute and keeps the dresser steady for years of drawer pulling.
4. Divide drawers with small bins for socks and hats
Socks, hats and mittens are the first things to vanish in a deep drawer. Give them small open bins or baskets so each kind has its own spot and nothing slips down under the clothes.
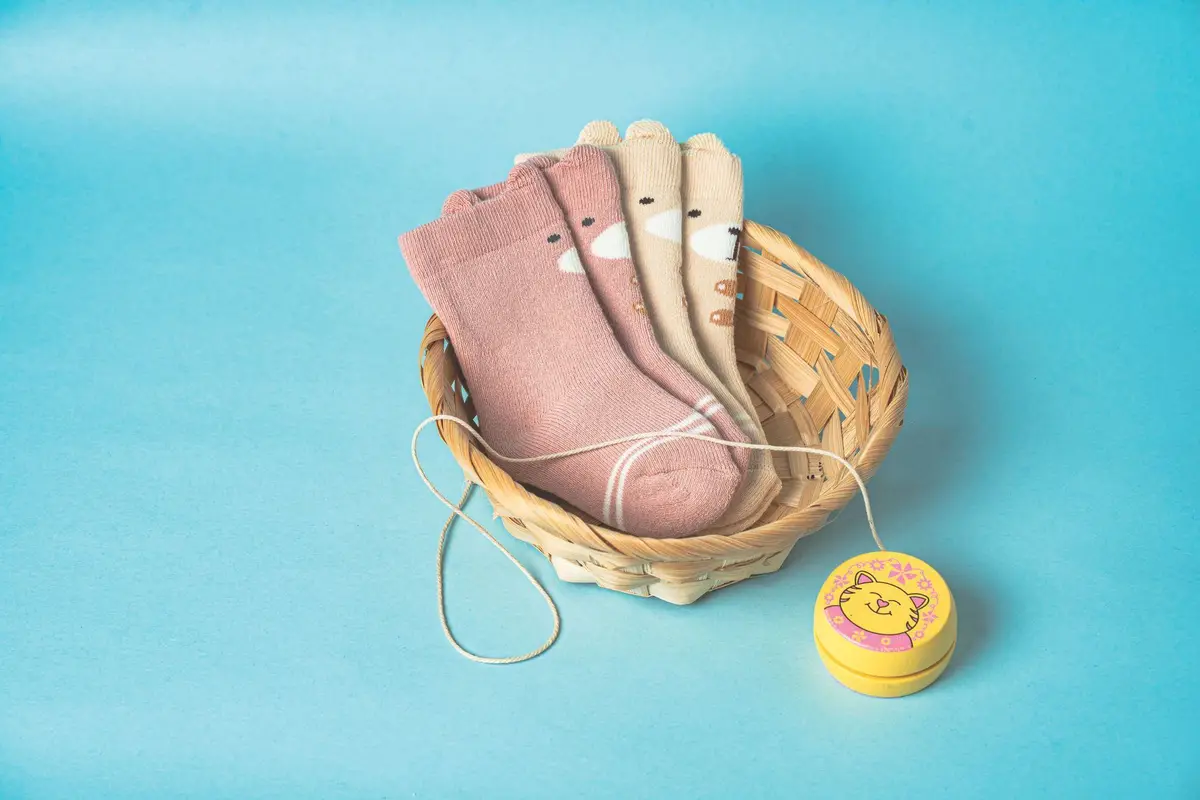
Measure the inside of each drawer first: width, depth and height. The bin and basket size calculator shows which bin sizes fit and how many line up side by side, so you buy the right ones the first time.
Shallow bins work best for baby things. A tall bin turns into a pile, while a low one lets you see every pair of socks at a glance and pull out the one you want.
Adjustable dividers that press between the drawer sides are another option. They make long lanes for bodysuits or pants, and you can move them as the clothes get bigger.
Pair socks as they come out of the dryer and drop them straight into their bin. Single socks can wait in a small pouch at the back of the drawer until their partner turns up, instead of getting mixed in with the pairs.
5. File-fold bodysuits so every one shows
Bodysuits are the item you’ll reach for most, and stacking them means digging for the one you want. Fold each one into a small rectangle and stand it on its edge, filed front to back like folders in a drawer.
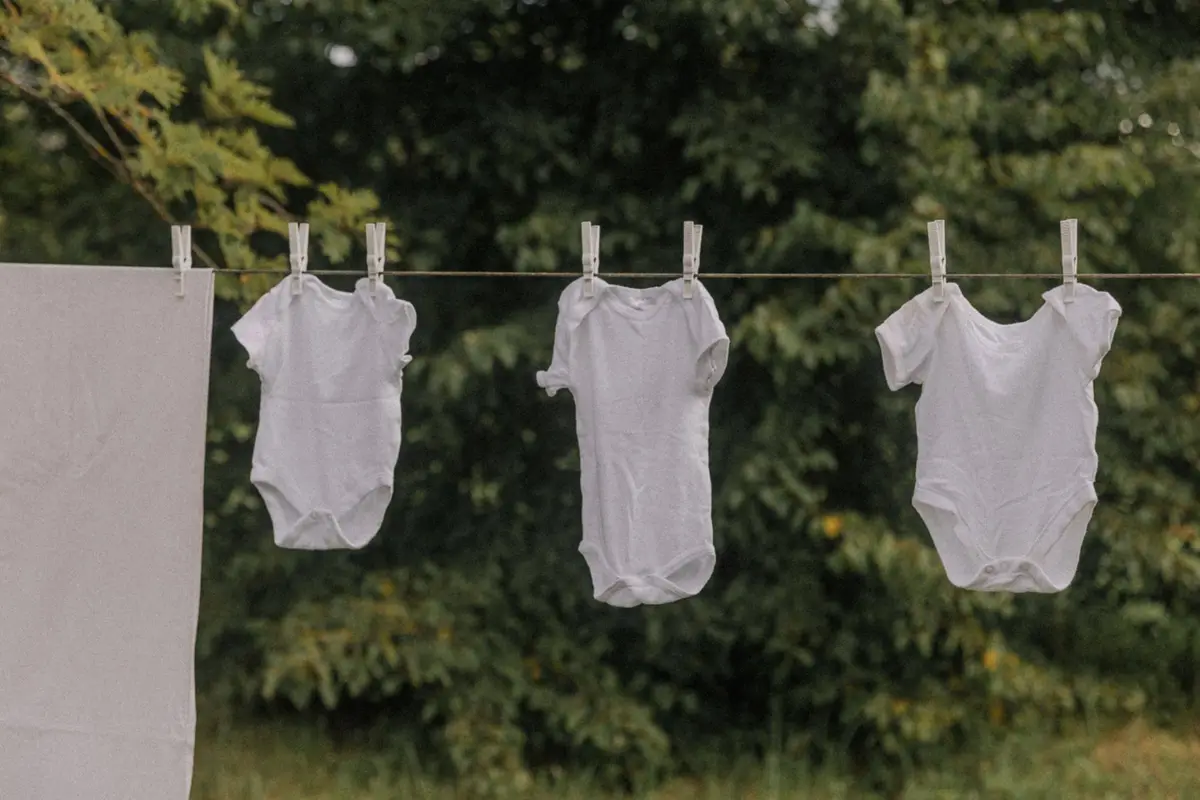
To file-fold, lay the bodysuit flat, fold the sleeves in toward the middle, fold the snap end up to the neck, then fold it in half once more. It should stand up on its own in the drawer.
Rolling works too, especially for the smallest sizes and soft fabrics that won’t hold a crease. Rolled bodysuits sit side by side in a row, and you can grab one with a single hand.
Keep short sleeves and long sleeves in separate rows. In a rush, you can pick the right one for the weather without unfolding anything or checking every sleeve.
Within each row, file by color from light to dark if that helps. It’s a small touch, but it makes the drawer easy to read and easy to put back the same way after laundry day.
6. Give sleep its own drawer
Sleepers, swaddles and sleep sacks all get used at the same time of day, so keep them together in one drawer. At bedtime or during a middle-of-the-night change, everything for sleep is in a single spot.
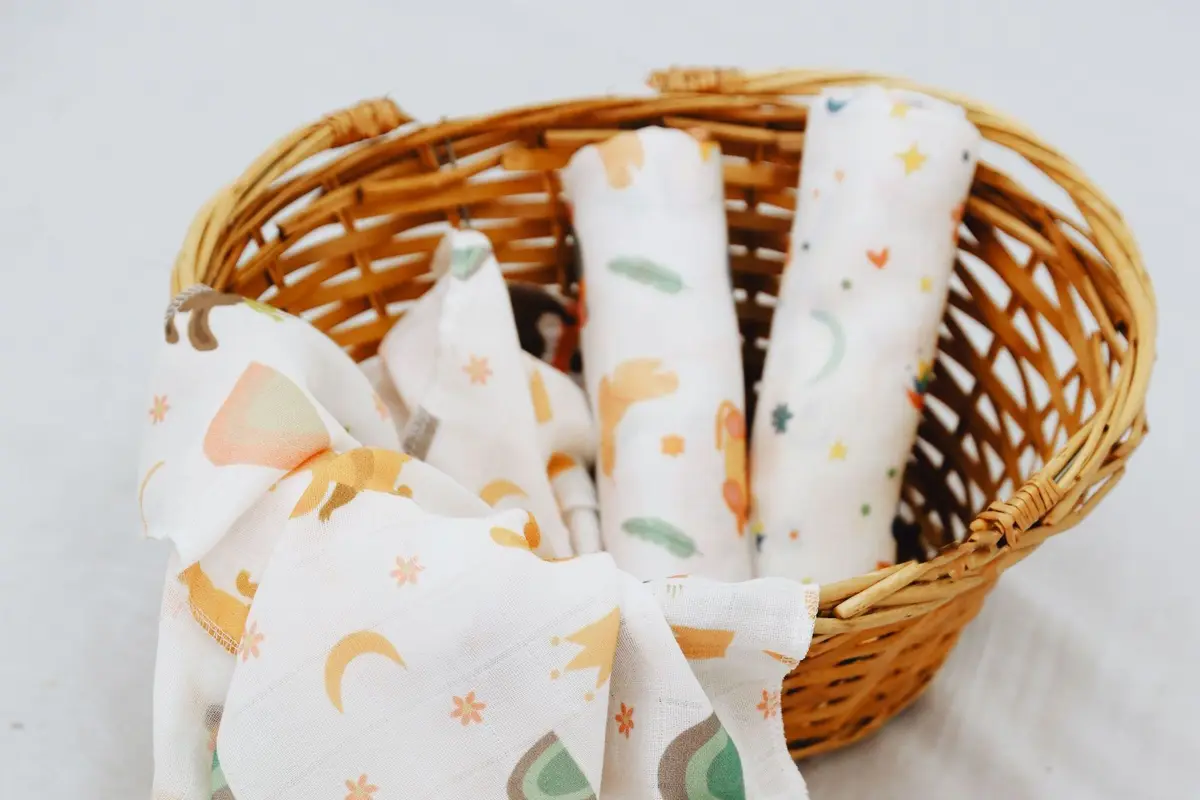
Roll swaddles and stand them in a row, or set them upright in a shallow basket inside the drawer. Rolled, they don’t unfold into a tangle when you pull one out in the dark.
Sleepers can be file-folded the same way as bodysuits. Zip or snap them closed first so they keep their shape and stand neatly.
Sleep sacks fold flat and fit well at the back of the drawer. Keep at least one spare, since a leaky diaper at night means changing everything at once.
When your baby stops being swaddled, clear the swaddles out of the drawer right away. That frees up the space for bigger sleepers and sleep sacks, and the drawer keeps doing its job without getting crowded.
7. Keep burp cloths and bibs at the front
Burp cloths and bibs get used constantly and usually in a hurry, so they belong at the front of a top or middle drawer. A divider or a small bin keeps them from spreading into the clothes behind.
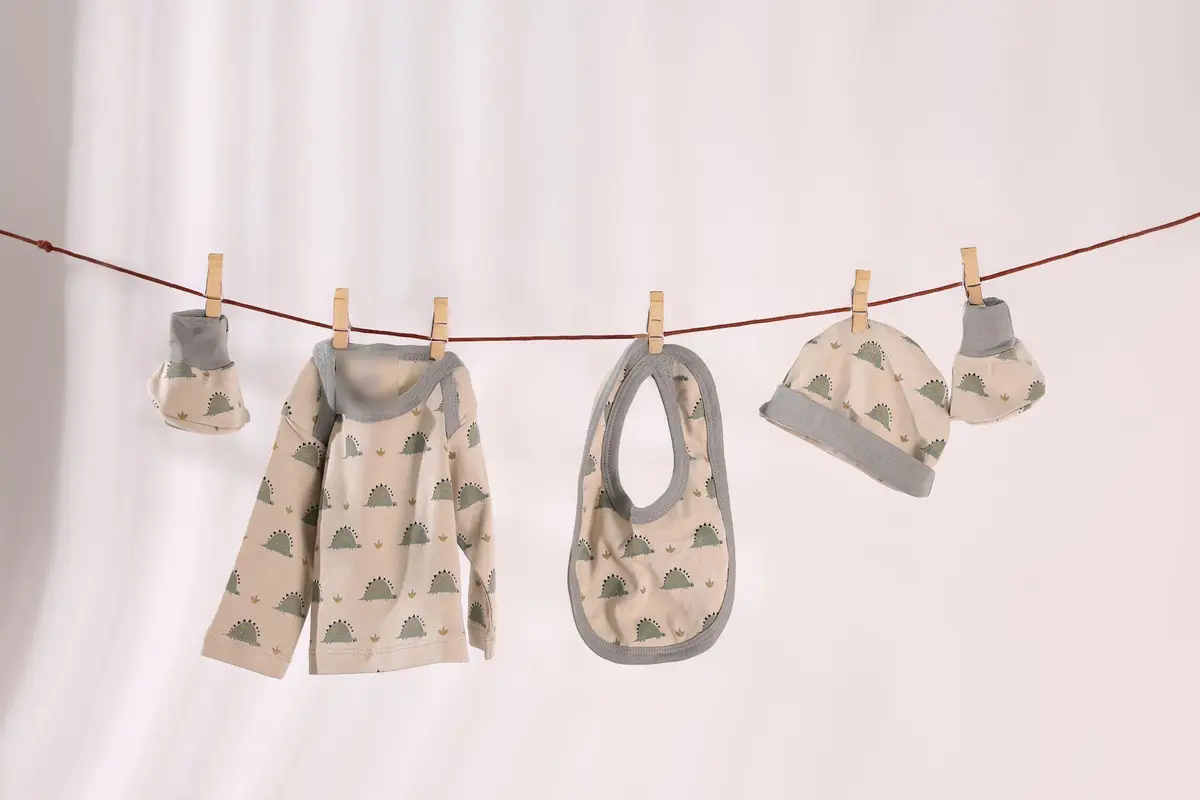
Fold burp cloths in thirds and stand them on edge, or lay them flat in a narrow bin. Either way, you should be able to grab one without looking down.
Bibs with snaps or ties can be folded in half and lined up the same way. If you use both feeding bibs and drool bibs, keep them in separate stacks so you don’t have to sort through them at mealtime.
Keep more than seems necessary. Both go through the laundry quickly, and reaching into an empty bin with a fussy baby on your shoulder is no fun.
Tuck a couple of burp cloths into the changing caddy on top as well. Then the drawer holds the backup supply, and the dresser top holds what you need right now.
8. Sort outfits by size and label each section
Baby clothes come in a lot of sizes, and they’re easy to mix up when every piece looks tiny. Keep clothes sorted by size, with the current size in the easiest drawers and the next size close behind.
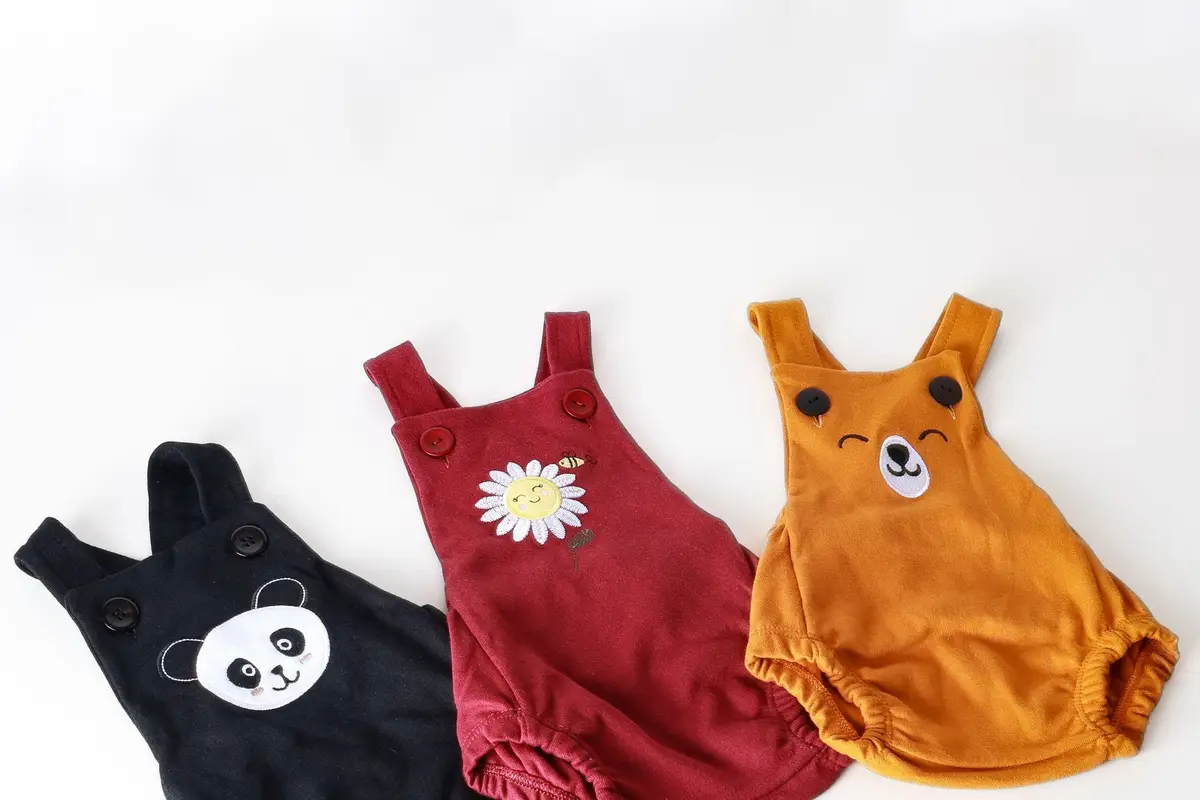
Label each section with the size, either on the front of the drawer or on the bins inside. Removable labels or clip-on tags work well, since the sizes change so quickly.
Within each size, sort by type: bodysuits, pants, outfits and layers. When you’re getting your baby dressed, you’ll go straight to the right lane instead of searching the whole drawer.
Gifts often arrive in bigger sizes. Check the tag before anything goes into a drawer, and send larger pieces straight to their own section so they don’t get pulled out too soon.
If two sizes share a drawer for a while, keep them on opposite sides with a divider between them. That way nothing too small gets put on your baby by mistake on a busy morning.
9. Keep a grow-into drawer
Set aside one drawer, usually a lower one, for clothes your baby will grow into. Gifts, hand-me-downs and next-size basics all wait there until they fit.
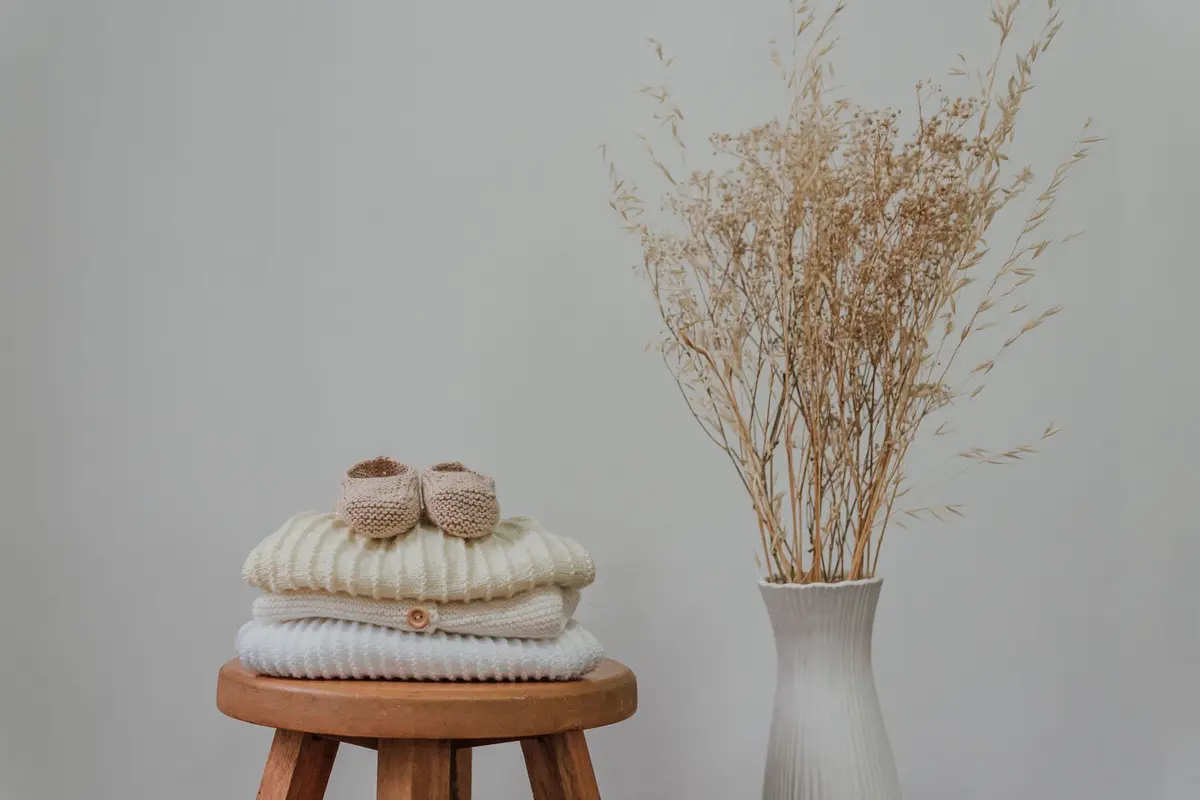
Sort the drawer by size, with the smallest at the front. When it’s time to move up, you’ll know exactly what you already have before you buy anything new.
Watch the seasons as well as the sizes. A warm knit sweater in a bigger size won’t help in the middle of summer, so tuck a note on top of the stack with the size and the season it suits.
If the drawer overflows, move the extras to a labeled box on a closet shelf. The small closet organization ideas cover shelves and bins if the closet is tight too.
Keep this drawer to things you’ll actually use. Anything that doesn’t suit your family or your weather can be passed on now, while it’s still useful to someone else.
10. Check sizes once a month
Babies outgrow clothes fast, and a drawer full of things that no longer fit makes every morning harder. Once a month, pull out anything that’s too snug and move the next size up into its place.
Pick a regular day, like the first weekend of the month, so the check becomes a habit. It only takes a few minutes for each drawer.
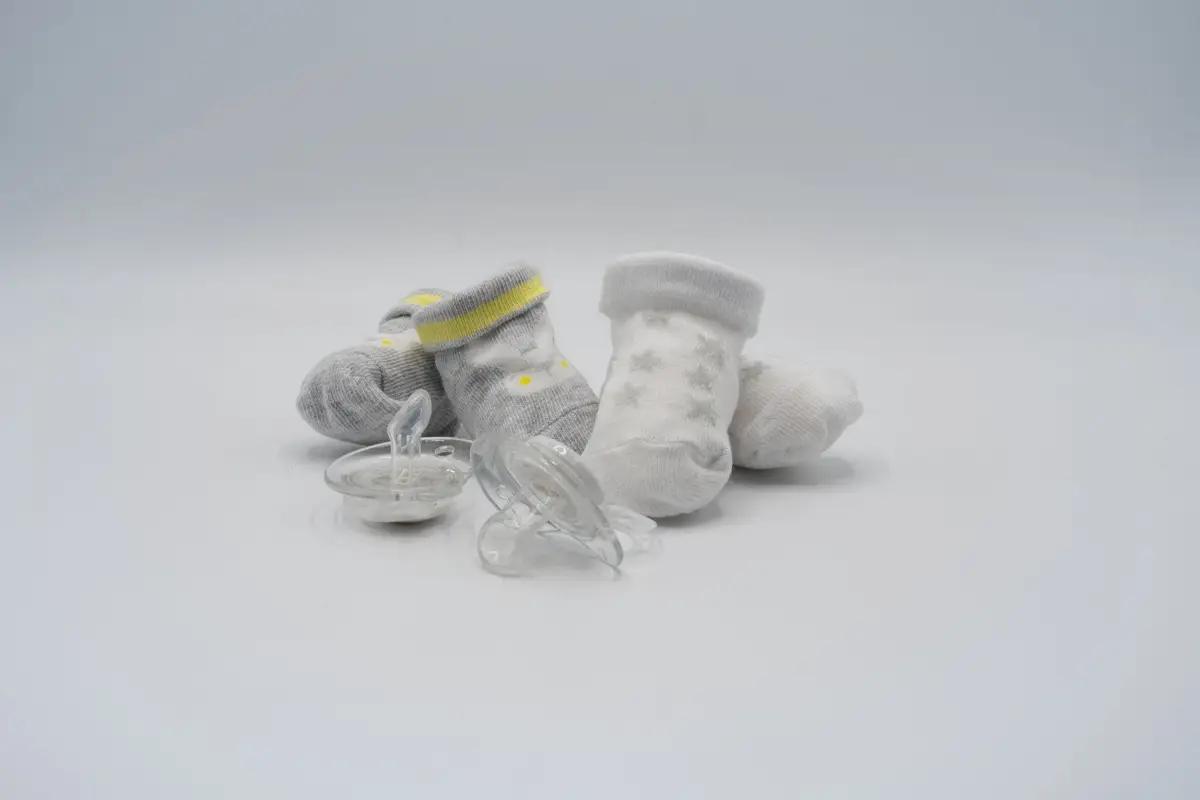
Look at socks, hats and mittens first. Small things get outgrown without anyone noticing, and they’re the easiest to forget at the bottom of a bin.
Keep a bag or box nearby for outgrown clothes. Sort it into keep, pass on, donate and toss, and use the declutter checklist to work through the same questions for the rest of the house.
While the drawers are open, wipe them out and look at the dividers. Adjust the lanes as the clothes get bigger, so the plan you made for each drawer still fits what’s in it.
11. Plan a low drawer your toddler can reach
Once your baby is walking, the bottom drawer can become theirs. Fill it with a few things they’re allowed to choose on their own, like socks, pajamas or a couple of shirts.
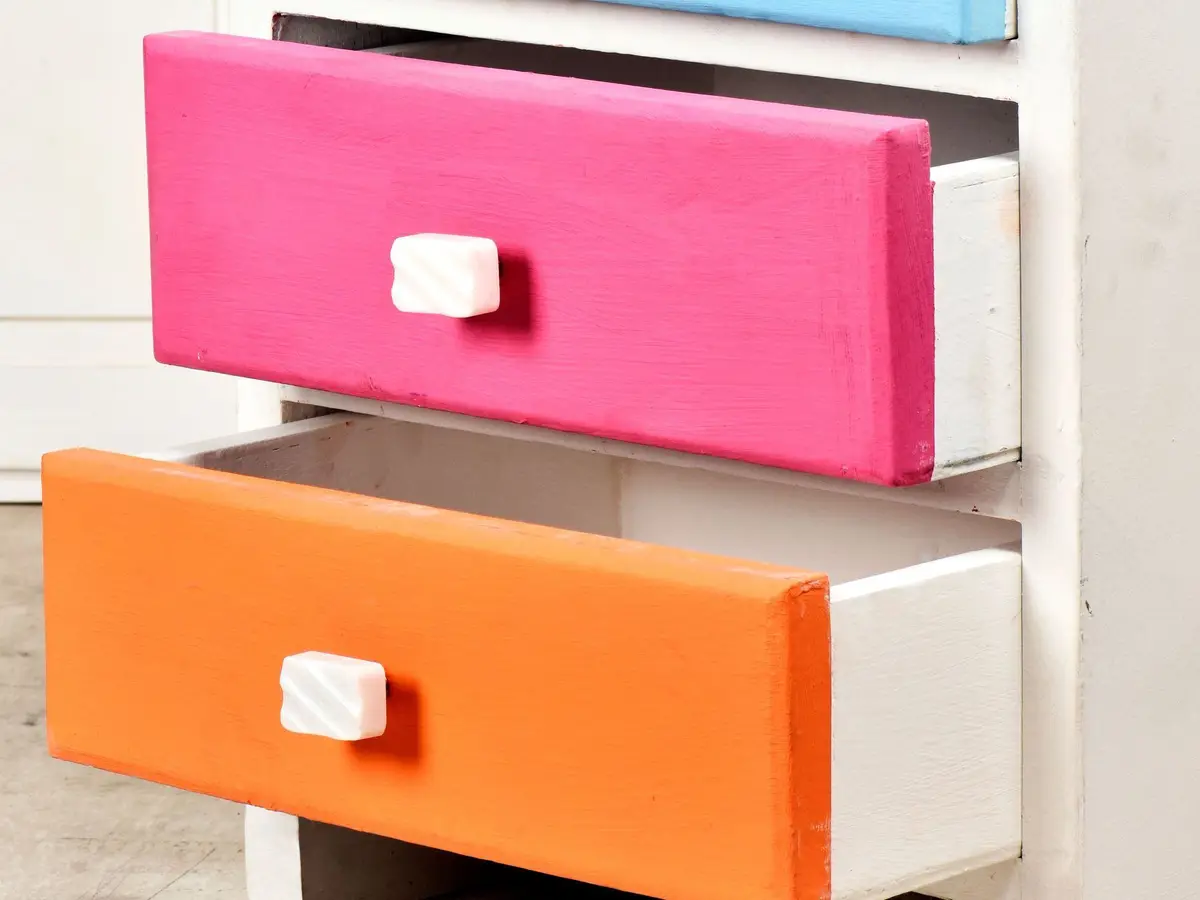
Keep the choices small and simple. Two or three options in an open bin are easier for a toddler to manage than a whole drawer of clothes.
Make sure the dresser is still anchored, and check the strap now that little hands are pulling on drawers every day. Teach that drawers are for opening, never for climbing.
Picture labels on the front, like a simple drawing of socks or a shirt, help a toddler learn where things go back. They also turn putting clothes away into a small game.
As your child grows, the toddler drawer can move up a level and take on more. The kids organization hacks cover toy storage and other ways to help little ones put their own things away.
Save this for later
Pin it to a board so it's there when you're ready to start.
Save to Pinterest(opens in a new tab)Make it easier
Free printable
A room-by-room declutter checklist that tells you exactly what to look for, with four piles to sort into so nothing ends up back on the shelf.
Free tool
Enter the width, depth and height of a shelf, a drawer or a cube cubby, and see which standard bins and baskets fit, how many, and how they line up.
Frequently asked questions
What should go in the top drawer of a nursery dresser?
If the dresser doubles as a changing station, the top drawer holds diapering supplies: diapers, wipes, cream and a spare outfit. If it doesn't, use the top drawer for whatever you reach for most, usually bodysuits, socks and burp cloths.
Should I fold or roll baby clothes in a dresser?
Either works, as long as the clothes stand on edge instead of lying in stacks. File-folding suits bodysuits and sleepers, while rolling works well for swaddles and very soft fabrics that won't hold a crease.
Do I need to anchor a nursery dresser to the wall?
Yes. Furniture with drawers can tip over, and children can use open drawers to climb, so anchor the dresser before the baby arrives and check the strap whenever you move it.
How do I organize baby clothes by size in a dresser?
Keep the current size in the easiest drawers and give the next size its own labeled section or drawer. Check sizes once a month and move anything outgrown to a bag for storing or passing on.