12 Stove Cleaning Hacks for Greasy Grates, Burners and Knobs
Soak greasy grates, clear clogged burner ports, wipe coil burners safely, wash the knobs and reach the crumbs beside the range with these simple tricks.

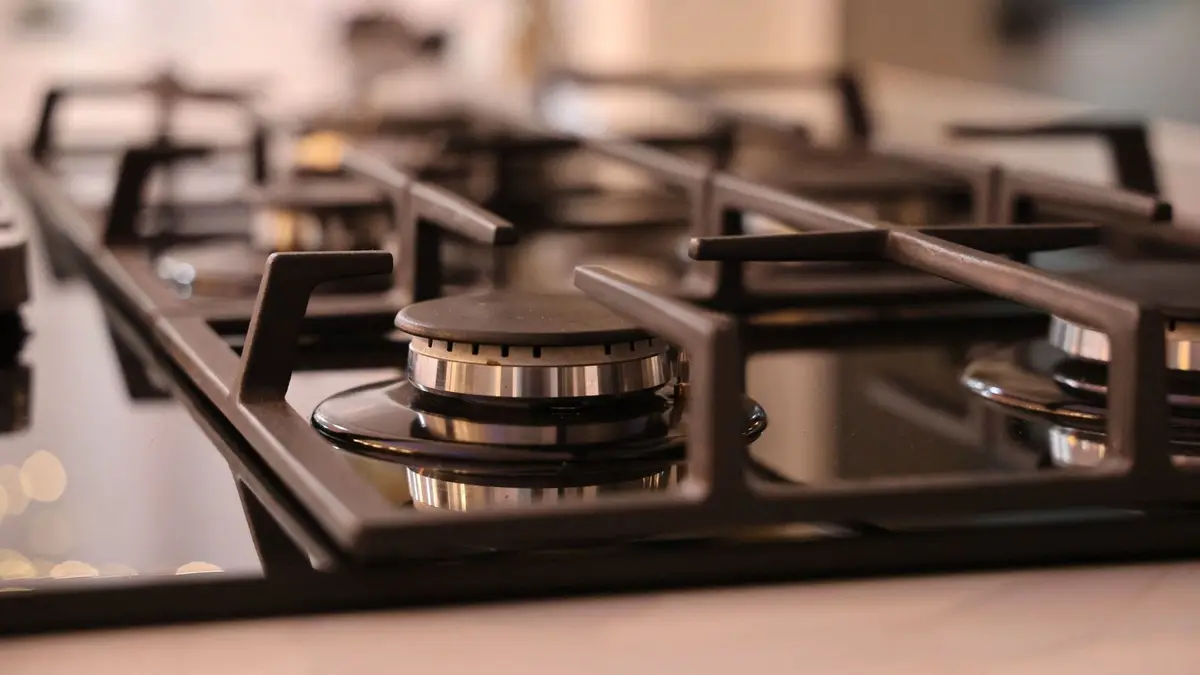
The best stove cleaning hacks let hot, soapy water do the hard part: soak the grates and burner parts while you wipe the cooktop, clear clogged burner ports with a pin instead of scrubbing, and keep coil burners out of water entirely. Start with every knob off and the stove completely cool, and a greasy stove comes clean in one evening.
These 12 hacks cover gas and coil electric stoves, from the grates down to the gap beside the range, plus the habits that keep the mess from coming back. A smooth glass top needs gentler care, so it has its own guide: how to clean a glass stove top.
1. Soak the gas grates in hot, soapy water
Cast iron grates catch every splatter, and scrubbing them dry only spreads the grease around. Once the stove is off and the grates are cool to the touch, lift them off and give them a long soak instead.
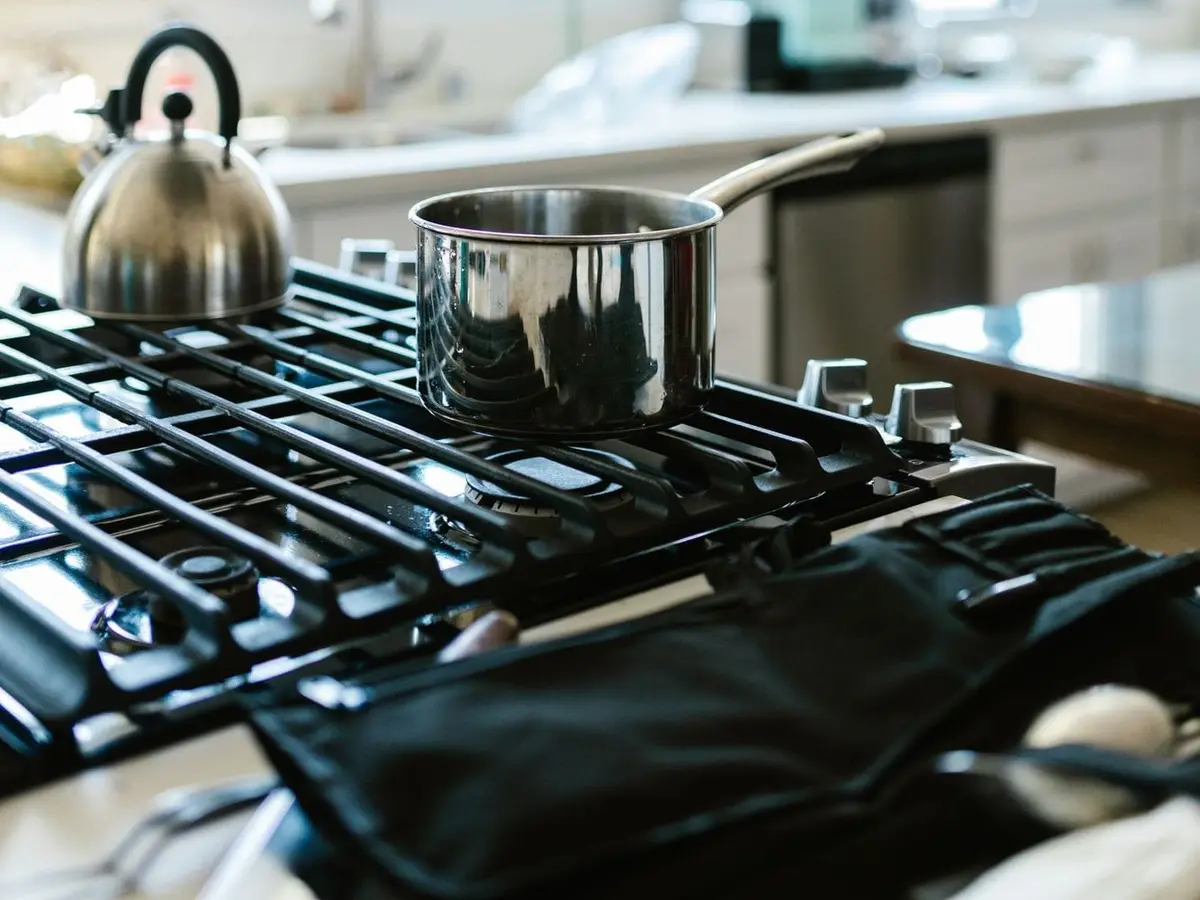
Fill the sink or a large tub with the hottest tap water you have and a good squeeze of dish soap. Let the grates sit for about half an hour, or longer for heavy buildup, then scrub them with a non-scratch pad or a stiff nylon brush and a little mild cleaner.
Set them down gently as you work. Enameled grates can chip if they knock against each other, the sink or a cast iron pan.
Some grates can go through the dishwasher on its heaviest cycle, but only if the manual says so, and caked-on grease still needs a soak first. Never put grates in the oven during a self-clean cycle.
Rinse well and dry each grate before it goes back on the stove. Then give the sink a clean of its own with these sink cleaning hacks, since greasy soak water leaves a film on the basin and around the drain.
2. Seal grimy grates in a bag overnight
When the grates are too big for the sink, or the grease has had months to harden, a bag works better than a basin. A heavy-duty trash bag or an extra-large zip-top bag holds a grate and keeps the soapy water pressed against every side.
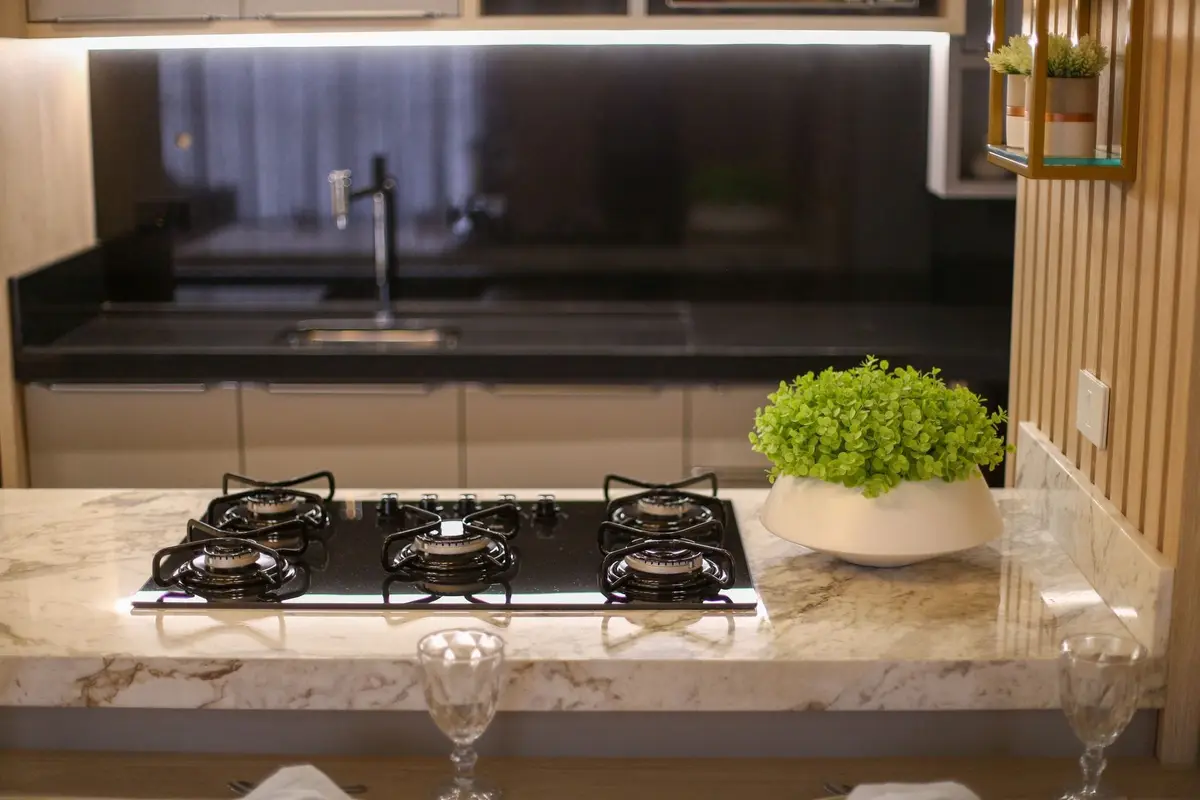
Slide the cool grates in, add hot water and a generous squeeze of dish soap, press out the air and close the bag tightly. Lay it flat in the tub or a shallow bin in case it leaks, and leave it overnight.
In the morning, the softened grease scrubs off with a brush in a few minutes. Rinse, dry and set the grates back on a freshly wiped cooktop.
Some versions of this trick put household ammonia in the bag. Skip it: ammonia can discolor burner parts, the fumes are harsh, and it makes a toxic gas if it ever meets bleach.
The bag trick works for anything awkward and greasy, including the racks from the oven below. For those, follow how to clean oven racks, which walks through the tub soak and the baking soda method step by step.
3. Clear clogged burner ports with a pin, never a toothpick
A gas burner that lights unevenly, or only partway around, often has food or grease in its ports, the small openings the flame comes through. Lift off the cool burner cap and the burner head, if yours comes off, and look for crumbs in the grooves.
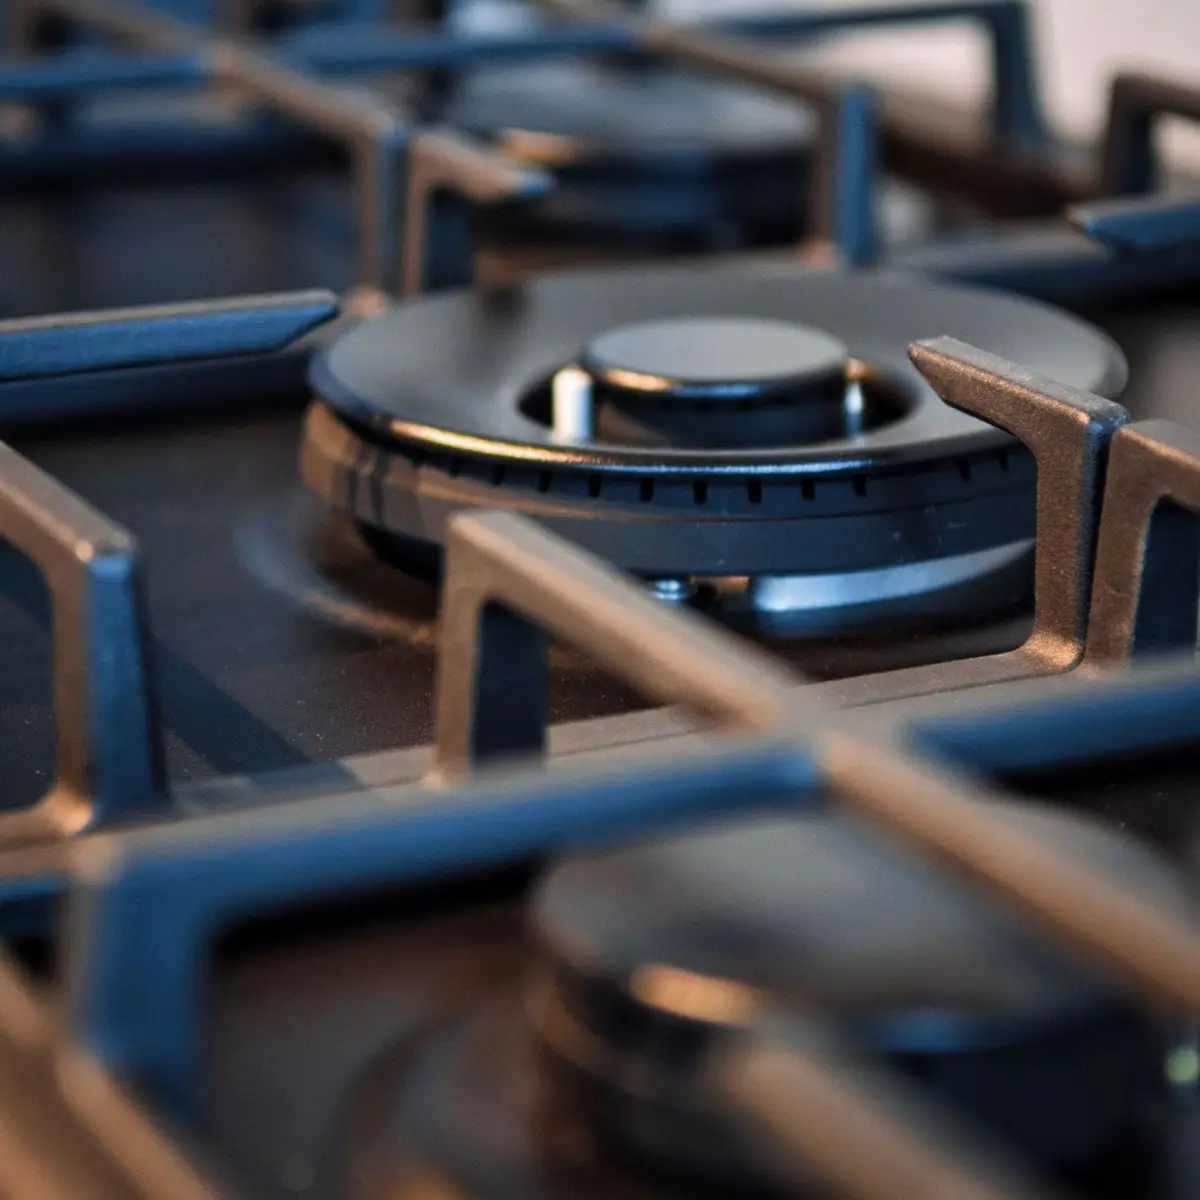
Soak a greasy burner head upside down in hot water with dish soap for about half an hour. Scrub it with a soft brush or a plastic scrubbing pad, then rinse until no soap is left.
Clear each blocked port with a straight pin, a needle or a straightened paper clip, pushing straight in. Don’t use a wooden toothpick, which can snap off inside and block the gas, and don’t widen or bend the opening.
Check the small opening under the burner head as well, and lift out any crumbs with the same pin. Keep ammonia and harsh scouring pads away from burner heads, since they can discolor or scratch the metal.
Some burner caps aren’t dishwasher safe, so check the manual before you load them. Never cover the ports with foil or leave paste sitting in them.
4. Dry every burner part and line it up before you light it
Water left inside a burner can keep it from lighting, or make it light unevenly. Drying is a real step, not an afterthought.
Shake out the water, dry each part with a lint-free towel, and leave the pieces on a rack until no damp spots remain. Give them extra time, since water hides in the grooves.
Put each head and cap back on its own burner, because sizes often differ from one spot to the next. Line up the alignment pin with the hole in the head, and check that the cap sits flat and barely moves from side to side.
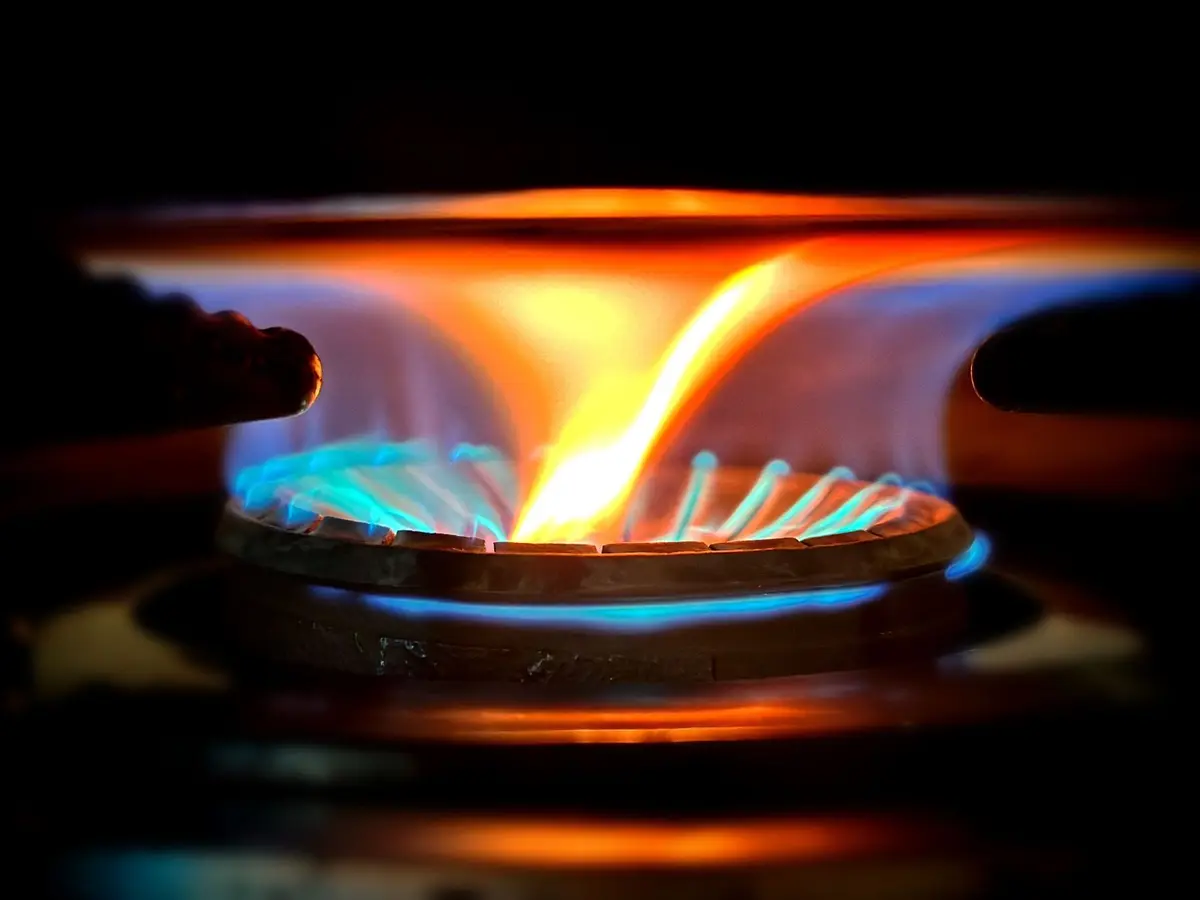
Wipe around the igniter, the small part that clicks or sparks, with a barely damp cloth. Then light each burner and watch: the flame should come evenly out of every port.
If a burner won’t light or the flame looks ragged, turn it off and check the cap before anything else. And if you ever smell gas, stop and leave the house right away without touching light switches or phones. Call the gas company or emergency services from outside, and wait until they say it’s safe to go back in.
5. Wipe coil burners in place and never submerge them
Coil burners on an electric stove clean themselves to a point, since the heat burns off most spills. What they never need is a soak: a coil element must not go in water.
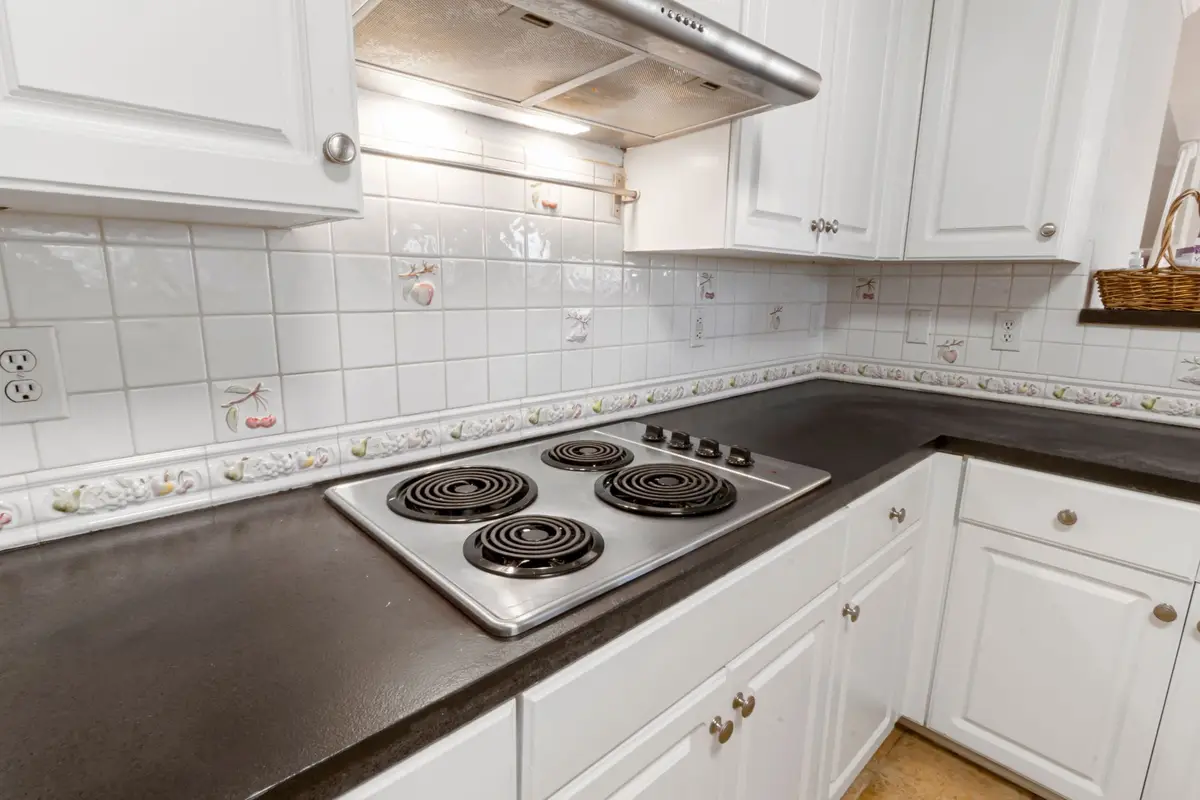
Turn every control off and wait until the coils are completely cool. If the manual says to switch off the power at the breaker before you remove them, do that first.
To lift a coil out, push its edge toward the socket it plugs into, raise it just clear of the drip pan and pull it straight out. Set it on a towel on the counter, away from the sink.
Wipe stuck-on drips with a cloth that’s damp, not wet, and keep the plug end dry. Don’t spray cleaner on the coils or rinse them under the tap.
Whatever is left on the coil usually burns off the next time you cook, so a light film isn’t worth scrubbing. Open a window or run the hood the first time you turn it back on, in case a little smoke rises.
Plug each coil back in firmly, all the way, so it sits level in its pan. A coil that wobbles isn’t seated right.
6. Soak the drip pans with dish soap and baking soda
The drip pans under the coils catch every boil-over, and they brown quickly. With the coils out, lift the pans out and see what kind you have: shiny chrome or a porcelain enamel finish.
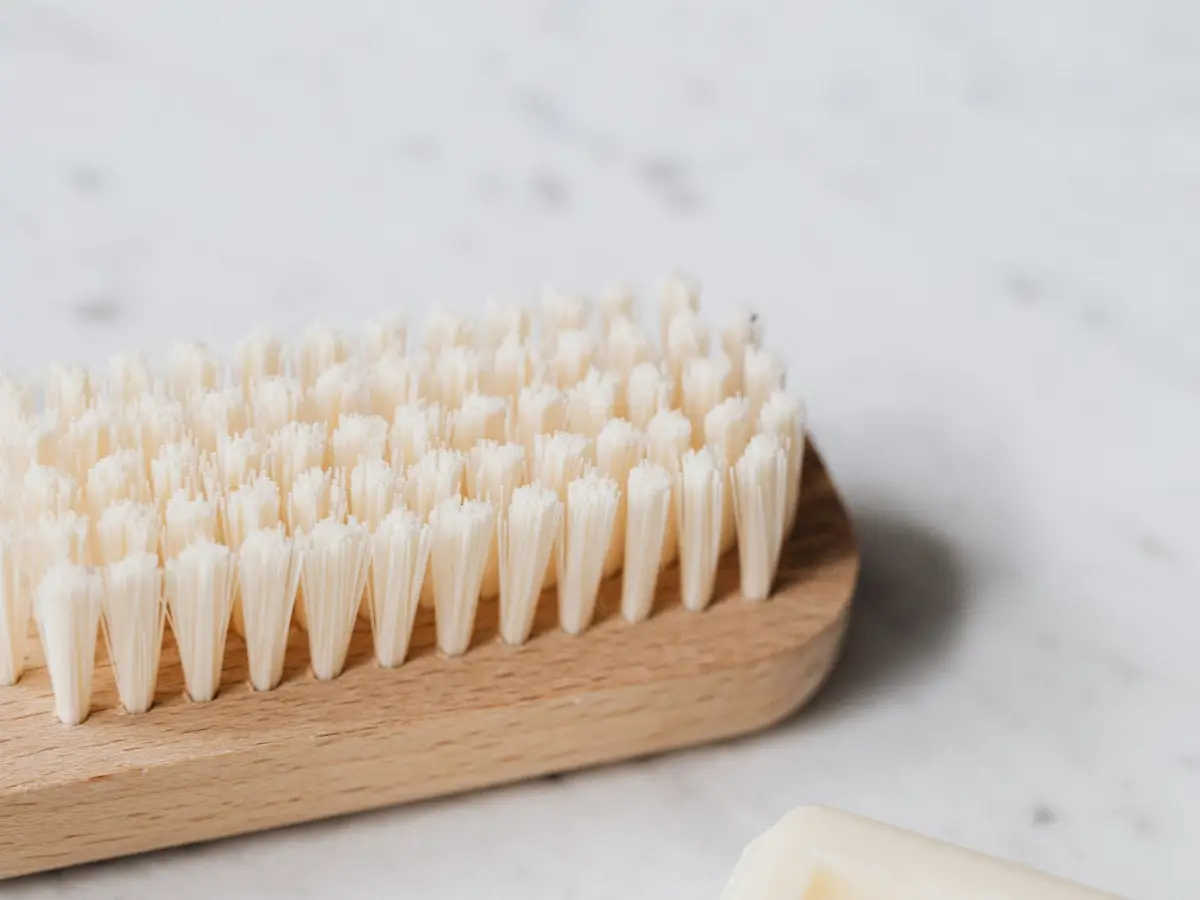
Soak them in hot, soapy water while you clean the rest of the stove. Then sprinkle baking soda over the burnt rings and scrub with a stiff brush or a non-scratch pad.
For the darkest spots, spread a paste of baking soda and a little water and leave it on for an hour or so. The paste softens burnt-on sugar and grease, so they lift without hard scrubbing.
Chrome pans get a mild liquid cleaner, a rinse and a soft, lint-free cloth to keep the shine. Porcelain pans are often dishwasher safe, but check the manual first.
Some stains never come off, and that’s fine. Drip pans are made to be replaced, and a new set makes an old stove look far cleaner.
Dry each pan fully before it goes back, then plug the coils in on top. Never mix cleaners on a stubborn pan: a product with bleach plus one with ammonia or vinegar gives off dangerous gases, so use one product, rinse it off, and only then try another.
7. Pull the knobs off and wash them in the sink
Knobs collect grease from cooking hands, and the grime settles into the grooves where a cloth can’t reach. On many stoves the knobs pull straight off; check the manual if yours won’t budge, and never force one.
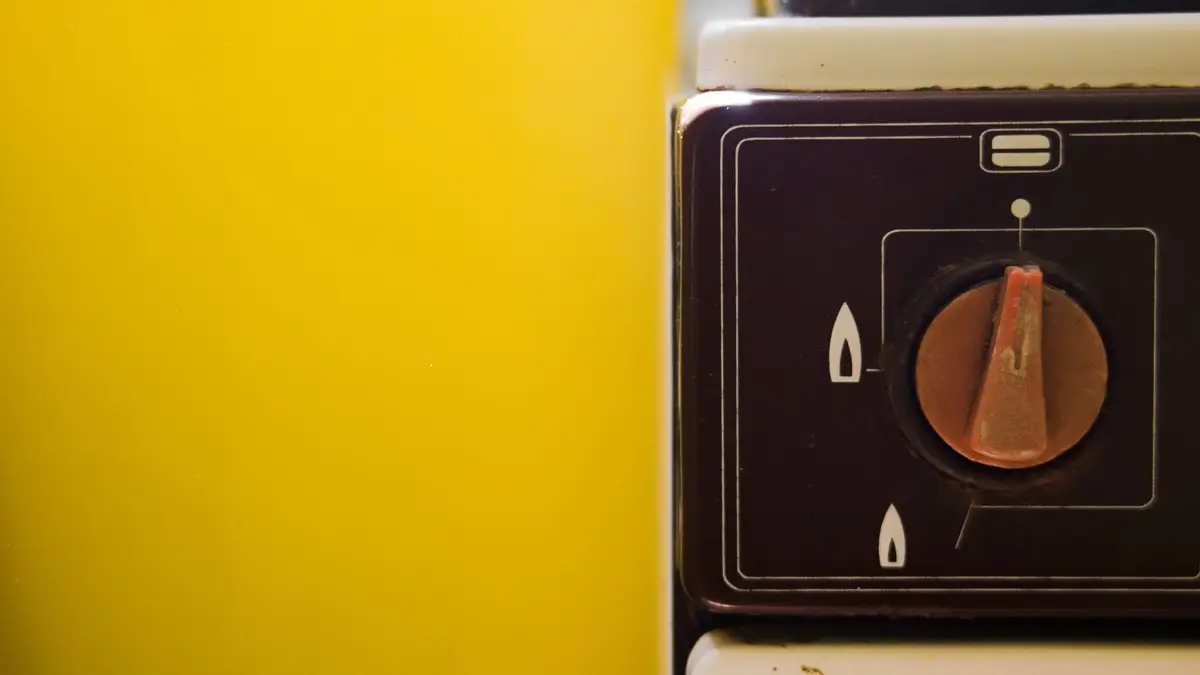
Make sure every burner is off, then snap a quick photo of the control panel. The picture tells you which knob goes where when it’s time to put them back.
Drop the knobs into a bowl of warm, soapy water while you clean the rest of the stove. Scrub the grooves and the hollow back of each one with an old toothbrush, then rinse.
Wipe the panel behind them with a cloth dampened in soapy water rather than a spray, so no liquid runs into the openings. Leave the bare stems alone while the knobs are off.
Dry each knob inside and out before you push it back on. Check that every pointer lines up with the off mark, since a knob on crooked can leave you guessing whether a burner is really off.
Do the same with the oven knobs if they come off. Clean knobs also make it easy to see the markings at a glance while you cook.
8. Lift the cooktop and reach the crumbs beside the stove
Crumbs and grease fall where nobody looks: under the cooktop and down the gap between the stove and the counter. Both are worth a visit every few months.
On some gas ranges, the whole cooktop lifts up once the grates are off. Check the manual, turn every burner off, lift from the front and let the support rods hold it, then wipe underneath with hot, soapy water.
Clean under there regularly, since grease that builds up beneath the cooktop can catch fire. Mind your fingers when you lower it, and take care around the pilot lights if your range has them.
For the gap, slide a long, thin brush or a vacuum crevice tool down each side of the stove. A cloth wrapped around a ruler reaches the sticky spots the brush misses.
Then close the gap with a stove gap cover, a strip that bridges the space between the range and the counter. Choose one that’s heat resistant and wipes clean, and keep it clear of the burners.
Don’t pull a gas range out to clean behind it unless you’re sure the gas line has room to move. When in doubt, leave that job for a service visit.
9. Degrease the backsplash behind the burners
The wall behind the stove takes a fine mist of grease every time you sear or fry, and it turns sticky before it looks dirty. Wipe it once a week and the film never gets a chance to harden.
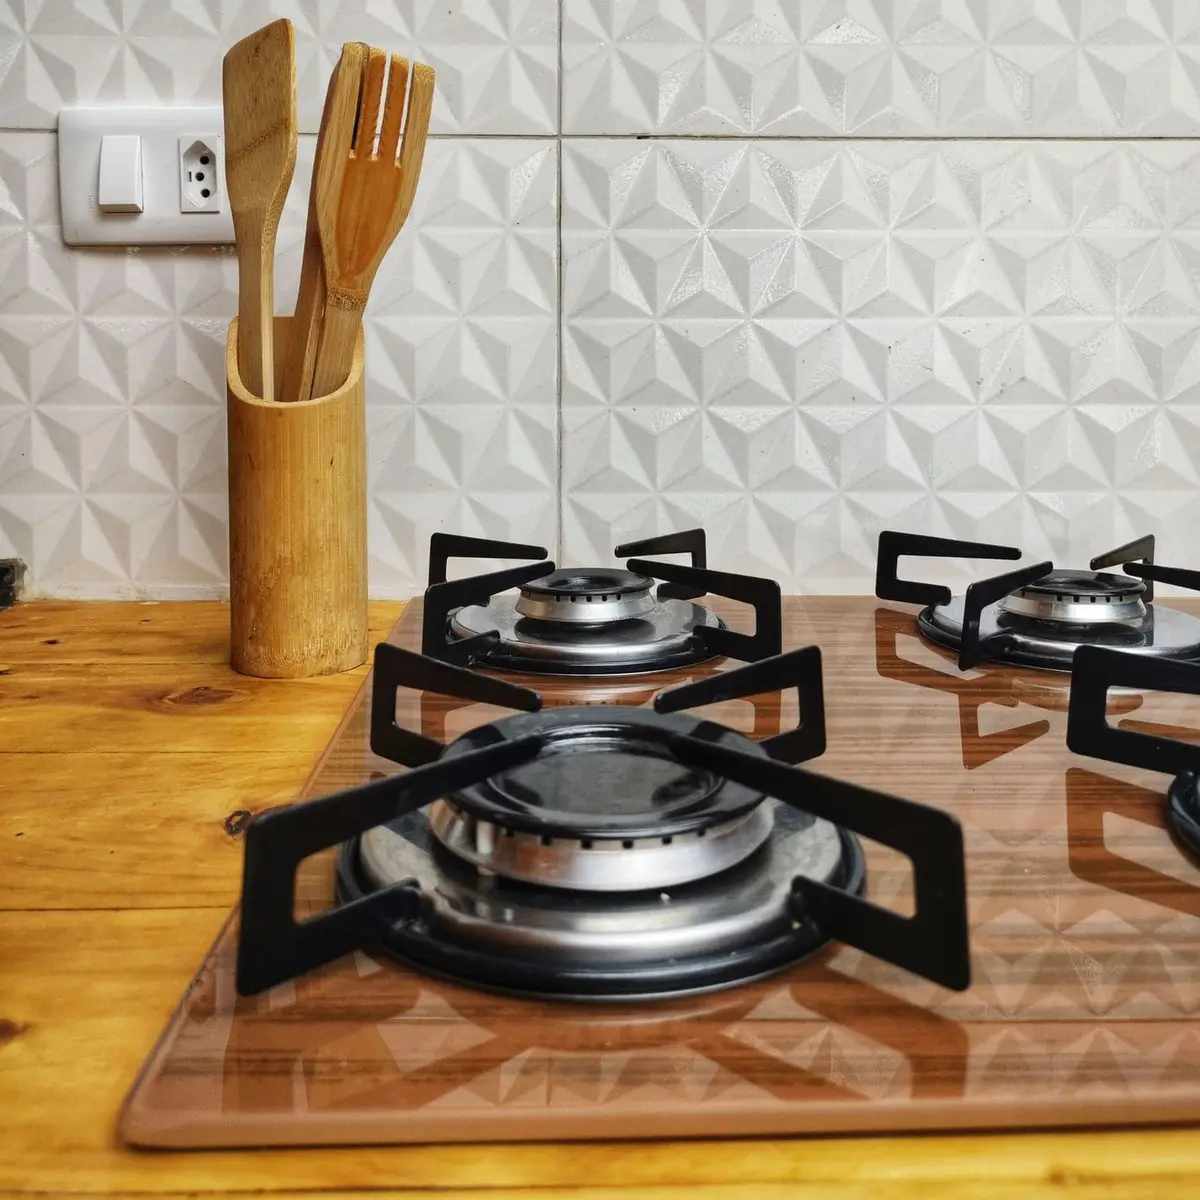
Use warm water with a few drops of dish soap, which cuts kitchen grease on most tile, paint and stainless steel. Wipe from the bottom up, so drips run onto wet, clean wall instead of streaking over dry grime.
For grout lines, scrub with a paste of baking soda and water and an old toothbrush. Rinse with clean water and dry the wall with a towel.
Natural stone needs a gentler touch. Skip vinegar and lemon on a marble or stone backsplash, and use a cleaner made for stone instead.
While you’re there, move the paper towel roll, the wooden spoons and the utensil crock a safe distance from the burners. Anything that can catch fire belongs away from the stovetop.
A quick wipe while the stove cools after dinner takes less than a minute. It saves a long scrubbing session later, and it keeps the wall from looking dull and yellowed.
10. Clean the range hood from the outside in
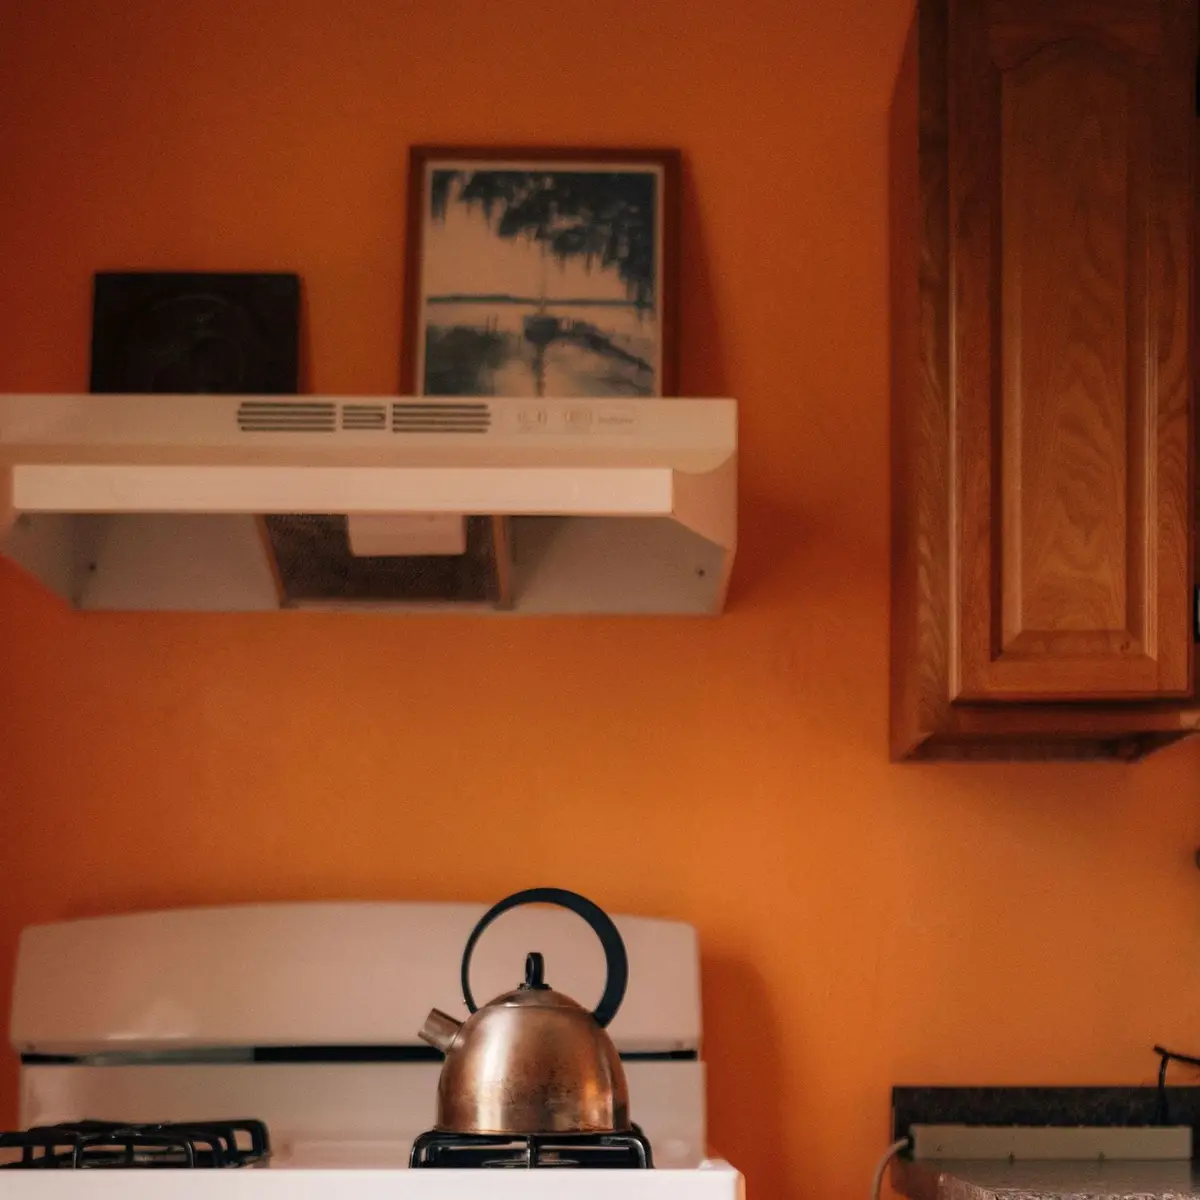
The hood above the stove is where rising grease ends up: on its underside, its lights and the buttons you touch with greasy fingers. Turn the fan and the light off and let everything cool before you start.
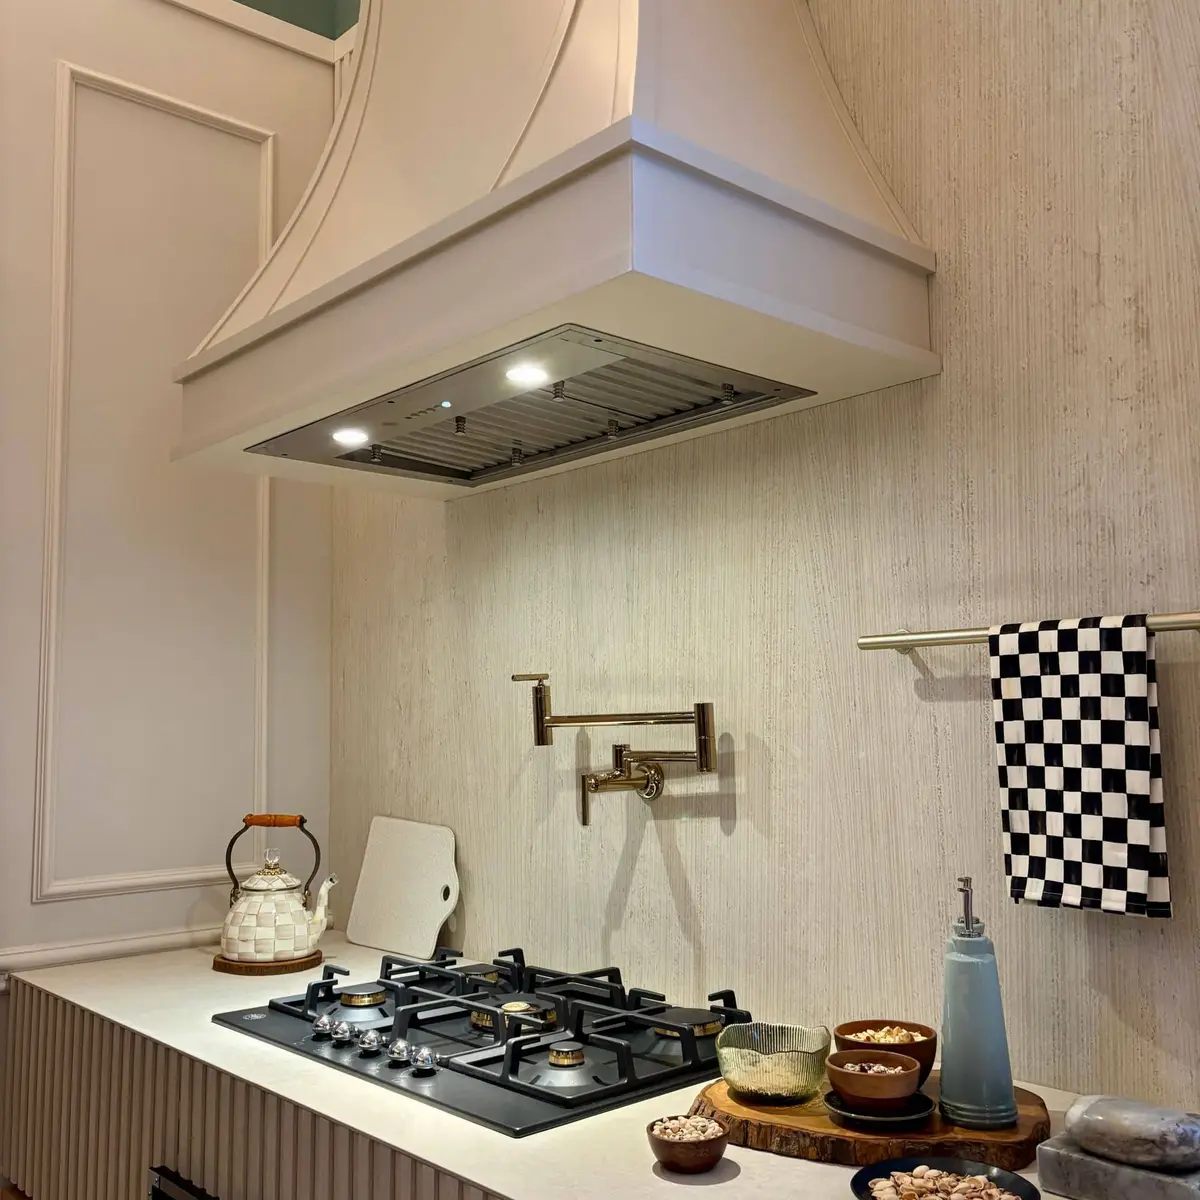
The metal filter needs a soak of its own, and it’s covered in these kitchen cleaning hacks. While it’s out, wipe the inside of the hood with warm, soapy water, working toward the opening.
Clean the light covers and the buttons with a cloth that’s barely damp, not a spray, so no water gets behind the controls. A stainless steel hood looks best wiped in the direction of the grain and buffed dry.
Check the top of the hood too, if it’s open to the room. Dust sticks to the grease up there, and a damp cloth lifts it in a single pass.
Run the hood fan every time you cook, not only when something smokes. It pulls grease and steam out of the air before they settle on the hood, the backsplash and the cabinets nearby.
11. Wipe the stove every night, handle included
The easiest stove to clean is the one where nothing gets a chance to bake on. After dinner, once the burners are cool, give the cooktop a quick wipe with a damp cloth and a drop of dish soap.
Lift the grates on a gas stove and sweep out the crumbs, or check under the coils on an electric one. A spill wiped up the same day takes seconds, while the same spill cooked on a dozen times takes a soak.
Finish with the oven door handle and the knobs, the spots hands touch most. Spray a mild cleaner onto the cloth rather than onto the stove, then dry the handle so it isn’t slippery.
If a microwave hangs above the range, wipe its underside and door too, since steam and splatters rise straight into it. These microwave cleaning hacks take care of the inside.
Give the bigger jobs, like soaking the grates and the drip pans, a spot on the free weekly cleaning schedule. Then they happen before the grease builds up, not after.
12. Cook with lids and a splatter screen
Prevention is the best stove cleaning hack of all. A lid on a simmering pot keeps sauce, soup and boiling water off the cooktop and away from the burner ports.
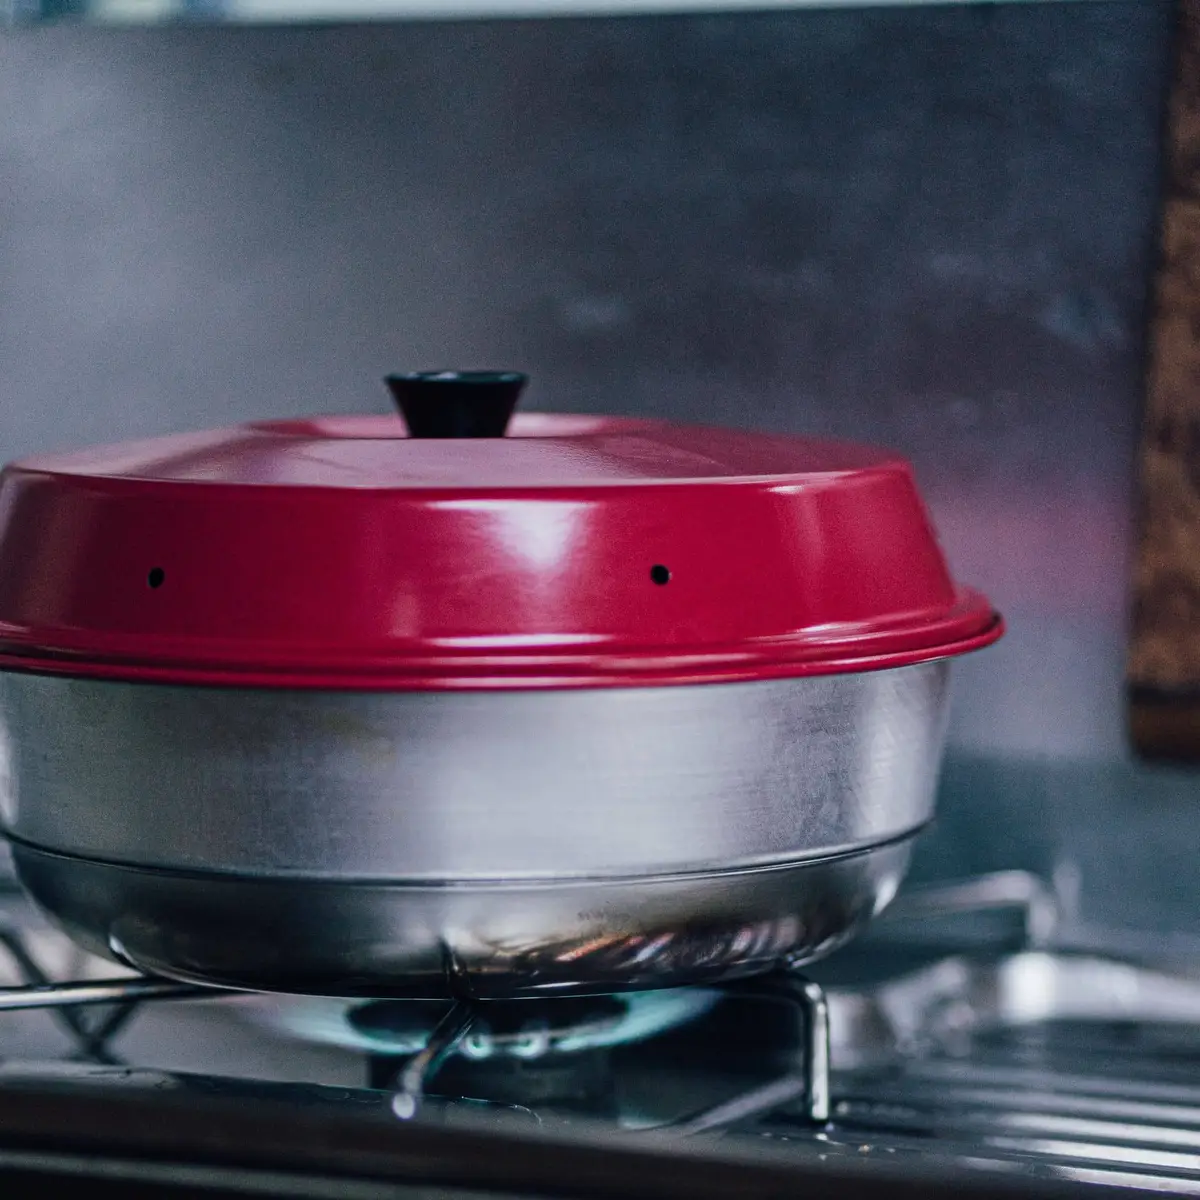
For frying and searing, set a mesh splatter screen over the pan. It lets steam escape while catching most of the oil that would otherwise mist the grates, the knobs and the wall.
Use the back burners for the messiest jobs when you can, so splatters land farther from the knobs and the front edge. Turn pan handles toward the back of the stove, so nobody bumps them.
Keep a lid within reach whenever you cook with oil. If a pan ever catches fire, turn off the burner and slide the lid over the pan to smother the flames.
Wash the screen and the lids after each use, before the grease dries on. With lids on and a screen over the frying pan, the nightly wipe stays quick and the deep cleans come around far less often.
Save this for later
Pin it to a board so it's there when you're ready to start.
Save to Pinterest(opens in a new tab)Make it easier
Free printable
Weekly Cleaning Schedule Printable
A one-page weekly cleaning schedule: a few quick jobs every day, plus one focus area a day, so the whole house gets done without a cleaning marathon.
Free printable
A room-by-room deep cleaning checklist for the jobs a weekly clean skips, from the oven and the grout to the vents and baseboards.
Frequently asked questions
What is the fastest way to clean stove grates?
Soak them in the hottest tap water you have with a good squeeze of dish soap, then scrub what's left with a stiff nylon brush. For grates that are badly caked, a sealed bag of soapy water left overnight saves most of the scrubbing.
Can I put stove grates in the dishwasher?
Some grates can go in on the heaviest cycle, but only when the manual says so, and caked-on grease still needs a soak first. Burner caps are often not dishwasher safe, so check them separately before you load anything.
Why won't my gas burner light after I clean it?
Usually a burner part is still wet or the cap isn't seated right. Let every piece dry completely, put each cap back on its own base so it sits flat, and try again; if the burner still won't light, call for service.
How do you clean electric stove coils?
Turn the controls off, let the coils cool, pull them out of their sockets and wipe them with a damp cloth. Never soak a coil in water, and let the heat of the next meal burn off what's left.
How often should I deep clean my stove?
Wipe it after each day of cooking and soak the grates or drip pans every week or two if you cook a lot. Lift the cooktop and clean the gap beside the range every few months, or more often if you fry most days.