How to Clean Kitchen Cabinets Without Hurting the Finish
Dust first, wash with a little dish soap, cut grease near the stove and dry right away: a gentle method for wood, painted, laminate and white cabinets.

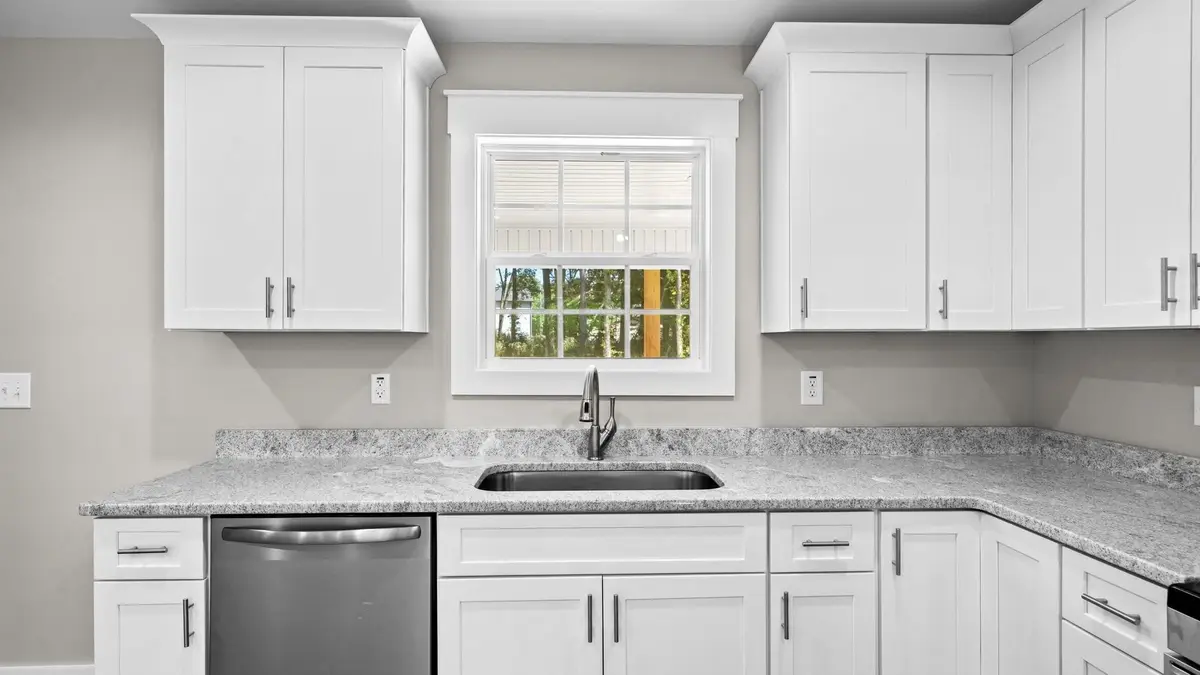
To clean kitchen cabinets, dust them first, then wipe them with a soft cloth dipped in warm water with a few drops of dish soap and wrung out until it’s barely damp. Loosen sticky grease near the stove with hotter, soapier water or a baking soda paste tested on a hidden spot, and dry every surface right away.
The same gentle method works on wood, painted, laminate and white cabinets, with a few small changes for each finish. Work one section at a time, and plan on an afternoon for a full kitchen.
What you need
- Two bowls: one with warm water and a few drops of dish soap, one with plain warm water
- Three or four soft cloths, such as microfiber or old cotton towels, plus a dry towel
- A soft toothbrush for corners, grooves and hardware
- A box of baking soda for sticky spots
- A small screwdriver, if you plan to take the handles off
- A sturdy step stool with a bar to hold on to, for the upper cabinets
1. Clear the counters and open a window
Move everything off the counters below the cabinets you’re cleaning: the toaster, the knife block, the fruit bowl. Drips from the doors above land on whatever sits underneath, and a clear counter lets you stand close to the cabinets instead of leaning.
Open a window or turn on the range hood fan before you start. Fresh air helps the cabinets dry and keeps any cleaner smell from building up.
If you have the care sheet that came with your cabinets, look it over now. It tells you which cleaners the finish can take, and that beats any general advice.
2. Dust from the top down
Dust before you add any water. A wet cloth turns dust into a gray paste that smears across the doors, so go over everything with a dry microfiber cloth first.
Start at the top. The tops of upper cabinets collect a sticky layer of dust and kitchen grease, and you can’t see it from the floor.
Use a sturdy step stool with a bar to hold on to, never a chair. Move the stool along as you go instead of stretching to reach the far end.
Wipe the crown molding, the tops and the outer edges of the doors, then work down to the frames and the toe kick at the floor. Run a soft toothbrush through the grooves of shaker or raised-panel doors, where dust settles into the corners.
3. Wash with warm water and a little dish soap
Dip a cloth in the soapy water and wring it out until it’s barely damp. It should leave a light film of moisture, never drips.
Wipe one door or drawer front at a time, top to bottom, and follow the grain on wood. Don’t forget the edges, the frames between doors and the area around the handles, where fingers leave the most marks.
Go over the same spot with a second cloth dipped in plain water and wrung out, so no soap film is left behind. Then dry it with the towel before you move on.
Never spray water straight onto the cabinets or let it run into the seams. Moisture that works its way under the finish or into the joints can raise the grain, loosen the glue and leave white marks.
4. Cut the grease near the stove
The cabinets above and beside the stove collect a fine mist of cooking grease that catches dust and turns tacky. Plain soapy water often isn’t enough here, so make a stronger mix with hotter water and a little more dish soap.
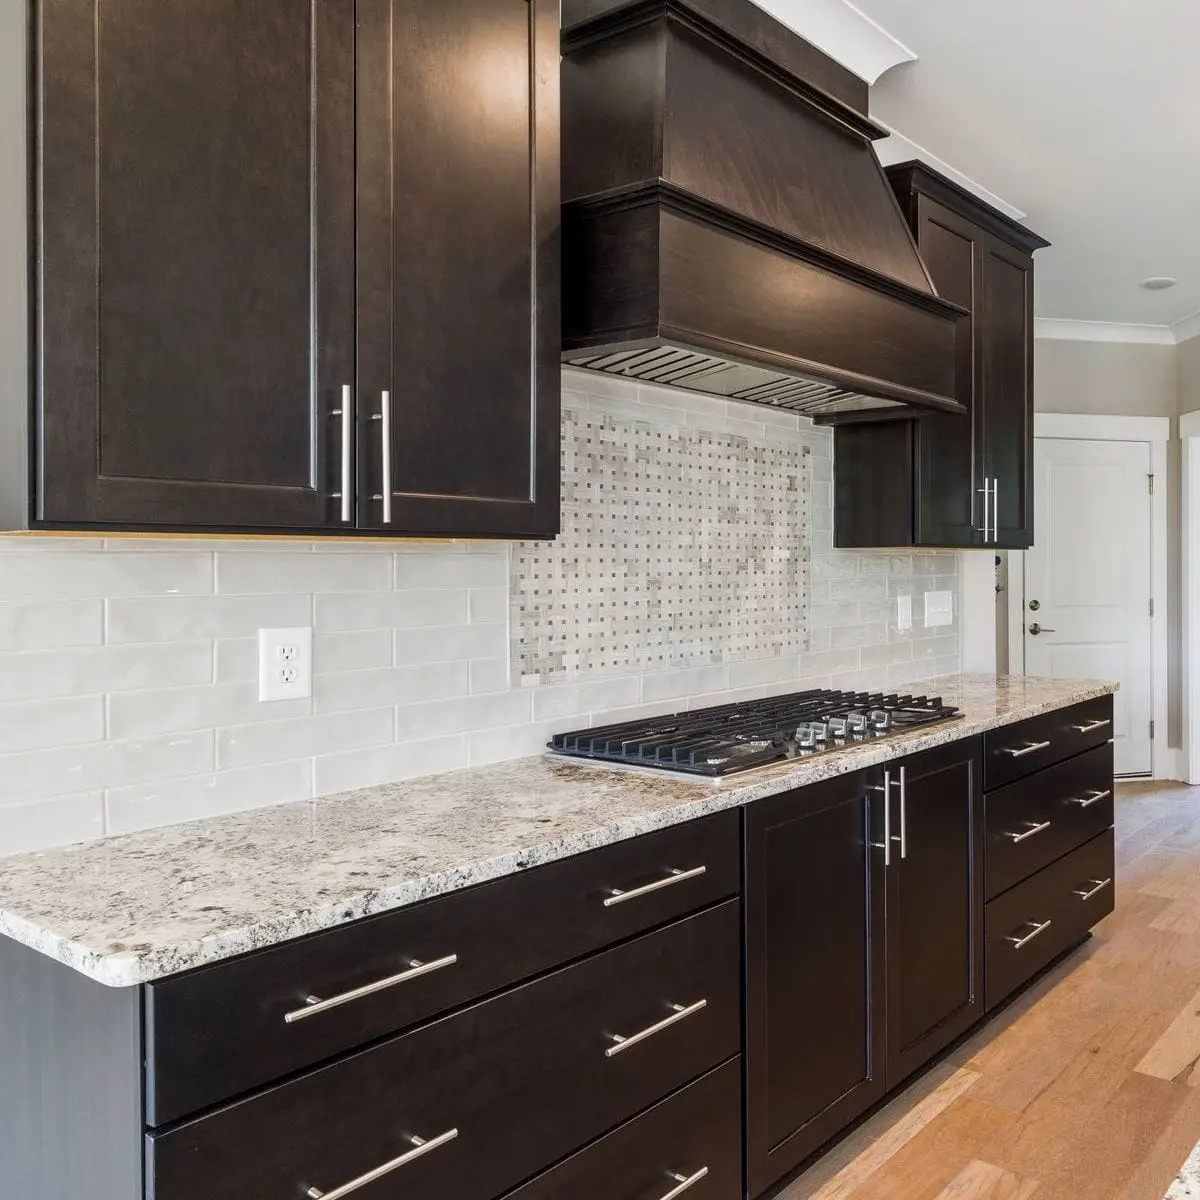
Hold the warm, wrung-out cloth against a sticky patch for a minute to soften the grease, then wipe. Repeat until the cloth glides instead of dragging, rinse with plain water and dry.
Baking soda paste for stubborn spots
Mix a spoonful of baking soda with a few drops of water into a soft paste. Try it first on a hidden spot, such as the inside edge of a door, and wait to see that the finish looks the same once it’s dry.
Rub the paste on gently with a soft cloth, along the grain on wood. Baking soda is a mild abrasive, so use light pressure, then wipe off every trace with a damp cloth and dry the spot.
Grease on wood cabinets
On wood, use the least water you can and work in small sections, drying each one before you start the next. If the finish looks dry or dull afterward, a polish made for finished wood cabinets can bring back the sheen, as long as the care sheet allows it.
The oven door below these cabinets collects the same grease, and our oven cleaning hacks take care of it once the cabinets are done.
5. Match the method to the finish
The soapy-water method suits almost every cabinet, but each finish has its own weak spots. Know which one you have before you scrub.
Wood and wooden cabinets
Use a cloth that’s barely damp, wipe along the grain and dry right away. Older shellac or low-grade varnish finishes can turn white when they get wet, so if your cabinets are old or you aren’t sure of the finish, test a hidden spot first.
Painted cabinets
Paint scuffs and softens more easily than a clear wood finish, so use soft cloths and light pressure. Skip scrub pads entirely, use the baking soda paste only after a test and touch up any chips once the paint is dry.
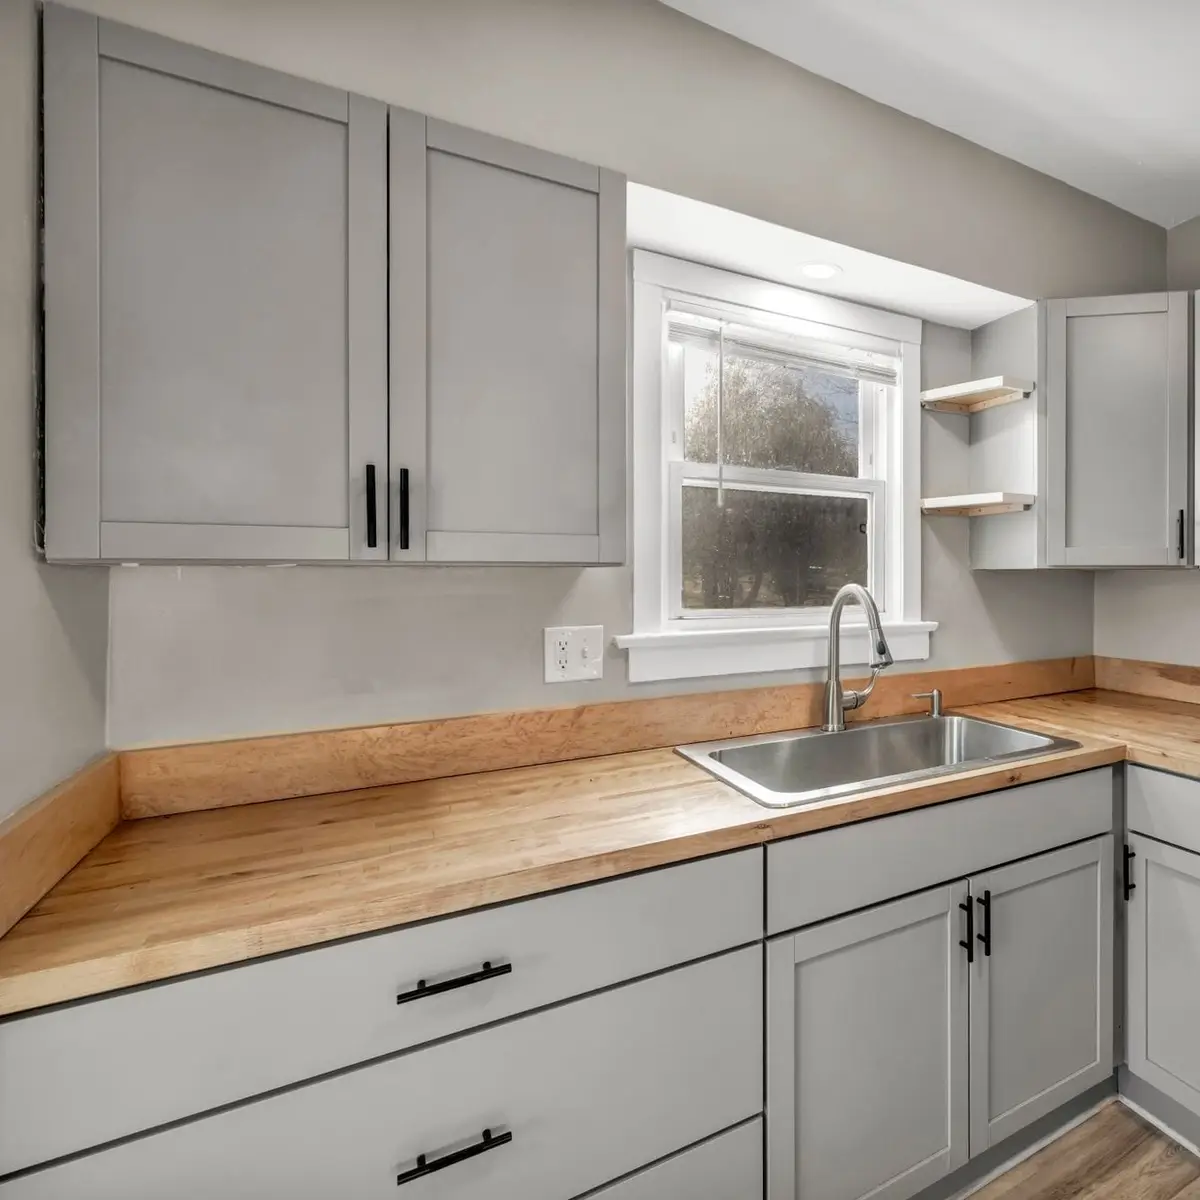
Paint near the stove and the sink takes the most wear, so check those doors for dull or sticky patches first. Wipe them a little more often, and they won’t need hard scrubbing later.
Laminate and thermofoil
These smooth, wipeable doors can take a little more moisture than wood, but heat and harsh solvents can lift the edges or dull the surface. Dry the edges well after you wipe them.
White cabinets
White shows every smudge and every streak. Use clean, white or light-colored cloths, change the soapy water as soon as it looks gray, and rinse well so no soap film dries into a haze.
A yellow tint near the stove is usually grease, and a stronger dish-soap wash followed by a tested baking soda paste often lifts it. Skip bleach on painted or wood cabinets, since it can discolor some finishes.
6. Clean the handles and knobs
Handles and knobs get touched more than any other part of the kitchen. Wipe each one with the soapy cloth, then scrub around the base with a soft toothbrush, where grime collects against the door.
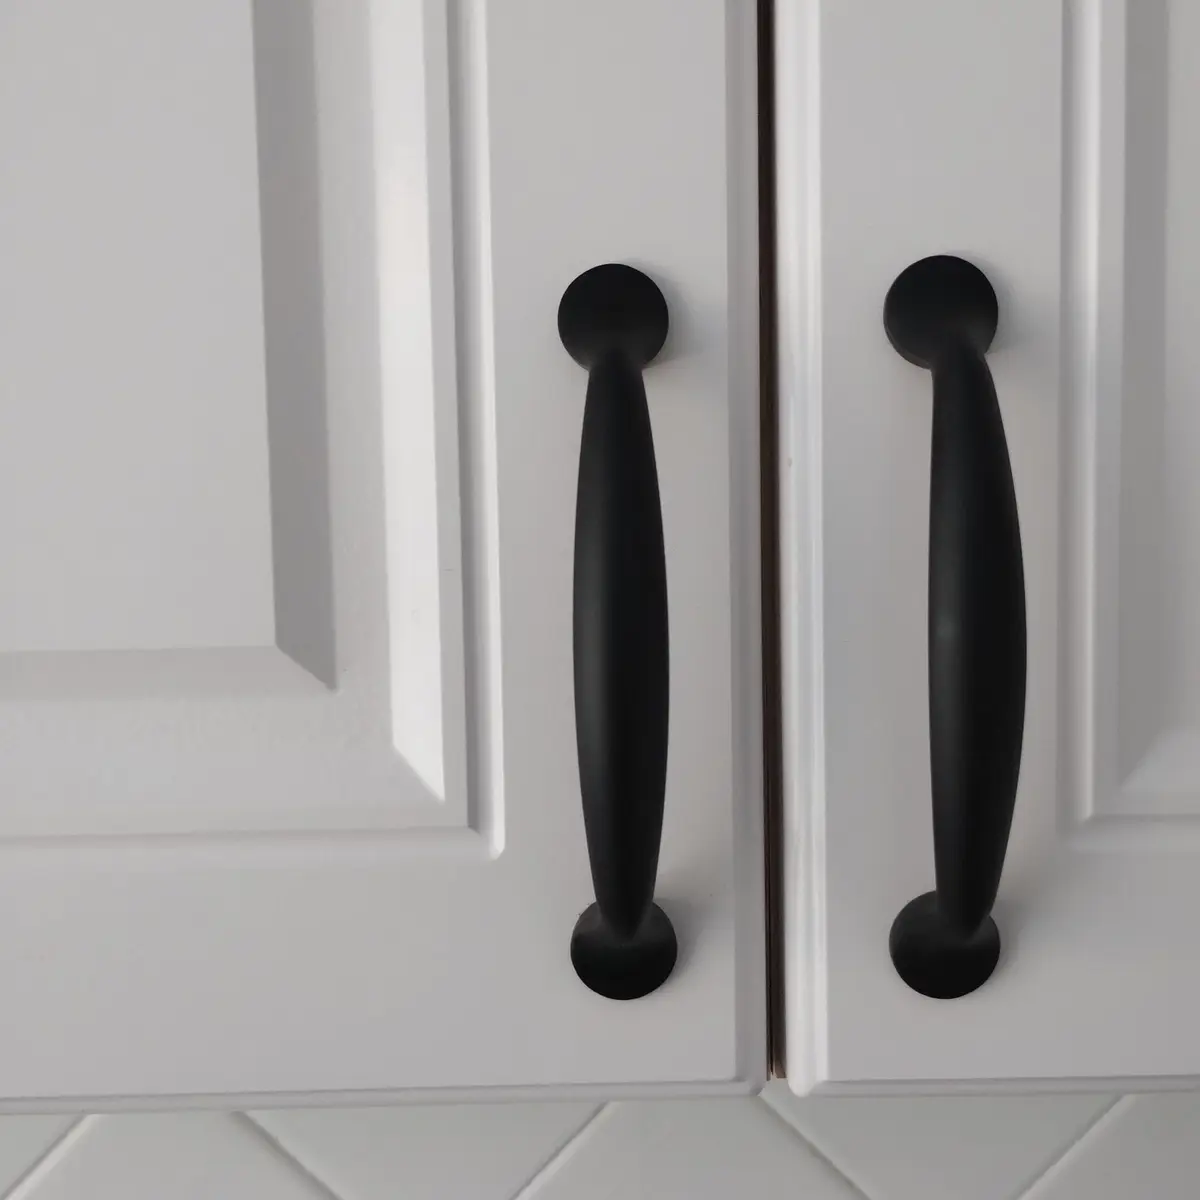
For a deeper clean, unscrew the hardware and drop the screws into a cup, so none of them roll away. Soak metal pulls and knobs in warm, soapy water, scrub them, rinse them and let them dry completely.
While the hardware is off, clean the spot on the door where it sat, which often hides a ring of grime. Screw everything back on firmly, but stop before you overtighten and crack the wood or strip the hole.
7. Wipe the insides and shelves, one cabinet at a time
Empty one cabinet, clean it and fill it back up before you open the next. Working one at a time keeps the kitchen usable and the job easy to stop and start.
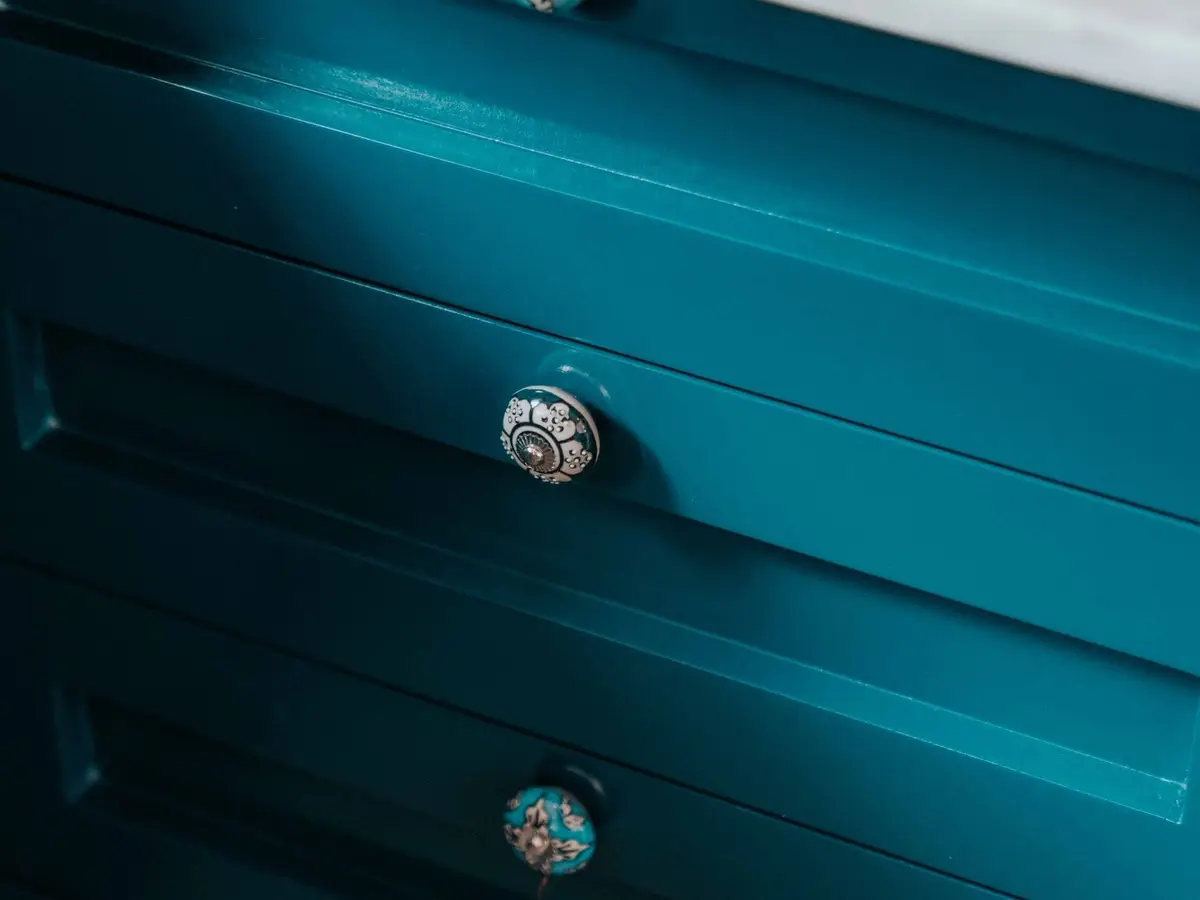
Vacuum crumbs out of the corners with a brush attachment, then wipe the shelves and walls with the soapy cloth, rinse and dry. Look for sticky spills, water stains or soft spots that could mean a leak.
Clean drawers the same way, and check the cabinet next to the dishwasher for steam damage along its edge. That’s a good moment to give the machine itself a turn with our guide to how to clean a dishwasher.
Leave the doors open for a little while so the insides dry before dishes go back in. An empty cabinet is also the easiest time to sort what lives there, and our kitchen cabinet organization ideas help you put things back in a better order.
8. Dry everything and check your work
Go over every door and drawer front one last time with a clean, dry towel. Any moisture left in a seam or a corner can work its way into the finish.
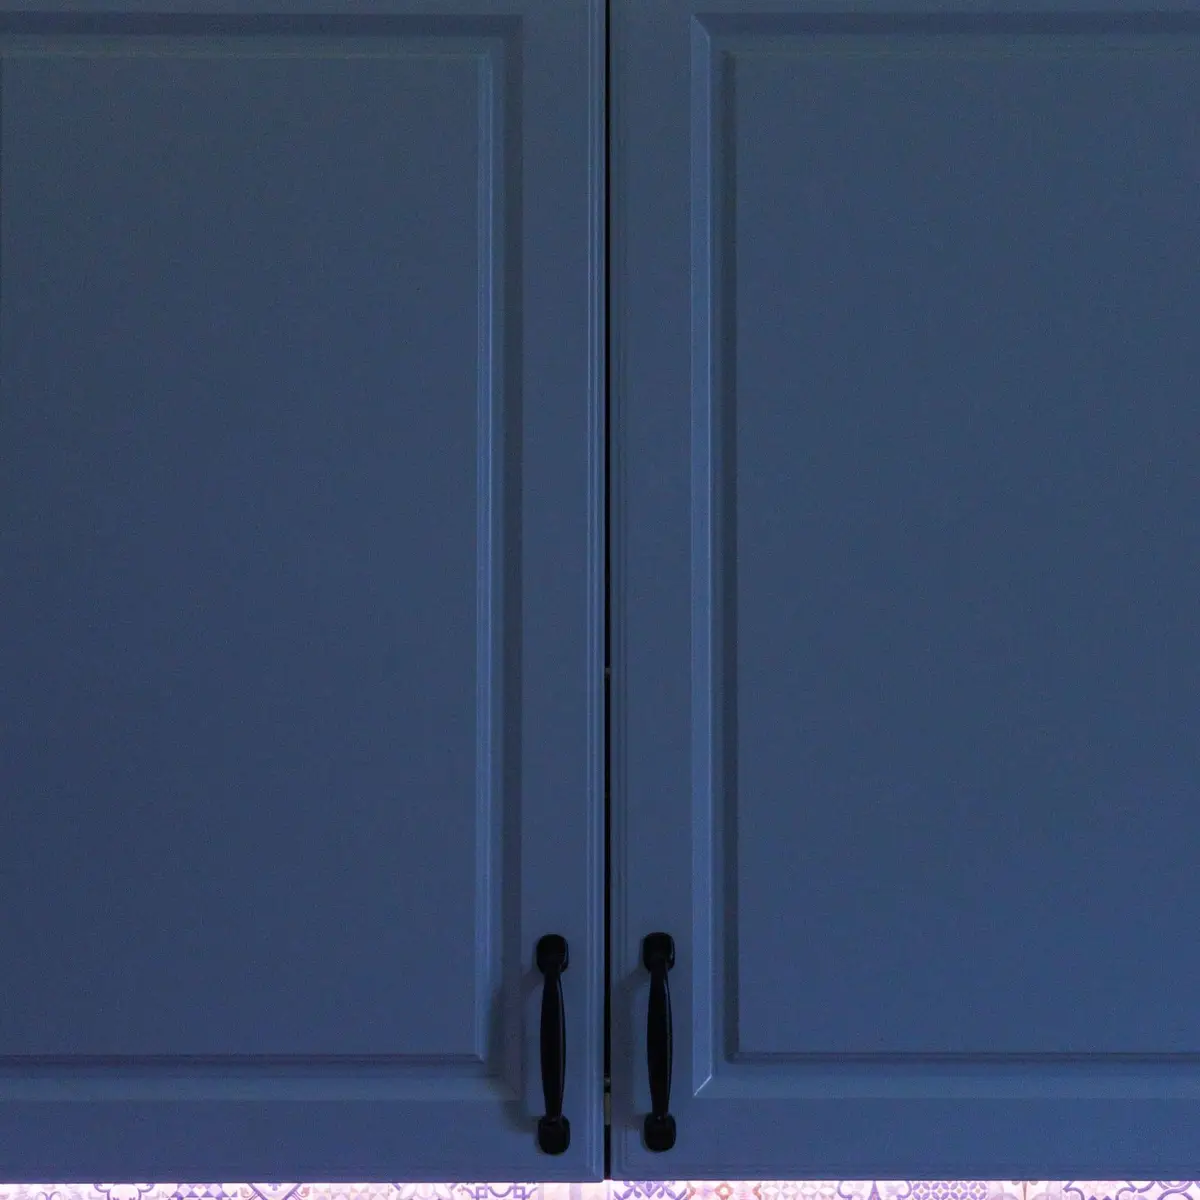
Look at the doors in daylight, from the side, where streaks and missed spots show up. Buff any haze with a dry cloth, or rinse it once more with plain water and dry it again.
Put the counter back together, and wash the cloths in hot water so they’re ready for next time.
What not to use
- Scrub pads, steel wool or scouring powder: they scratch wood, paint and laminate, and the scratches hold grease.
- Too much water: a dripping sponge, a hose-like spray or a steam cleaner pushes moisture into the seams and under the finish.
- Harsh solvents: nail polish remover, paint thinner and strong degreasers can soften or strip a finish, so test anything new on a hidden spot first.
- Mixed cleaners: never mix bleach with any other cleaner, since the combination can release vapors that are dangerous to breathe, and keep the room well ventilated.
How often to clean kitchen cabinets
Wipe the handles and the doors next to the stove once a week, when grease is still easy to lift. A quick pass with the soapy cloth takes a couple of minutes, and it fits right into the nightly wipe-down in our kitchen cleaning hacks.
Wash all the door and drawer fronts every few months, and empty and wipe the insides once or twice a year. Adding both to a monthly or seasonal list means they come around before the grease gets thick.
Save this for later
Pin it to a board so it's there when you're ready to start.
Save to Pinterest(opens in a new tab)Make it easier
Free printable
A room-by-room deep cleaning checklist for the jobs a weekly clean skips, from the oven and the grout to the vents and baseboards.
Free printable
Monthly Cleaning Schedule Printable
A one-page monthly cleaning schedule: the daily and weekly basics at the top, then one deeper area for each week, so every corner of the house gets its turn without a cleaning weekend.
Frequently asked questions
What is the best homemade cleaner for kitchen cabinets?
Warm water with a few drops of dish soap cleans almost every cabinet finish without harming it. For sticky spots, a paste of baking soda and a little water adds gentle scrubbing power, as long as you test it on a hidden spot first and wipe it off completely.
How do I get sticky grease off wood kitchen cabinets?
Hold a cloth dipped in hot, soapy water and wrung out well against the sticky spot for a minute to soften the grease, then wipe along the grain. Repeat on stubborn patches, use a baking soda paste only after testing it, and dry the wood right away.
Can I use vinegar on kitchen cabinets?
Vinegar is acidic and can dull some finishes, especially paint and older wood finishes, so dish soap and water is the safer first choice. If you do try diluted vinegar on a sealed finish, test it on a hidden spot first and never use it in the same session as bleach.
Why are my white cabinets turning yellow near the stove?
Most of the time it's a thin film of cooking grease and dust that has built up on the paint. Washing with a dish-soap solution, then a tested baking soda paste, usually brings the white back; yellowing that's in the paint itself won't wash off.
Can I stand on a chair to clean the tops of my cabinets?
No. A chair can tip or roll, so use a sturdy step stool with a bar to hold on to. Move it as you go instead of leaning out to reach the far end of the cabinet.