11 Kitchen Organization Hacks That Cost Next to Nothing
Cheap fixes for a crowded kitchen: stand boards on edge, clip open bags, hang tools on hooks, sort drawers with egg cartons and keep a use-first bin.

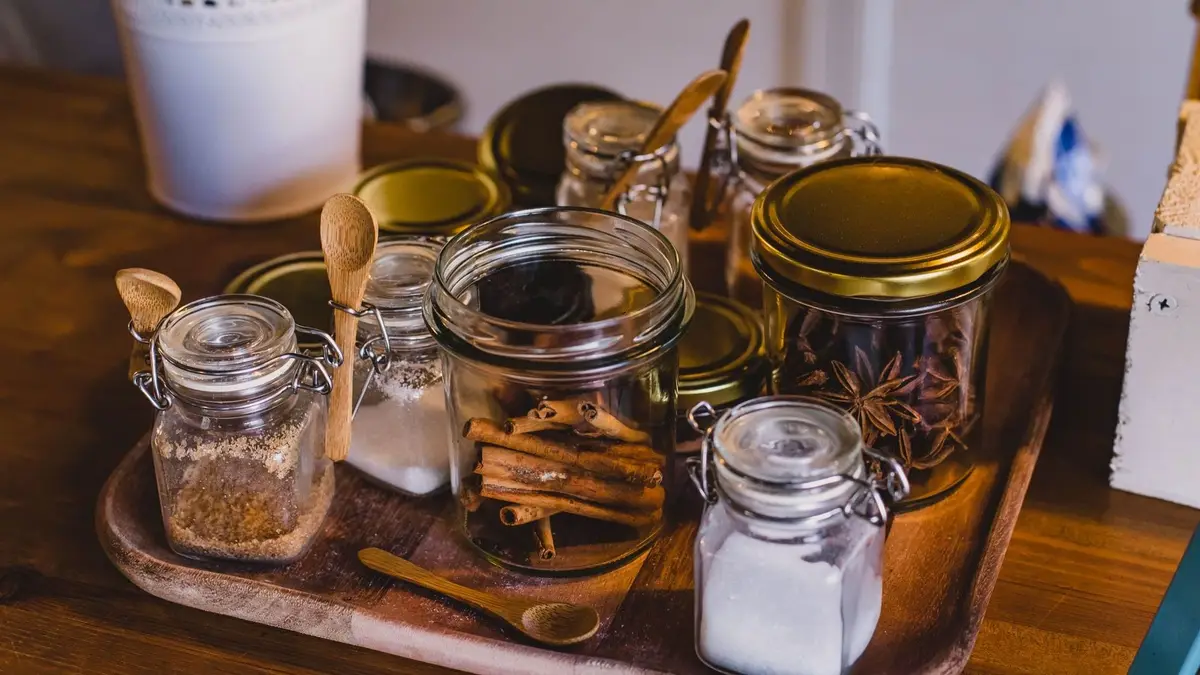
The best kitchen organization hacks use things you already own: a tension rod to stand boards on edge, binder clips for open bags, hooks inside cabinet doors, an egg carton in a messy drawer and a bin for food that needs eating first. Each one takes a few minutes and costs little or nothing.
These 11 hacks are small on purpose. Try one this week, see if it sticks, then add the next.
1. Stand boards and sheet pans on edge
Flat things stacked in a pile are hard to pull out, and the one you want is always at the bottom. Filed upright like books, every cutting board, sheet pan and cooling rack slides out on its own.
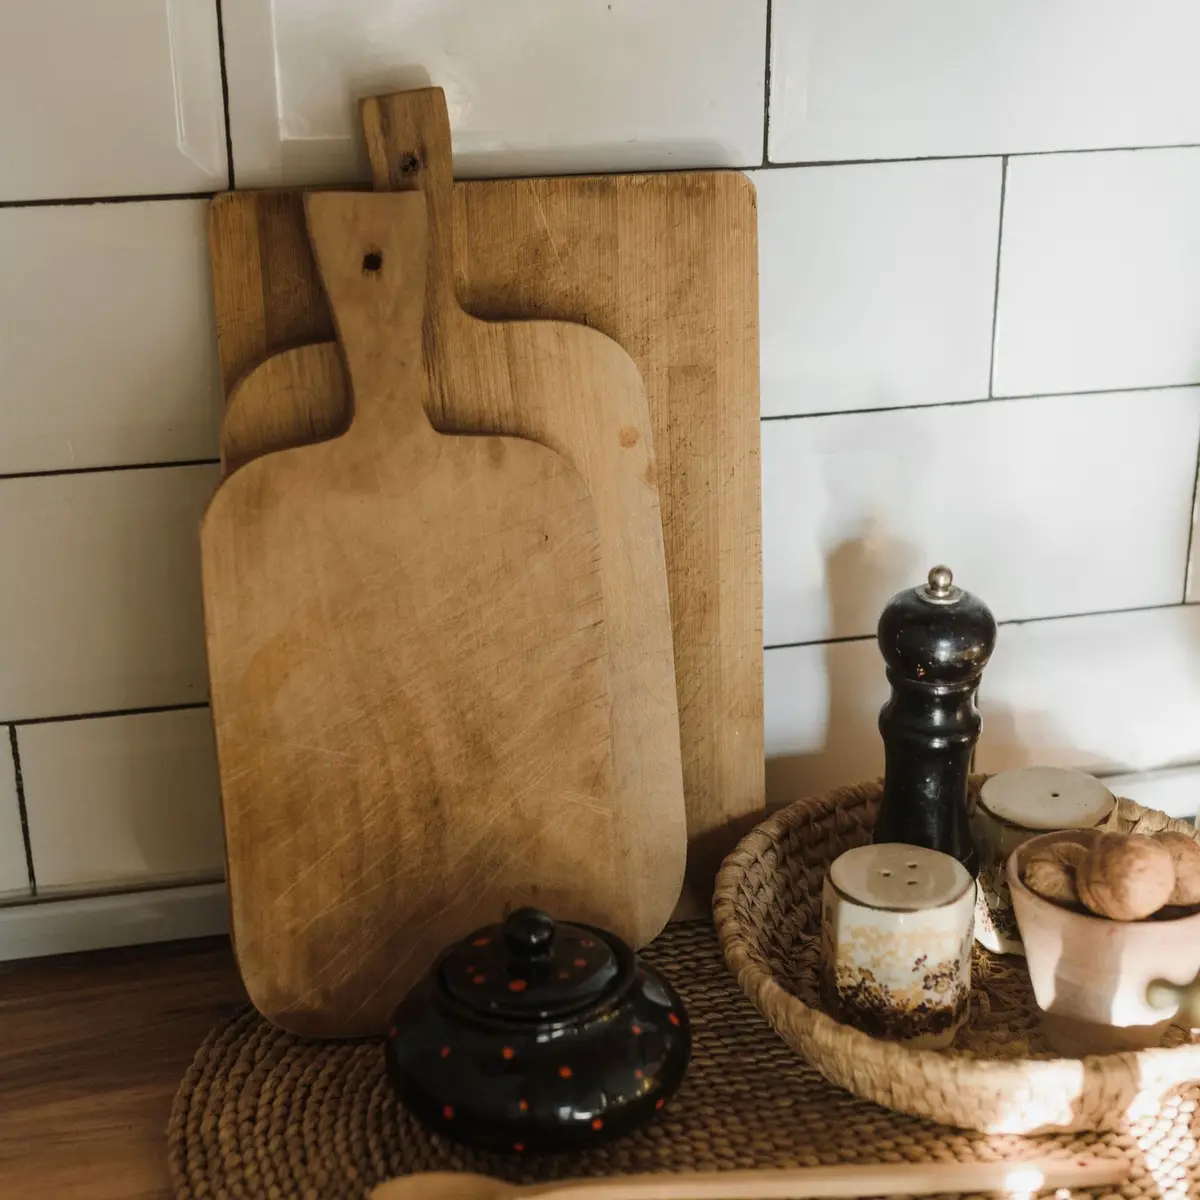
A tension rod or two, set vertically across the cabinet above the fridge or the oven, makes instant dividers. Twist the rods tight between the shelf and the cabinet top, and slide the pans into the slots.
A sturdy magazine file does the same job on a pantry shelf or inside a lower cabinet. Stand foil, plastic wrap and parchment rolls in a second file, so the boxes stop tumbling out every time you open the door.
Keep the pans you use most on a low shelf, at about waist height, instead of overhead. Skillets and lids can go on edge the same way, and these pots and pans organization ideas cover the rest of the cookware.
Bulky things like the stand mixer and the slow cooker need a plan of their own, and our kitchen appliance storage ideas start there.
2. Hang tools inside a cabinet door
The back of a cabinet door is a flat, hidden surface that most kitchens never use. A few adhesive hooks or a small pegboard panel turn it into a spot for light tools.
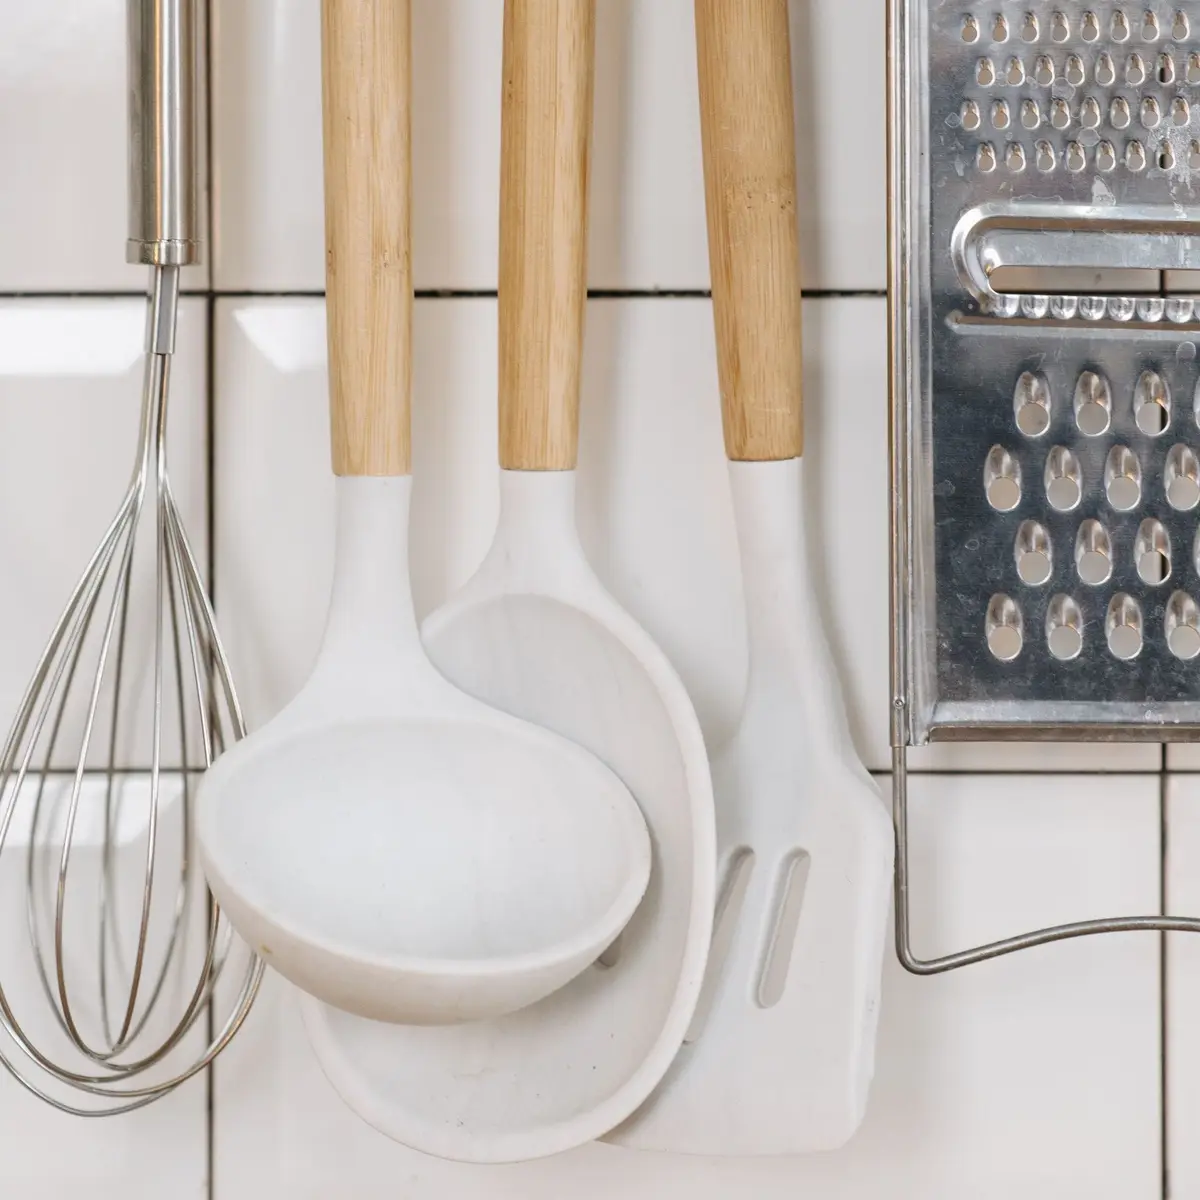
Measuring cups and spoons with a hole in the handle hang neatly in a row. So do a grater, a small whisk, oven mitts or a pot holder, which frees up a whole drawer.
Put the tools in the door closest to where you use them. Baking tools go inside the cabinet with the flour and sugar, and cooking tools go inside the door by the stove.
Close the door slowly after you add each hook, and check that nothing bumps the shelves inside. Keep this space for light things, since adhesive hooks and thin cabinet doors aren’t made for heavy loads.
Hang a small notepad on the inside of the door too. When you use up something, jot it down right there before you forget.
3. Use the back of the pantry door
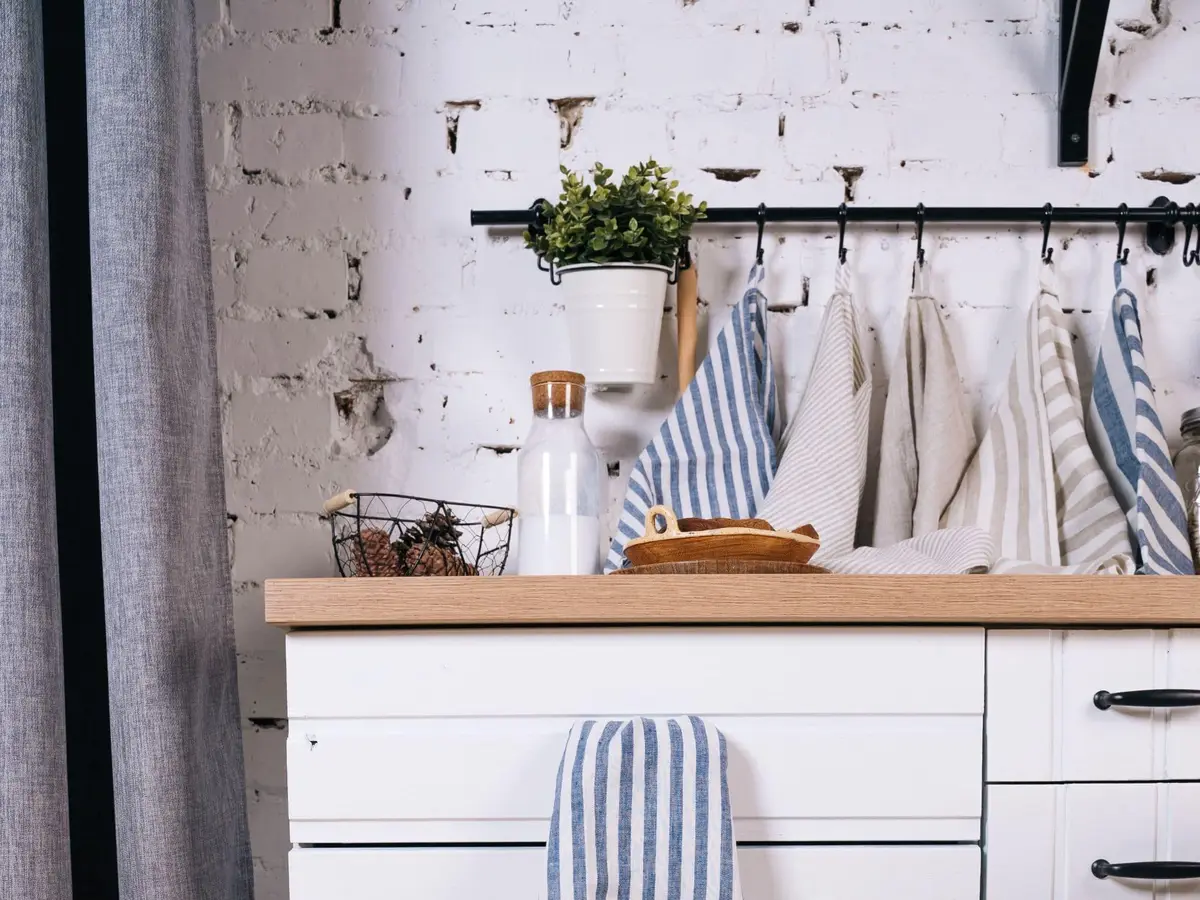
A pantry door has the most unused height in the kitchen. An over-the-door shoe organizer with clear pockets, or an over-door rack with hooks and baskets, turns it into a second set of shelves.
Clear pockets are made for small, loose things that get lost on deep shelves: seasoning packets, gravy mixes, drink pouches, bags of nuts and snack bars. You can see what’s in every pocket without moving a thing.
A rail with hooks works on a door or a bare stretch of wall. Hang reusable shopping bags, dish towels, aprons or a small basket for onions and garlic.
Measure how much room the door has to swing before you add anything deep, and check that it still closes all the way. Keep heavier jars on the pantry shelves and save the door for light things.
Give each pocket or basket one category, and the door stays sorted. These pantry organization ideas cover how to zone the shelves behind it.
4. Clip open bags with binder clips
Bags of chips, cereal, frozen vegetables and brown sugar never seem to stay closed. A binder clip holds a rolled top tighter than most bag clips, and a box of them costs very little.
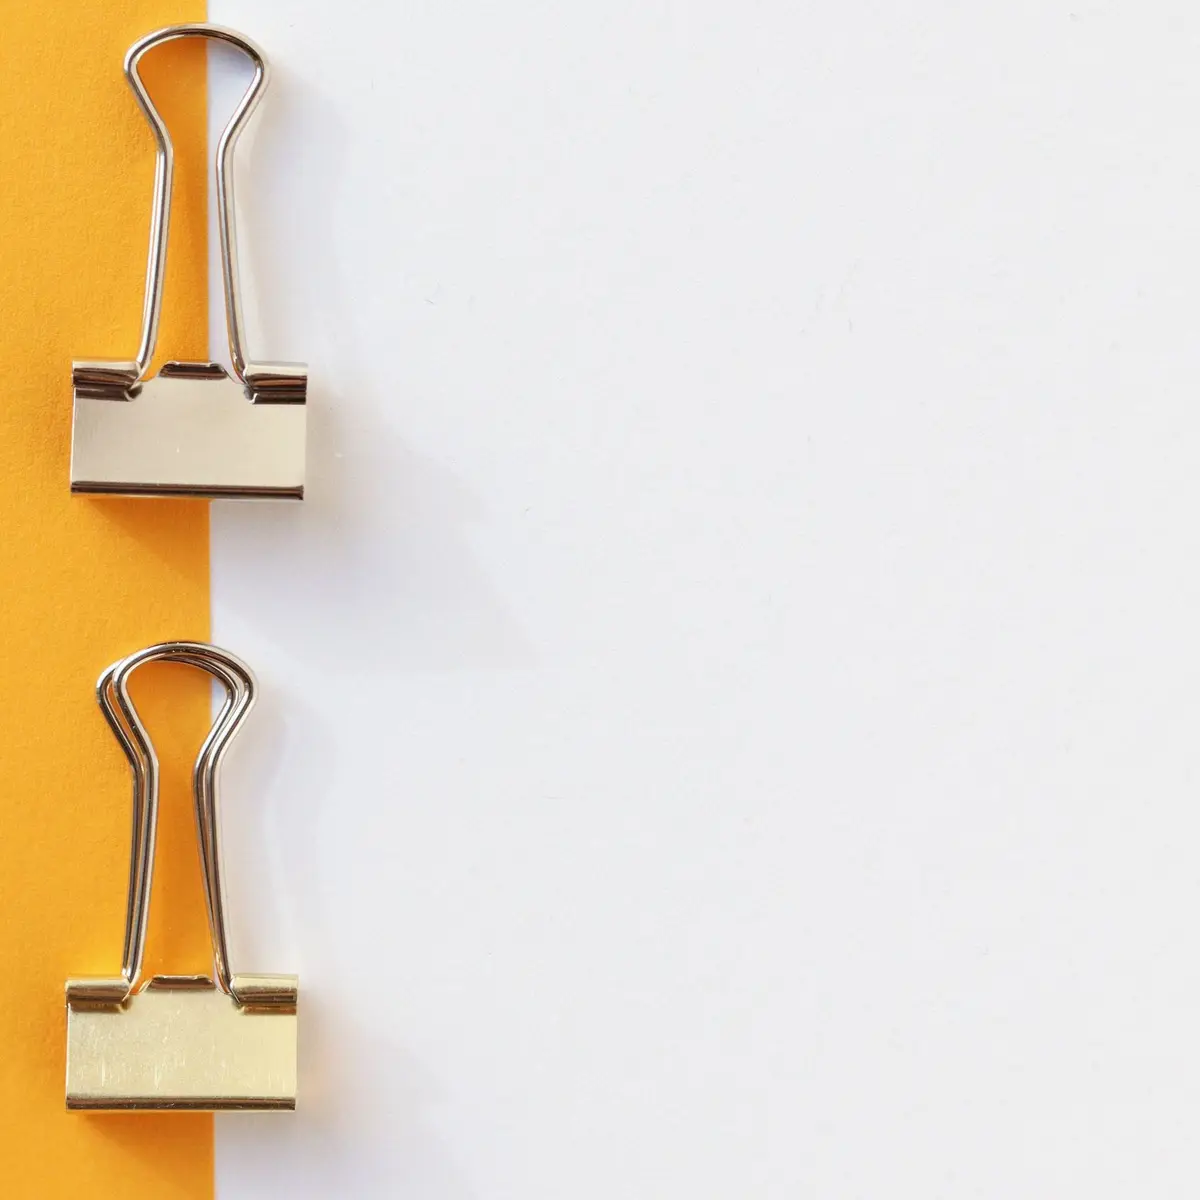
Roll the top of the bag down tightly, press out as much air as you can and clip it across the fold. The food stays fresher, and nothing spills when the bag tips over.
Here’s the extra trick: the wire handles of a binder clip fold up into a loop. Hook that loop over a wire shelf or a small hook, and the bag hangs where you can see it instead of hiding behind the jars.
Clothespins work too, and a cup of them by the pantry door means one is always in reach. Keep a handful in the freezer door as well, for half-used bags of peas and berries.
Write the date the bag was opened on a strip of tape on the clip. You’ll know at a glance which bag to finish first.
5. Hang things from S-hooks on a rod
A rod on the wall, under a shelf or inside a tall cabinet holds far more than it looks like it should once you add S-hooks. Each hook carries a board, a brush, a ladle or a mug.
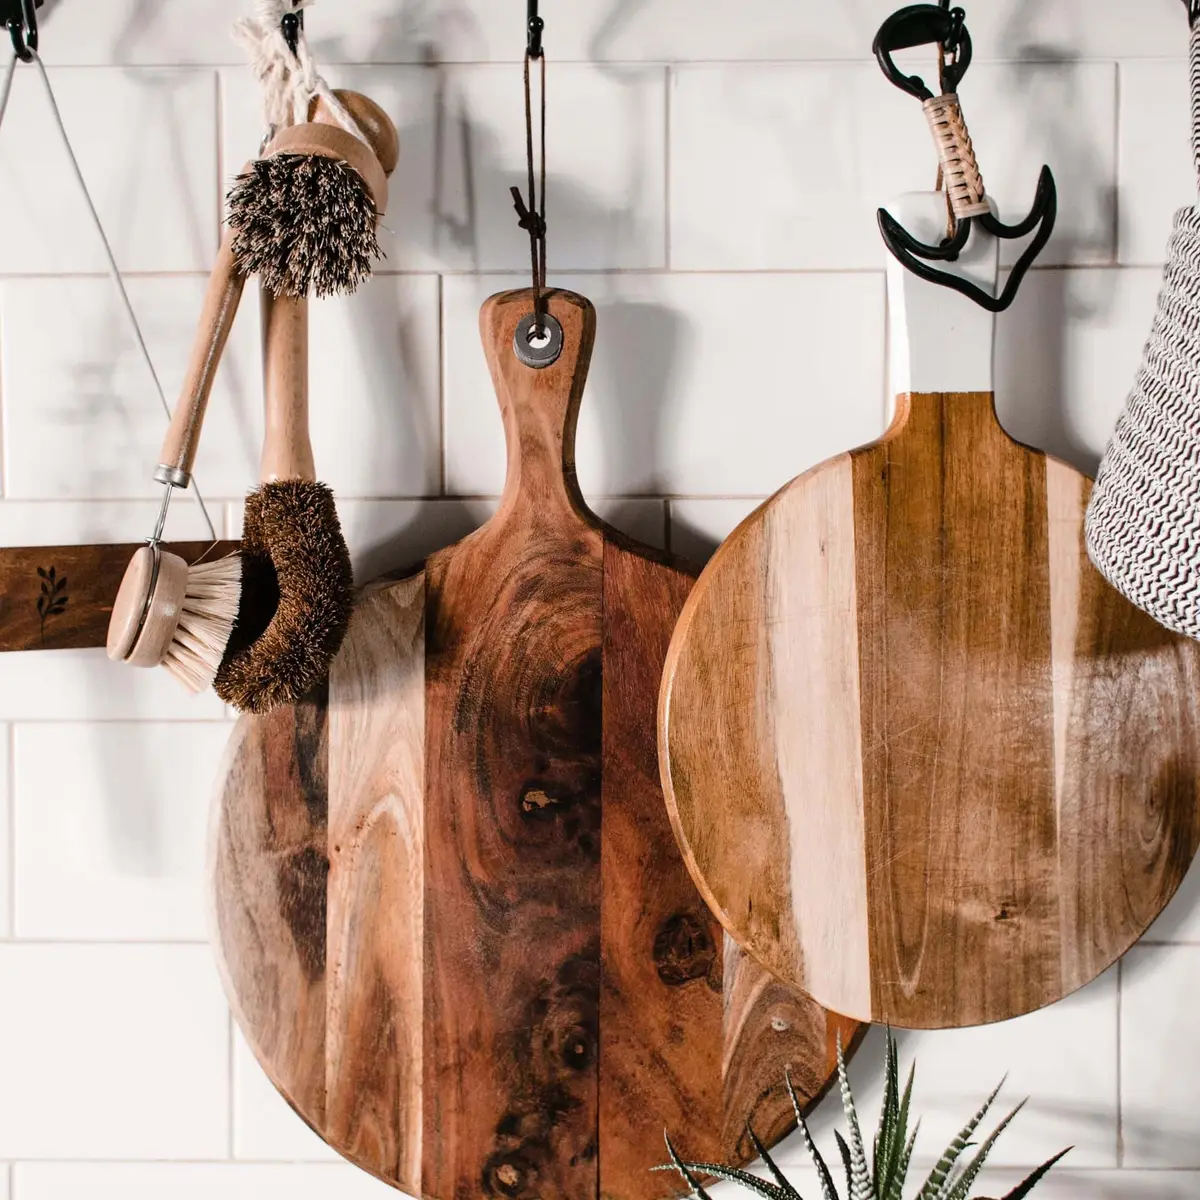
Shower curtain rings work the same way and cost even less. Slide a few onto a towel bar or a tension rod, and clip on dish towels, pot holders or a bag of clothespins.
Inside a tall pantry or a broom closet, a rod with hooks holds aprons, reusable bags and the dustpan. On the side of the fridge or the end of a cabinet, a short rod holds the tools you grab ten times a day.
Hang the things you use daily at the front of the rod, closest to where you work. Leave a little space between hooks so tools don’t knock together and drip on each other.
Wipe the rod and hooks when you clean the counters, since anything near the stove collects a film of grease over time.
6. Spin condiments on a turntable in the fridge
Jars and bottles in the back of the fridge get forgotten until they expire. A turntable, the same kind people use in corner cabinets, brings the back of the shelf to the front with one spin.
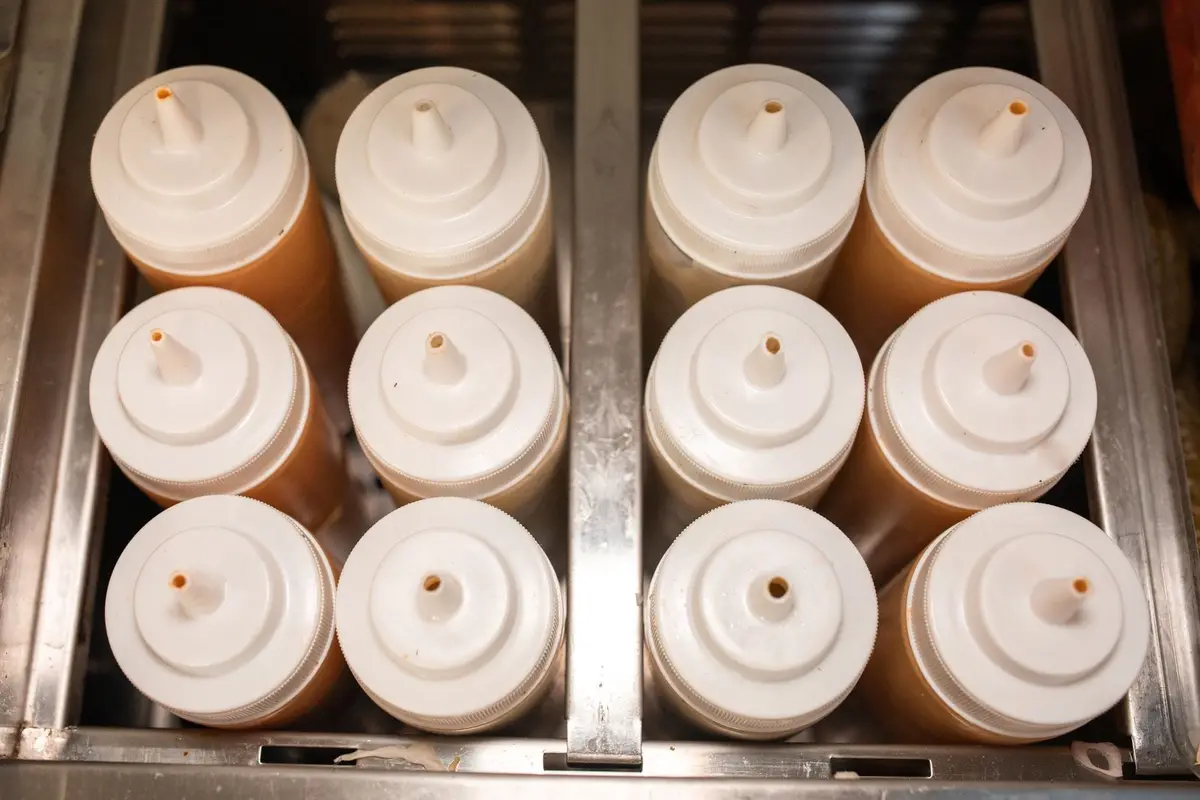
Put sauces, jams, pickles and dressings on the turntable, with the tallest bottles in the middle. A shallow bin works too, if your fridge shelves are too narrow for a round tray.
Group the condiments by meal: breakfast spreads together, sandwich sauces together, dressings together. Pull out the whole bin or spin the turntable, grab what you need and put it back.
Measure the shelf depth before you buy anything, and the bin and basket size calculator shows what fits. Leave a little space around the turntable so cold air keeps moving.
Keep the fridge at forty degrees Fahrenheit or colder, and put an appliance thermometer inside to check it often. A crowded fridge is harder to keep cold and harder to search.
7. Divide drawers with egg cartons and ice cube trays
The junk drawer fills up with tiny things that slide around: twist ties, rubber bands, bag clips, birthday candles and spare batteries. A clean, dry egg carton gives each of them a little cup of its own.
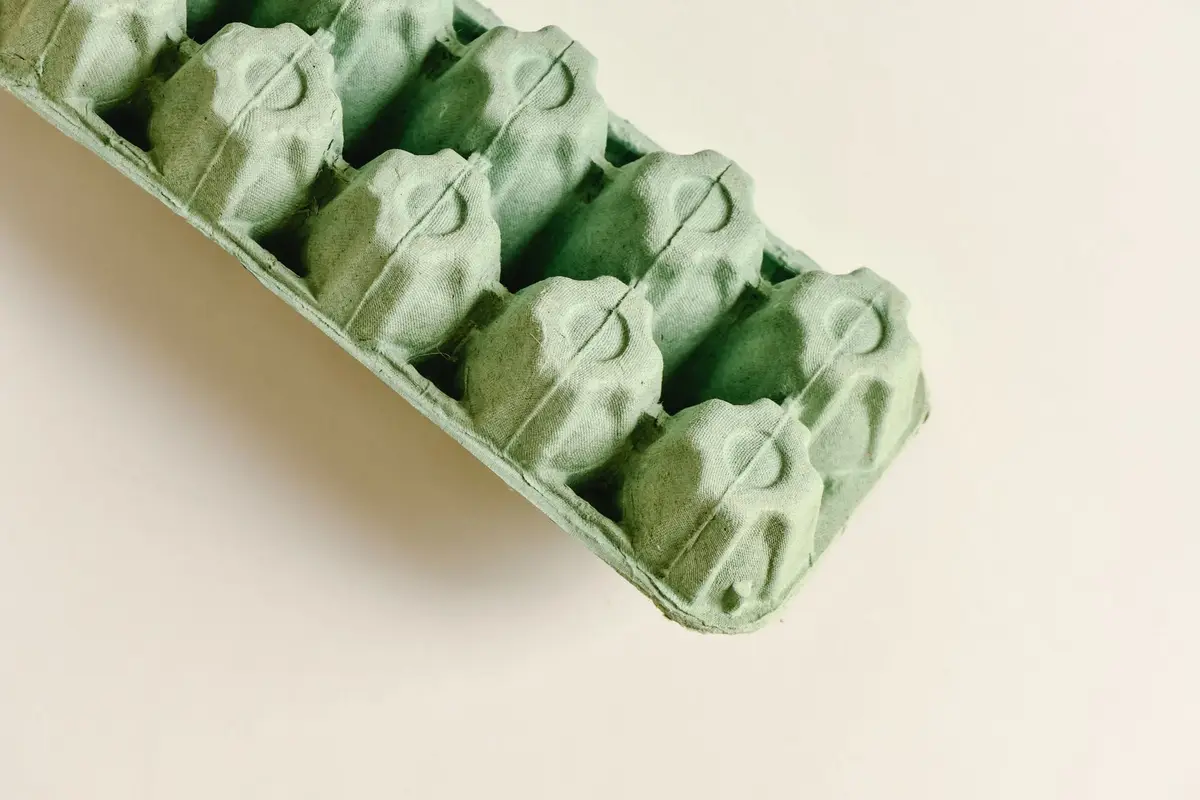
A spare plastic ice cube tray does the same job and wipes clean. Put one in the baking drawer for sprinkles, candle holders and cookie cutters, or in the utility drawer for push pins and twist ties.
Cut a long carton down to fit the drawer if you need to. Use the lid as a shallow tray for flat things like rubber bands and pens.
Let the cups decide how much you keep. When a cup is full, that’s enough rubber bands.
These are short-term fixes that work while you figure out what the drawer really needs. When you’re ready for something sturdier, these kitchen drawer organization ideas show how to choose dividers that last.
8. Stand spoons in a jar or pitcher
A crowded utensil drawer is one of the most common kitchen headaches. Pull out the tools you use every day, like wooden spoons, spatulas, tongs and a whisk, and stand them in a wide jar, crock or pitcher next to the stove.
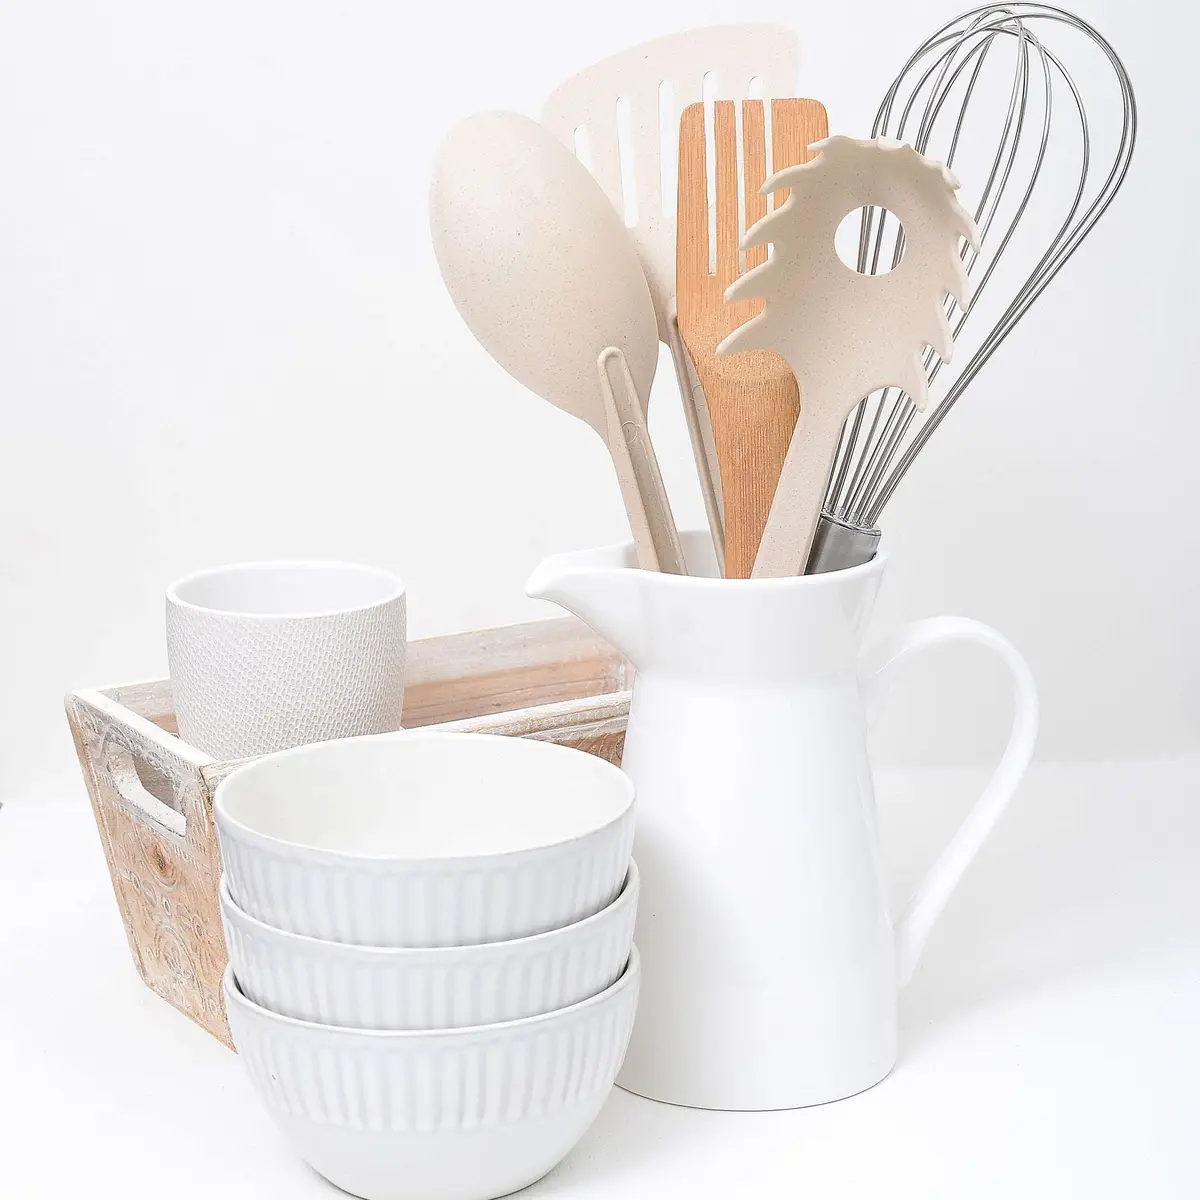
A sturdy jar, a vase or a pitcher you already own works fine, as long as it’s heavy enough not to tip. Put a folded paper towel or a small cloth in the bottom to catch drips.
Use two containers if one is overflowing: wooden tools in one, metal and silicone in the other. You’ll find what you need faster, and the jar won’t fall over when you pull one out.
Keep only the tools you use weekly in the jar. Everything else, like the pastry blender and the melon baller, can stay in a drawer.
Set the jar to the side of the stove, not right behind the burners. Wooden handles and silicone heads don’t belong in the heat while you cook.
9. Label the shelves, not just the jars
Labels on jars tell you what’s inside. Labels on the shelf edge tell everyone where things go back, which is what keeps a kitchen organized after the first week.
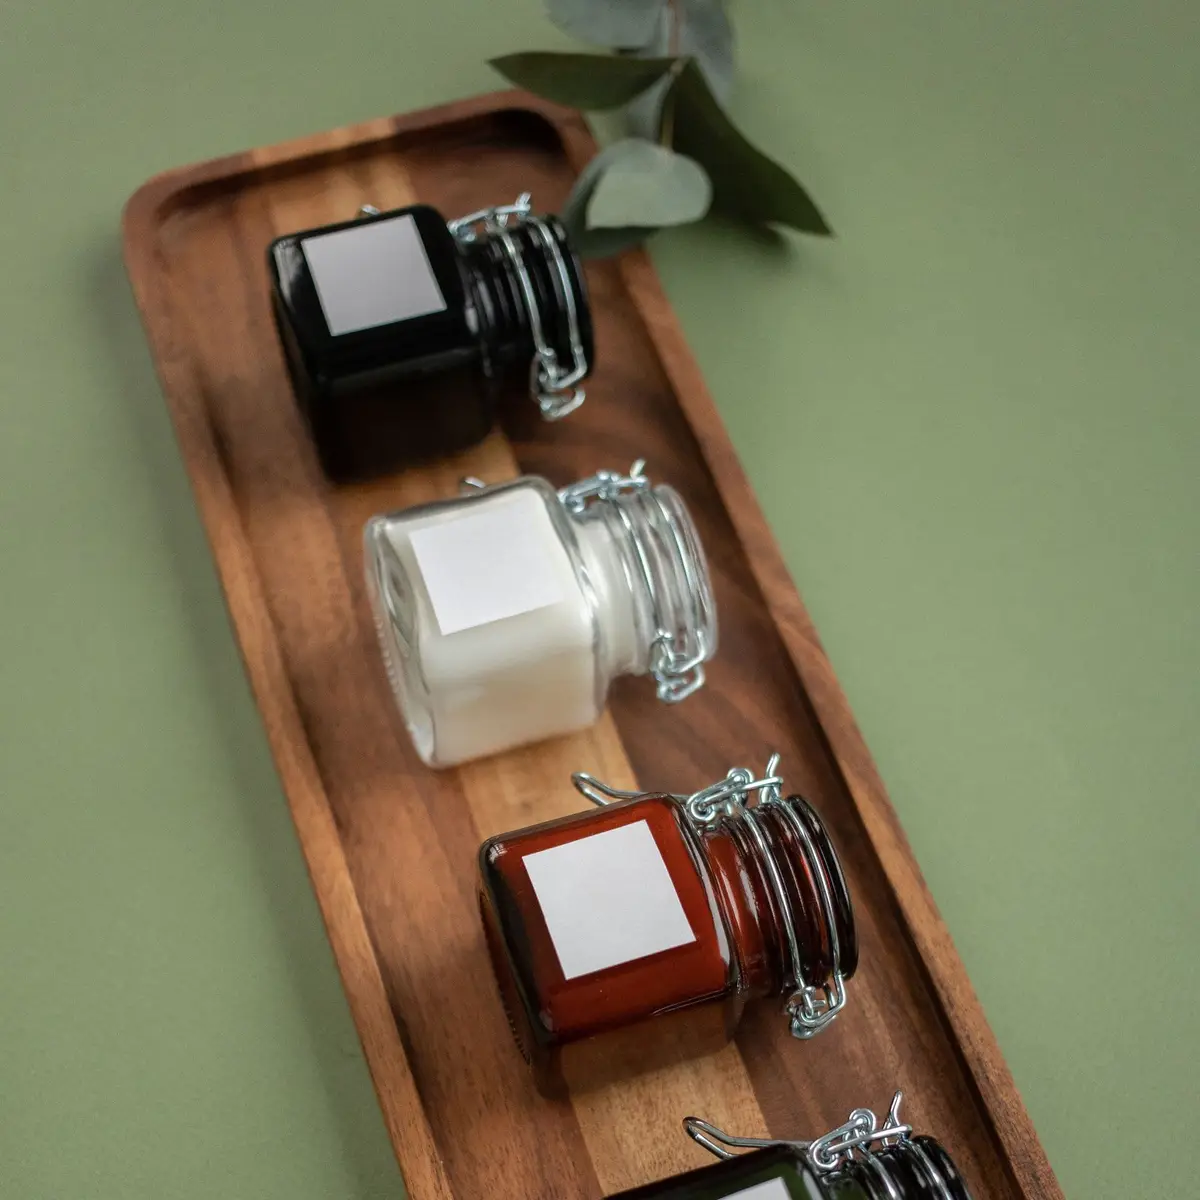
A strip of masking tape and a permanent marker is all you need. Write the category on the front edge of each shelf: baking, pasta and rice, breakfast, snacks, cans.
When something’s missing from its spot, you notice right away and add it to the printable grocery list. Kids and guests can put groceries away without asking where everything goes.
Use the same idea in the fridge with a dry-erase marker on the door shelves, and in drawers with a small label on the front. Change the labels whenever the categories change.
For spice jars, blank labels like these make every jar match. Our free spice jar labels are ready to print, cut and stick on.
10. Keep a use-first bin
Food gets wasted when it’s hidden. A single clear bin in the fridge, and another in the pantry, marked for food that needs to be eaten first, puts it right in front of you.
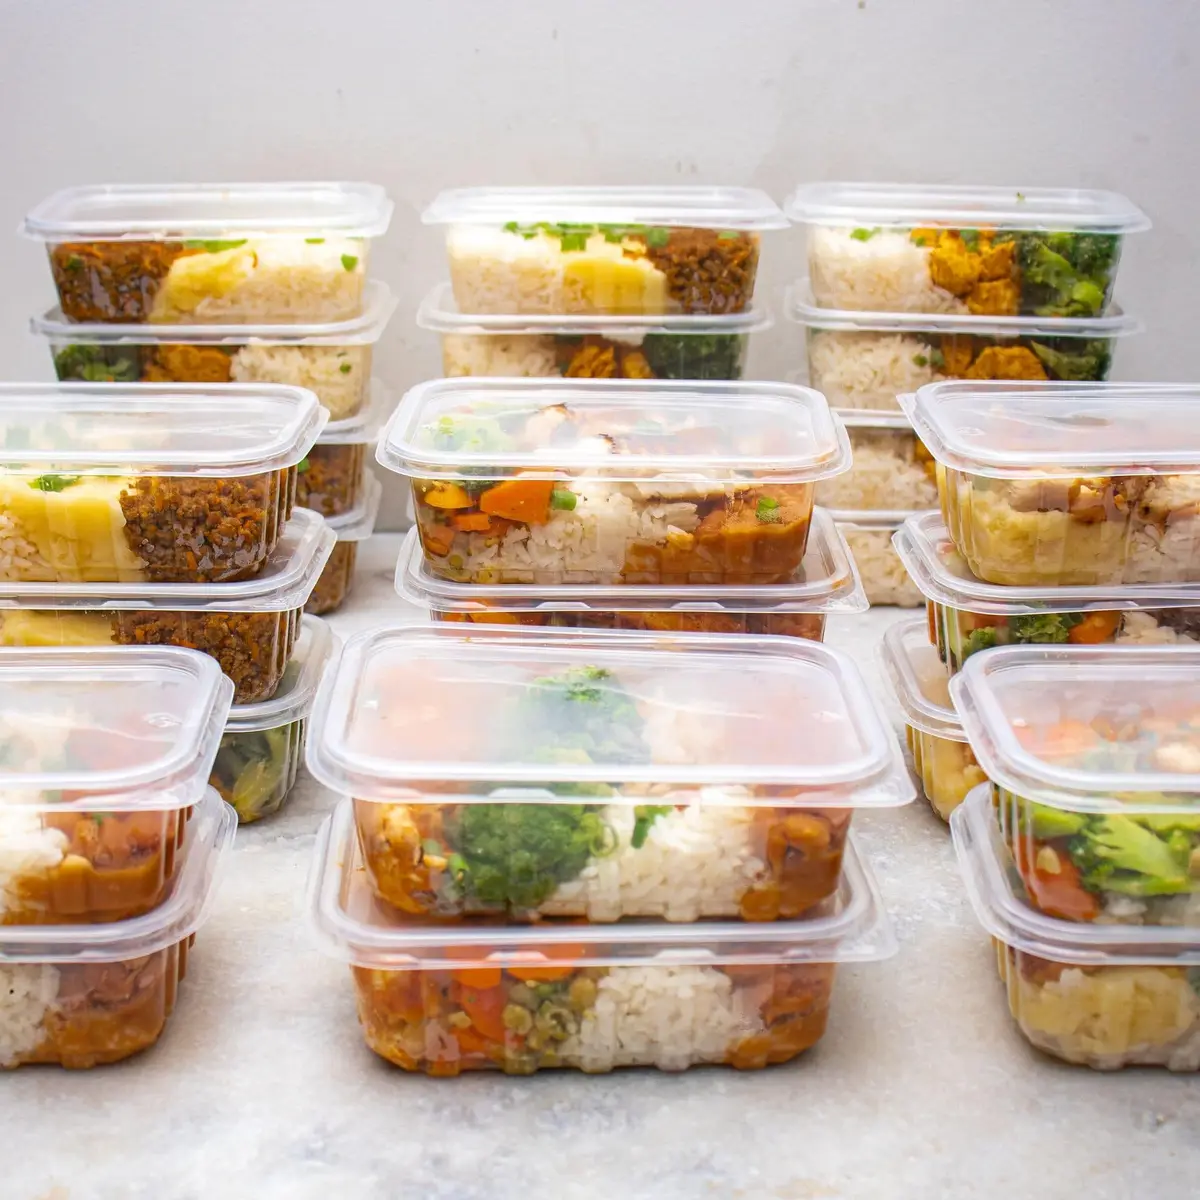
Put leftovers, half-used produce, opened jars and anything close to its date in the bin. Check it before you cook, pack lunches or make a grocery list.
Refrigerate leftovers within two hours of cooking, in covered containers. Clear containers let you see what’s inside without opening every lid.
Look in the fridge often, so you know what you have and what needs using. If something won’t be eaten in time, freeze it instead of letting it spoil.
In the pantry, the use-first bin holds opened crackers, the last of the cereal and anything near its best-by date. Everyone in the house learns to check it first when they’re hungry.
11. Set a tray under the oils by the stove
Bottles of oil and vinegar leave sticky rings on the counter, and the jars you cook with every day end up scattered. A small tray gathers them in one spot that’s easy to wipe.
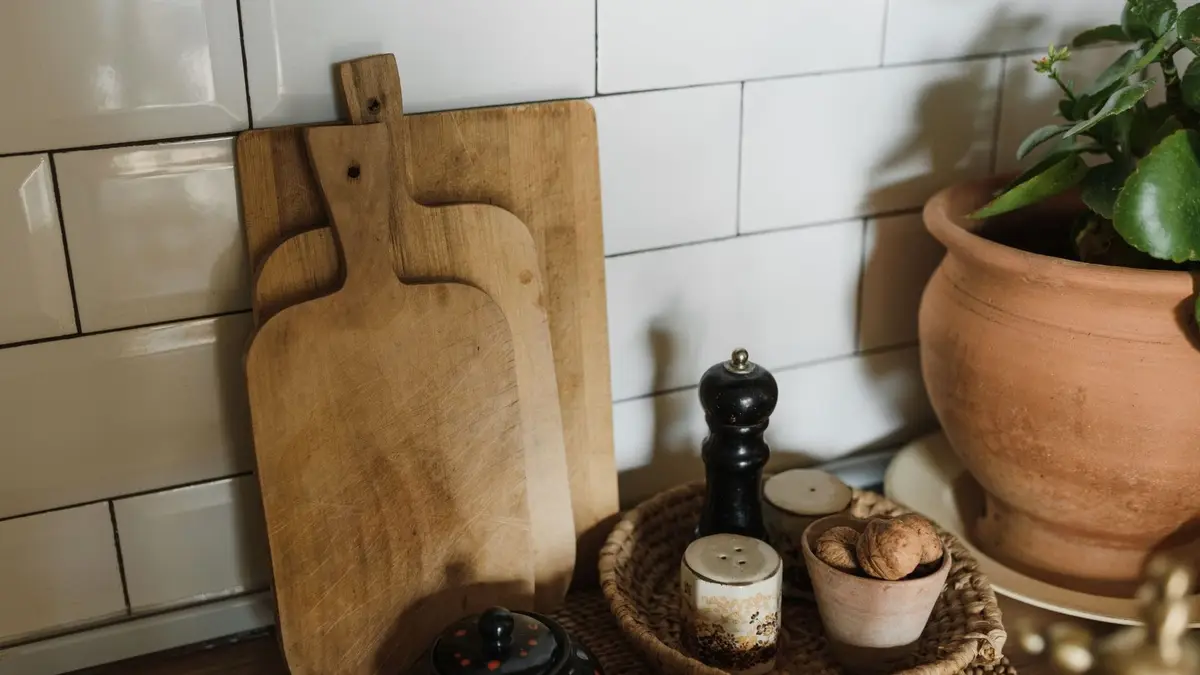
Any tray works: a small sheet pan, a plate, a wooden board or a shallow basket lined with a cloth. Lift the whole tray to wipe under it, rinse it when it gets oily and set it back.
Add salt, pepper and the two or three seasonings you reach for most. The rest of the spice collection can live in a drawer or cabinet, and these spice organization ideas cover how.
Keep the tray beside the stove, not on the cooktop or right behind the burners. Anything that can catch fire, including towels, paper and wooden tools, belongs well away from the stovetop while you cook.
Keep only what fits on the tray. When a new bottle arrives, finish or retire an old one, and the counter stays clear.

Save this for later
Pin it to a board so it's there when you're ready to start.
Save to Pinterest(opens in a new tab)Make it easier
Free printable
A one-page grocery list sorted by store section, with a box to tick for every item, so you write the list once and shop the store in one loop.
Free printable
Free printable spice jar labels to cut out and stick on. Print the ready sheet of common spices, or type your own list and download labels made for your shelf.
Free tool
Enter the width, depth and height of a shelf, a drawer or a cube cubby, and see which standard bins and baskets fit, how many, and how they line up.
Frequently asked questions
What's the easiest kitchen organization hack to start with?
Stand flat things on edge. Cutting boards, sheet pans and lids filed upright like books are easy to grab and free up a whole stack's worth of shelf space, and a tension rod or a sturdy file sorter is all it takes.
How do I keep chip and cereal bags from going stale in the pantry?
Roll the top down tightly, press out the air and close it with a binder clip or a clothespin. Clip a few bags to a wire shelf or to a hook so they hang where you can see them.
What can I use as drawer dividers for free?
Clean, dry egg cartons, spare ice cube trays, small boxes and shallow food containers all work. Fill each section with one kind of small thing, like twist ties, bag clips or birthday candles, and the drawer stays sorted.
How do I remember to eat leftovers before they go bad?
Give them one clear bin or one shelf at eye level in the fridge, labeled for food that needs eating first. Check it before you cook or shop, and check a food storage chart for how long each leftover keeps.