12 Kitchen Cabinet Organization Ideas for Plates, Pots and Lids
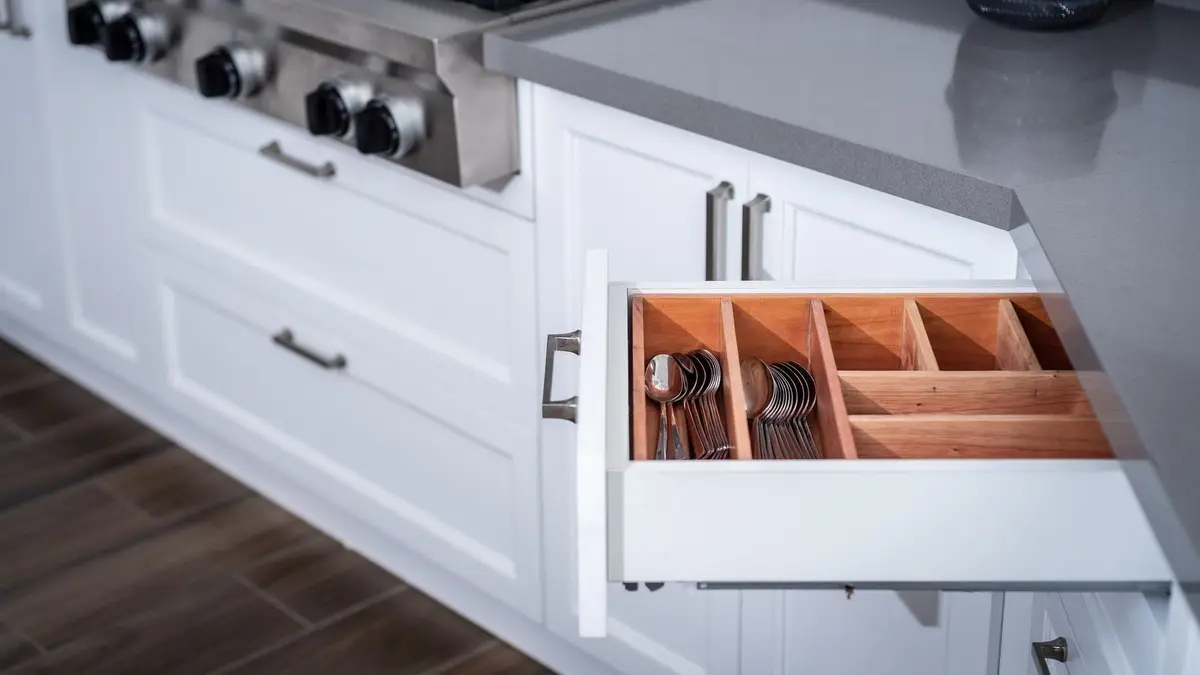
Sort upper and lower kitchen cabinets by task: everyday dishes by the dishwasher, shelf risers, pull-out bins, a lid rack, pans filed upright and labels.

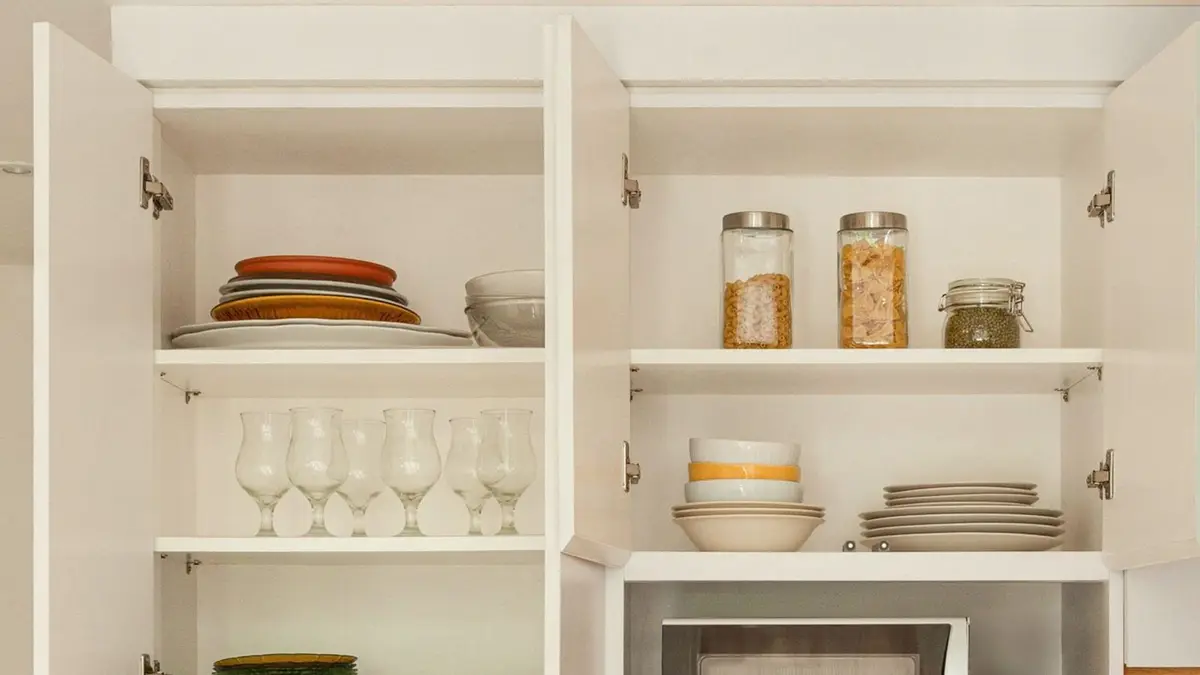
Good kitchen cabinet organization starts with zones: store each thing near the spot where you use it, keep everyday dishes between hip and shoulder height, put heavy pots and appliances down low, and save the high shelves for light things you rarely need. Then add a few simple helpers that make every shelf hold more.
These 12 ideas cover the upper and lower cabinets behind the doors. The cabinet under the sink has its own guide, how to organize under the kitchen sink, so this one stays on the shelves you use for dishes, cookware and food storage.
1. Group things into zones by task
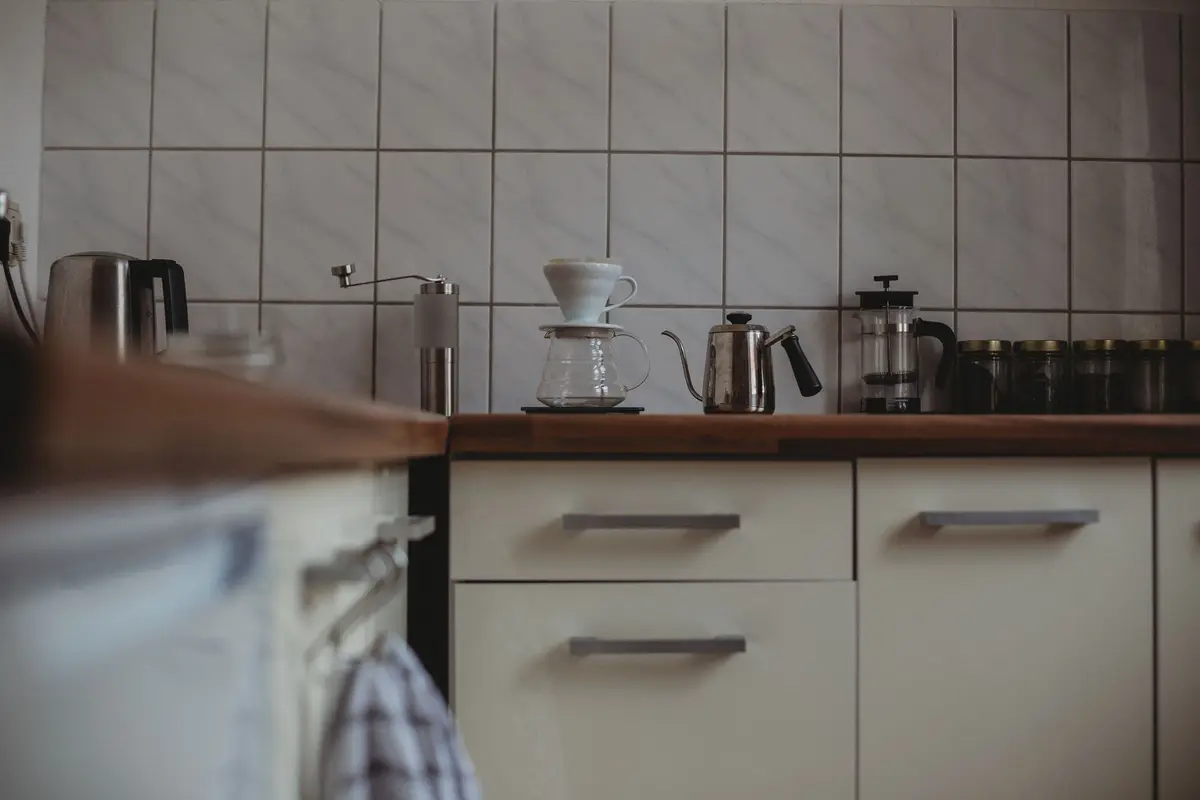
Walk through how you cook, serve and clean up, and give each task a zone in the cabinets closest to where it happens. Mugs and coffee go near the coffee maker, oils and pans near the stove, and mixing bowls near the counter where you bake.
Before you move anything, empty one cabinet at a time and sort what comes out. Anything broken, missing a part or unused for a long stretch can go, and the declutter checklist walks the rest of the kitchen the same way.
Common zones are cooking, baking, serving, food storage, drinks and lunches. A small kitchen can combine a few of them, like drinks and lunches in one cabinet near the fridge.
A zone doesn’t need a whole cabinet. Half a shelf can be the coffee zone, and a single bin can hold everything for packing lunches.
Write the zones on a sticky note inside a door while everyone gets used to them. Give the new setup a week or two, and if you keep crossing the kitchen for the same thing, move it closer to where you use it.
2. Keep everyday dishes near the dishwasher
Plates, bowls and glasses you use every day belong in the upper cabinet closest to the dishwasher or the drying rack. Unloading goes faster when you can put things away without taking a step, which also makes it an easier job to hand off.
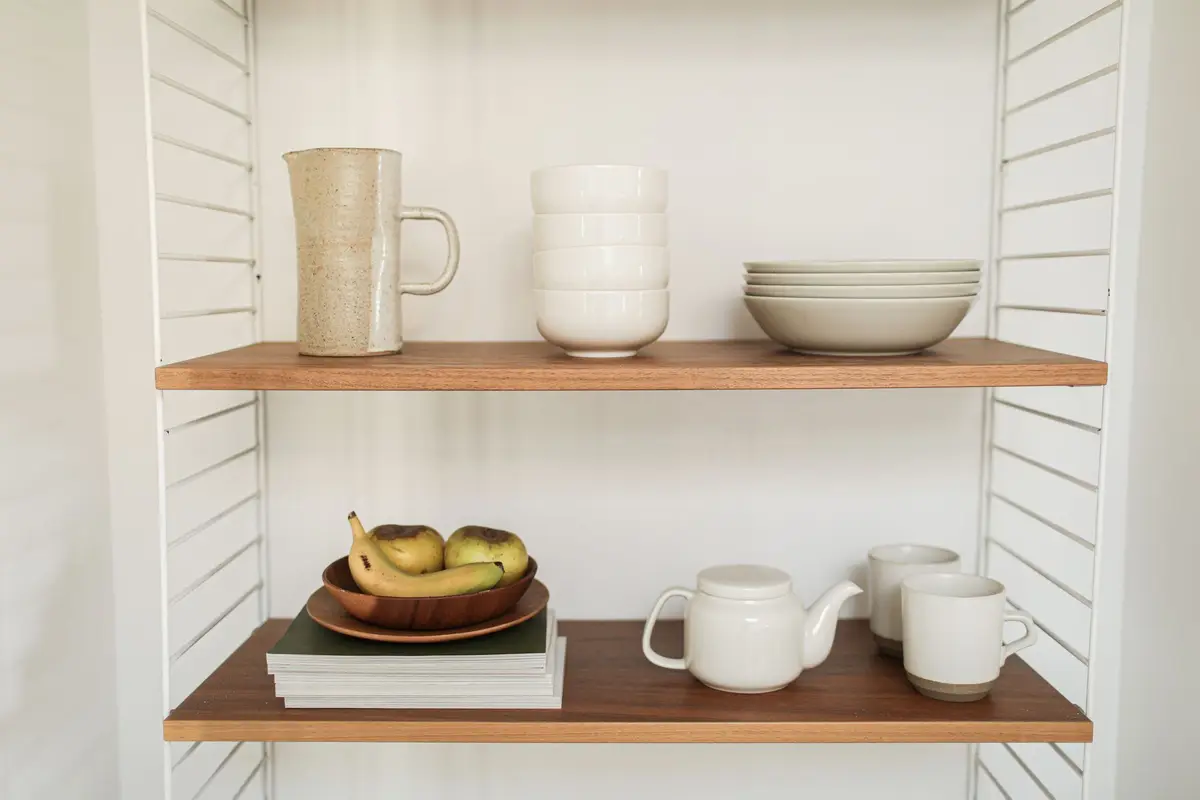
Give them the lowest shelf of that upper cabinet, the one between your hip and your shoulder, so you reach them without stretching. Heavy stacks of dinner plates are easier and safer to lift from there than from a high shelf.
Keep only what the family uses in a day or two up front. Extra place settings can move to a higher shelf, and chipped or unloved pieces can go to donation.
Serving platters, big salad bowls and dishes for guests come out a few times a year. They can live farther from the dishwasher, on a high shelf or in a cabinet across the kitchen.
If kids set the table or put away clean dishes, store their plates and cups on a low shelf they can reach on their own. Add the job to the kids chore chart so it becomes part of the routine.
3. Double a tall shelf with shelf risers
Most cabinet shelves leave a lot of empty air above a short stack of plates or bowls. A wire or wooden shelf riser adds a second level, so small plates sit on top and bowls slide underneath.
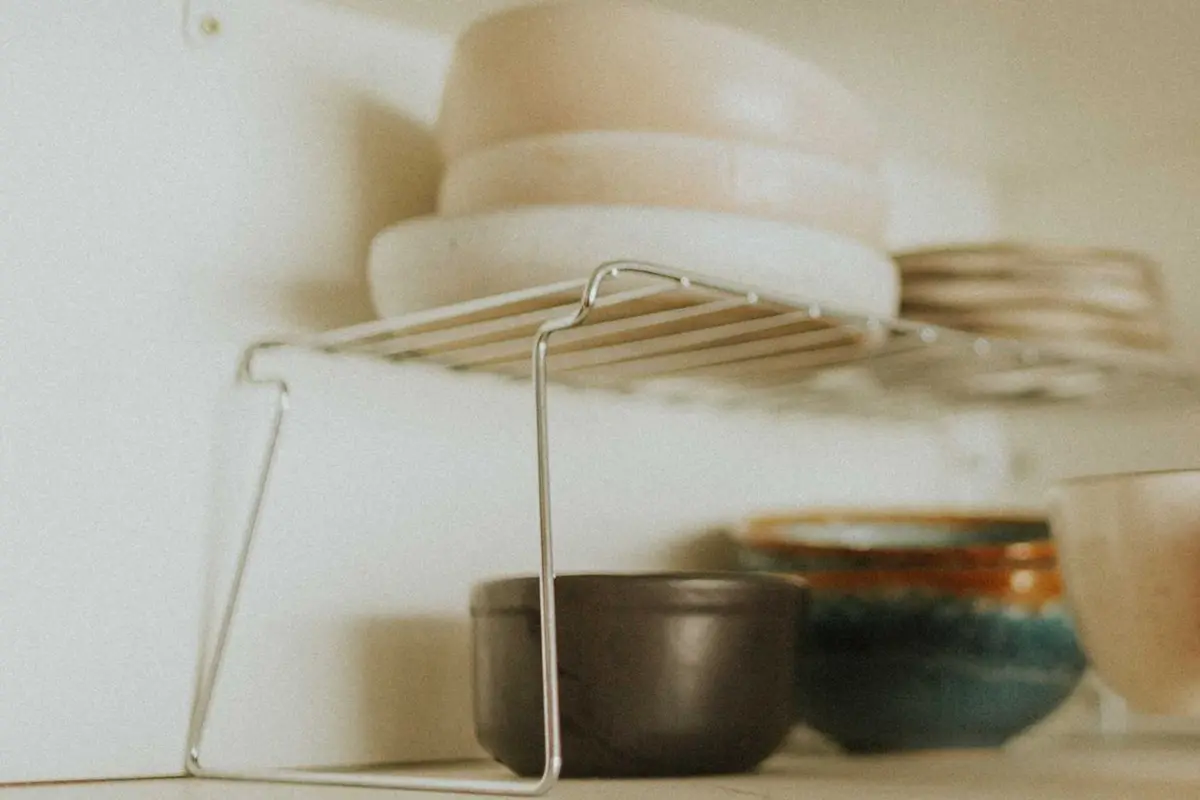
Measure the shelf depth and the space between shelves before you buy one. Leave a little room above the top stack, so you can lift plates off without scraping the shelf above.
Put the heavier stack on the shelf itself and the lighter one on the riser. Saucers, small bowls and mugs are good up top; dinner plates are steadier on the bottom.
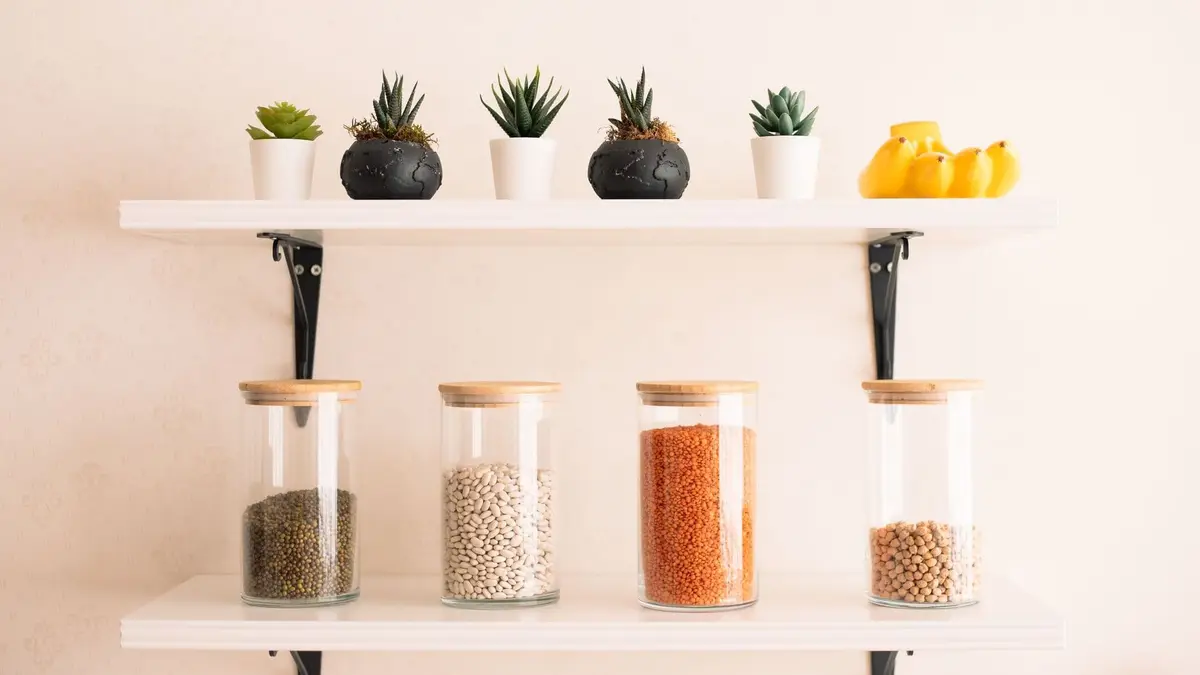
Risers work for more than dishes. In a food cabinet, a riser lifts cans and jars so the back row shows above the front, and in a baking cabinet it holds a second row of small containers.
If the shelves adjust, try moving them before you buy anything. Lowering a shelf by a notch or two can make room for an extra stack, and two narrow risers often fit a cabinet better than one long one.
4. Add pull-out bins to lower cabinets
Deep lower cabinets swallow things at the back, and you end up kneeling on the floor to dig them out. A pull-out bin works like a drawer: slide it out, see everything at once and slide it back.
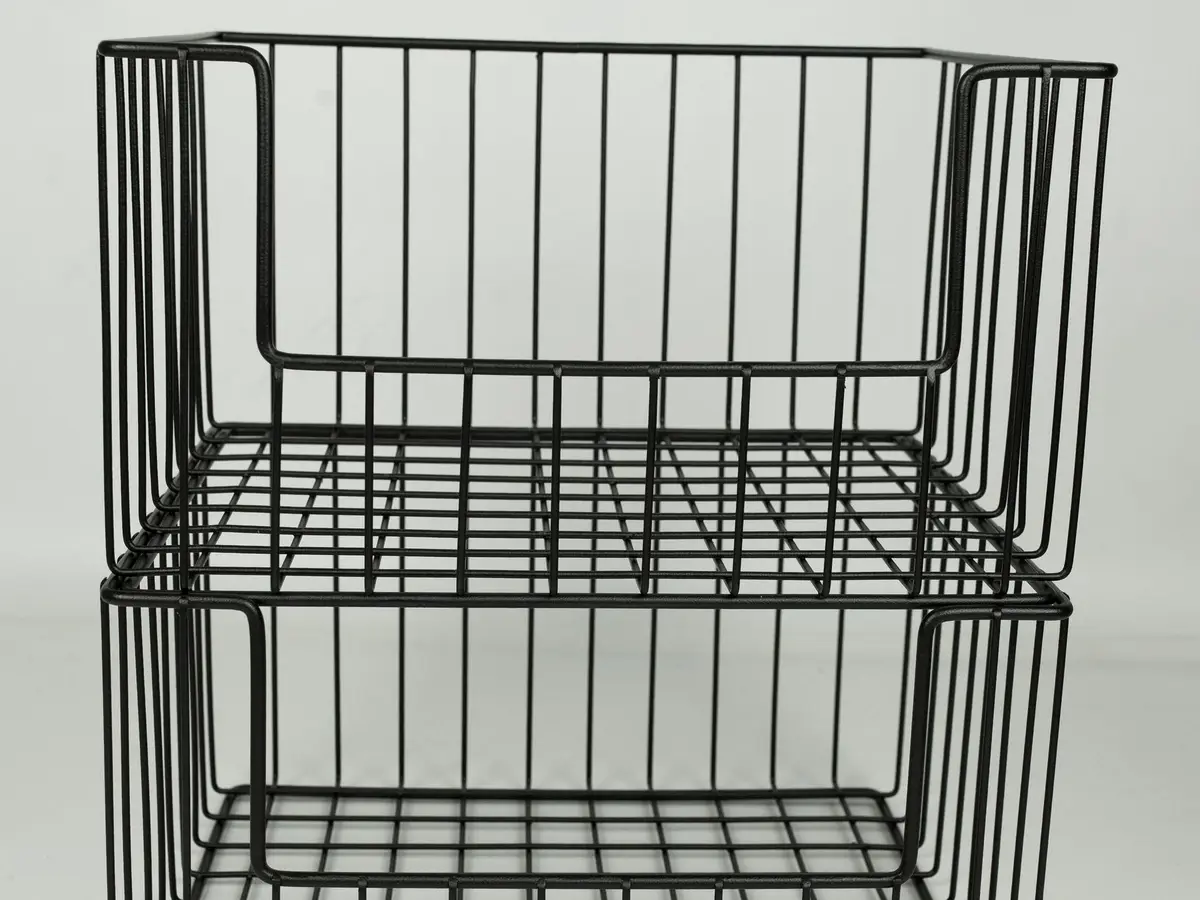
Wire bins, clear plastic bins and baskets with a handle at the front all work. Choose ones that fill the full depth of the cabinet, so nothing hides behind them.
Measure the door opening as well as the inside, since the frame is often narrower than the cabinet and the hinges stick out. The bin and basket size calculator turns those numbers into bin sizes that fit and shows how many line up side by side.
Give each bin one category: baking dishes, mixing bowls, lunch boxes, snacks or spare dish towels. A bin that holds a little of everything turns into a junk drawer on the cabinet floor.
Keep heavy things like a stand mixer or a stack of casserole dishes in the lowest bins, where you lift them at waist level or below. For a permanent fix, roll-out shelves mount to the cabinet floor; in a rental, freestanding bins do the same job with no screws.
5. Give pot lids their own rack
Lids are awkward: they don’t stack, they slide around and they rattle every time you open the door. A lid rack holds them upright in a row, so you can grab the one you need without lifting the rest.
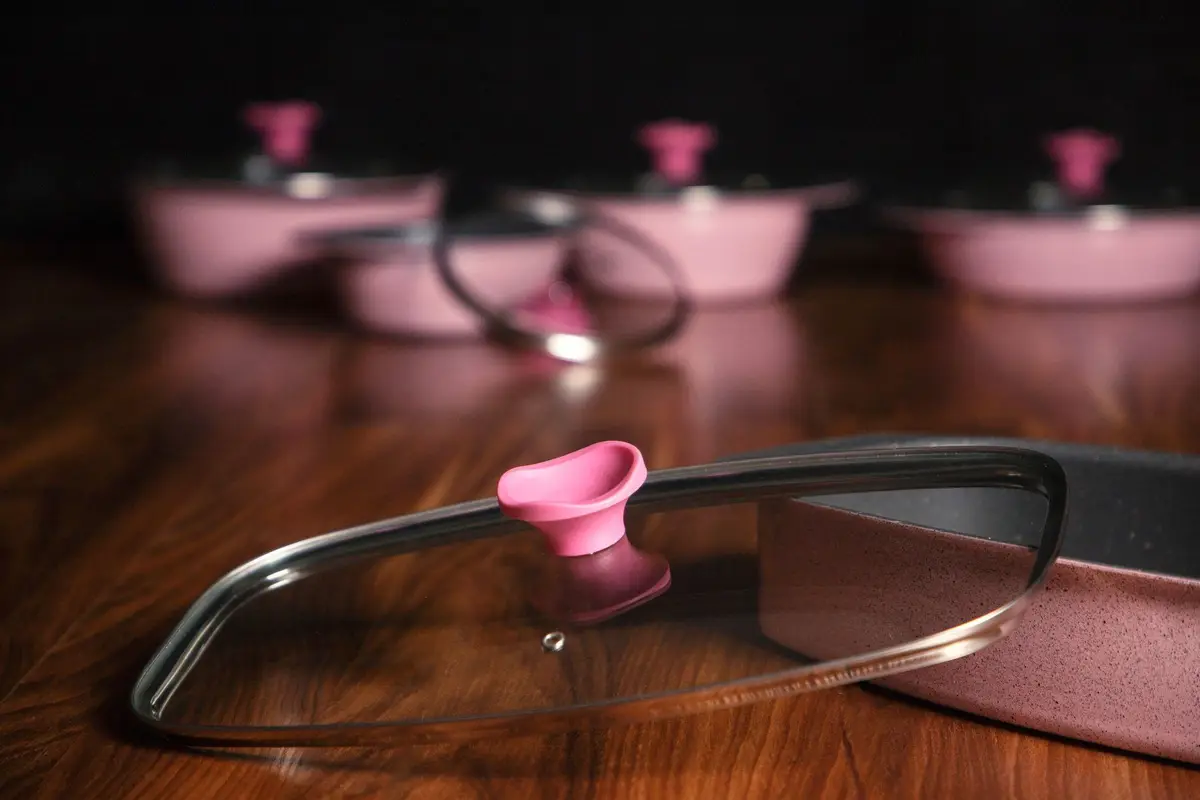
Lid racks stand on a shelf, mount inside a cabinet door or sit in a deep bin. A door-mounted rack keeps lids off the shelf entirely, but check that it clears the shelves when the door closes.
Order the lids by size, small in front and large in back, or in the same order as the pots they fit. Keep only lids that match a pot you still own, and let the orphans go.
Another option is to set each lid upside down on its own pot, handle inside. That works when pots sit in a single layer, but not when they’re nested inside each other.
Keep the lid rack in the same cabinet as the pots, as close to the stove as you can. Cooking and putting away then happen in one spot, and lids stop wandering into other cabinets.
6. File pans and baking sheets upright
Frying pans, baking sheets, cutting boards and cooling racks take up less room when they stand on edge like files. You can slide one out without lifting the whole stack off it.
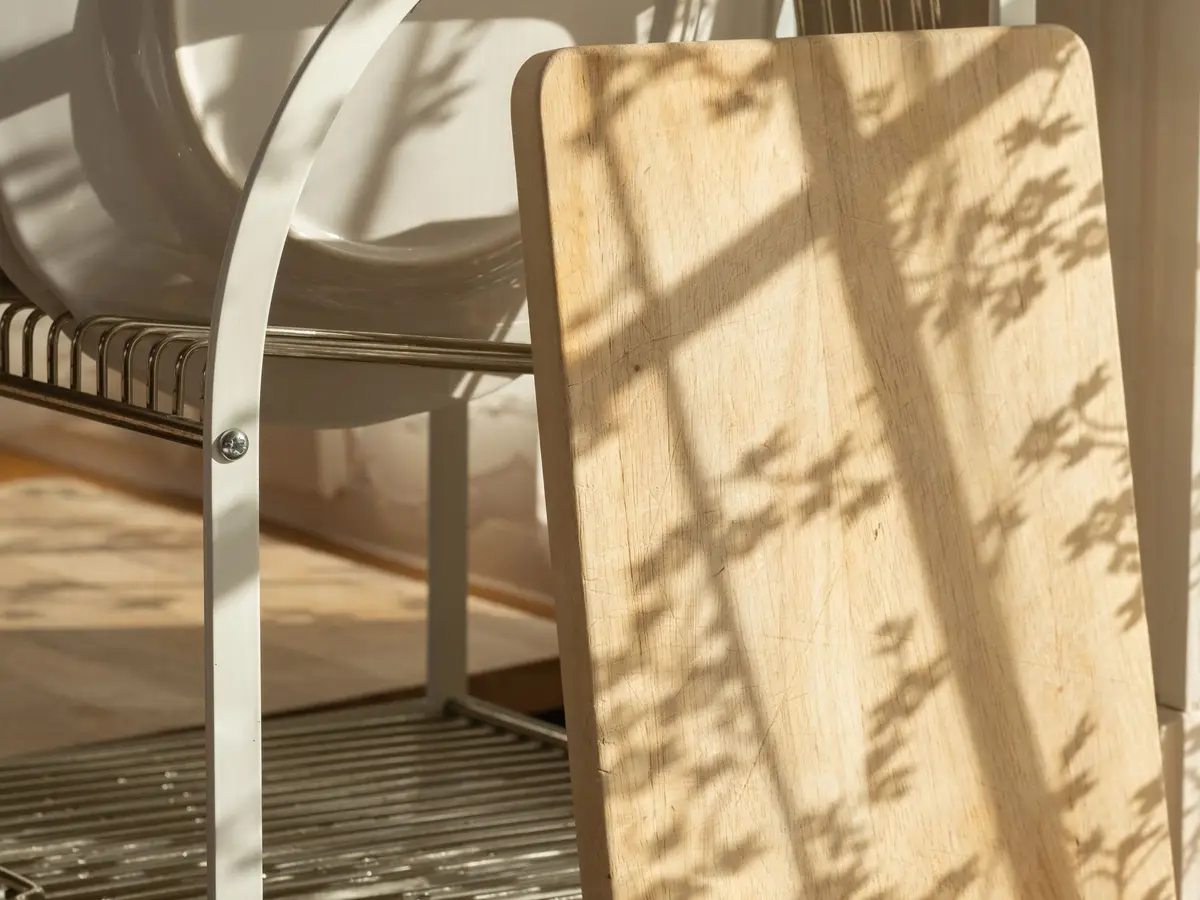
A rack with dividers does the job, and so does a sturdy wire file sorter. A narrow cabinet next to the oven is a natural home for flat things, since that’s where you use them.
Sort them by size, with the tallest at the back or at one end, so every handle and edge is easy to see. Leave a little space between pans so nonstick surfaces don’t rub together.
Heavy pans belong in the lowest cabinet, on a sturdy rack that won’t tip. Lifting a heavy pan from below your waist is easier and safer than pulling it down from overhead.
If filing doesn’t fit your cabinets, stack frying pans with a soft pan protector or a folded dish towel between each one. Keep the pan you use most on top, so you rarely have to unstack the pile.
7. Put a turntable in the corner cabinet
Corner cabinets are deep and awkward, and whatever ends up in the back corner gets forgotten. A turntable brings the back to the front with one spin.
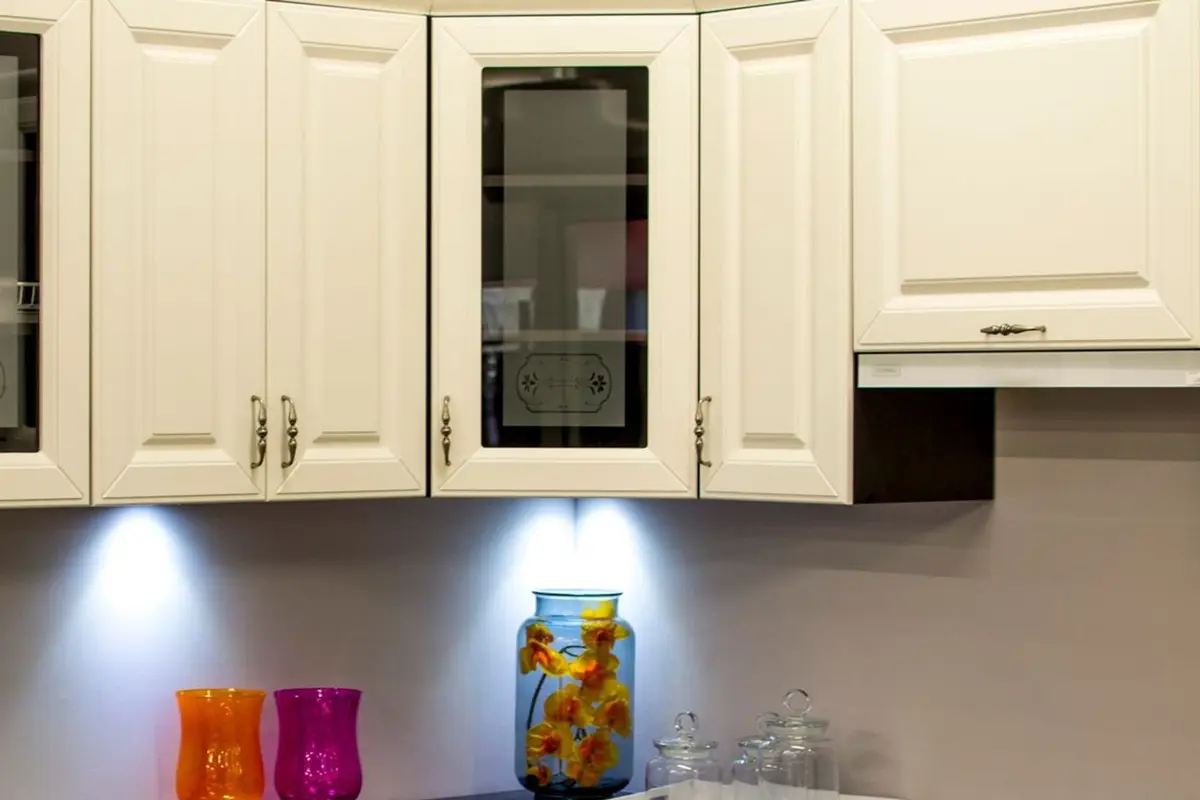
In an upper corner cabinet, a turntable holds oils, vinegars, sauces, tea or vitamins. In a lower corner cabinet, a larger one holds mixing bowls, a slow cooker or other small appliances you use now and then.
Measure the depth and the door opening before you buy. A turntable needs its full width to spin and has to fit through the door, and a two-level one uses the height of a tall corner shelf.
Pick one with a raised edge, so bottles don’t tip when it turns. A small tray under sticky bottles catches drips, and a quick wipe when you restock keeps rings from building up.
If the corner already has a built-in spinning shelf, line it with a non-slip liner so things stay put. Group items by use, giving each section of the circle one category.
8. Nest food storage containers with their lids
Food storage containers make the messiest cabinet in most kitchens. Match every container to a lid, set aside the extras, then nest the containers by shape from largest to smallest.
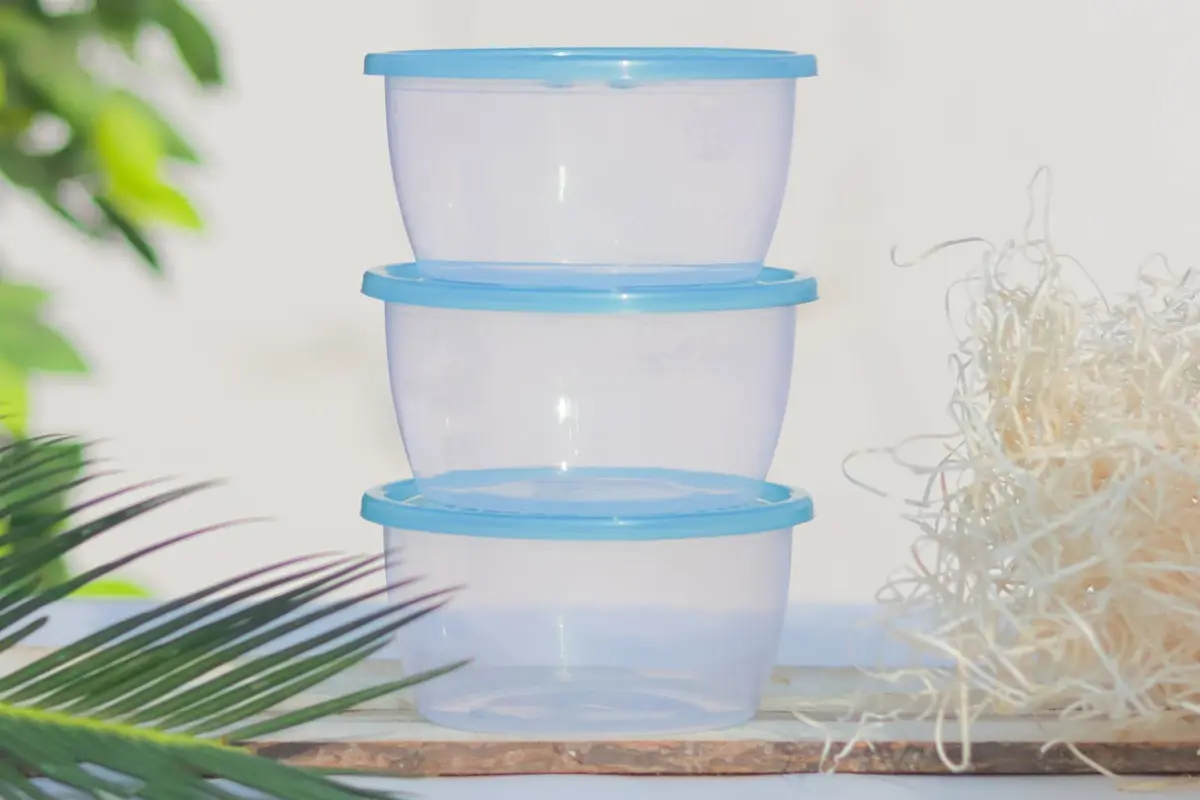
Stand the lids upright in a bin or file sorter right next to the stacks, sorted by size. You’ll see at a glance which lid goes with which container.
A set in a few matching shapes stacks far better than a mix from different sets. When you replace containers, pick one style and stick with it, so every lid fits more than one base.
Keep only as many as you use in a typical week. Leftovers, packed lunches and meal prep set the number, and the meal planner helps you see how many you really need.
Give this cabinet a quick check when you unload the dishwasher. Putting containers back nested, with the lids filed, takes only a few seconds longer than tossing them in, and it saves the avalanche next time.
9. Save the top shelf for things you rarely use
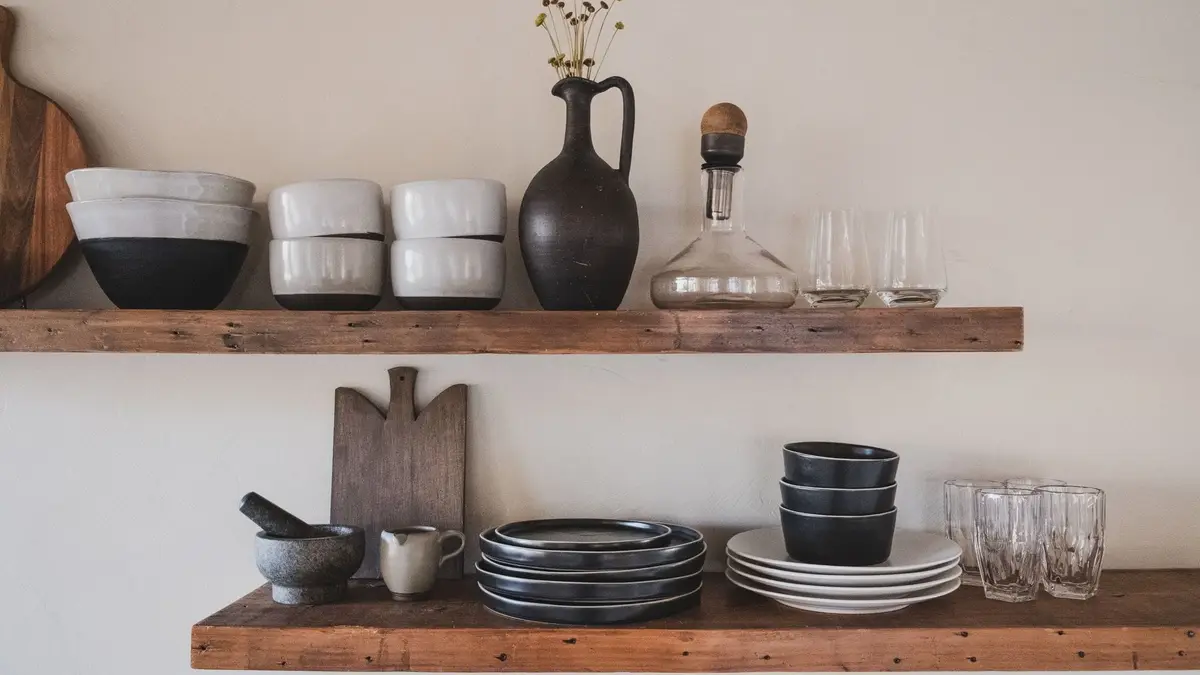
High shelves and the space above the cabinets are hard to reach, so give them to light things you use only a few times a year. Party platters, extra paper goods, picnic gear and spare serving bowls are good fits.
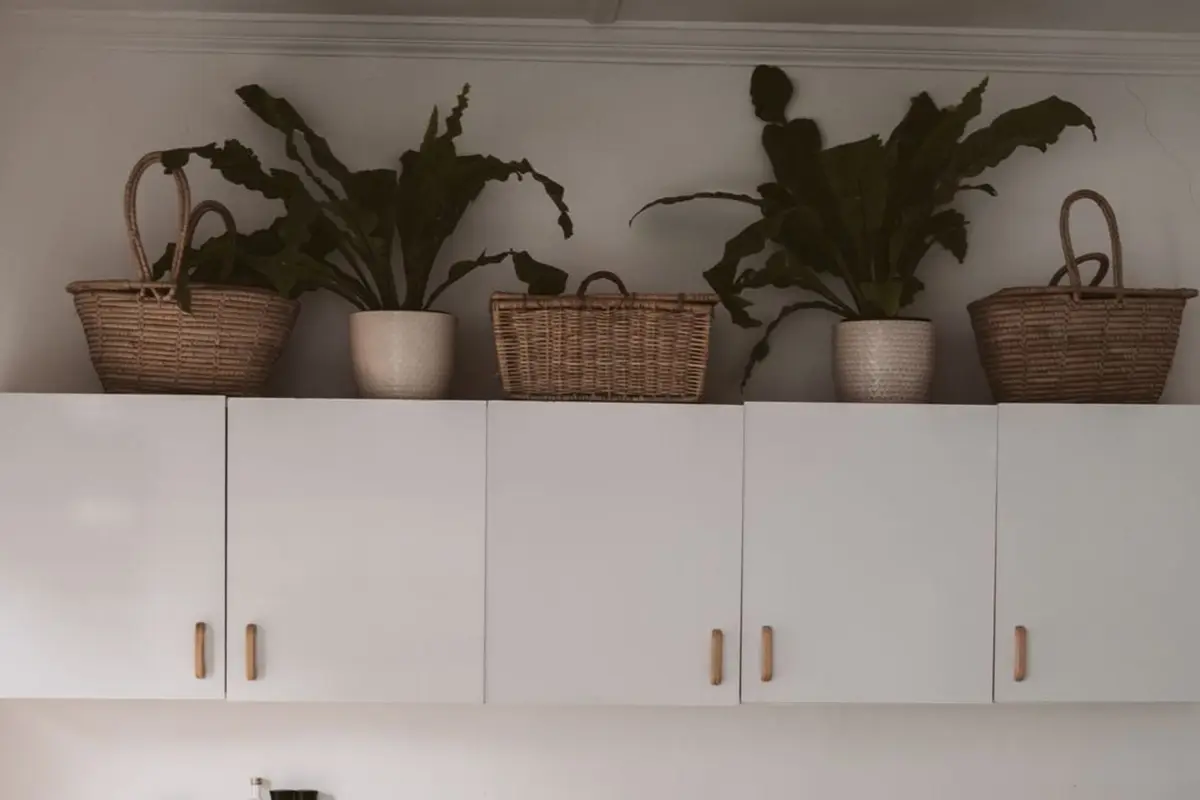
Keep heavy items low. A cast iron pot or a tall stack of plates pulled down from above your head is hard to control, and the things you use often belong on lower shelves, about waist high.
Baskets with handles make the top shelf easier to use. Pull the whole basket down, take what you need and slide it back, instead of reaching blindly behind other things.
Keep a sturdy step stool in the kitchen for these shelves, ideally one with a bar to hold on to. Never stand on a chair or the counter to reach a high cabinet.
Label the front of each basket, so you know what’s inside without climbing up to look. A slim folding stool can hang on a hook or slide into the gap beside the fridge, so it’s always close by.
10. Use the inside of cabinet doors
The back of a cabinet door is free storage. Hooks, a slim rack or a small caddy hold things that are flat or light: oven mitts, pot holders, measuring spoons, foil and wrap, or a thin cutting board.
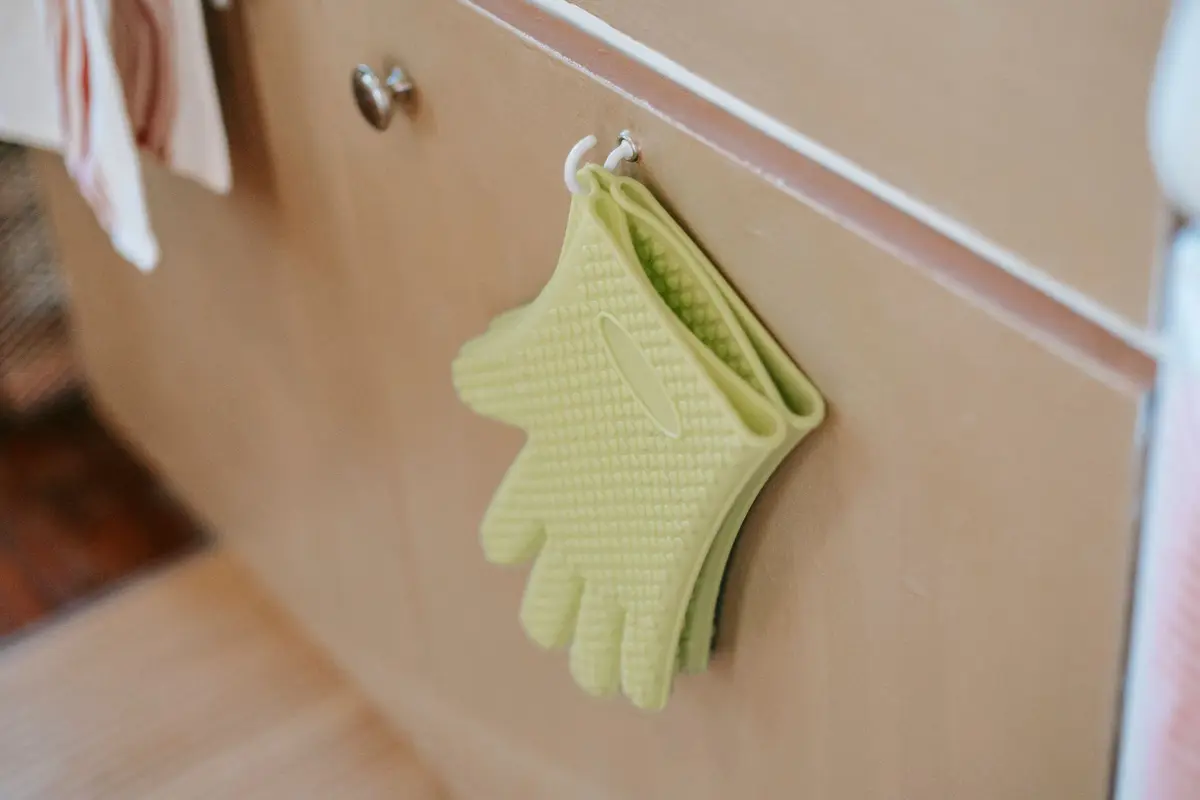
Adhesive hooks need no drilling and suit a rental, and they’re just right for oven mitts and measuring cups. Over-the-door racks hook onto the top of the door, though they can keep some doors from closing flush.
Measure the gap between the door and the shelf edges with the door closed. A rack has to clear the shelves, so you may need a thinner rack or a spot below the bottom shelf.
Keep door storage light. Heavy jars and cans strain the hinges, and over time the door can start to sag.
Match each door to its cabinet’s zone: measuring spoons on the baking cabinet door, oven mitts beside the stove, and a short list of what’s in the freezer on the door nearest the fridge.
11. Group glasses by type
Line up glasses in rows by type, front to back: tall water glasses in one row, short tumblers in another, and mugs on their own shelf. You’ll see what you have and grab the right one without moving the others.
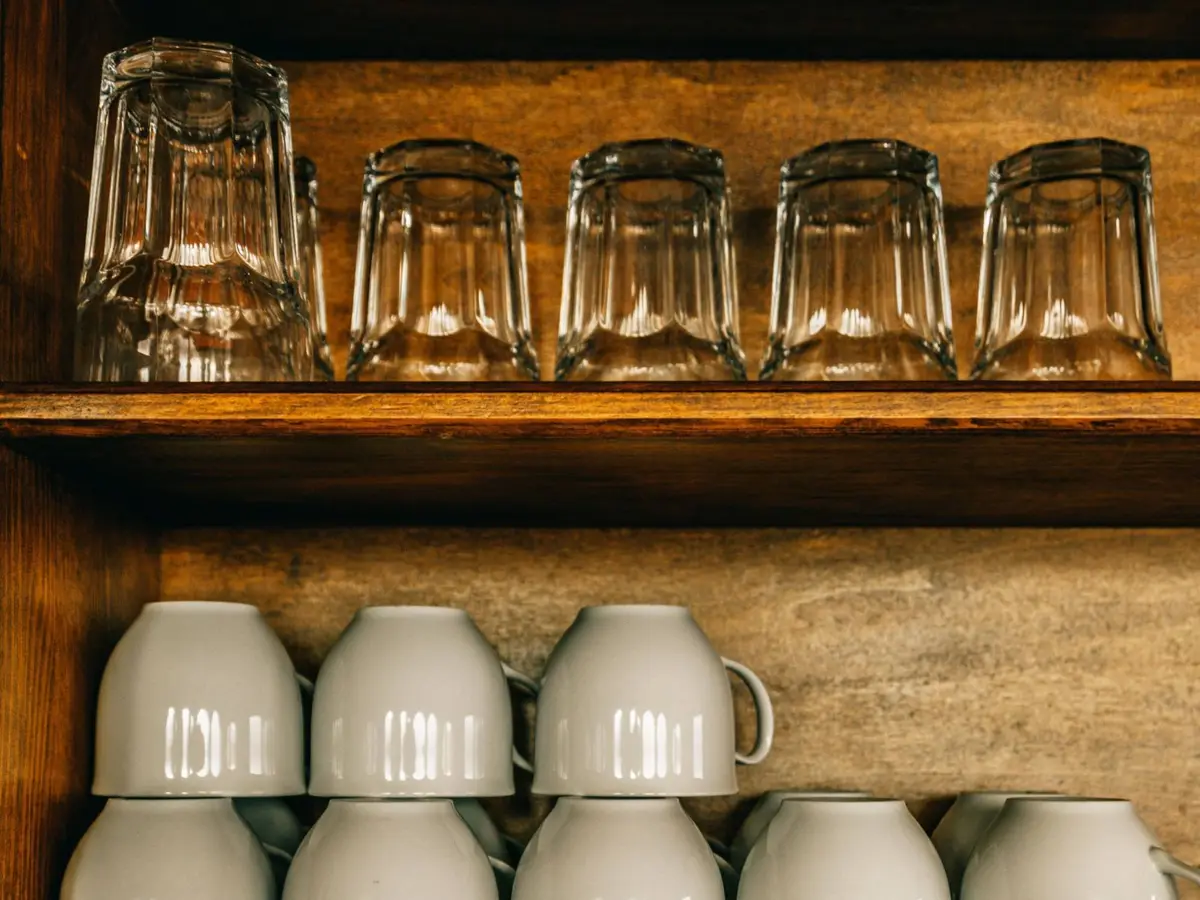
Keep everyday drinking glasses on the lowest shelf of the upper cabinet nearest the sink or the fridge. Kids’ cups can go even lower, in a low cabinet they can reach without help.
Stemmed glasses take a lot of room on a shelf. An under-shelf rack hangs them by the base and frees the space below, or they can move to a high shelf if you use them only for guests.
Mugs collect faster than anything else in a kitchen. Keep the ones the household actually reaches for, and use a riser to stack a second row above them.
Match the number of glasses to the household, plus a few for guests. Extras for parties can go in a labeled basket on a higher shelf, so they’re ready when you need them.
12. Label shelves, bins and baskets
Labels keep a system working long after the first week. When everyone can see where things go, they put them back there, and nobody has to ask where the lids live.
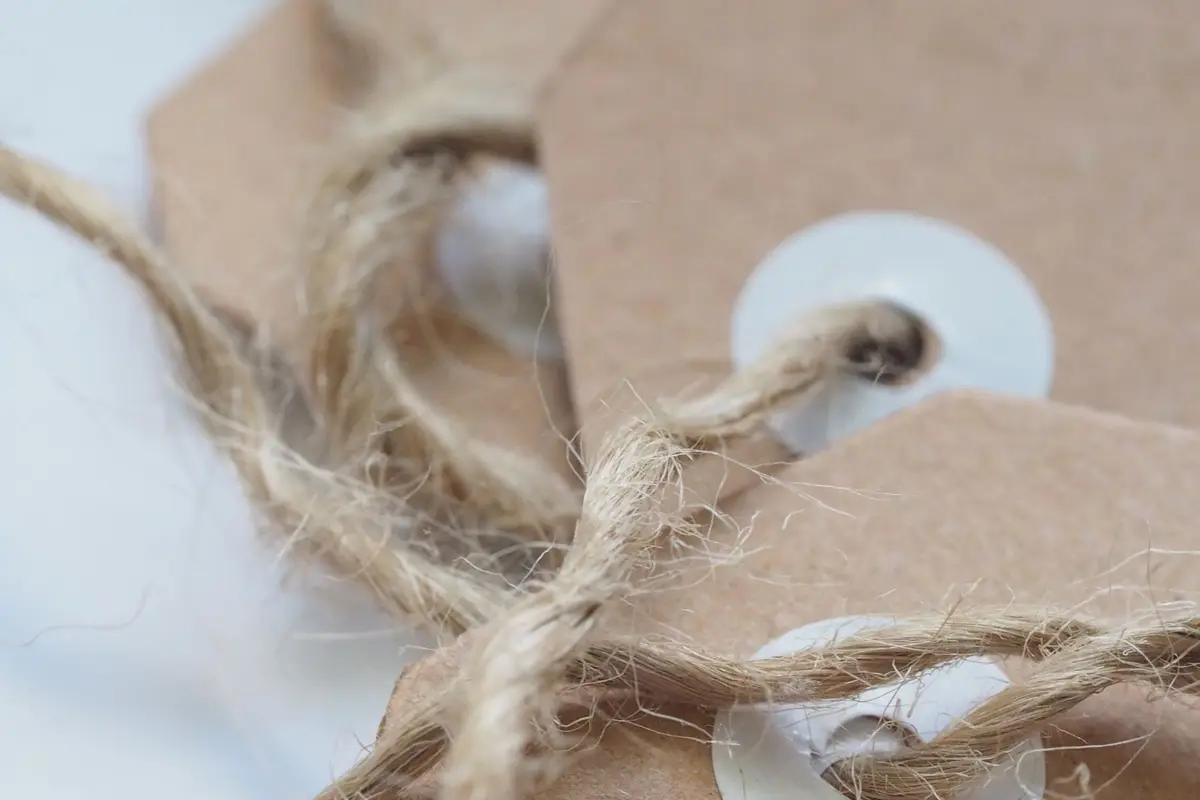
Label the front edge of shelves, the front of bins and the sides of baskets. Simple tags on twine work on woven baskets, while clip-on or adhesive labels suit shelves and plastic bins.
Use words everyone in the house understands, and add pictures for young kids. Short labels like “lids,” “baking” or “lunch” are easier to read at a glance than long ones.
For spices and canisters, the spice jar labels printable gives every jar a matching label, so the spice zone looks as tidy as the rest.
To keep it sorted, put things back in their zone each time you unload the dishwasher. Once a month, open each cabinet and return the strays, and add the job to the Sunday reset checklist so it never slips.
Save this for later
Pin it to a board so it's there when you're ready to start.
Save to Pinterest(opens in a new tab)Make it easier
Free printable
Free printable spice jar labels to cut out and stick on. Print the ready sheet of common spices, or type your own list and download labels made for your shelf.
Free tool
Enter the width, depth and height of a shelf, a drawer or a cube cubby, and see which standard bins and baskets fit, how many, and how they line up.
Frequently asked questions
Where should plates and glasses go in kitchen cabinets?
Put everyday plates, bowls and glasses in the upper cabinet closest to the dishwasher or the sink, on the lowest shelf, where you can reach them without stretching. Keep heavy stacks low and move dishes you rarely use to a higher shelf.
How do I organize deep lower cabinets?
Use pull-out bins or baskets that run the full depth of the cabinet, so you slide the whole bin forward instead of reaching into the back. Give each bin one category and keep heavy pots and small appliances on the cabinet floor.
What should I store in high kitchen cabinets?
Light things you use only a few times a year, like party platters, extra paper goods and spare serving pieces, ideally in baskets with handles. Reach them with a sturdy step stool that has a bar to hold on to, never a chair.
How do I keep food storage containers organized?
Match every container to a lid and let go of the extras, then nest the containers by shape and stand the lids upright in a bin beside them. Sticking to one or two container styles makes the stacks much neater.