12 Kitchen Counter Organization Ideas for a Counter You Can Cook On
Clear the counter, keep only daily things out and give the prep, sink, drink and landing spots their own zones, with trays, a turntable and a nightly reset.

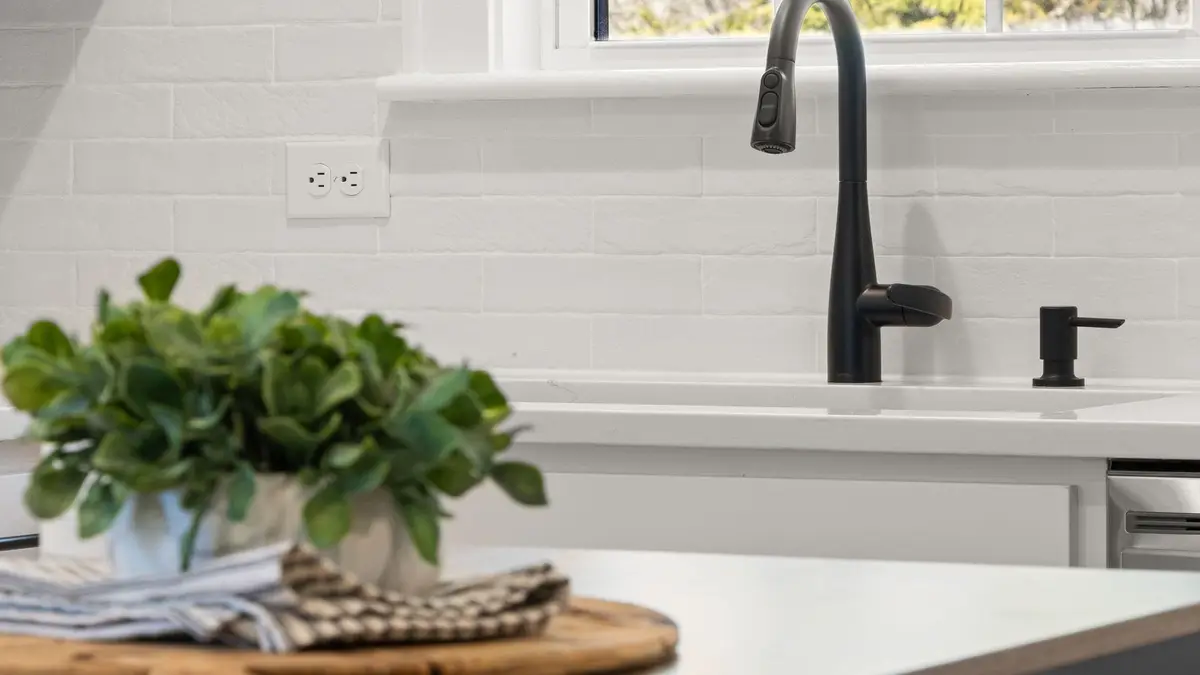
Good kitchen counter organization starts with less on the counter: keep out only what you use every day, give each stretch of counter one job, group the small things on a tray or a turntable, and leave one wide spot clear for prep. Then a quick reset each night keeps it that way.
These 12 ideas work on a long run of counter, a small galley and the counter beside the sink. Start with the first two, since every idea after them depends on knowing what stays out and where it goes.
1. Clear it off and decide what earns a spot
Take everything off the counter, wipe it down and look at the empty space for a minute. It’s the easiest way to see how much room you really have.
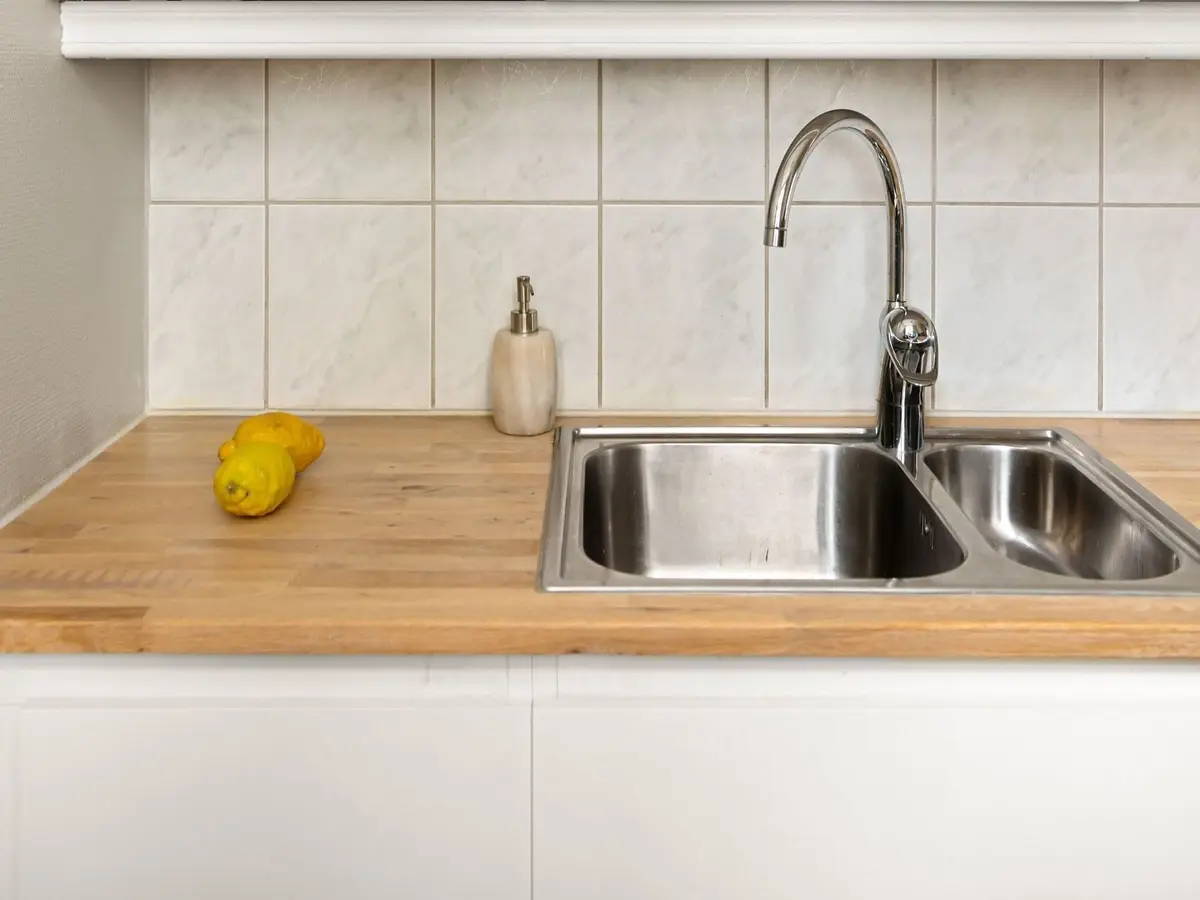
Put things back one at a time, and only if you use them every day or close to it. The coffee maker, the dish soap, a utensil crock and a fruit bowl usually make the cut, while the stand mixer you use twice a month doesn’t.
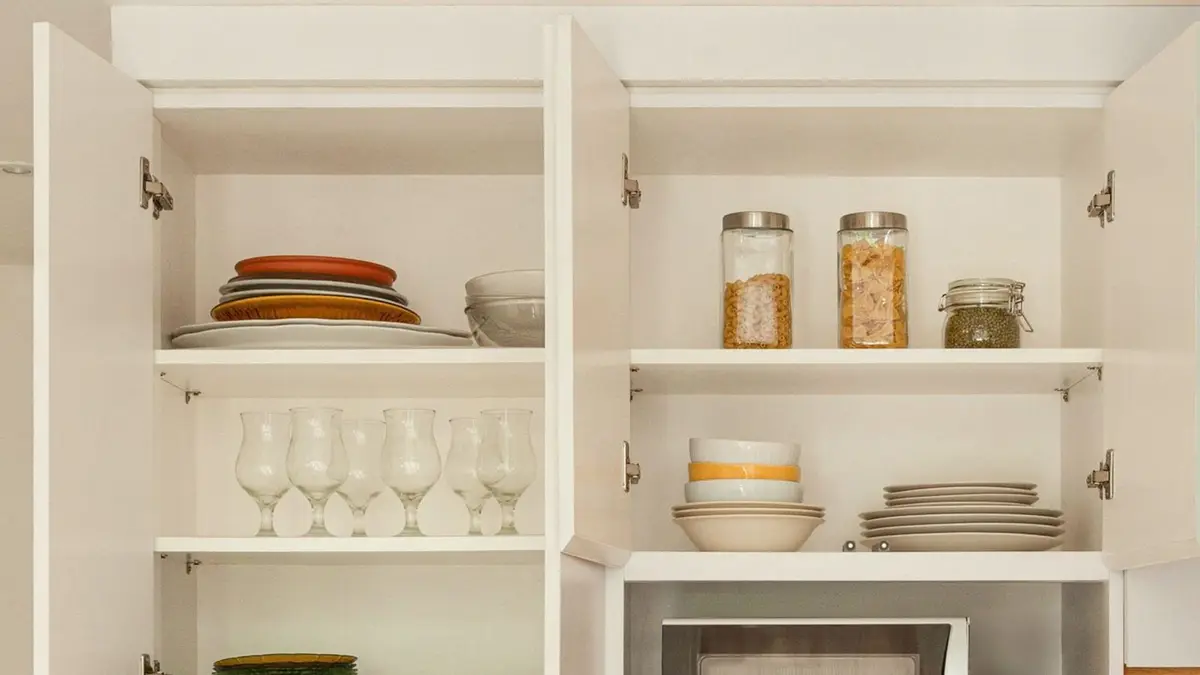
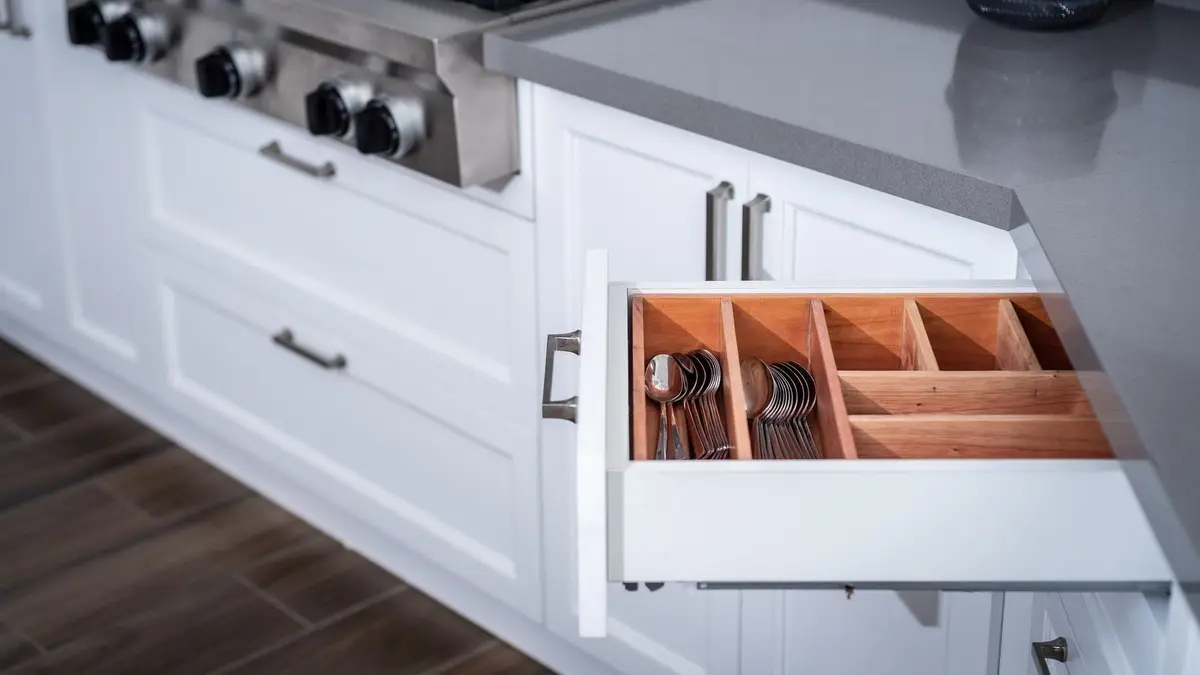
Everything else needs a home off the counter: a cabinet, a drawer, the pantry or a shelf. The declutter checklist walks through the rest of the kitchen the same way, so the things you take off the counter have somewhere to go.
Appliances get the same test. Keep the one or two you use daily within reach and store the rest, and kitchen appliance storage ideas shows where the bulky ones can live.
Be honest about decor, too. A plant or a nice bowl is fine, but every object on the counter is one more thing to lift when you wipe it down.
2. Give each stretch of counter one job
Split the counter into zones the way you use it. The most common ones are a prep zone, a sink zone, a drink corner and a landing spot for whatever comes in the door.
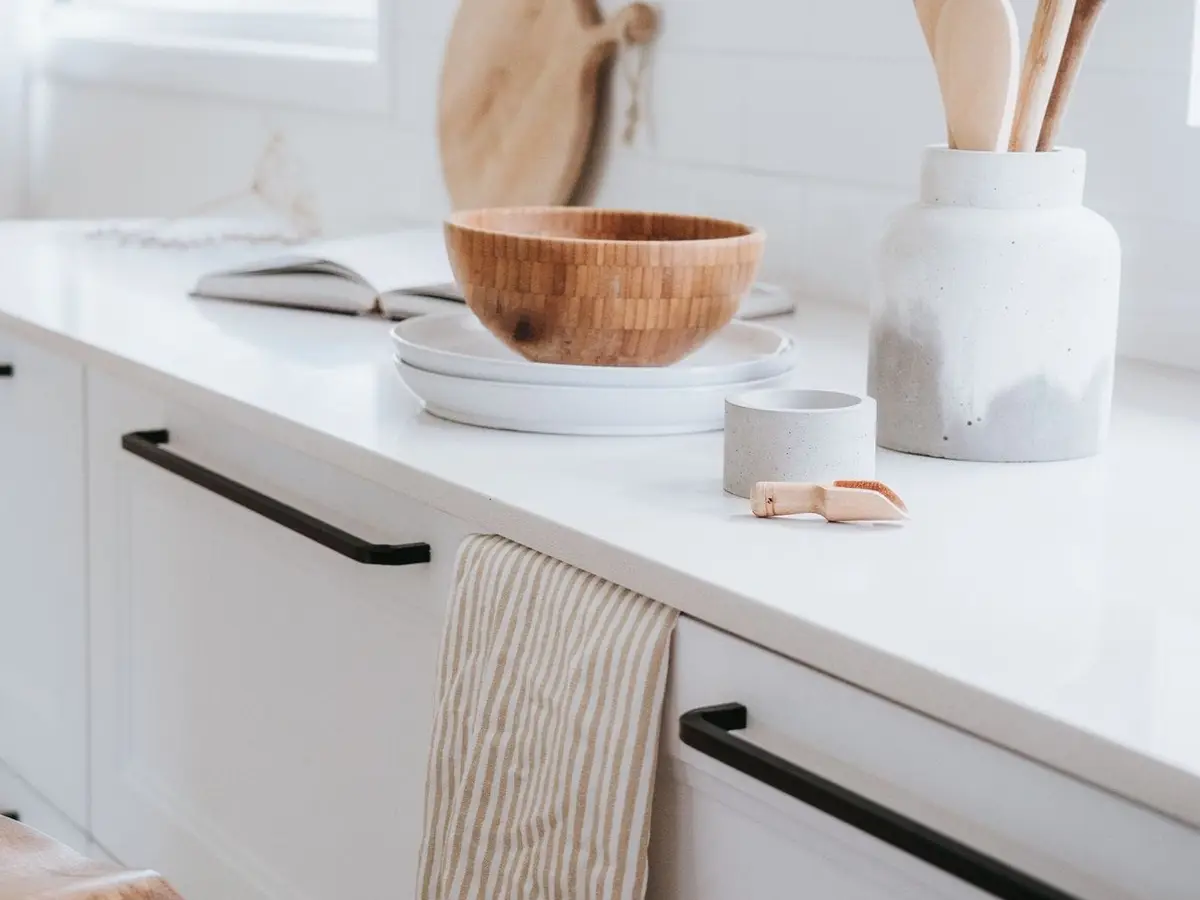
The prep zone is the widest clear stretch, ideally between the sink and the stove. Keep it as empty as you can, with only a cutting board and maybe a bowl nearby, so you always have room to chop and mix.
The sink zone holds what you need to wash up and nothing else. The drink corner gathers the kettle, mugs and coffee in one spot, and if tea is your drink, tea organization ideas has ways to keep the boxes and tins in order.
For a full coffee bar with syrups, filters and a grinder, coffee station organization covers the setup in detail. On the counter, the goal is simply to keep all the drink things together instead of scattered.
Once the zones are set, put things back only in the zone where they’re used. A mug that wanders to the prep zone is easy to spot and easy to move.
3. Group small things on a tray
Loose bottles, jars and little dishes look messy even when there are only a few of them. A tray turns them into one neat group that’s easy to slide aside.
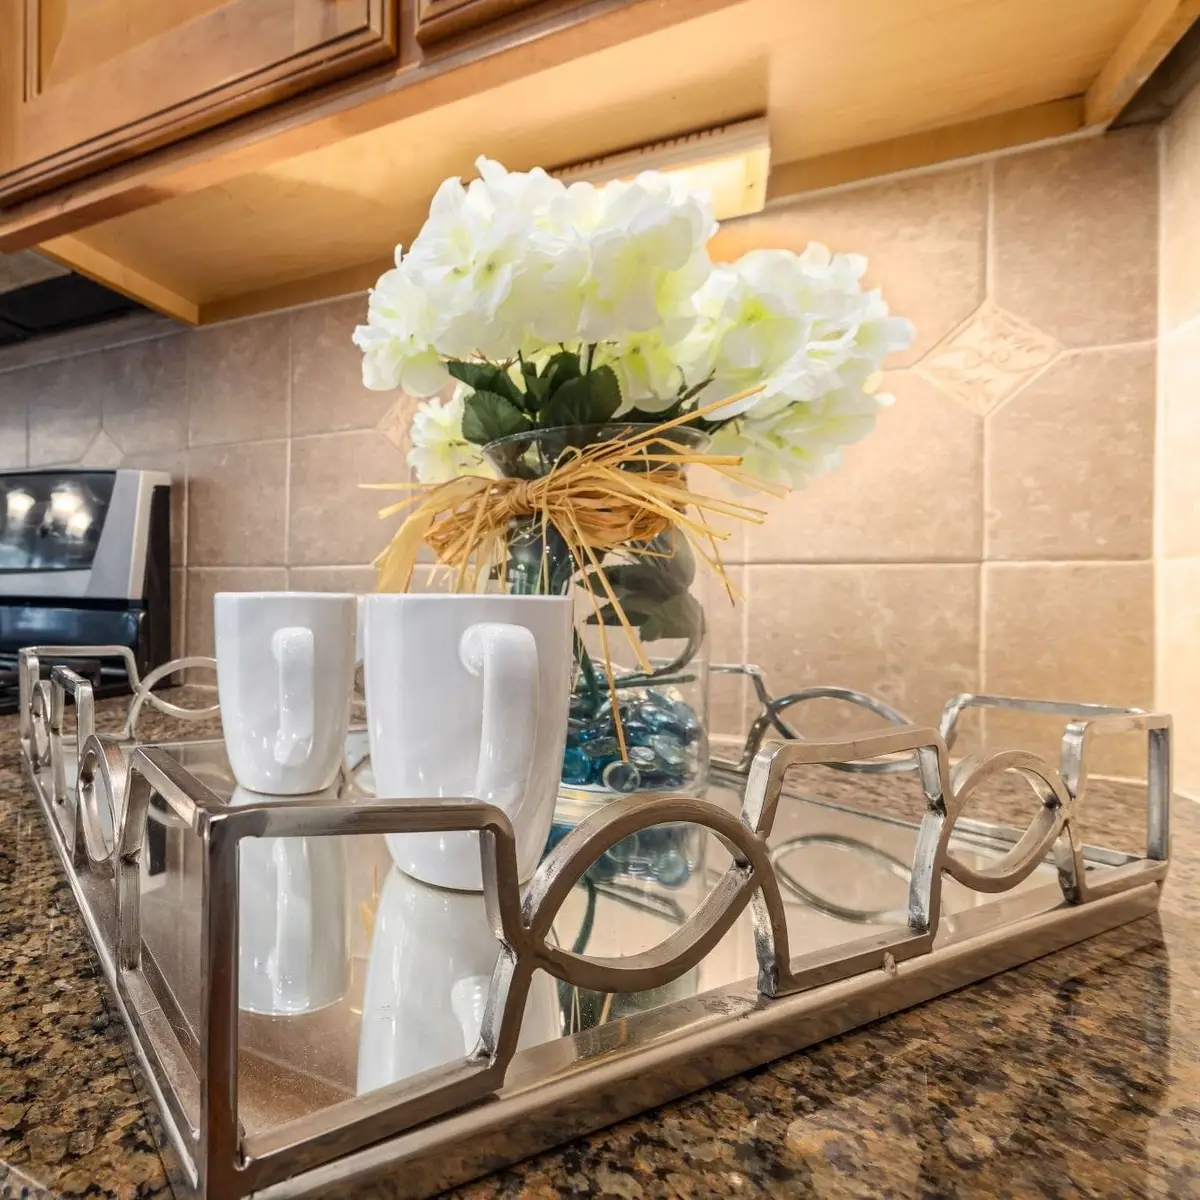
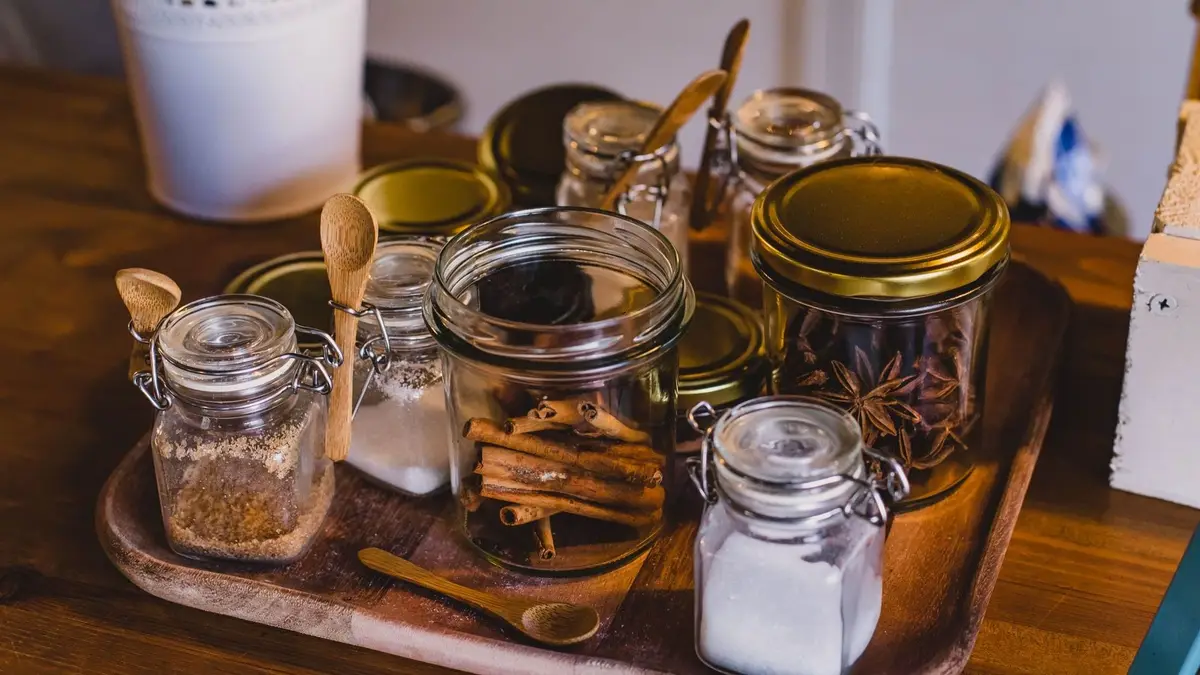
Use a tray for anything that travels together: oil, vinegar, salt and pepper by the stove, or mugs and a sugar bowl in the drink corner. When you wipe the counter, you lift one tray instead of ten small things.
Pick a tray with a raised edge, so bottles don’t slide off and drips stay inside. Wood, metal and glazed ceramic all work, and a tray that wipes clean is easiest to live with.
Size the tray to the spot before you buy one. Measure the depth of the counter and the space you want to give it, and the bin and basket size calculator turns those numbers into a size that fits.
Keep each tray to one job and one zone. If a tray starts collecting receipts, rubber bands and stray batteries, it’s become a junk drawer without walls, so clear it and give those things a home somewhere else.
4. Put a turntable in the back corner
The back corner where two counters meet is the hardest spot to reach and the easiest to waste. A turntable, or lazy susan, brings everything in it to the front with one spin.
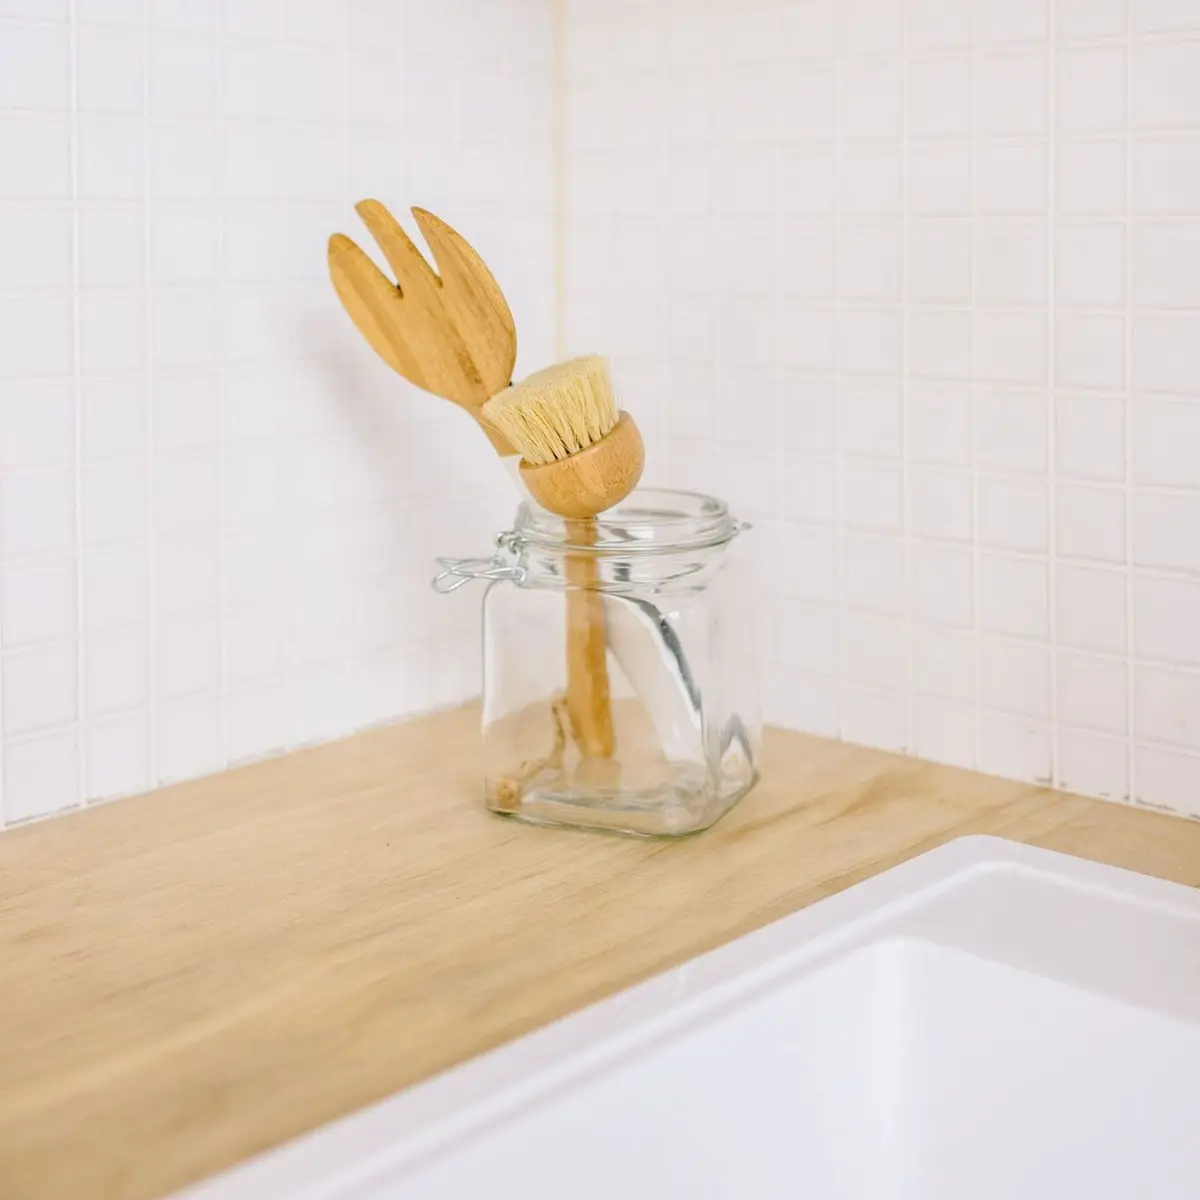
Fill it with the things you use while cooking: oils, vinegars, salt, a pepper grinder and a jar of cooking spoons. You reach in, spin and grab, without knocking over the bottle in front.
A turntable with a raised rim keeps tall bottles from tipping as it turns. A two-level one holds twice as much in the same footprint, with taller things on the bottom and small jars on top.
Measure the corner before you buy one, from the backsplash out to the front edge of the counter. Leave a little room around it, so it spins without scraping the wall.
Wipe the turntable when you wipe the counter, since oil bottles leave rings. If it’s sticky or crowded, take everything off, let go of what you don’t use and put back only the bottles you reach for every week.
5. Keep a utensil crock by the stove
The spoons, spatulas and tongs you use every day belong in a crock within arm’s reach of the stove. You grab what you need without opening a drawer while the pan is hot.
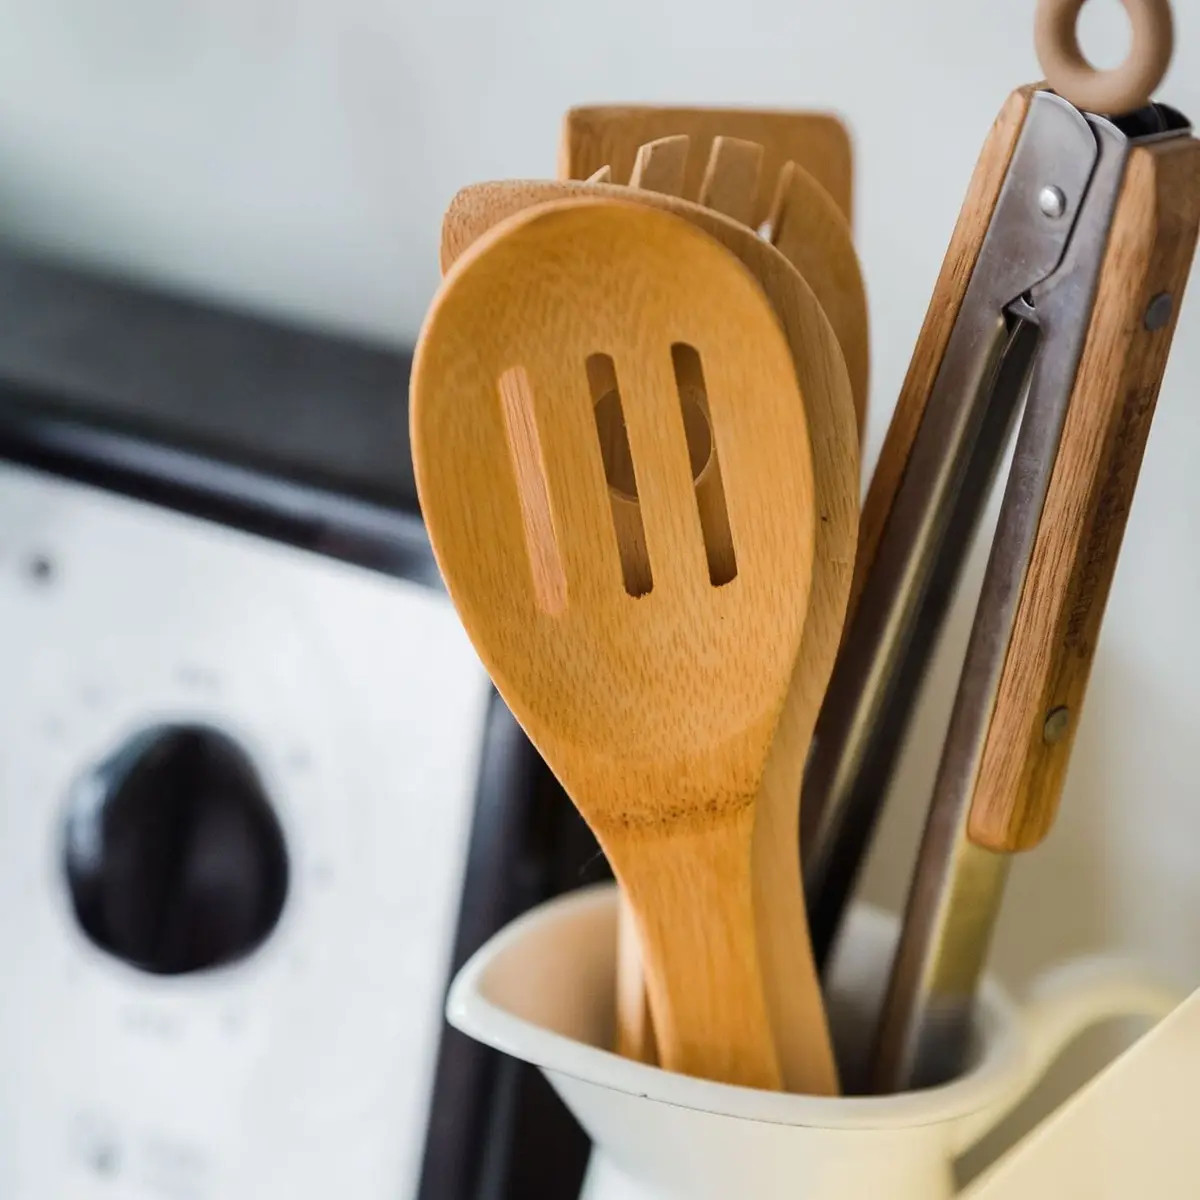
Set the crock beside the cooktop, not right up against the burners. Wooden utensils can catch fire, just like oven mitts, towels, paper towels and food packaging, so keep all of them back from the stovetop.
Keep only the tools you reach for most: a wooden spoon or two, a spatula, tongs, a ladle and a whisk. Everything else can go in a drawer, and if the crock is packed so tight you can’t pull one tool out, it’s holding too much.
Pick a heavy crock with a wide base, so it doesn’t tip when you pull out a long ladle. Stoneware, glazed ceramic and metal are all easy to wash.
Give the crock a quick look once a month. Duplicates, cracked spoons and tools no one uses can go, which leaves room for the ones that do the work.
6. Set up the sink counter with a caddy
The counter beside the sink stays tidiest when everything for washing up lives in one caddy. Dish soap, a brush, a sponge and maybe a scraper are all you need out.
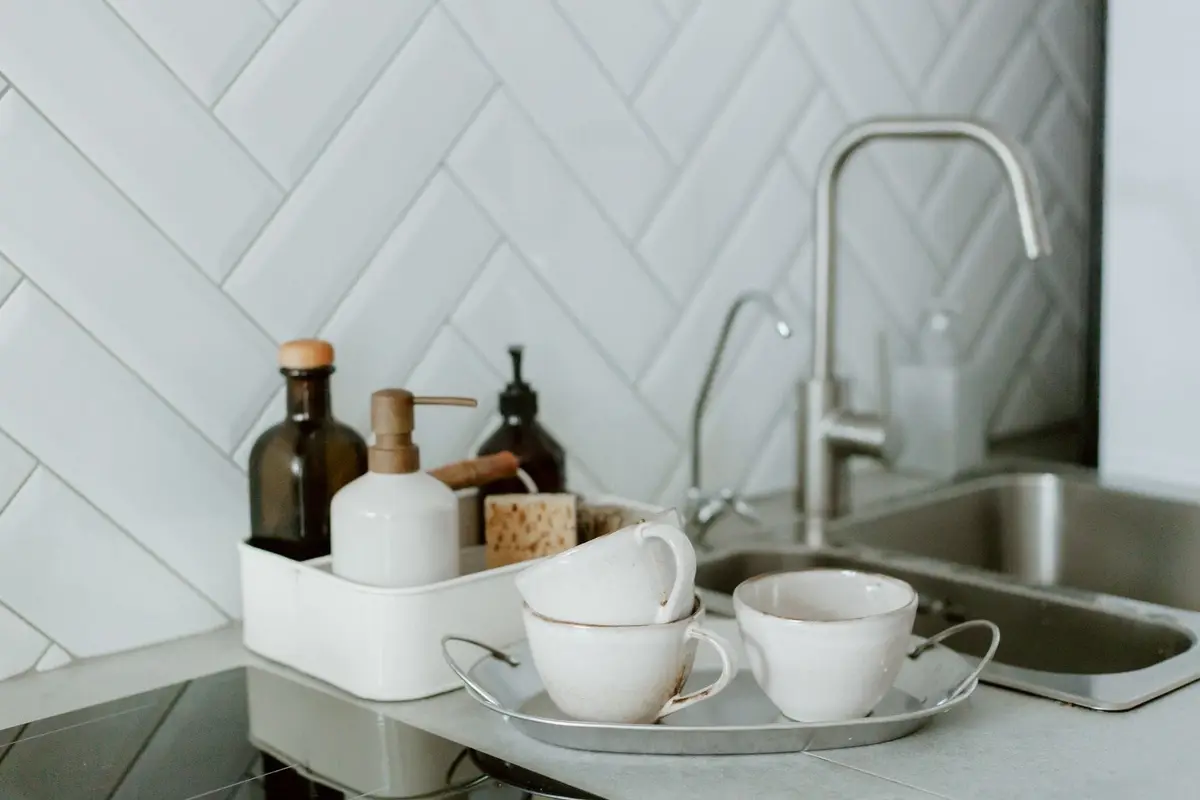
A caddy with drainage holes or a raised bottom lets the sponge and brush dry between uses. A soggy sponge sitting in a puddle on the counter gets smelly fast.
Pour dish soap into a plain pump bottle, if you like, so it looks calmer than a row of mismatched bottles. Keep the hand soap on the other side of the faucet, so nobody grabs the wrong one.
Bulk refills, extra sponges and cleaning sprays don’t need to sit out. They fit better under the sink, and how to organize under the kitchen sink shows how to set up that cabinet around the pipes.
Wipe the caddy out once a week and rinse the bottom. Swap the sponge when it’s worn or smells, and the whole sink counter stays fresh with almost no effort.
7. Pick a dish rack that fits, or one that folds away
A dish rack can take over the sink counter if it’s bigger than you need. Pick one sized for what you really wash by hand, which for most homes with a dishwasher is a few pots, glasses and knives.
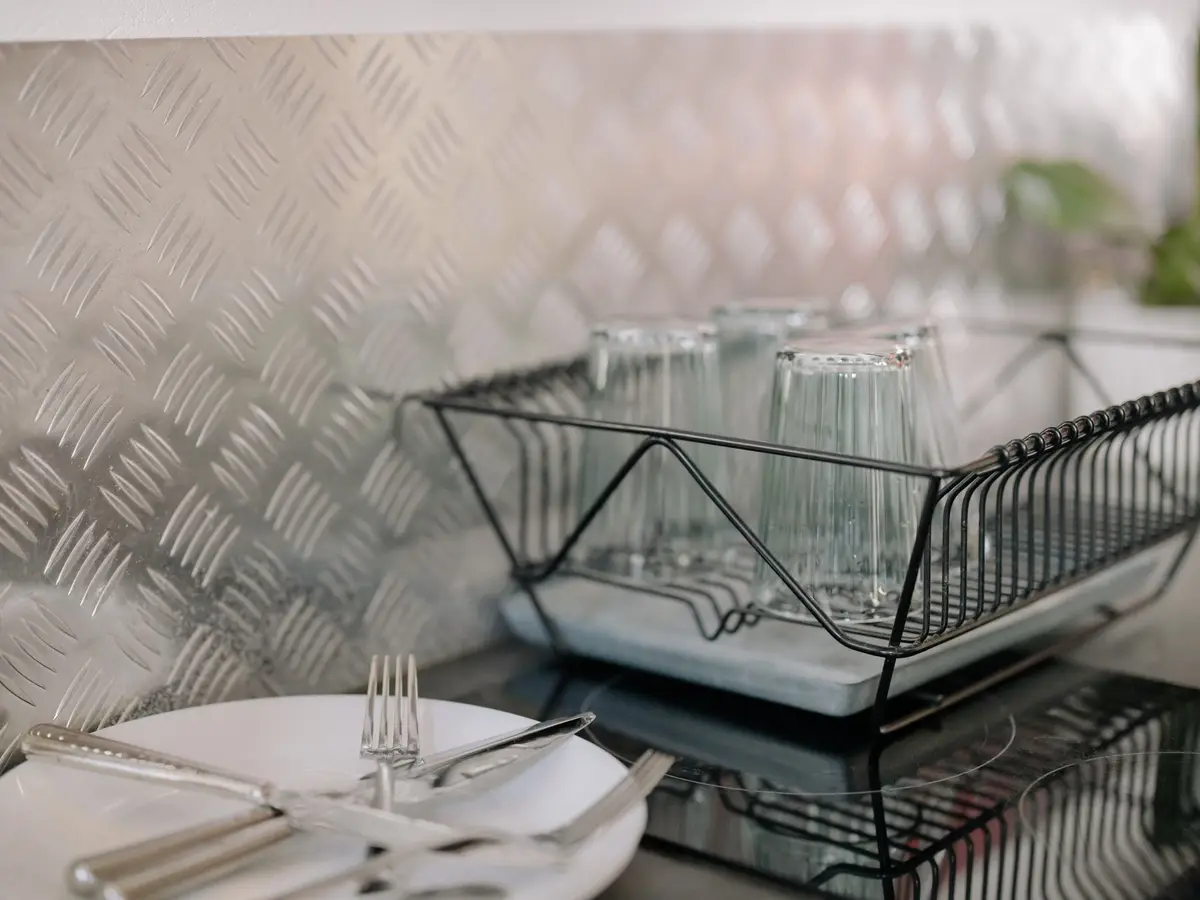
Look for a rack with a drip tray that angles toward the sink, so water drains away instead of pooling on the counter. A rack that sits over the sink, or a roll-up rack, frees the counter completely.
If you only hand-wash now and then, a folding rack or a drying mat that rolls up is enough. Use it, let everything dry, then put it away in a cabinet.
Empty the rack every day, even when it’s not full. A rack that’s always loaded turns into a second cabinet, and the dishes in it never make it back where they belong.
Wash the rack and the drip tray every week or two. Water and soap leave a film that’s easy to wipe off when it’s new and much harder once it builds up.
8. Stand cutting boards on edge
Cutting boards lying flat take up a big piece of counter. Standing them on edge against the backsplash, or in a slim rack, uses a few inches instead of a whole stretch.
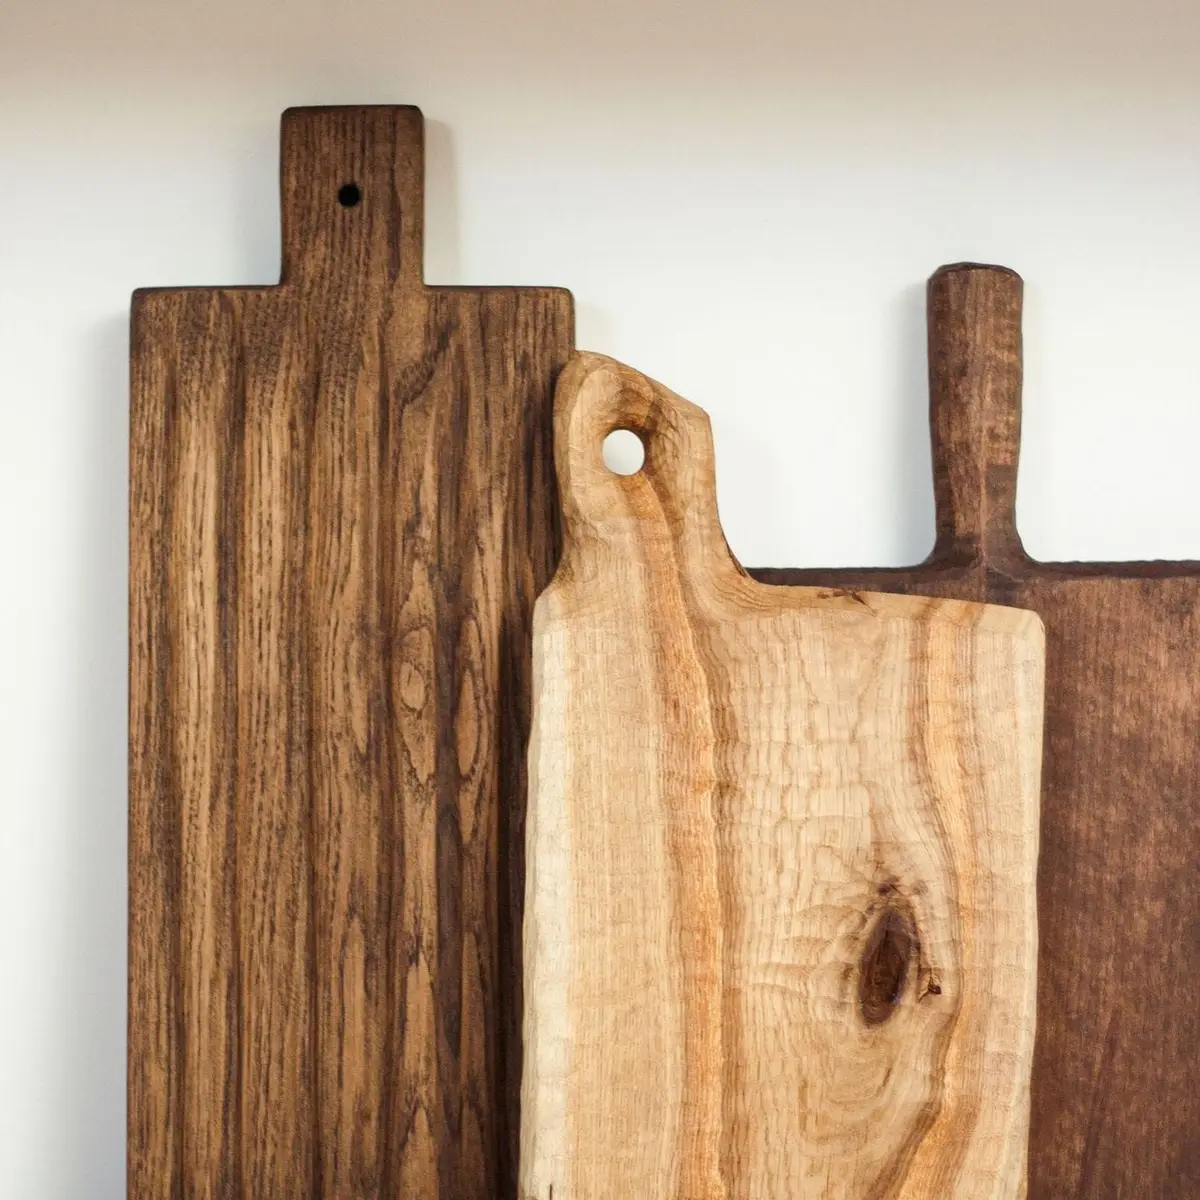
Upright boards also dry better. Air reaches both sides instead of getting trapped under a damp board lying flat.
Keep one board out for daily use and store the rest in a cabinet or a narrow slot beside the oven. Most kitchens need one board for raw meat, poultry and seafood and a separate one for produce, bread and anything ready to eat.
A simple color or size rule makes the two easy to tell apart. The big wooden board for vegetables, the plastic one for raw chicken: everyone in the house knows which is which.
Check the boards now and then. Boards with deep grooves or cracks are hard to get clean, so replace them when scrubbing no longer gets them smooth.
9. Give fruit one bowl
A single fruit bowl tells everyone where fruit lives, and it reminds them to eat it. Fruit kept in sight tends to get eaten before it goes soft.
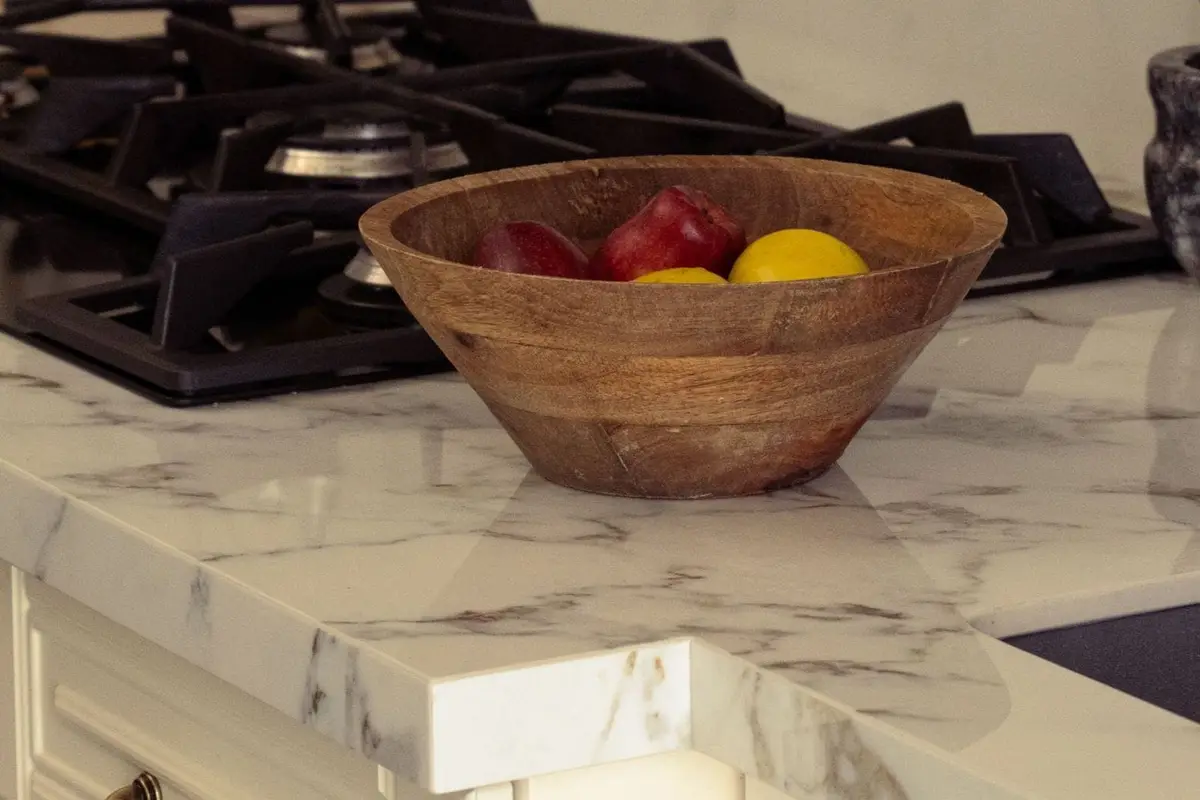
Pick a bowl wide enough to hold fruit in one or two layers, so nothing at the bottom gets bruised. A shallow wooden bowl or an open wire basket lets air move around the fruit.
Put the bowl at the edge of the prep zone or near the landing spot, where people pass by. Keep it away from the stove and from sunny windows, where fruit ripens too fast.
Only fruit goes in the bowl. Once keys, chargers and receipts start landing in it, it stops being a fruit bowl and starts being clutter.
Packaged snacks are a different story: they belong in the pantry or a cabinet, sorted so kids can find them without digging. Snack organization ideas shows how to set that up, which keeps the counter for fresh food only.
10. Add a level with a riser or tiered stand
When the counter is short on space, go up. A tiered stand or a small riser holds two or three levels in the footprint of one.
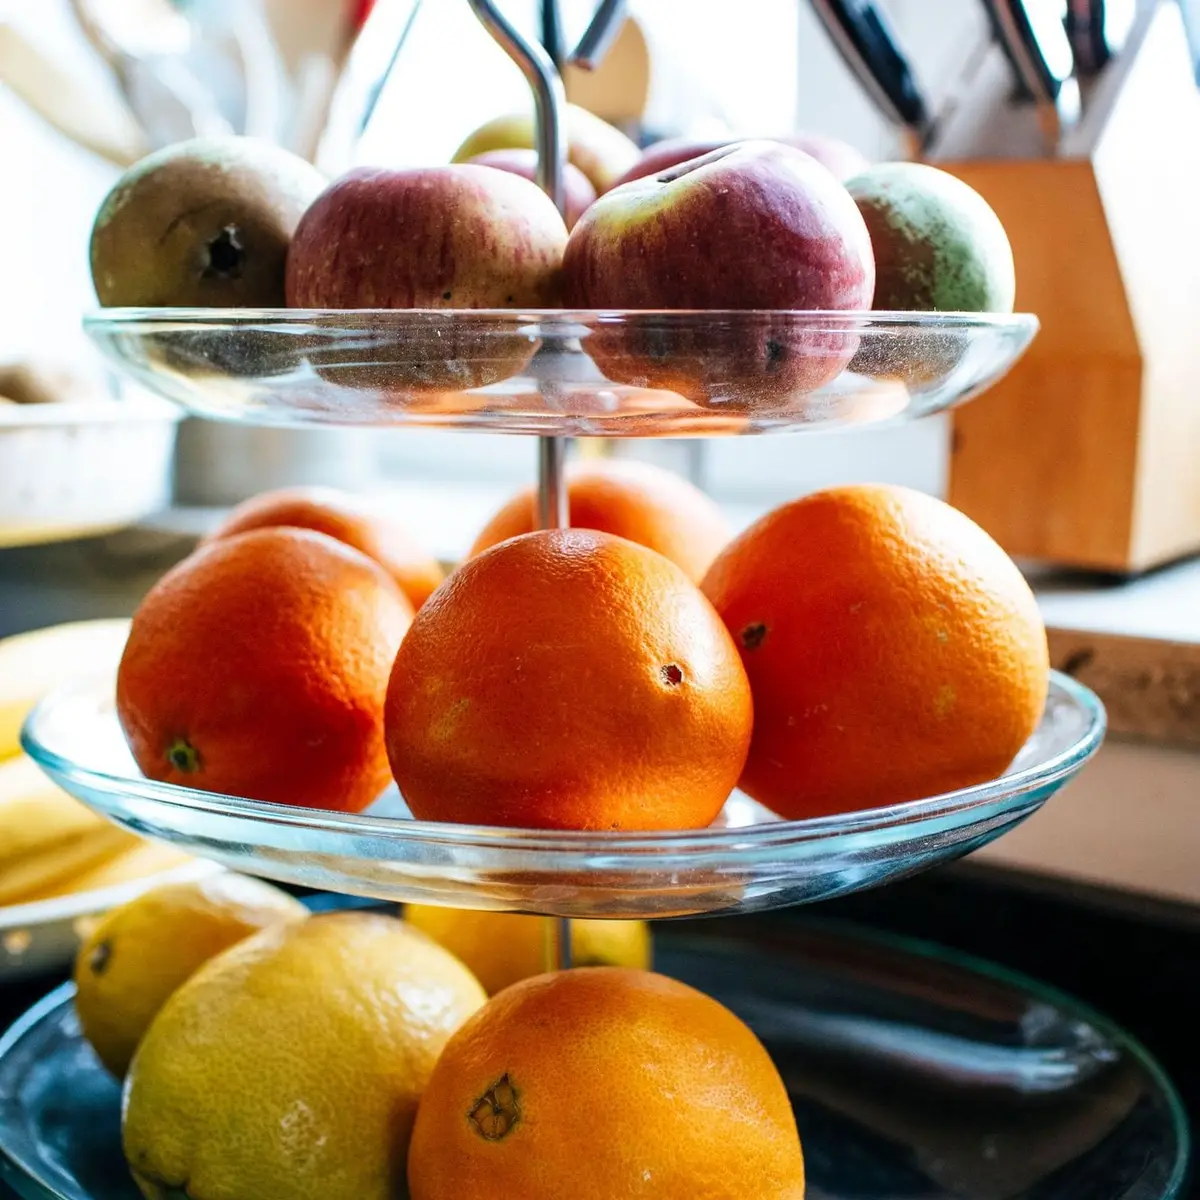
A tiered stand works well for fruit, potatoes and onions, or bread and rolls, with the heaviest things on the bottom. A wire riser in the corner can hold jars on top and a cutting board or tray underneath.
Keep the stand to one kind of thing, so it stays easy to scan. If it fills up with odds and ends, it’s adding clutter instead of space.
Make sure the top tier sits below the upper cabinets with room to lift things off. A stand that bumps the cabinet is hard to use, so measure the height before you buy one.
In a small kitchen, height is often the only space left, so a stand in the corner or beside the stove can free a surprising amount of counter. Keep it steady and away from the edge, where an elbow could knock it.
11. Make a landing spot for mail and keys
Mail, keys, sunglasses and school papers land on the kitchen counter in most homes, because it’s the first flat surface inside the door. Give them one spot on purpose, so they stop spreading into the prep zone.
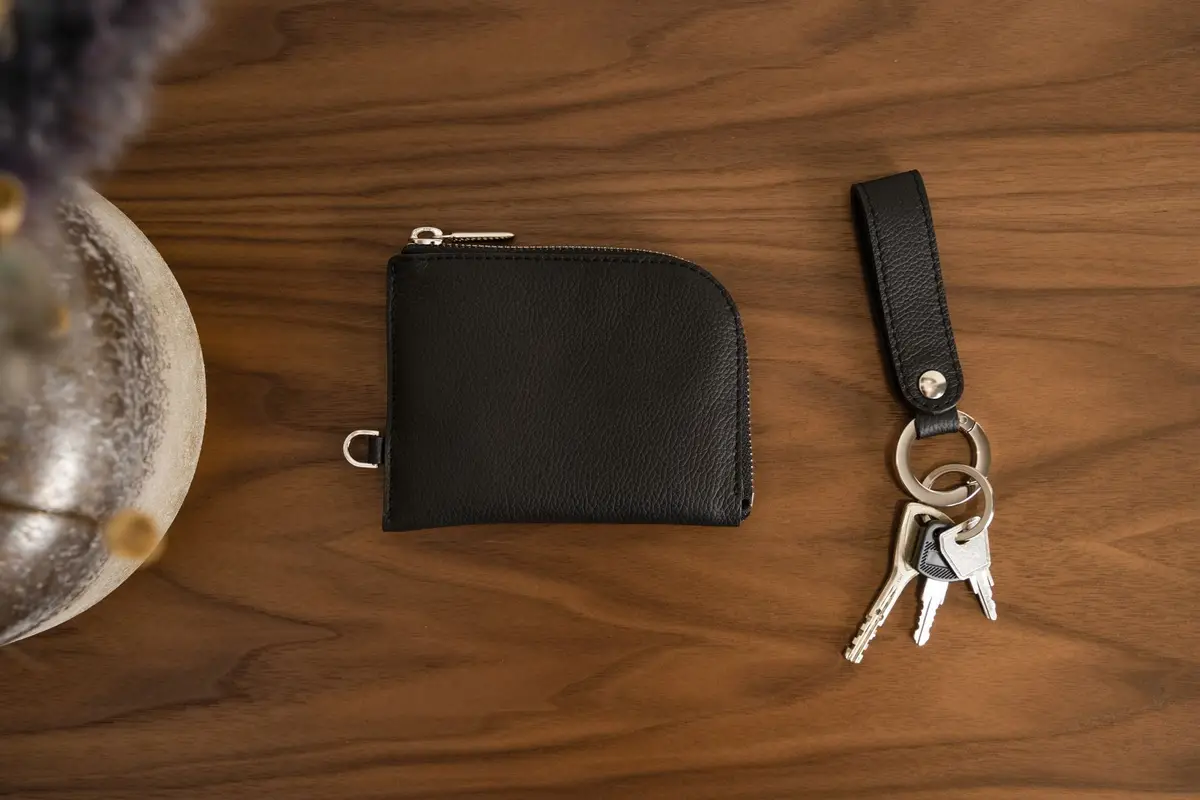
Choose the end of the counter nearest the door you use most. A small tray, a shallow basket or a bowl holds keys, wallets and sunglasses, and a slim upright file holds the mail.
Keep the landing spot small, with clear edges. A tray or a basket sets a limit, so the pile can only grow so big before it’s time to sort it.
Sort the mail every day, right by the recycling bin if you can. Toss the junk, file what needs action and hand each person their own papers.
Hang keys on a hook by the door if the counter keeps getting crowded. Whatever you choose, the point is one spot for each thing, so the counter isn’t a catchall for the whole house.
12. Reset the counter every night
A few minutes before bed keeps everything above from slipping. Put things back in their zones, empty the dish rack, sort the landing spot and wipe the counter clean.
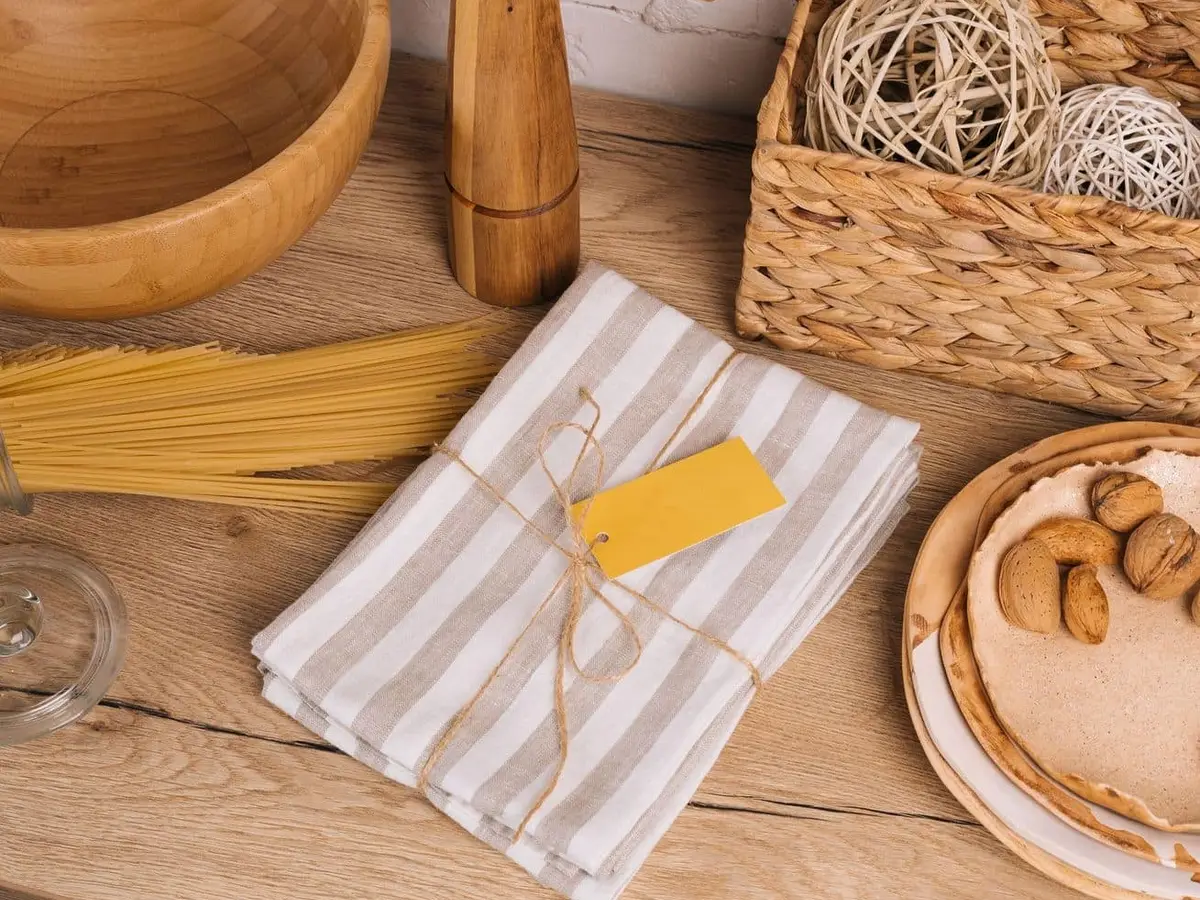
Do it in the same order every night, so it becomes a habit you don’t have to think about. Clear, put away, wipe and hang a fresh towel: that’s the whole routine.
A clear counter in the morning makes breakfast and lunches go faster. You start the day with space to work instead of last night’s dishes.
Hand pieces of the reset to everyone in the house. One person empties the rack, another sorts their own papers, and the job takes half the time.
Once a week, go a little deeper: wipe under the trays and the turntable, clean the caddy and check the fruit bowl. The Sunday reset checklist has room for those weekly jobs alongside the rest of the house.

Save this for later
Pin it to a board so it's there when you're ready to start.
Save to Pinterest(opens in a new tab)Make it easier
Free printable
A room-by-room declutter checklist that tells you exactly what to look for, with four piles to sort into so nothing ends up back on the shelf.
Free printable
Sunday Reset Checklist Printable
A one-page Sunday reset routine: clear the kitchen, the laundry and the living spaces, then get ready for Monday and plan the week, so the week starts calm instead of in a scramble.
Free tool
Enter the width, depth and height of a shelf, a drawer or a cube cubby, and see which standard bins and baskets fit, how many, and how they line up.
Frequently asked questions
What should I keep on my kitchen counter?
Keep only what you use every day or nearly every day, like the coffee maker, a utensil crock by the stove, dish soap and a brush by the sink, and a fruit bowl. Everything else can live in a cabinet, a drawer or the pantry and come out when you need it.
How do I organize a small kitchen counter?
Start by clearing it and putting back only the daily things, then group what's left on one tray or one turntable so it reads as a single spot. Use height where you can, with a riser or a tiered stand, and keep one stretch of counter completely clear for prep.
Where does a lazy susan work best on a kitchen counter?
In the back corner where two counters meet, since that spot is hard to reach and easy to waste. A turntable lets you spin oils, salt and other cooking basics to the front instead of reaching over them.
How do I keep the kitchen counter from getting cluttered again?
Give every item on the counter a home and a reason to be there, and set a landing spot for mail and keys so they stop drifting into the prep zone. A short reset each night, before bed, puts things back before the pile has a chance to grow.