11 Kitchen Appliance Storage Ideas for Every Mixer, Kettle and Cord
Keep only daily appliances out, park them by an outlet, and give the rest a low cabinet, deep drawer, pantry shelf or cart, with each part and cord close by.

The best kitchen appliance storage ideas start with a short list: keep out only the appliances you use every day, park them by an outlet, and give the rest a home off the counter, with heavy ones down low and light, seldom-used ones up high. Store every part and cord with its machine, and the whole kitchen gets easier to use.
These 11 ideas work in a big kitchen and in a small one with only a few cabinets. Start with the first one, since every idea after it depends on knowing which appliances really earn a spot.
1. Decide which appliances you really use
Gather every small appliance in one place, from the toaster to the waffle iron at the back of the cabinet. Seeing them all together shows you how much room they take up.
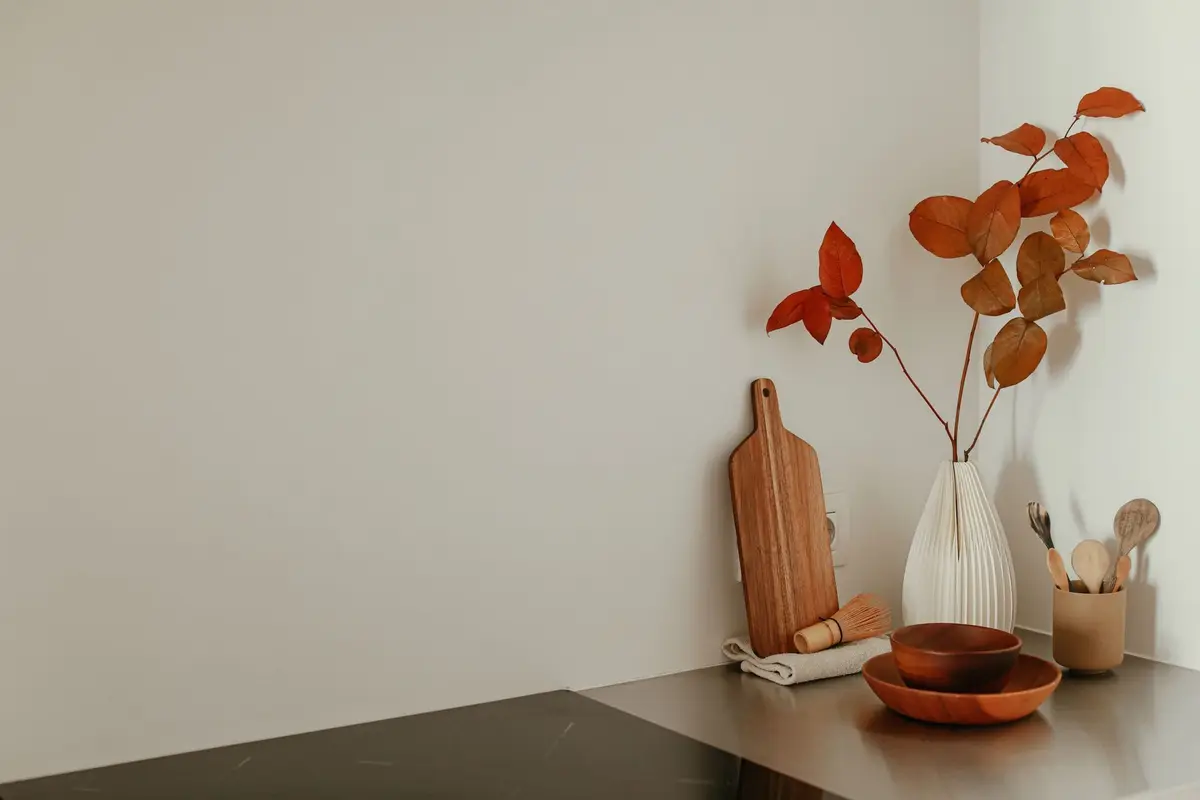
Sort them into three groups: used every day, used every week or month, and used a few times a year or never. Be honest about the bread maker and the second blender.
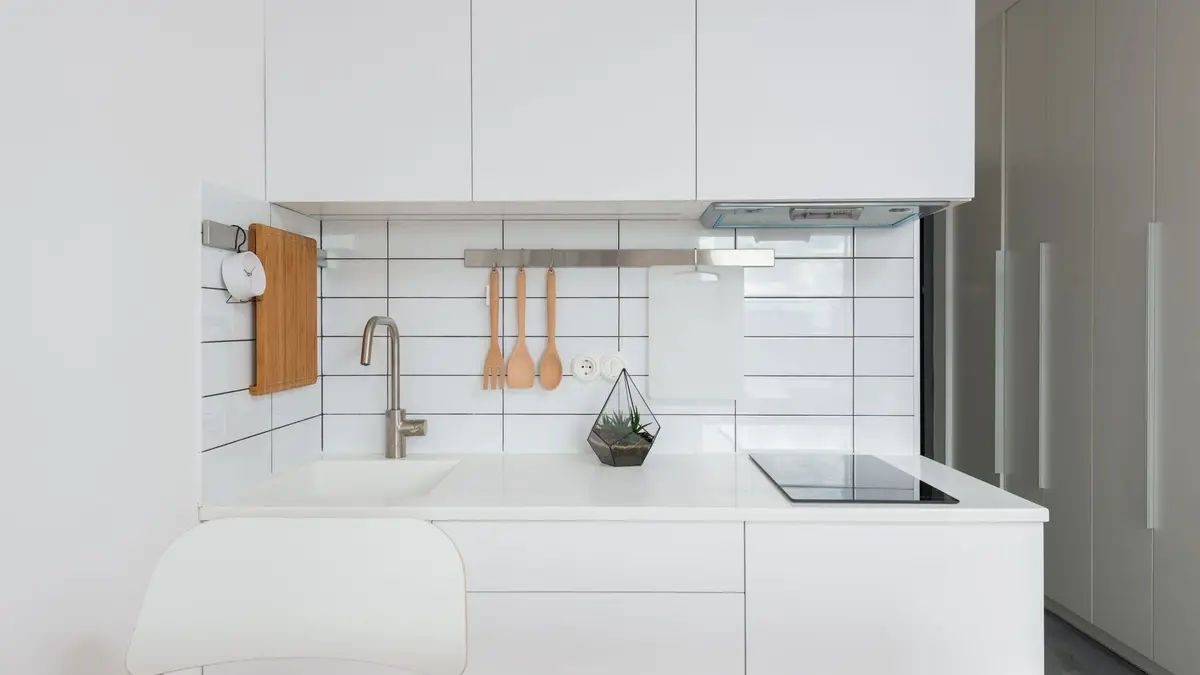
The daily group is the only one that earns counter space. That’s usually the coffee maker or kettle and maybe the toaster, and the kitchen counter organization guide shows how to fit them around the prep and sink zones.
Let go of appliances that are broken, missing parts or doing the same job as another one. If a single gadget can chop, blend and whisk, the other three can go, and the declutter checklist keeps the rest of the kitchen moving the same way.
Everything that stays gets a home based on how often you use it and how heavy it is. The ideas below cover each of those homes, one at a time.
2. Park the daily ones by an outlet, away from the sink
Kitchen counter appliance organization comes down to placement. Put each daily appliance right next to an outlet, so the cord reaches without stretching across the counter.
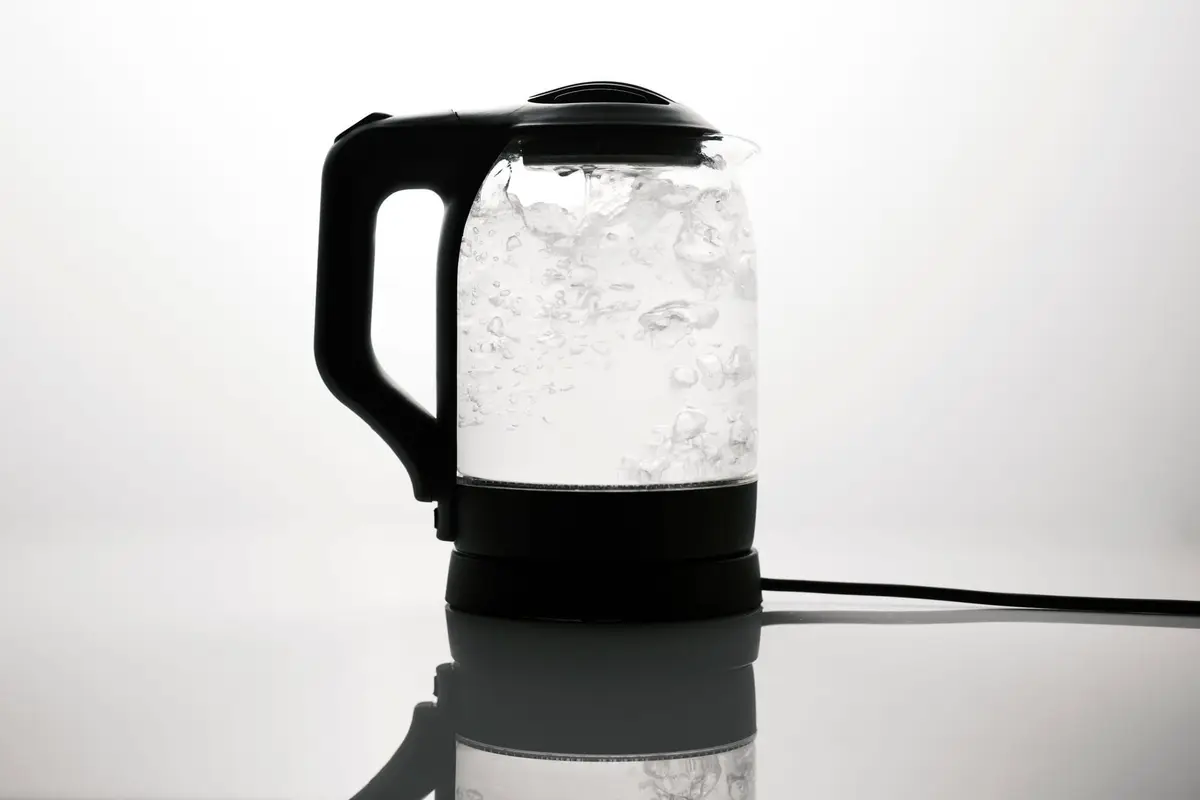
Keep appliances away from the sink, where they can be splashed or knocked into the water. Mixing electricity and water is a shock and fire risk, so the sink zone is no place for the kettle or the toaster.
Route each cord so it doesn’t touch a hot surface like the stove, a burner or the toaster. Heat can melt or burn a cord’s coating and expose the wires underneath.
Plug kitchen appliances straight into a wall outlet instead of an extension cord, and don’t load one outlet with more than it can handle. If you run out of outlets, that’s a sign too many appliances are living on the counter.
Unplug countertop appliances when you’re not using them. It’s a quick habit that takes the risk out of an appliance left plugged in, and it makes the cord easier to tuck away.
3. Give big appliances a corner with room to breathe
Large appliance storage ideas start with the corner where two counters meet. It’s hard to use for prep, but it’s a fine spot for a bulky air fryer or toaster that you use often.
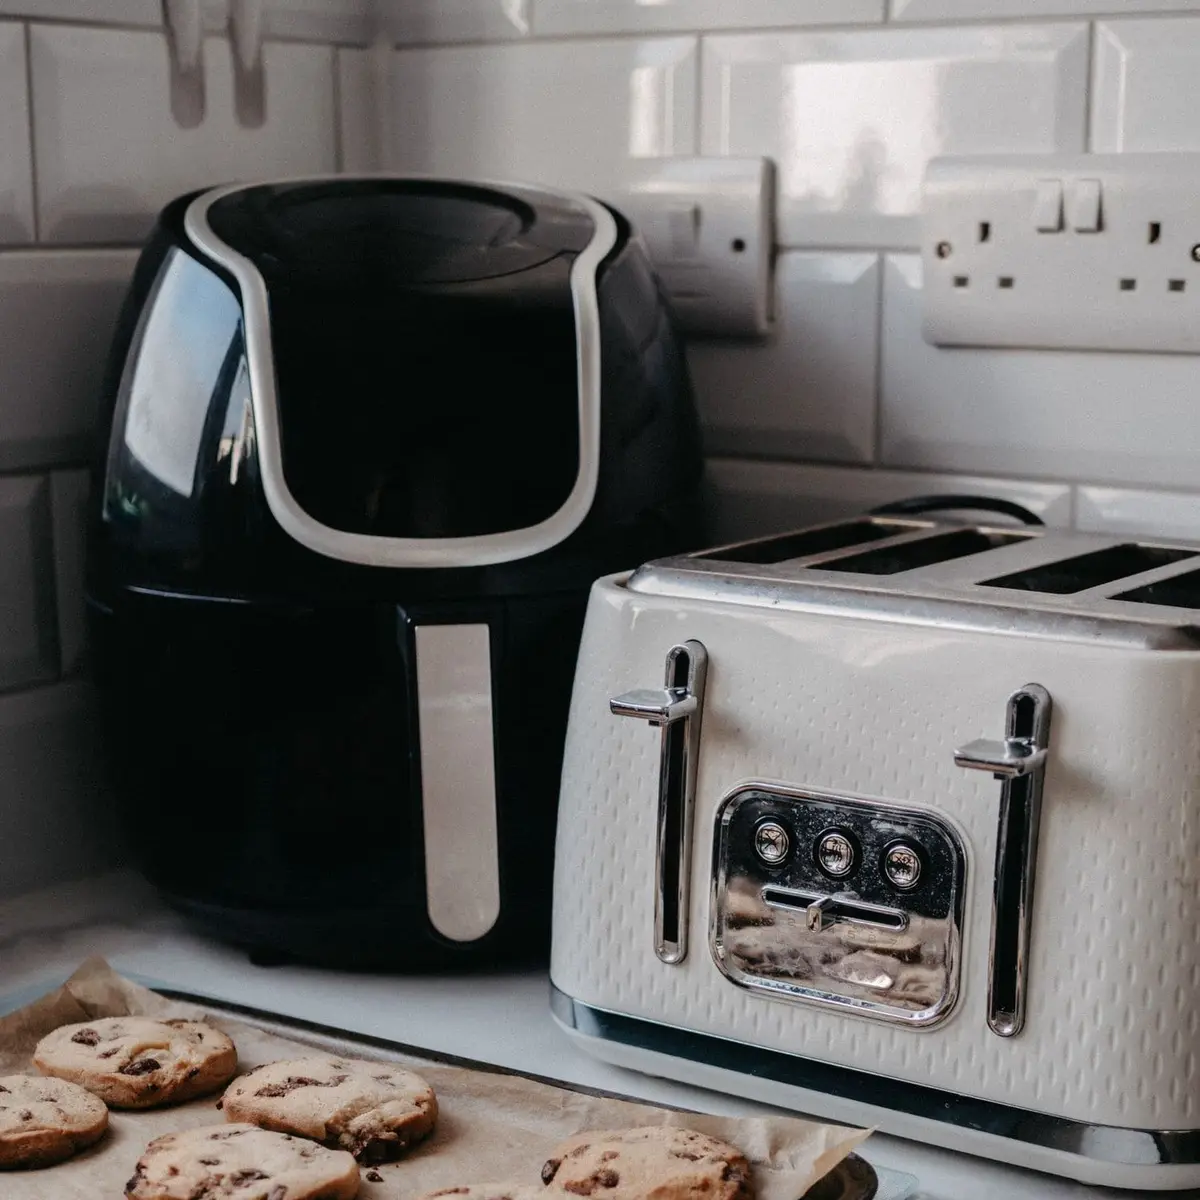
Slide the appliance into the corner when it’s not in use, then pull it forward to cook. A small tray or a cutting board under it makes that easier and catches crumbs.
Appliances that get hot, like an air fryer, a toaster oven or a slow cooker, need space around them while they run. Blocking the air flow around an appliance can make it overheat, so check the manual for how much room it needs.
Keep the corner clear above, too. Don’t run an air fryer or a toaster oven under a low upper cabinet that traps the heat and steam.
If the corner has a cabinet that reaches down to the counter, an appliance garage with a lift-up or roll-up door hides everything. Leave the door open whenever the appliance inside is on.
4. Store each appliance near the job it does
An appliance is easiest to use when it lives where you’d use it. The hand mixer belongs with the mixing bowls and baking supplies, and the blender near the cups and the fruit.
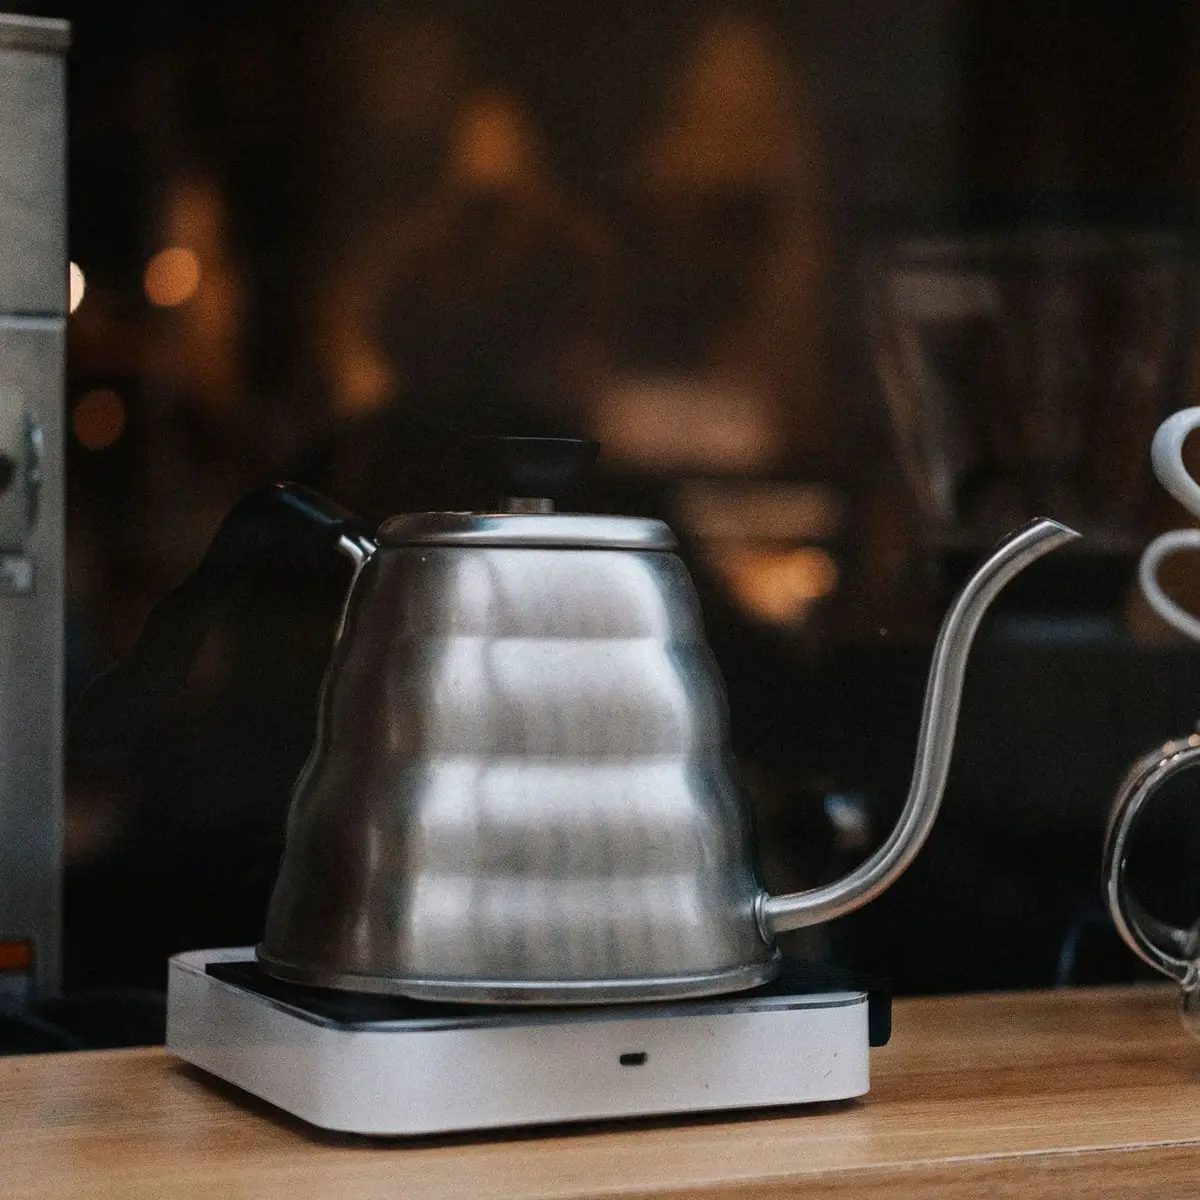
Group the drink makers in one spot: the kettle, the coffee maker and the milk frother, with mugs on a shelf above. Coffee station organization covers how to set up that corner in detail.
A spice grinder works best beside the spice rack, so you can grind and pour without crossing the kitchen. Spice organization ideas has ways to sort the jars, and a little room beside them is all the grinder needs.
The rice cooker can live with the rice, and the panini press near the bread. Once each appliance sits next to its supplies, you take out one thing instead of three.
This works for appliances in cabinets, too. Store the stand mixer in the lower cabinet next to the baking zone, not in the one across the room.
5. Give heavy appliances a low cabinet or deep drawer
Stand mixers, slow cookers, food processors and pressure cookers are heavy. Store them low, between your knees and your waist, so you lift with your legs instead of pulling a heavy machine down from overhead.
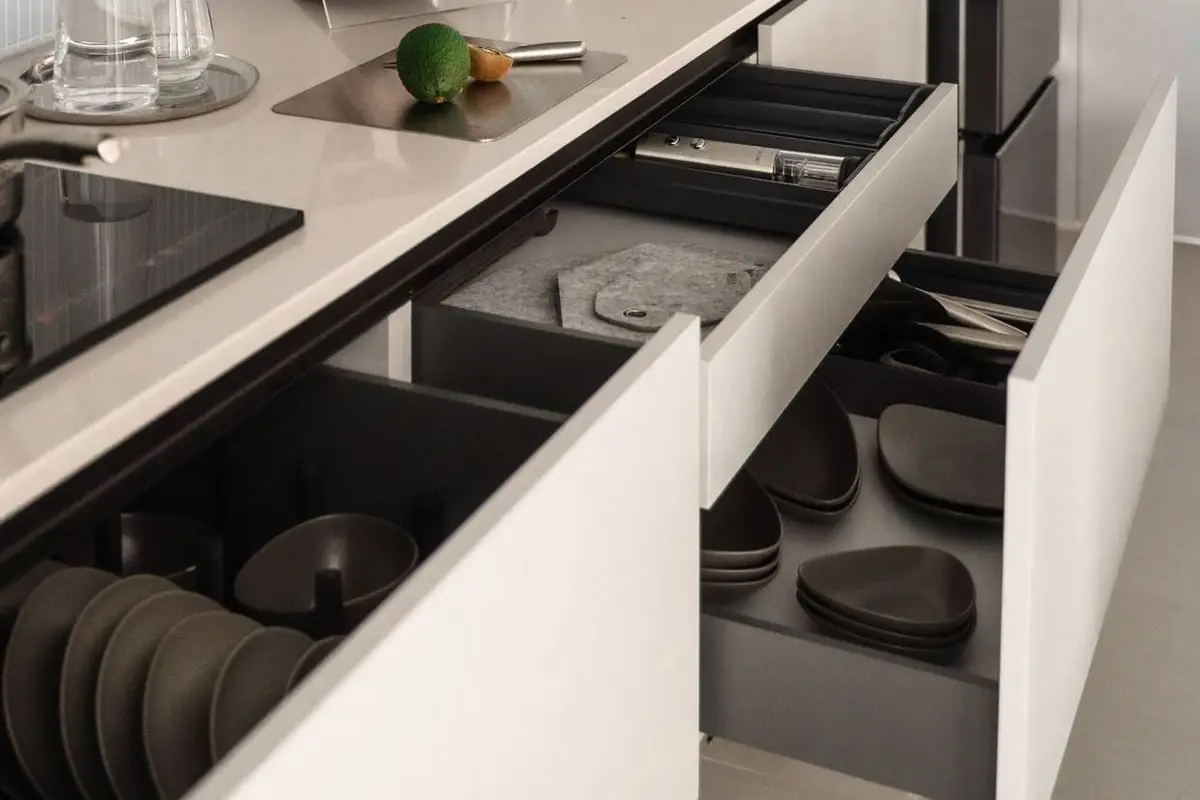
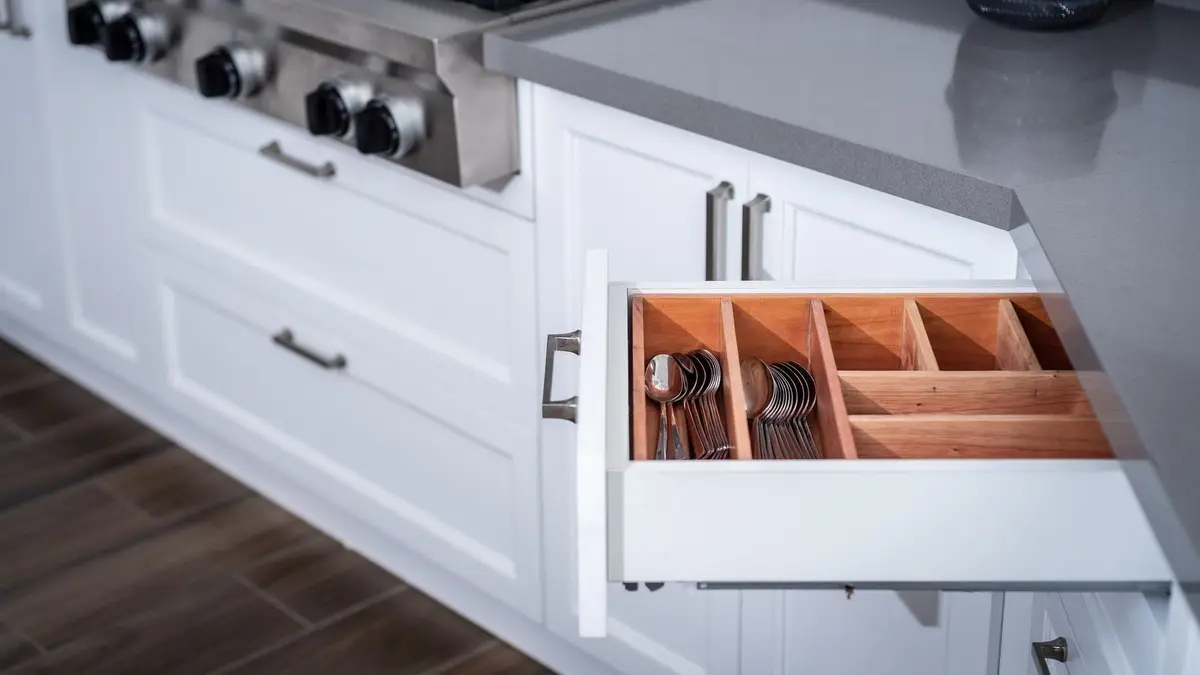
A deep drawer is one of the best appliance homes there is. You pull it open, look down and lift the appliance straight out, with nothing in front of it.
A lower cabinet works too, especially one near an outlet. Put the heaviest appliance at the front, where you can slide it out without reaching past anything.
Those cabinets and drawers often hold cookware as well. Pots and pans organization shows how to file pans and lids so they share the space with an appliance or two.
Keep one appliance per spot if you can. Stacking a food processor on top of a slow cooker means lifting one to reach the other, and that’s often enough to make you skip using either.
6. Add pull-out shelves to a lower cabinet
The back of a deep lower cabinet is where appliances go to be forgotten. A pull-out shelf brings the whole shelf to you, so a heavy appliance slides out instead of being dragged across the floor of the cabinet.
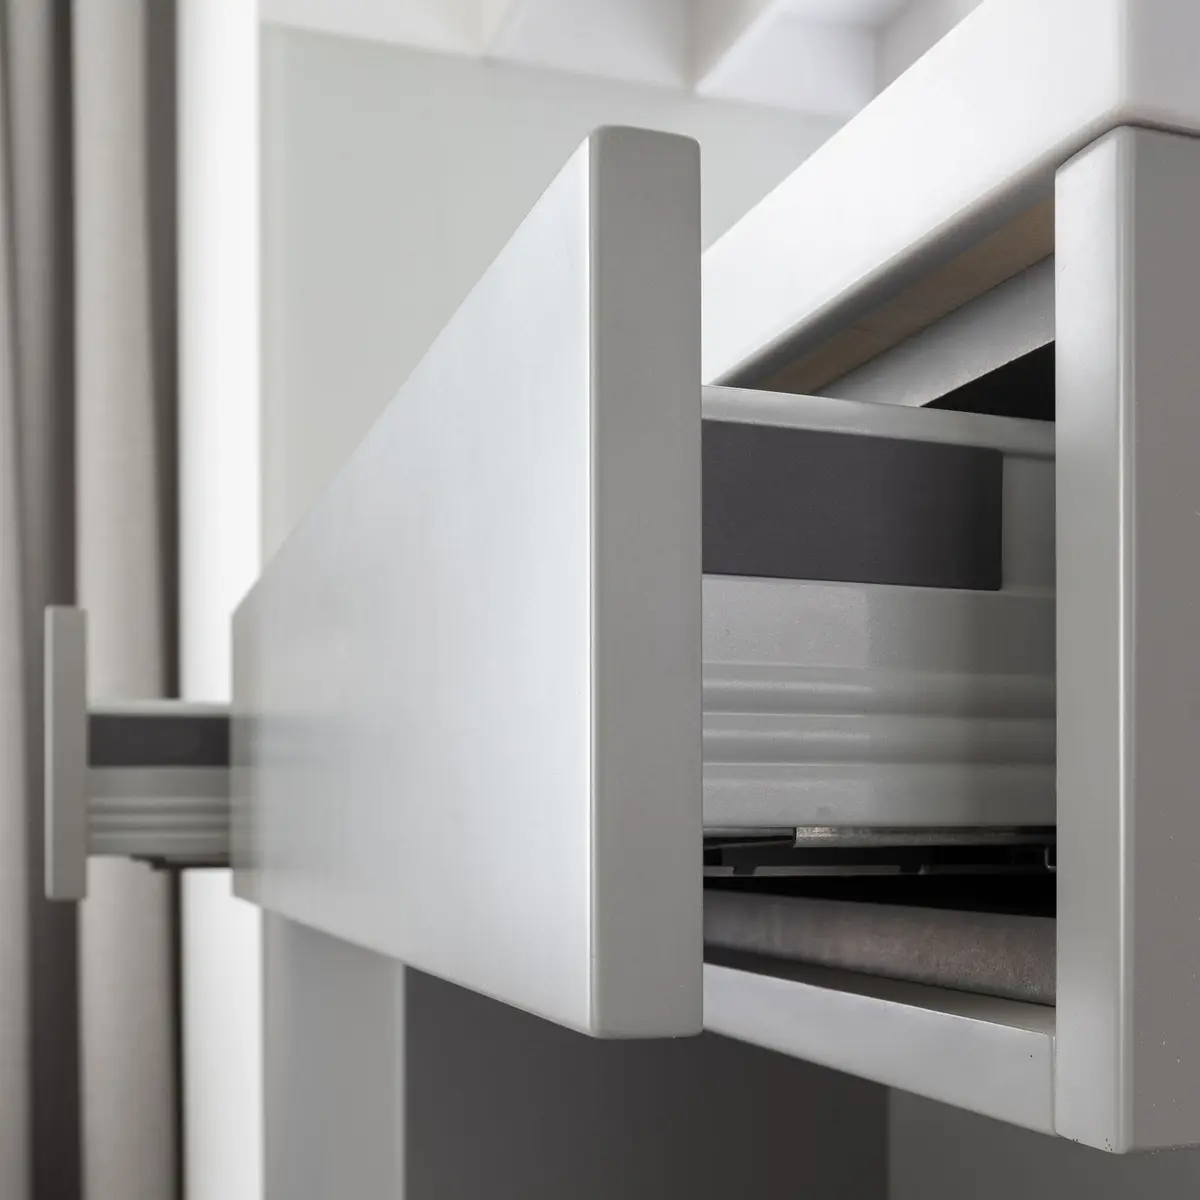
This is one of the easiest kitchen appliance storage ideas to DIY. Many pull-out shelves screw onto the cabinet floor or an existing shelf, with no carpentry beyond a drill and a tape measure.
Measure the inside of the cabinet first: the width between the door hinges, the depth and the height. Leave room for the door and the hinges, which often stick out farther than you expect.
Look for full-extension slides, which pull the shelf all the way out so you can reach the back. Check the weight rating too, and pick one that can handle your heaviest appliance with room to spare.
Put the heavy appliances on the bottom pull-out and lighter ones on a second shelf above it. Set each appliance with its handle or grip facing you, so you can lift it straight up.
7. Borrow a pantry shelf
A pantry shelf at waist height is a great home for the appliances you use weekly. The bread maker, the slow cooker and the waffle iron can sit there, out of the way but easy to grab.
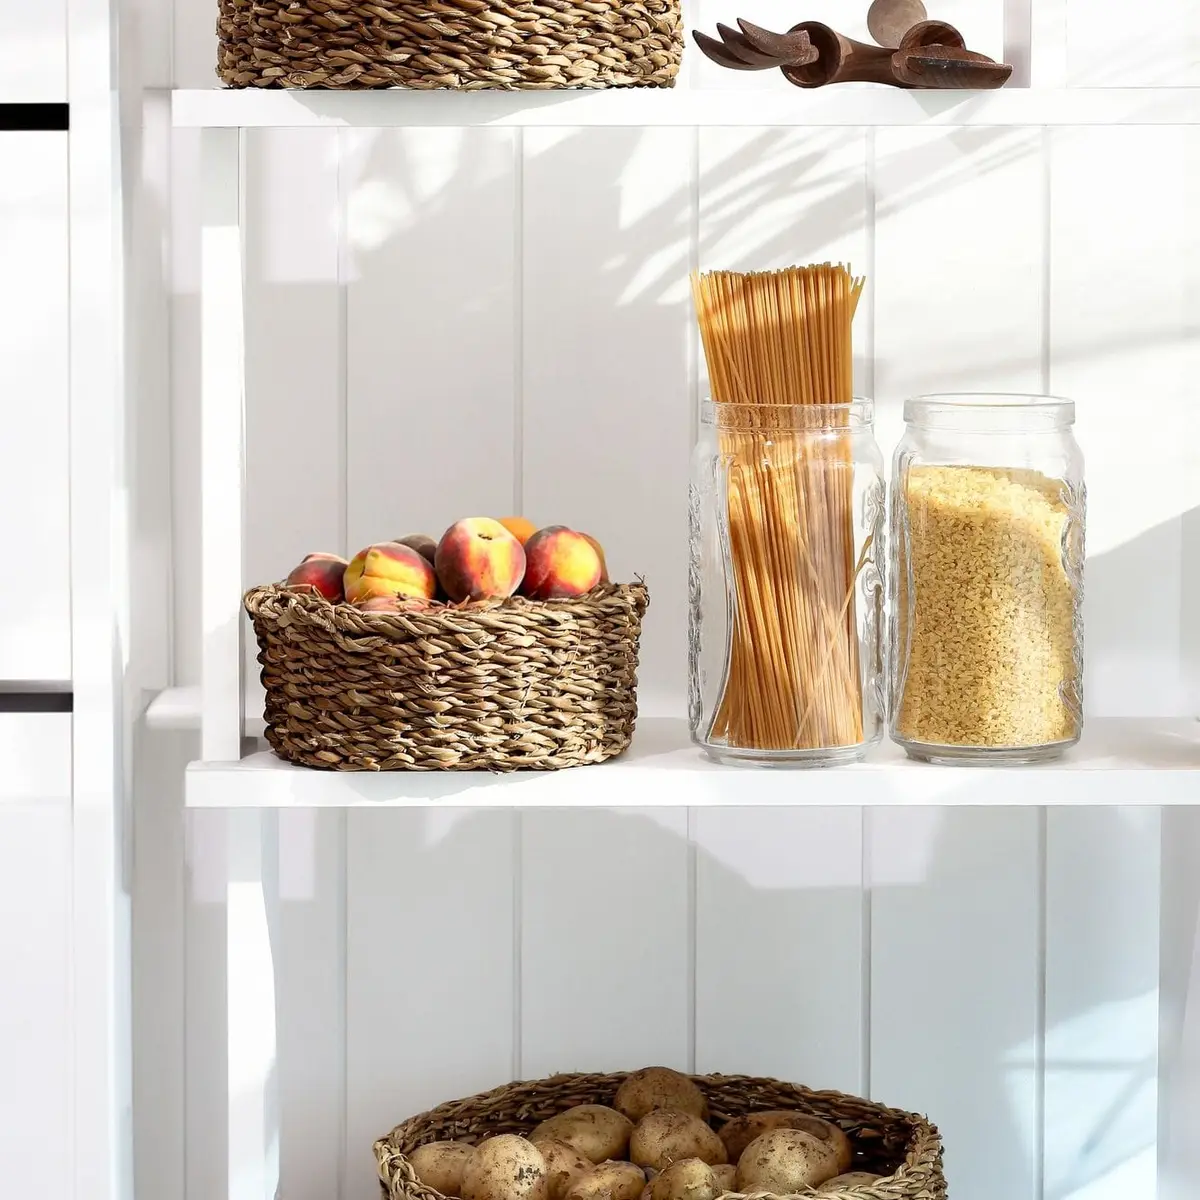
Keep the pantry appliances near the door, so you don’t have to reach past the food to get them. Save the back of the shelf for backups and bulk buys.
Smaller appliances, like a hand mixer, a milk frother or an immersion blender, fit in a basket or bin. Measure the shelf first, and the bin and basket size calculator turns your numbers into bins that fit side by side.
Keep heavy appliances on the lower pantry shelves and lighter ones higher up. A shelf crowded with appliances and food is hard to use, so give the appliances their own section.
If the pantry is a closet with a door, check that the outlet you’ll use is in the kitchen, not inside the pantry. Carry the appliance to the counter to use it, and put it back once it’s cool.
8. Roll them out on a cart or wire shelf
Kitchen appliance storage ideas for small spaces often come down to one piece of furniture: a rolling cart or a wire shelf. It adds storage without a remodel and moves wherever you need it.
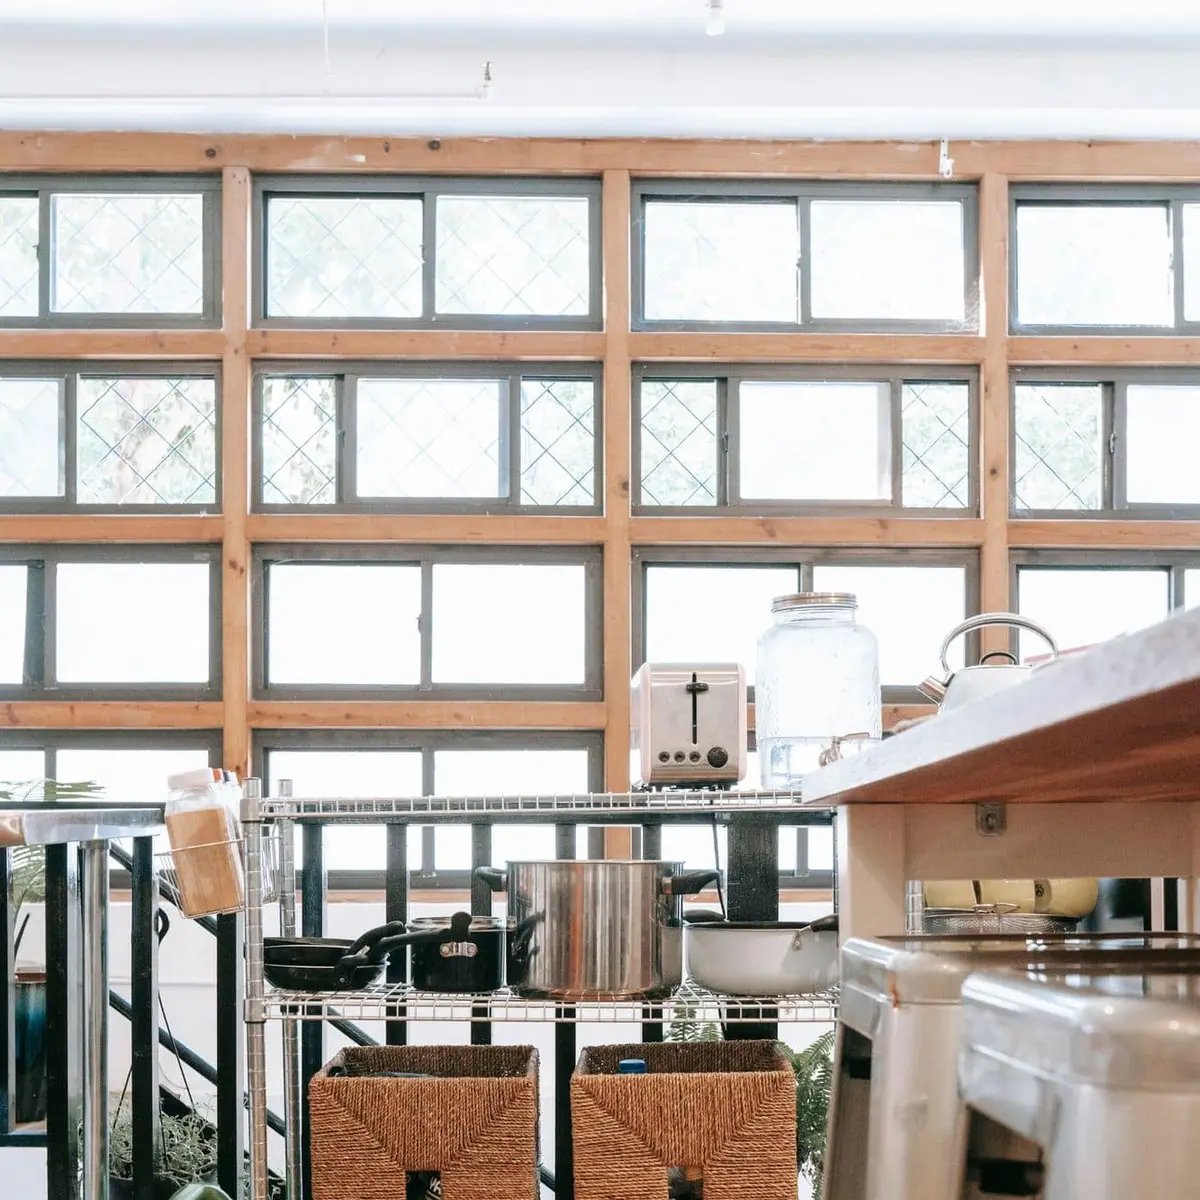
Park the cart beside a counter near an outlet, with the toaster or the air fryer on top. Roll it over when you cook and back against the wall when you’re done.
Use the lower shelves for heavy appliances and the top for the one you use most. A pair of baskets on the bottom shelf can hold attachments, cords and the smaller gadgets.
Choose a cart with locking wheels, so it stays put while an appliance is running. A lip around each shelf keeps things from sliding off when you move it.
Measure the gap before you buy one. Many kitchens have a narrow space beside the fridge or at the end of a counter, and a slim cart can turn that dead space into a home for two or three appliances.
9. Put light, seldom-used appliances up high
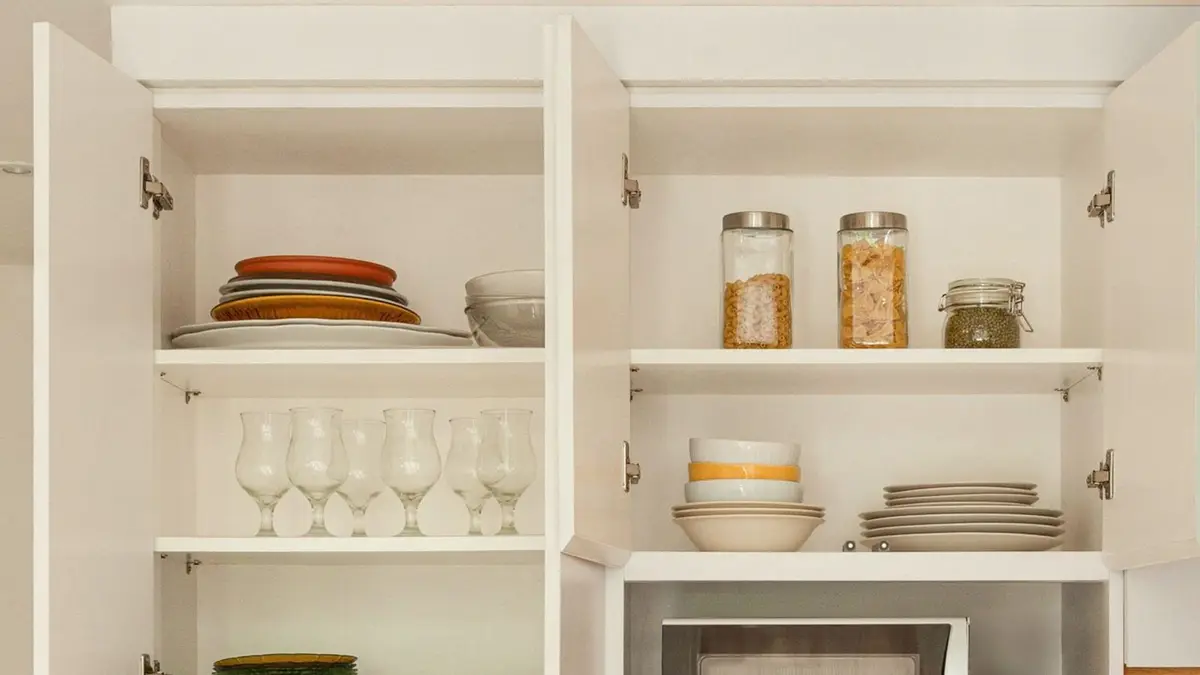
The top shelf of an upper cabinet is the right home for light appliances you use only a few times a year. A popcorn maker, an ice cream maker or a spare hand mixer can wait up there.
Only light things go up high. A heavy appliance coming down from over your head is hard to control, so keep stand mixers and slow cookers down low.
Store seldom-used appliances in their boxes or in a bin with a handle, so you can lift the whole thing down in one move. Label the end of the bin, so you know what’s inside without opening it.
Use a sturdy step stool with a bar to hold on to when you reach the top shelf, never a chair. Keep the stool close by, so the high shelf stays easy to use.
The space above the fridge works for the same light, rarely used things. Leave room around the top of the fridge, and check its manual for how much clearance it needs.
10. Keep the parts and attachments with each appliance
An appliance is only useful if you can find all of its parts. Store the blades, whisks, lids and discs right with the appliance they belong to.
A clear bin or a zip bag for each appliance keeps the small parts together. Put it right beside the appliance, or inside the bowl if it fits without scratching.
Stand mixer attachments can live in a shallow drawer near the mixer or in a small bin on the same shelf. Food processor blades are sharp, so store them in their own case or a covered bin, never loose in a drawer.
Tuck the manual in with the parts, or save a copy on your phone. It tells you how to clean each piece and how the cord should be stored.
If you find a part that doesn’t match any appliance you own, let it go. Mystery parts take up room and make the right ones harder to find.
11. Tame the cords the safe way
Good appliance cord organization keeps cords off the counter and away from heat. Start by unplugging each appliance when you’re done and letting it cool completely.
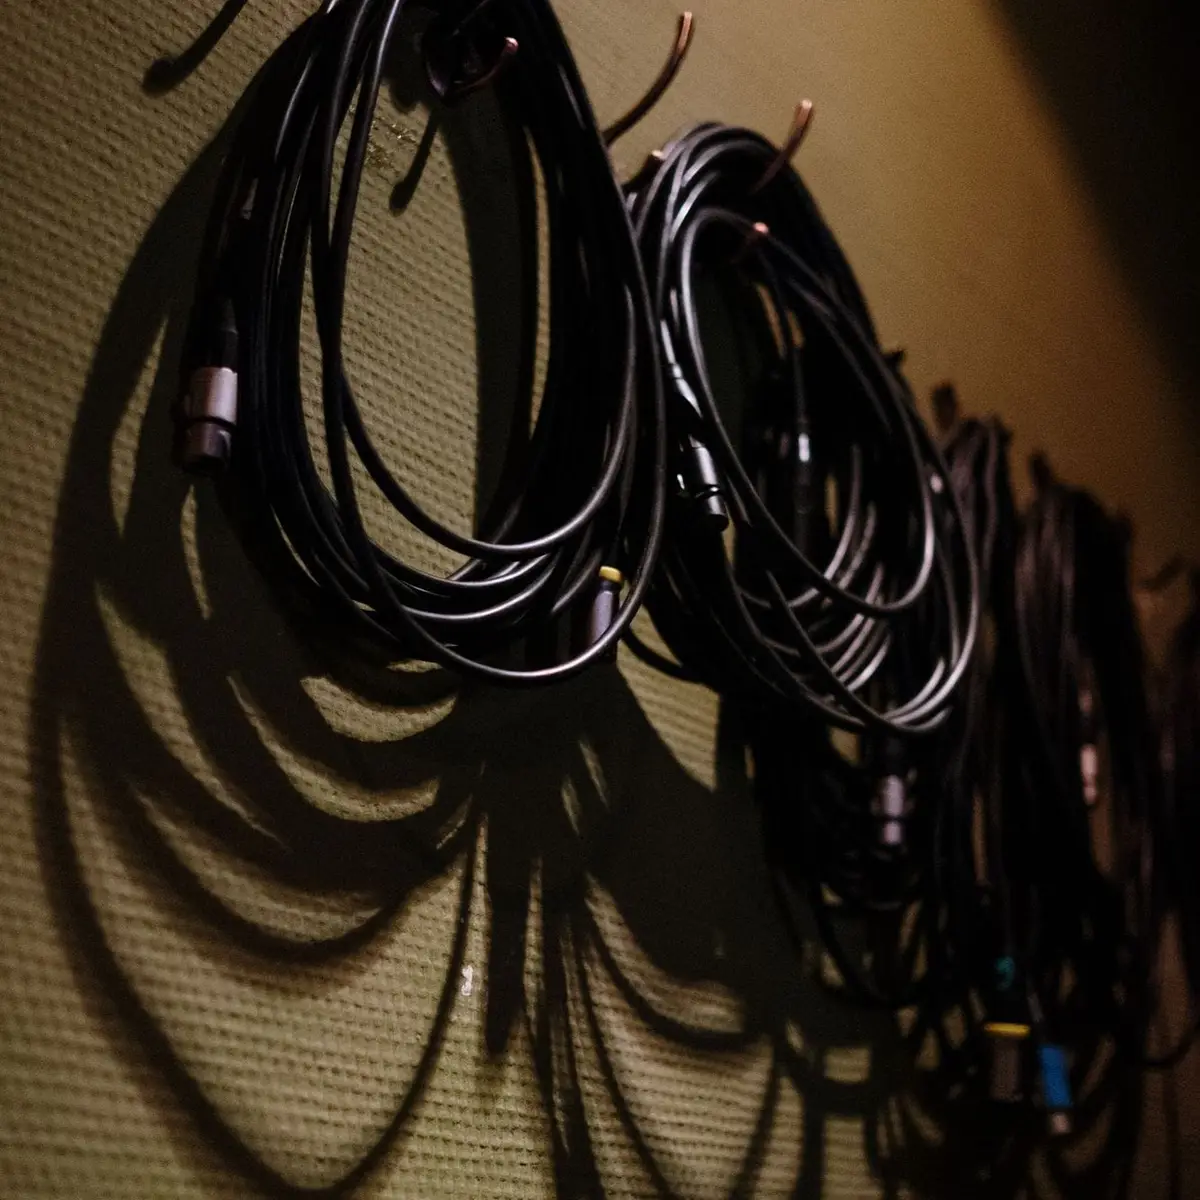
Once the appliance is cool, coil the cord loosely and hold it with a reusable tie or a strip of hook-and-loop tape. Many appliances have a cord wrap or a storage spot built into the base, and the manual tells you how to use it.
Never wrap a cord tightly around an appliance that’s still warm. A tightly wrapped cord traps heat, which can weaken the coating over time.
Unwrap the cord all the way before you plug the appliance in again. Check it as you go, and replace any appliance with a cracked, damaged or loose cord instead of trying to repair it.
For appliances that stay on the counter, push the cord back along the wall and keep it short of the edge, where it can’t be caught by an elbow or a small hand. A tidy cord looks better and is one less thing to wipe around.
Save this for later
Pin it to a board so it's there when you're ready to start.
Save to Pinterest(opens in a new tab)Make it easier
Free printable
A room-by-room declutter checklist that tells you exactly what to look for, with four piles to sort into so nothing ends up back on the shelf.
Free tool
Enter the width, depth and height of a shelf, a drawer or a cube cubby, and see which standard bins and baskets fit, how many, and how they line up.
Frequently asked questions
Which small appliances should stay on the kitchen counter?
Only the ones you use every day or close to it, which for most homes means the coffee maker or kettle and maybe the toaster. Everything you reach for weekly or less can live in a cabinet, a drawer or the pantry and come out when you need it.
Where should I store heavy appliances like a stand mixer?
Low, between your knees and your waist, so you lift it with your legs instead of pulling it down from overhead. A lower cabinet near an outlet, a deep drawer or a pull-out shelf all work, and a shelf that slides out saves you from dragging it across the cabinet floor.
How do I store small appliances in a small kitchen?
Go vertical and mobile: a rolling cart or a wire shelf can hold the bulky ones and roll to an outlet when you cook. Use the high shelves for light appliances you use only a few times a year, and let go of any appliance that does the same job as another one.
Is it safe to wrap the cord around an appliance?
Wait until the appliance has cooled completely, wrap the cord loosely and follow what the manual says about cord storage. Unwrap it all the way before you plug it in again, and replace any appliance whose cord is cracked or damaged.