12 Pantry Shelving Ideas From Wire Racks to Floating Wood
Plan shelves that fit your pantry: measure first, keep them shallow, hang them on adjustable tracks, line wire shelves and anchor every bracket into studs.

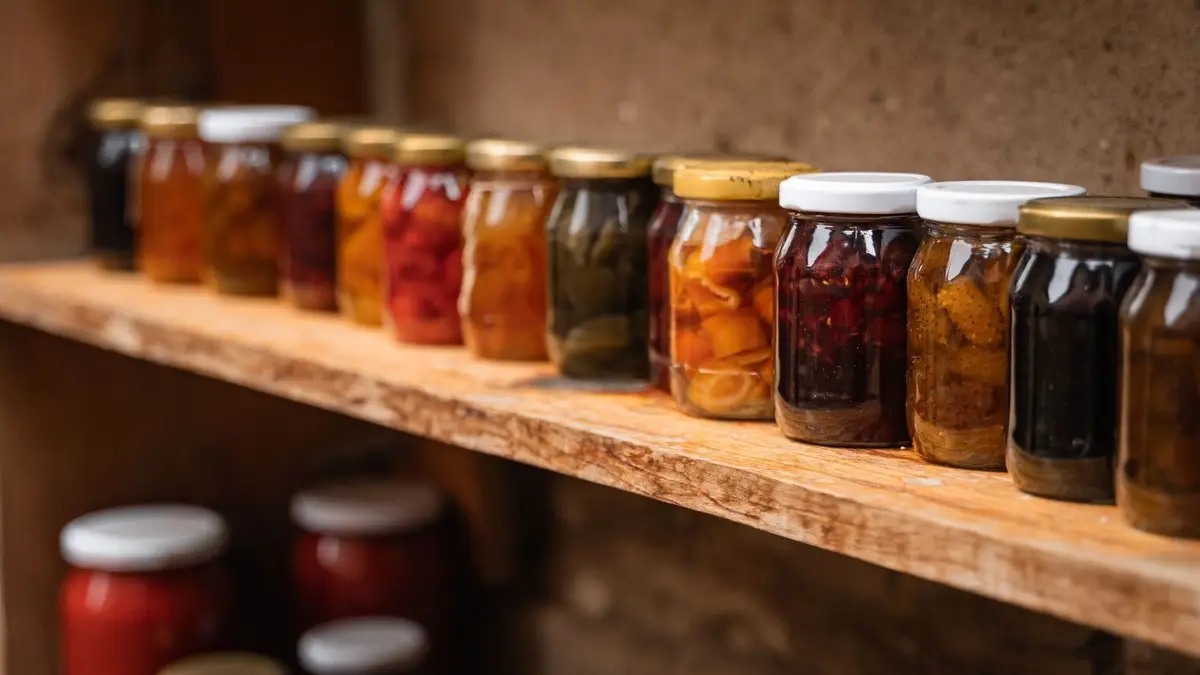
The best pantry shelving is shallow enough that nothing hides, adjustable so it fits what you actually buy, and anchored into the wall studs so it holds the weight. Measure the space and your tallest items first, then choose wire, wood or floating shelves, put heavy things low and keep everyday food at eye level.
These 12 pantry shelving ideas are about the shelves themselves: the depth, the spacing, the material and how they hang. Once the shelves work, organizing what sits on them is the easy part.
1. Measure the pantry and what you store
Before you buy a single board or bracket, measure the pantry: the width of each wall, the depth from the door frame to the back, the height to the ceiling, and where the door swings. Note the light switch, any outlet, and any vent or pipe you need to keep clear.
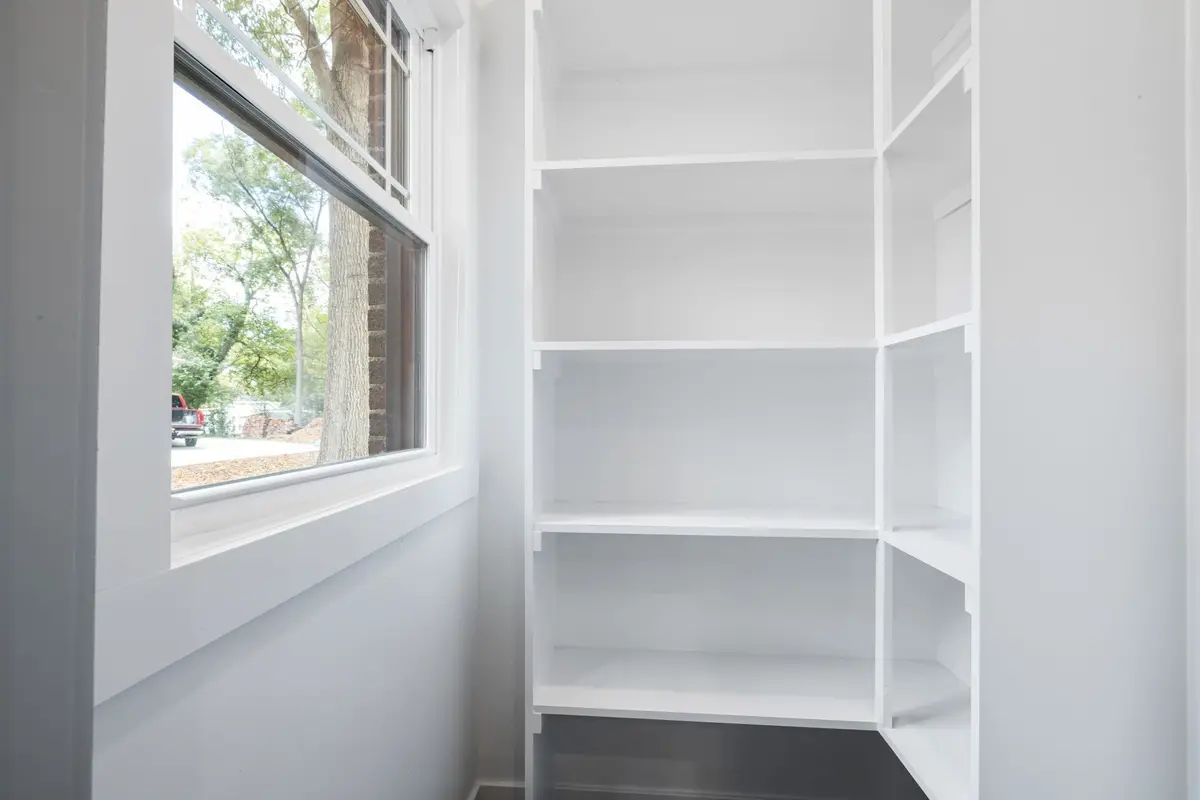
Then measure what you store. Pull out your tallest cereal box, your tallest bottle, a stack of cans and your biggest bulk bag, and write down their heights and depths. Those few numbers decide how deep your shelves should be and how far apart to hang them.
Sketch each wall on paper and draw the shelves in. It’s much easier to move a line on paper than a bracket on the wall.
If bins are part of the plan, the bin size calculator turns your shelf measurements into bin sizes that fit. And for zoning the food itself once the shelves are up, see our pantry organization ideas.
2. Keep shelves shallow so nothing hides
Deep shelves feel generous, but they swallow food. The can at the back sits there for a year because you can’t see it, and you buy another one.
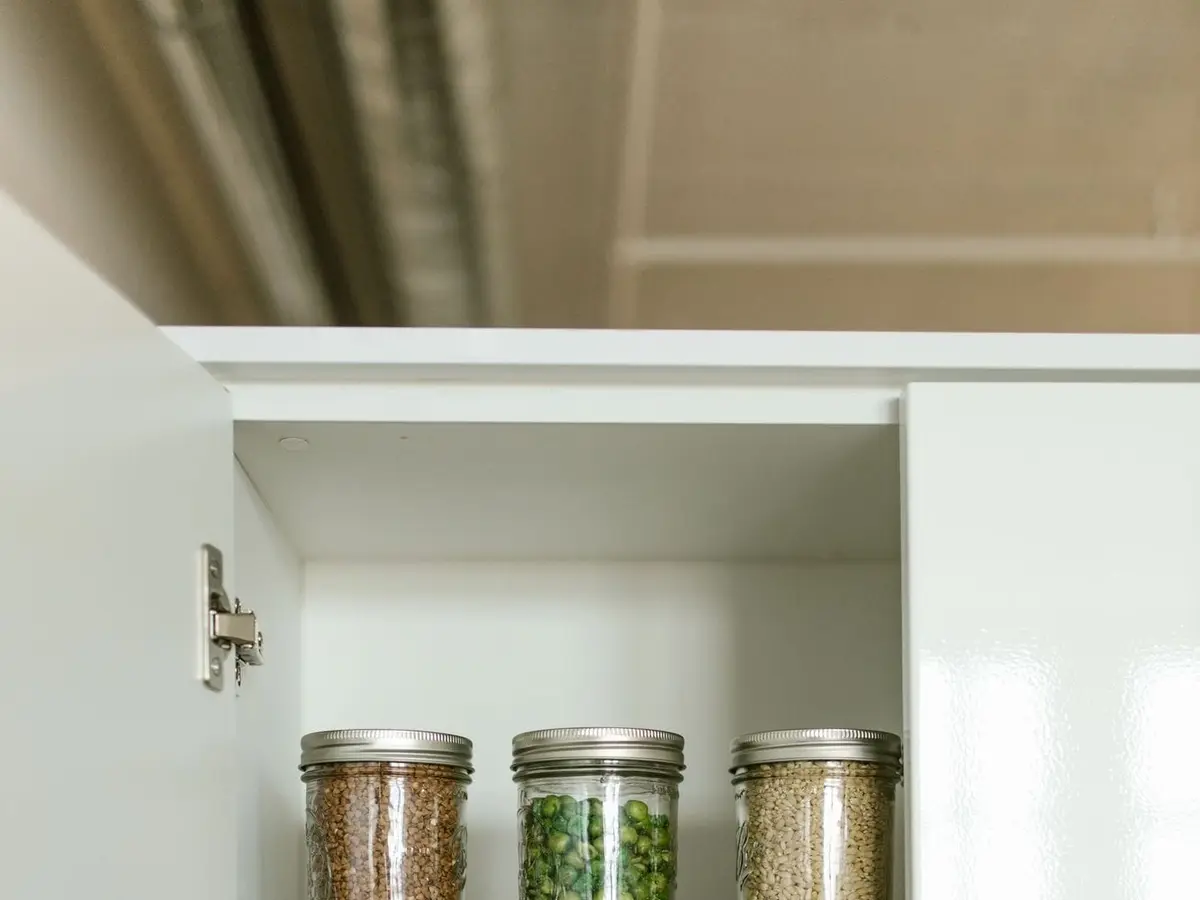
Shallow shelves fix that. When a shelf holds only one or two rows, everything is in view, and you can reach it without moving three things first. Most canned goods, jars, spices and boxes fit on a shallow shelf just fine.
Save deeper shelves for the bottom of the pantry, where bulk packs, small appliances and pull-out bins live. If your pantry is already deep, consider a second, shallow layer of shelves along the side walls instead of making every shelf deeper.
In a cabinet pantry, where the shelves are deep and the door is narrow, pull-out shelves or roll-out drawers bring the back of each shelf to you. Retrofit kits slide onto the existing shelves, so check the inside width of the cabinet and the hinge side before you order.
3. Hang shelves on adjustable standards
A track system, also called standards and brackets, uses metal uprights screwed to the wall and brackets that clip in at any height. The shelves sit on the brackets, so you can move them up or down in minutes without new holes.
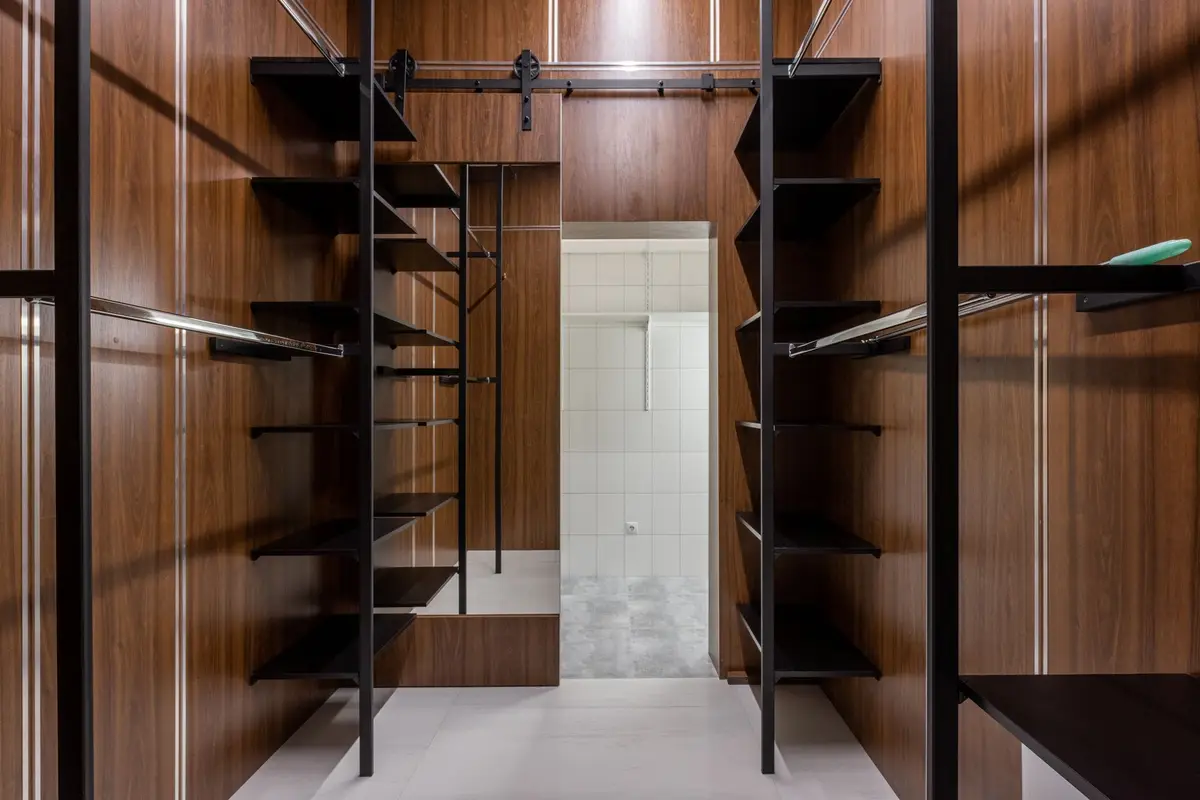
That flexibility matters in a pantry, because what you store changes. A baby needs formula and jars on one shelf this year, a teenager needs room for snacks next year, and the shelf that held a stand mixer may need to hold a slow cooker instead.
Screw the top rail or each upright into wall studs, using the screws the system calls for. Keep the uprights as close together as the instructions suggest for the load, since spacing them too far apart is how shelves start to sag.
Track systems work with wire shelves, wood boards or laminate, so you can mix them. Put solid shelves where jars and small items sit and wire where you want air to move, like over a basket of potatoes and onions.
4. Line wire shelving so small items stay upright
Wire shelving is the budget-friendly choice in many pantries. It’s strong, it lets light reach the lower shelves, it doesn’t trap dust and it’s easy to wipe. The catch is the gaps between the wires.
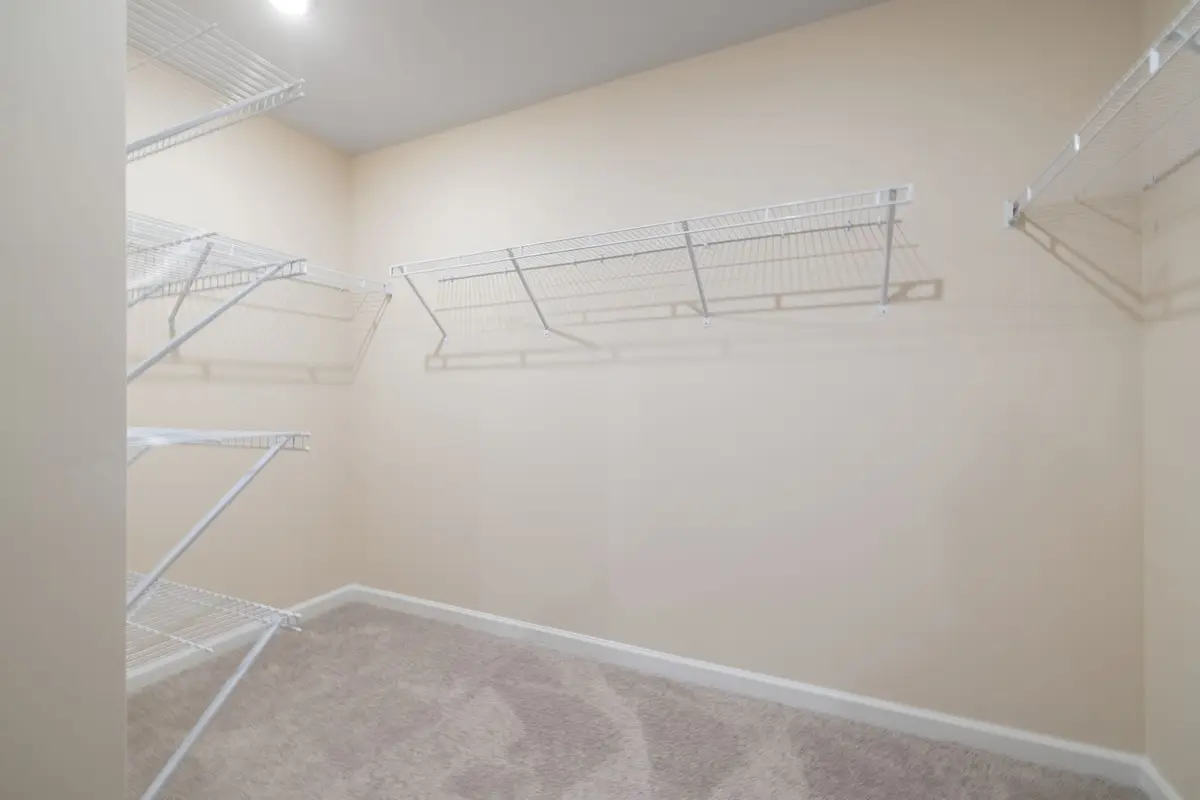
Spice jars, small bottles and packets tip over or slip through, and a narrow jar wobbles every time you set it down. A shelf liner solves it. Choose clear plastic liners that clip over the wires, cut-to-fit plastic sheets or thin boards laid on top.
Wire shelves often have a lip at the front that catches cans and keeps them from rolling off. Some also have hanging rods underneath, which are handy in a laundry closet but take up room in a pantry, so skip them if your shelf spacing is tight.
Mount wire shelving on its own wall clips and support braces, screwed into studs wherever you can. A wire shelf that pulls out of drywall under a full load of cans dumps everything at once, so follow the spacing in the instructions for the braces.
5. Choose solid wood for jars and heavy loads
Wood shelves give a pantry a warmer, finished look, and they’re flat, so jars, bottles and baking pans sit steady. They also take labels and shelf-edge clips well.
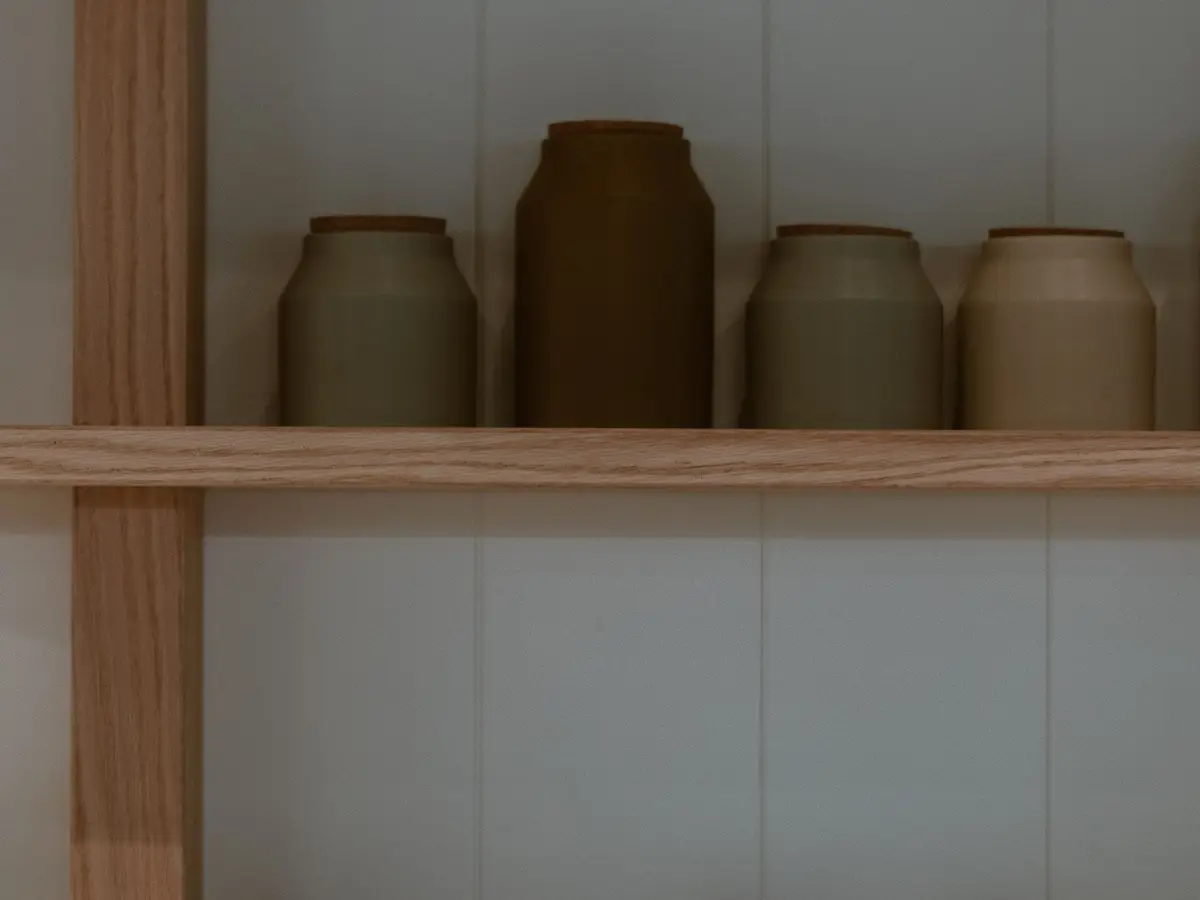
Pick boards thick enough for the span. A thin board stretched across a wide wall bows in the middle once you load it with cans and flour, while a thicker board or one with a support in the middle stays straight for years.
Seal or paint the wood before it goes in. A clear, food-safe finish or a coat of semi-gloss paint keeps spills and oil from soaking in, and it makes the shelves easy to wipe.
Hardwood, plywood and painted pine all work. Plywood edged with a thin strip of solid wood is a good middle ground: stiff, flat and less likely to warp in a humid kitchen. If the pantry gets damp, leave a small gap between the boards and the back wall so air can move.
6. Turn one wall into floating shelves
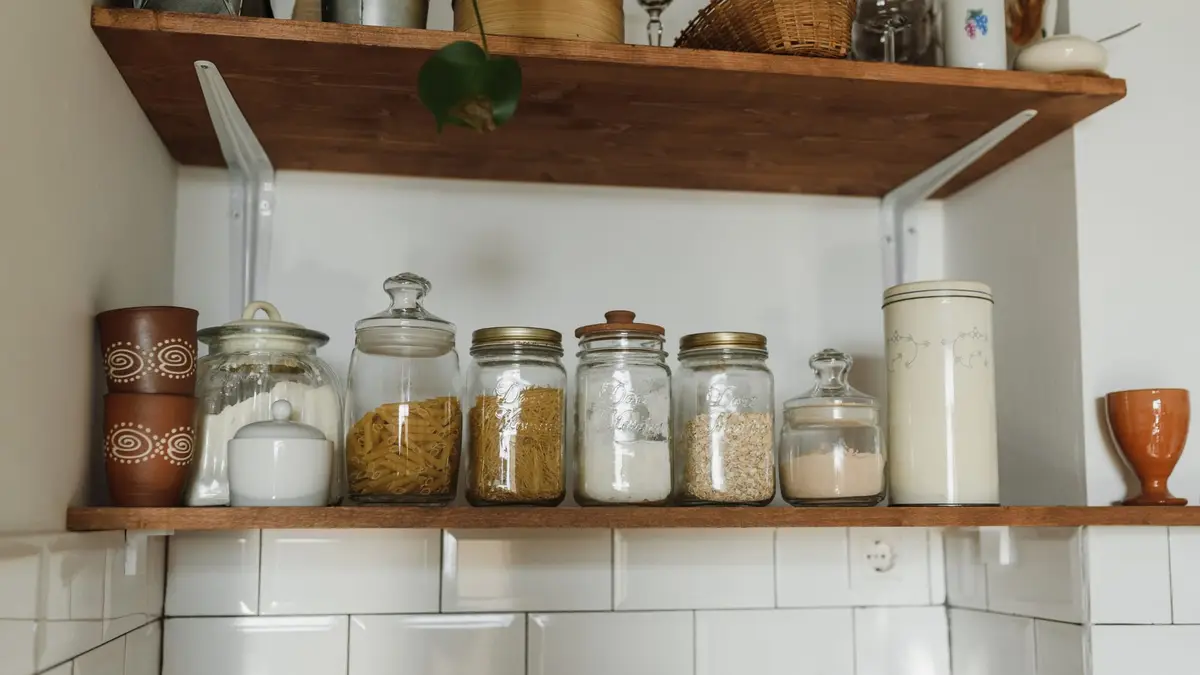
When a pantry is really one wall of the kitchen, a stack of floating shelves can stand in for a closet. With no visible brackets, the shelves look clean, and the wall reads as part of the kitchen rather than storage.
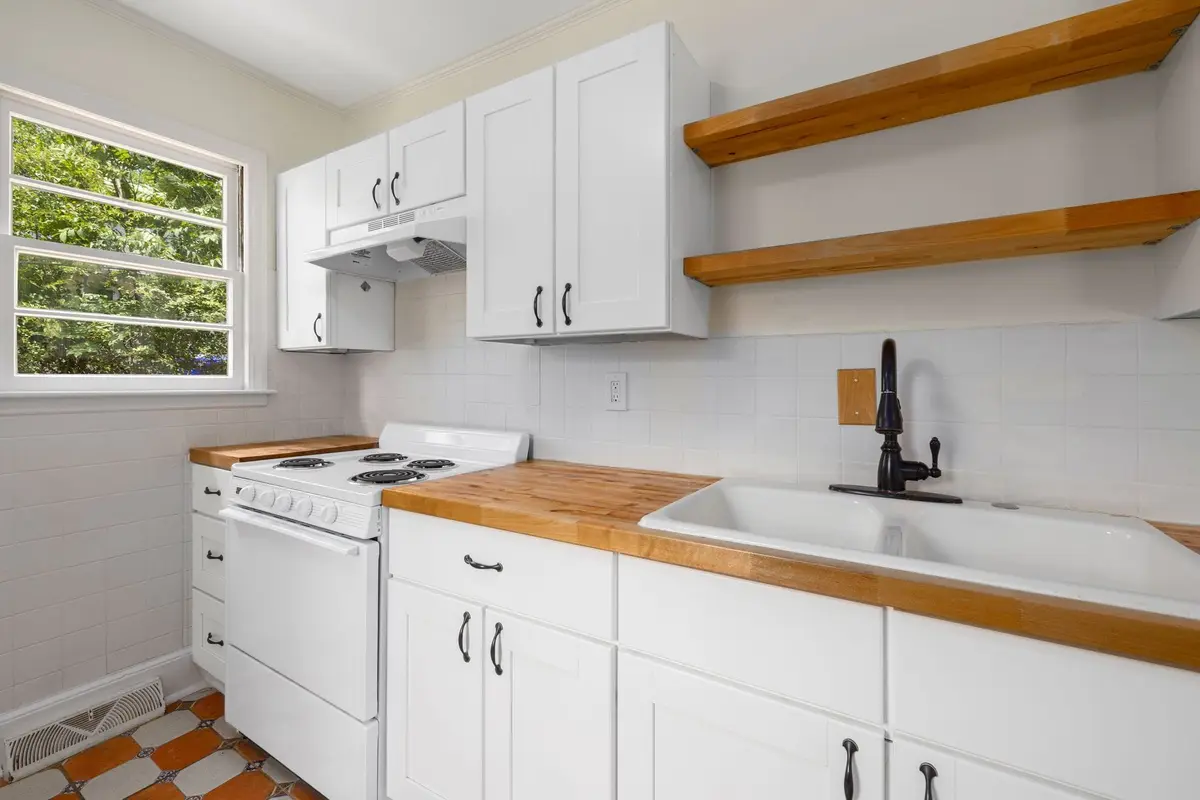
Floating shelves hide their support inside the shelf, usually on a metal rod or cleat screwed to the wall. That makes the studs even more important. Mount the hardware into studs, follow the weight limit printed on the package, and keep heavy things like cast iron and big jars on the lowest shelf.
Open shelves on a kitchen wall collect dust and grease, so they suit things you use often: everyday jars, oils, dry goods in matching containers and the plates you grab daily. Keep backups and bulk food in a closed cabinet.
Give the top shelf enough room below the ceiling to lift jars off easily, and keep the lowest shelf high enough above the counter that small appliances and a cutting board still fit underneath.
7. Wrap shelves around a walk-in pantry
In a walk-in pantry, shelves on only one wall waste most of the room. Wrapping them around two or three walls, in an L or a U shape, can double the storage without making the pantry feel crowded.
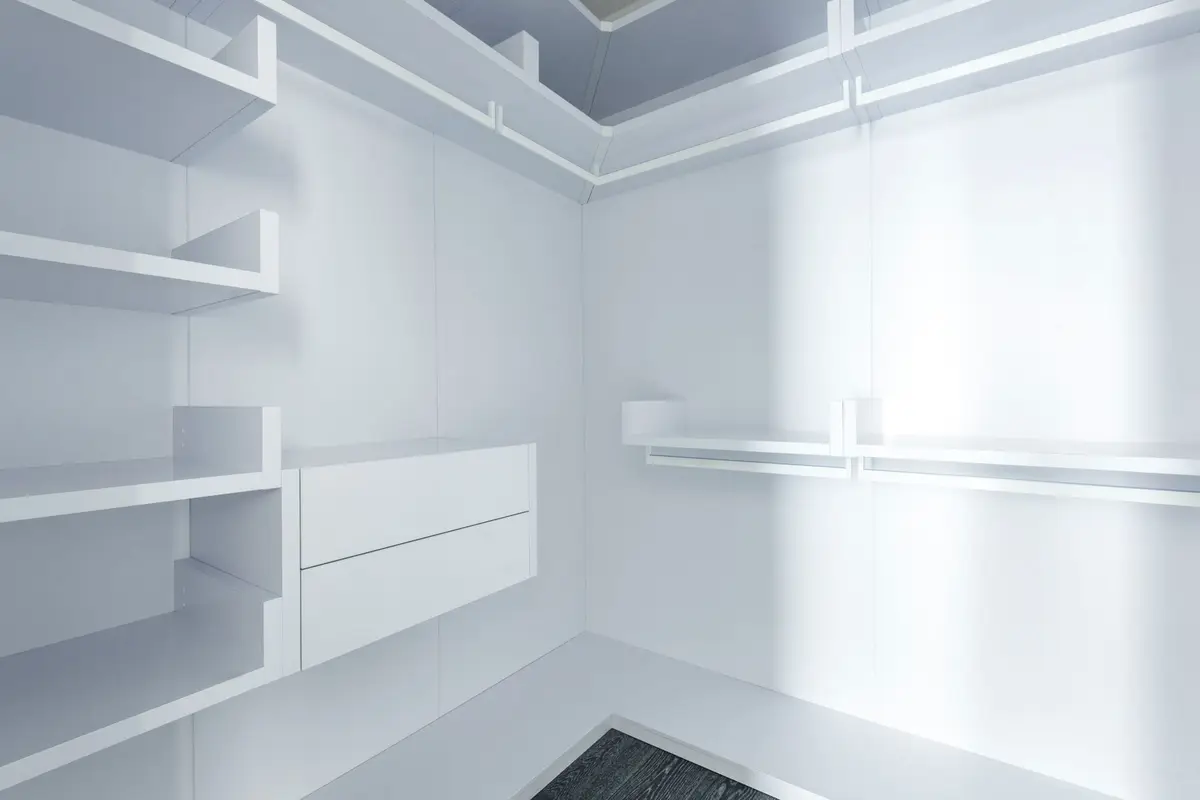
The corners are the hard part. Where two shelves meet, the back corner turns into a deep, dark spot. Use it for things you rarely need, or set a turntable or an angled shelf in the corner so the back comes forward when you spin it.
Keep the walkway clear. Plan the shelves on the side walls shallower than the back wall, so you can turn around with your arms full of groceries.
A walk-in also needs light. Add a ceiling fixture or a battery-powered motion light near the door, and a strip under the top shelf if you can, so you can read labels on the back wall without a flashlight.
8. Space shelves by height, with tall items low and cans at eye level
Shelf spacing is where most pantries go wrong. Shelves set at the same, even distances waste space above short cans and leave tall bottles lying on their sides.
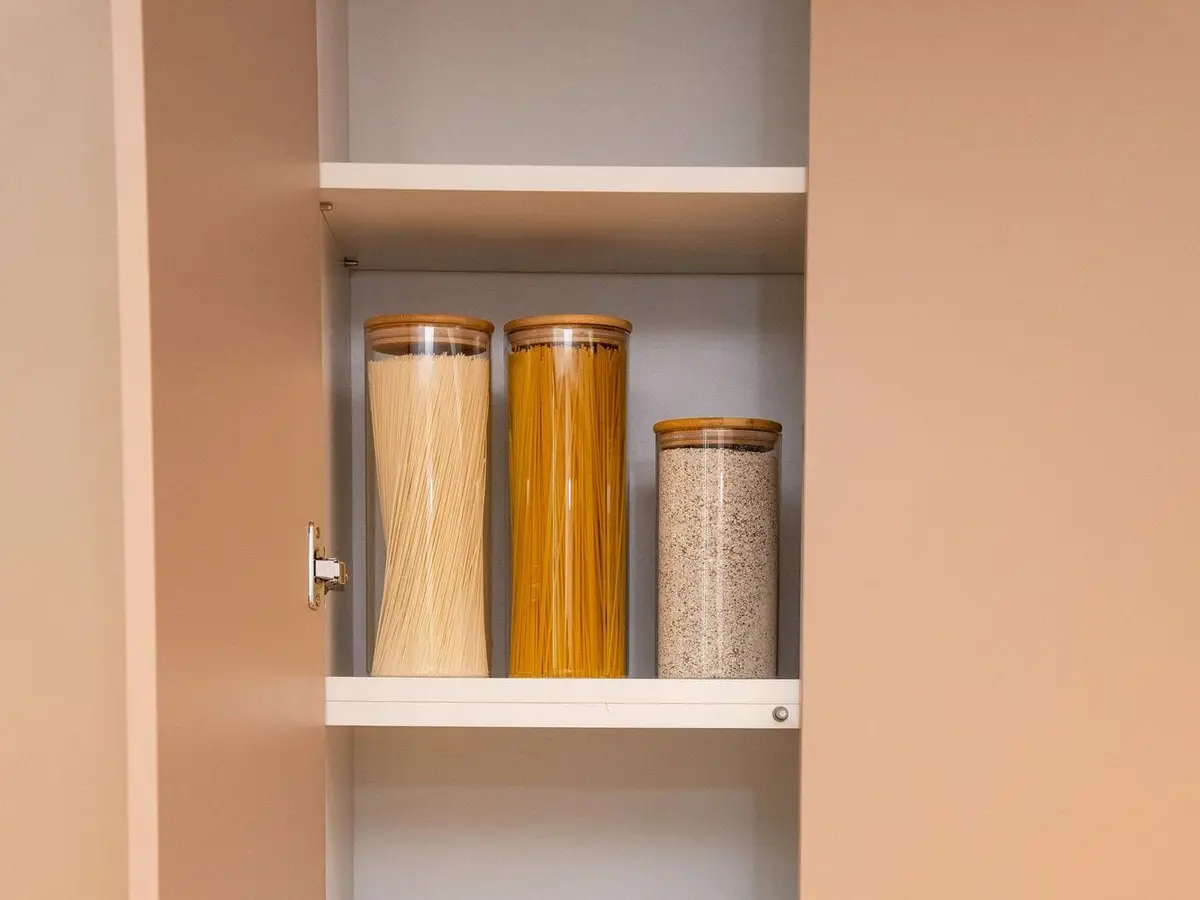
Put one or two taller shelves low in the pantry for big bottles, cereal boxes and tall containers. Then space the shelves at eye level closer together for cans, jars and boxes you use every week. Leave enough room above each item that it lifts out easily without scraping the shelf.
Keep the things you use most often at about waist to eye level, where you can see and reach them without bending or climbing. That’s also where kids’ snack bins belong if you want them to serve themselves, and our snack organization ideas show how to set up that shelf.
Label the shelf edges with what lives there. A label on the shelf itself, not just the bin, tells everyone where the cans go back after a grocery run.
9. Double a shelf with risers and tiered racks
On a shelf spaced for tall boxes, the space above short cans and jars goes to waste. A shelf riser, a small metal or wood platform on legs, adds a second level right on top of the shelf you already have.
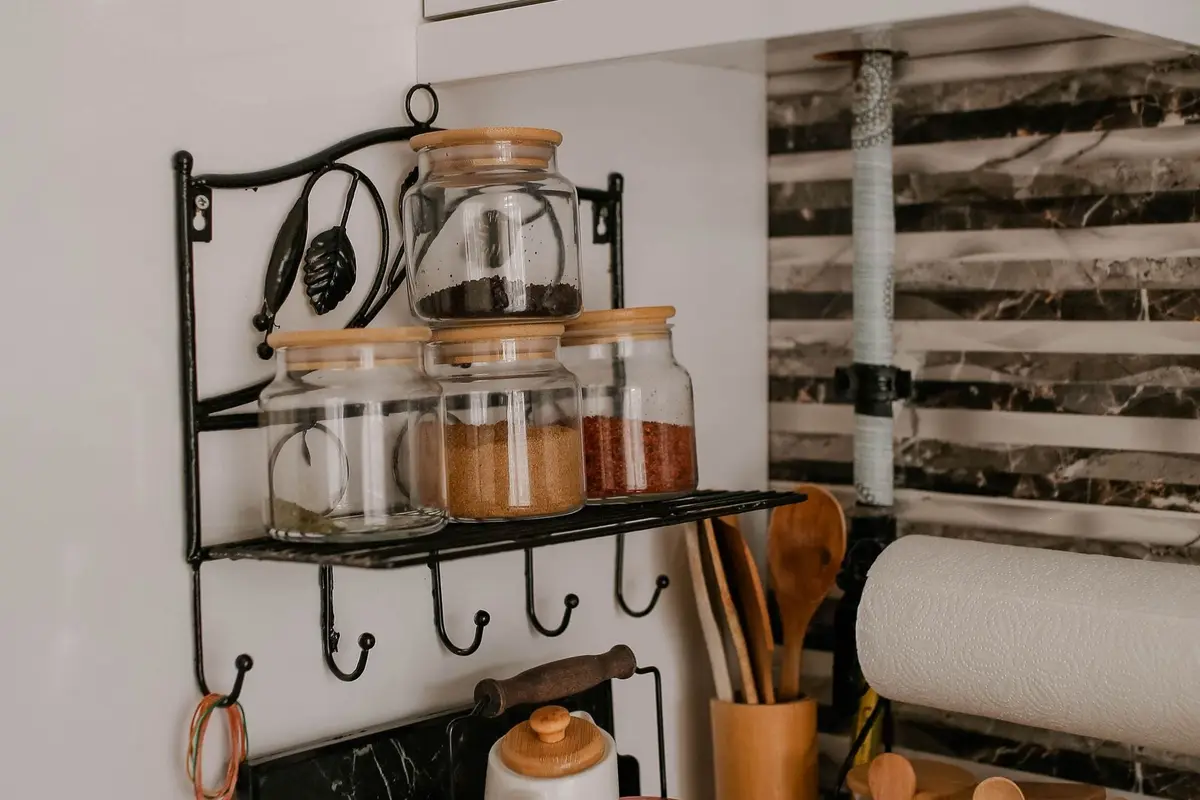
Risers suit plates, cans and short jars. Stepped risers, built like little bleachers, work best for spices and small jars, since every row sits a bit higher than the one in front of it, so you can read each lid. Our spice organization ideas cover the spice shelf in detail.
Measure the shelf before you buy, both the depth and the height under the shelf above. A riser that’s too tall makes it hard to lift items off the top level, and one that’s too deep sticks out past the edge.
Small wall racks with two levels do the same job on a bare stretch of pantry wall, holding jars above and hooks below for aprons, scoops or bag clips.
10. Leave the bottom open for bulk and a step stool
The floor and the lowest shelf are the strongest, easiest places for heavy things. Keep large bags of flour, rice and pet food, cases of water and small appliances down low, where a slip doesn’t drop them on your head.
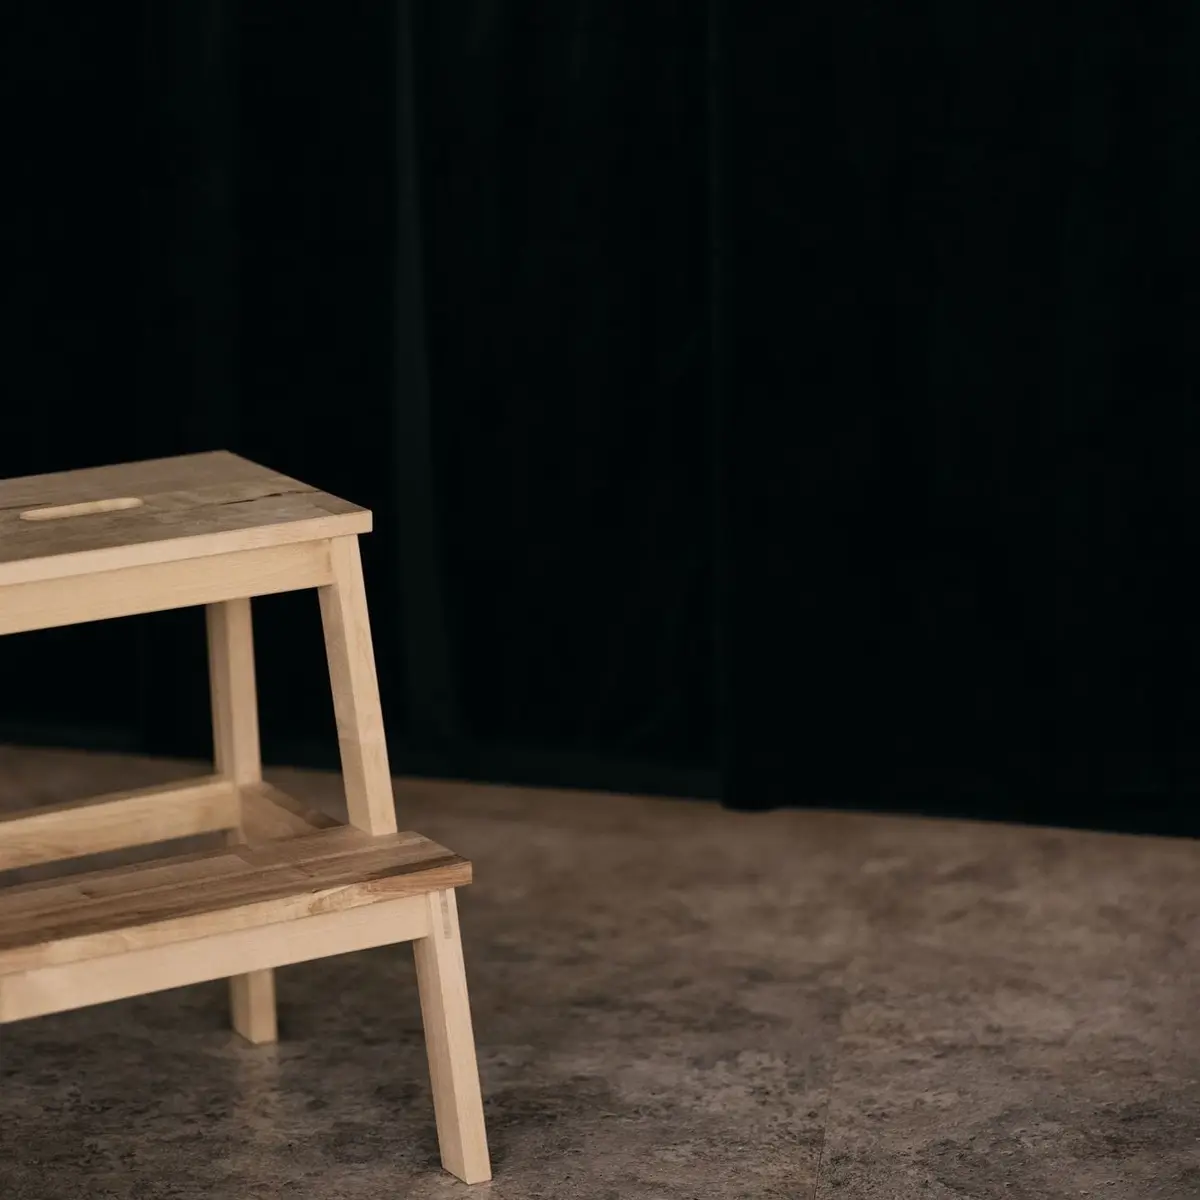
Consider leaving the bottom section open, with no shelf at all, or with one sturdy shelf just off the floor. Rolling bins and baskets slide in and out easily, and the space adapts when a bulk buy comes home.
Leave a spot for a step stool there too. The top shelf holds backups and seasonal things, and you’ll need a safe way to reach them.
Choose a sturdy step stool, ideally with a bar to hold onto, and never stand on a chair to reach a high shelf. If someone at home has trouble with stairs or balance, keep their everyday items on the lower and middle shelves so they don’t need to climb at all.
11. Use narrow gaps and the back of the door
Small gaps add up. The slot between the fridge and the wall, the space beside the pantry door or the end of a cabinet run can hold a slim rolling shelf or a narrow freestanding unit for cans, oils and spices.
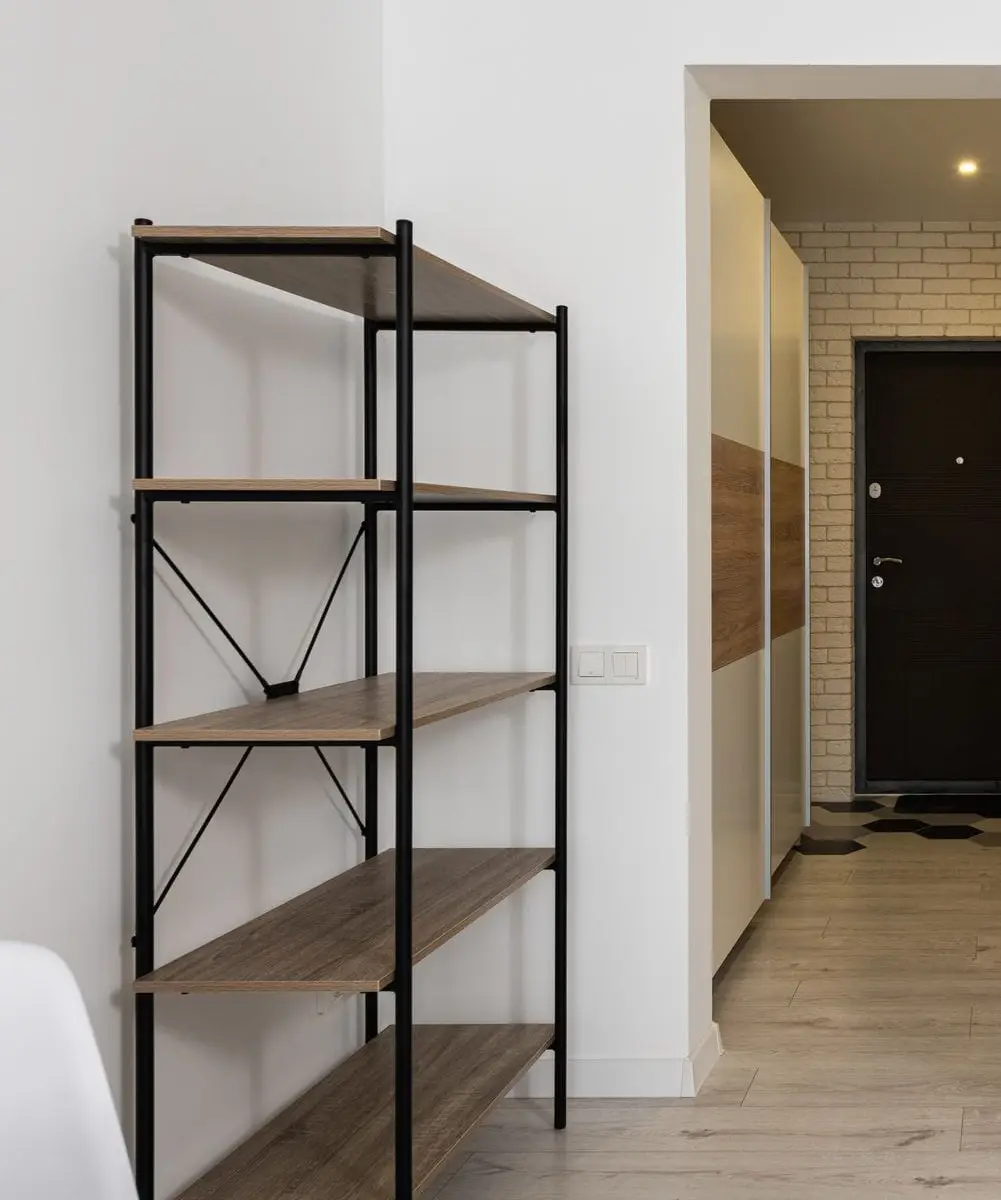
Measure the gap’s width and depth, and leave room for the fridge door or the pantry door to swing. A rolling shelf should glide in and out without catching on the floor or the baseboard.
Tall freestanding units need anchoring. Furniture with shelves can tip over when someone pulls on it or a child climbs it, so attach a tall shelf unit to the wall with an anti-tip strap or bracket screwed into a stud.
The back of the pantry door is a second wall. A rack that hooks over the top of the door or screws into a solid door holds spices, packets, wraps and foil. Check that it clears the shelves when the door closes, and keep heavy jars off it so the door doesn’t sag.
12. Build your own shelves on brackets anchored into studs
Building shelves yourself is the most flexible pantry upgrade, and it can be simpler than it sounds. Boards on sturdy brackets are a weekend project that fits your exact walls and your own spacing.
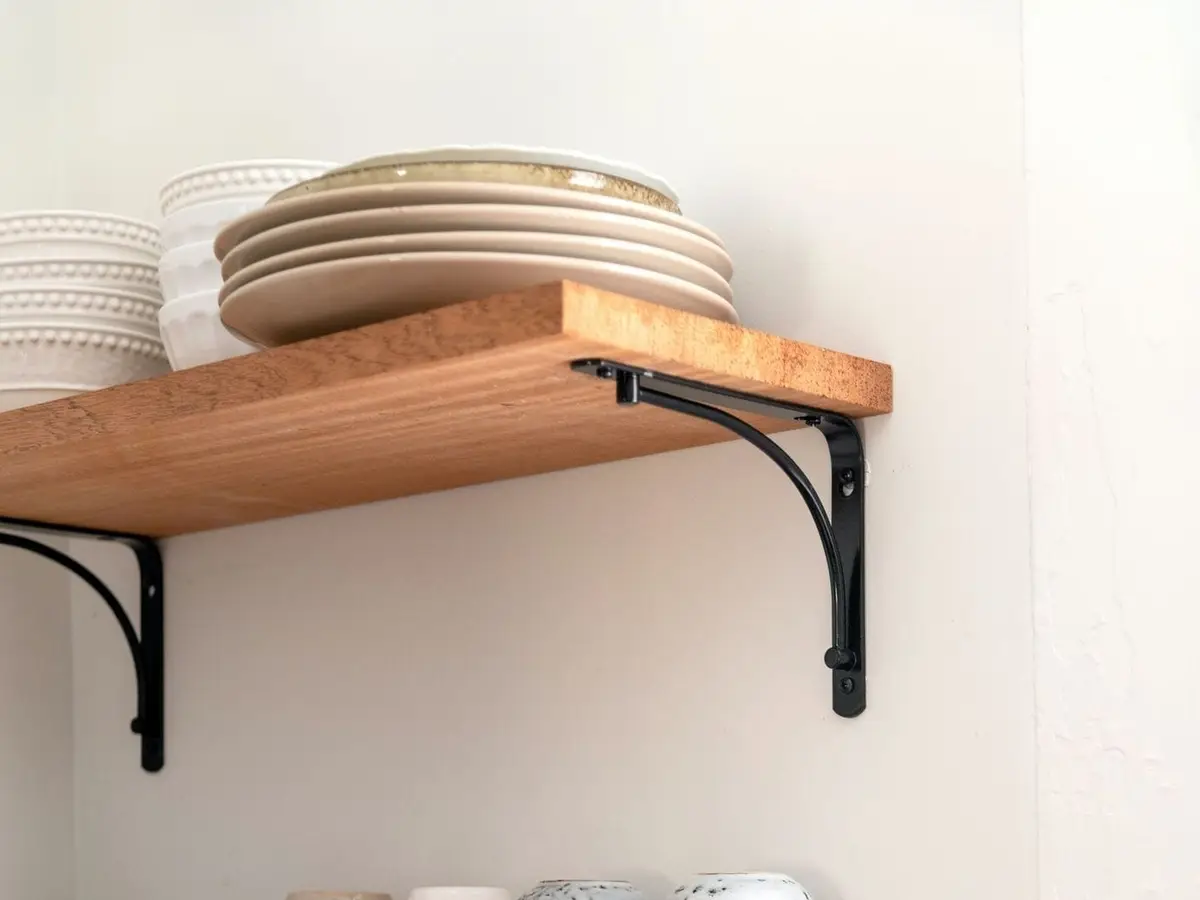
Find the studs with a stud finder and mark them. Screw each bracket into a stud with screws long enough to bite well into the wood, and use a level so the shelves sit flat. Where a bracket can’t land on a stud, use a heavy-duty wall anchor rated for the load, never a plain plastic plug.
Check the weight rating on the brackets and stay well under it, since a pantry shelf of canned goods, jars and bags of flour gets heavy fast. Put a bracket near each end of the board and add more along a long shelf, so it doesn’t bow.
Keep heavy items on the lower shelves and secure the shelves firmly to the wall, especially if you live where the ground shakes. Finish the boards before you hang them, add shelf-edge labels and a light, and the pantry is ready to fill.
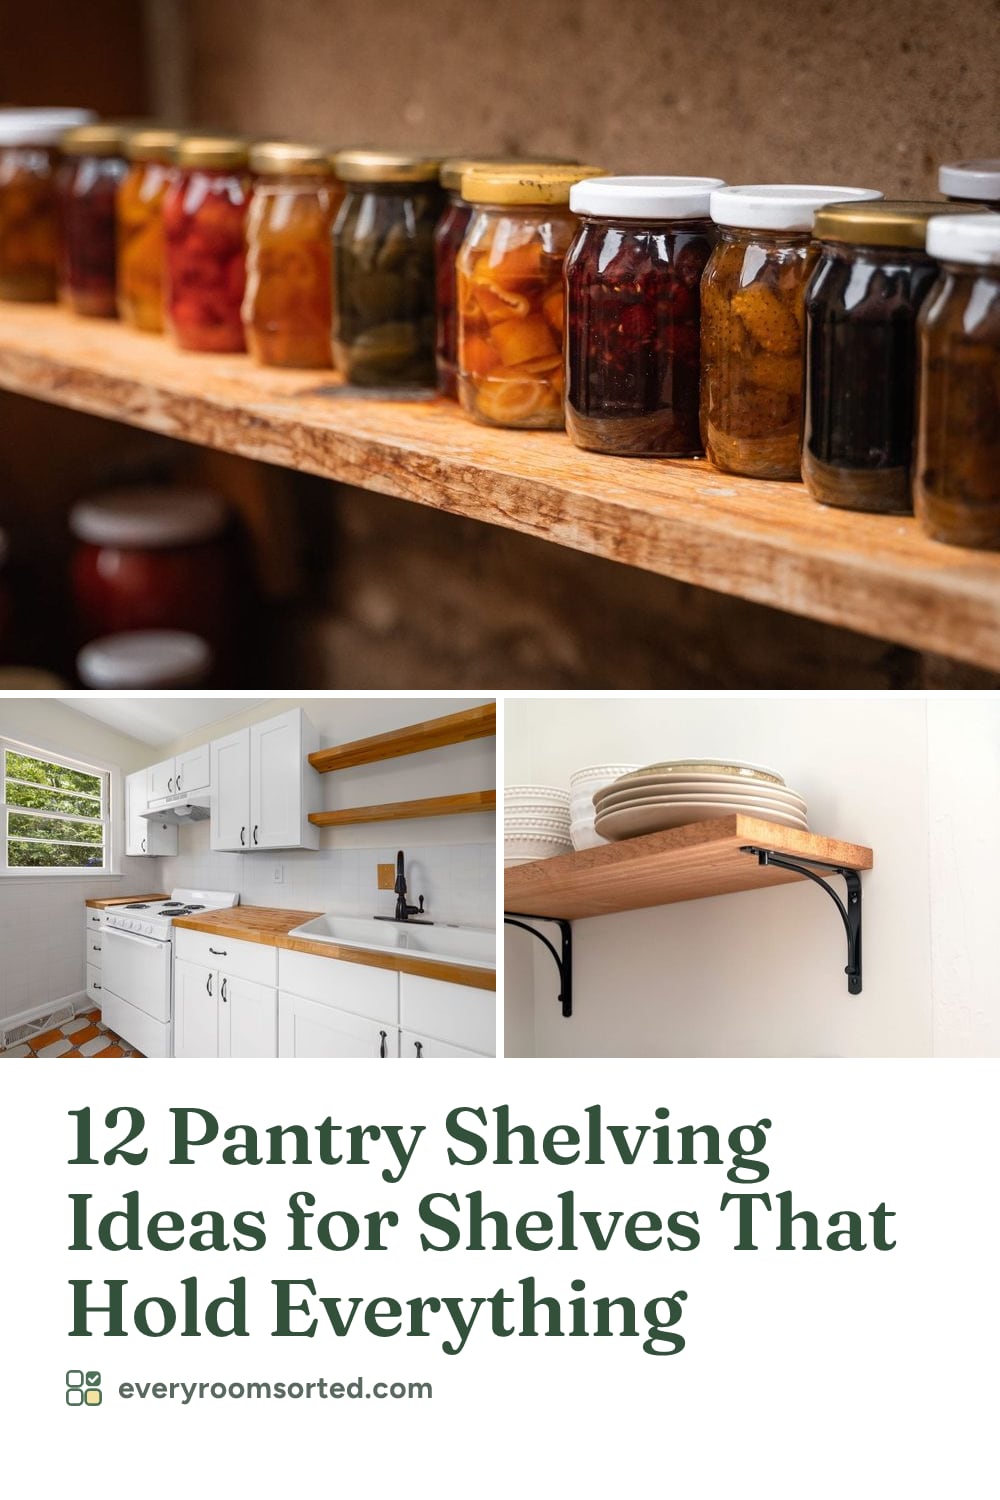
Save this for later
Pin it to a board so it's there when you're ready to start.
Save to Pinterest(opens in a new tab)Make it easier
Free printable
A one-page grocery list sorted by store section, with a box to tick for every item, so you write the list once and shop the store in one loop.
Free printable
Free printable spice jar labels to cut out and stick on. Print the ready sheet of common spices, or type your own list and download labels made for your shelf.
Free tool
Enter the width, depth and height of a shelf, a drawer or a cube cubby, and see which standard bins and baskets fit, how many, and how they line up.
Frequently asked questions
How deep should pantry shelves be?
Shallow enough that nothing hides behind something else, which for most food means room for one or two rows of cans or jars. Keep a deeper shelf or two near the floor for bulk packs, small appliances and bins you pull out like drawers.
Are wire or wood shelves better for a pantry?
Wire shelves are affordable, let light and air through and are easy to hang on a track system, but small items tip on the gaps unless you add liners. Wood looks warmer, gives a flat surface for jars and holds heavy loads well when it's thick enough and well supported.
How far apart should pantry shelves be?
Let what you store decide. Measure your tallest bottles and cereal boxes and give them one taller shelf near the bottom, then space the shelves for cans and jars closer together, with a little room above each item so it lifts out easily. Adjustable shelves let you change the spacing later.
Can I put shelves on a pantry door?
Yes, if the door is solid and swings clear. A rack that hooks over the top or screws into a solid door works well for spices, packets and wraps, as long as it doesn't hit the shelves when the door closes.
How do I keep pantry shelves from sagging?
Use thicker boards, add a bracket or support every so often along a long shelf, and keep the heaviest items near the brackets and on the lower shelves. Check the weight rating on brackets and shelving, and stay well under it.