12 Snack Organization Ideas From the Lunchbox Bin to the Top Shelf
Sort snacks by kind, give kids a low grab-and-go bin, decant crackers into airtight jars, portion on grocery day and keep cold snacks in one fridge bin.

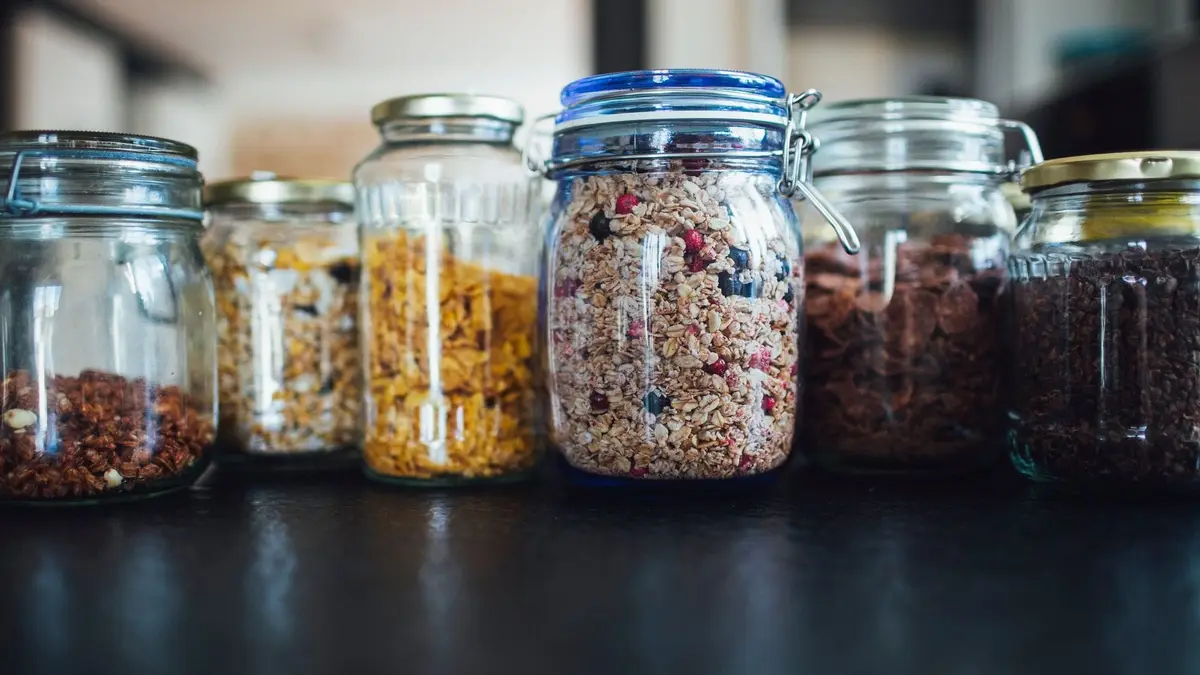
Good snack organization comes down to a few simple moves: check what you have, sort snacks into bins by kind, give kids a low bin they can reach on their own and keep the treats and backups up high. Move crackers and cereal into airtight containers, portion snacks on grocery day and keep cold snacks together in one fridge bin.
These 12 ideas work in a pantry, a cabinet or a small kitchen with almost no spare shelf. Start with the first two, since every idea after them depends on knowing what you have and how much of it there is.
1. Pull everything out and check the dates
Gather every snack in the house onto the counter: the pantry shelf, the cabinet above the fridge, the car, the bottom of the lunch bags and the stash in the desk drawer. Seeing it all at once shows you how much you really have.
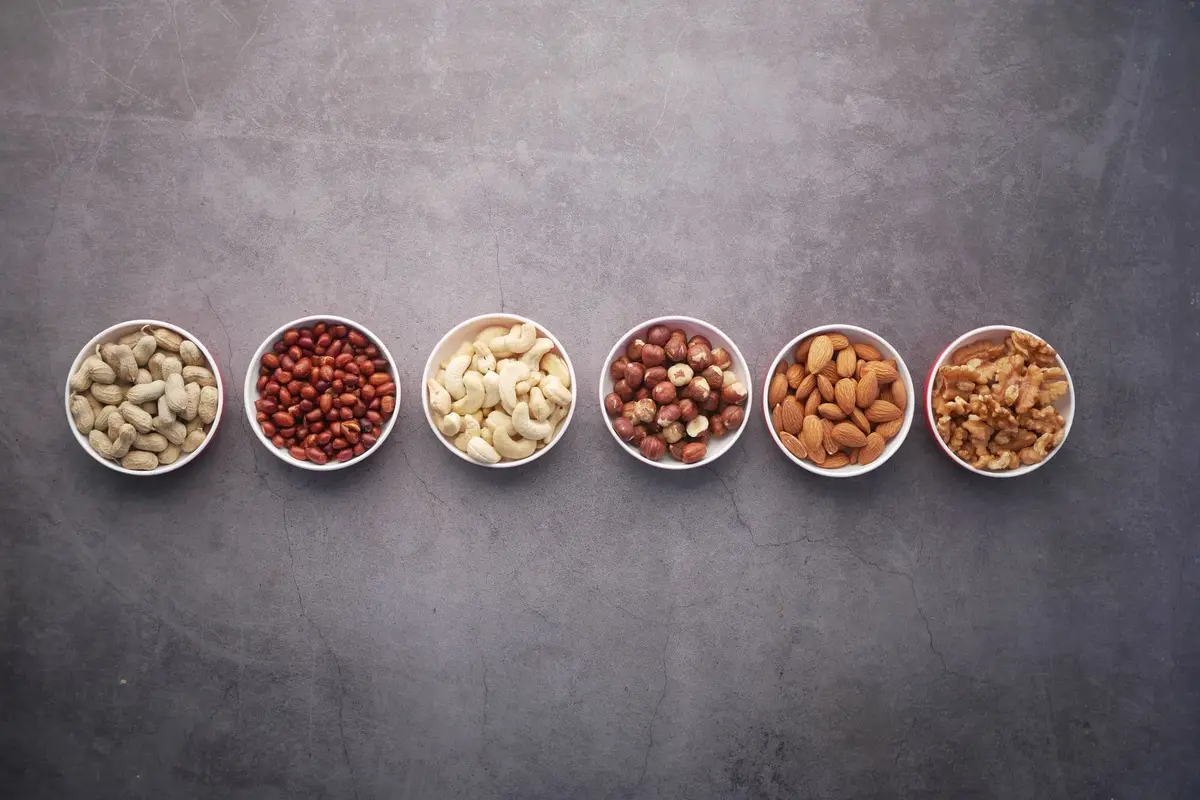
Check the dates as you go. A “sell by” date is a clue to freshness, while a “use by” date marks the point when quality, and sometimes safety, can start to slip.
Open bags of chips, crackers and cereal that have gone soft are mostly a quality problem. Toss anything that smells off, looks moldy or shows signs of bugs, and wipe the shelf it came from.
Set aside snacks nobody in the house likes anymore. Unopened ones can go to a food drive or a neighbor instead of taking up space for another year.
Last, group what’s left on the counter by kind, the way you’ll store it. That rough sort becomes the plan for the bins in the next idea.
2. Sort snacks into bins by kind
Give each kind of snack one bin: salty, sweet, fruit and fruit snacks, nuts and seeds, and lunchbox extras. When every bag has a home, you can see at a glance what’s running low and nobody has to dig through a pile.
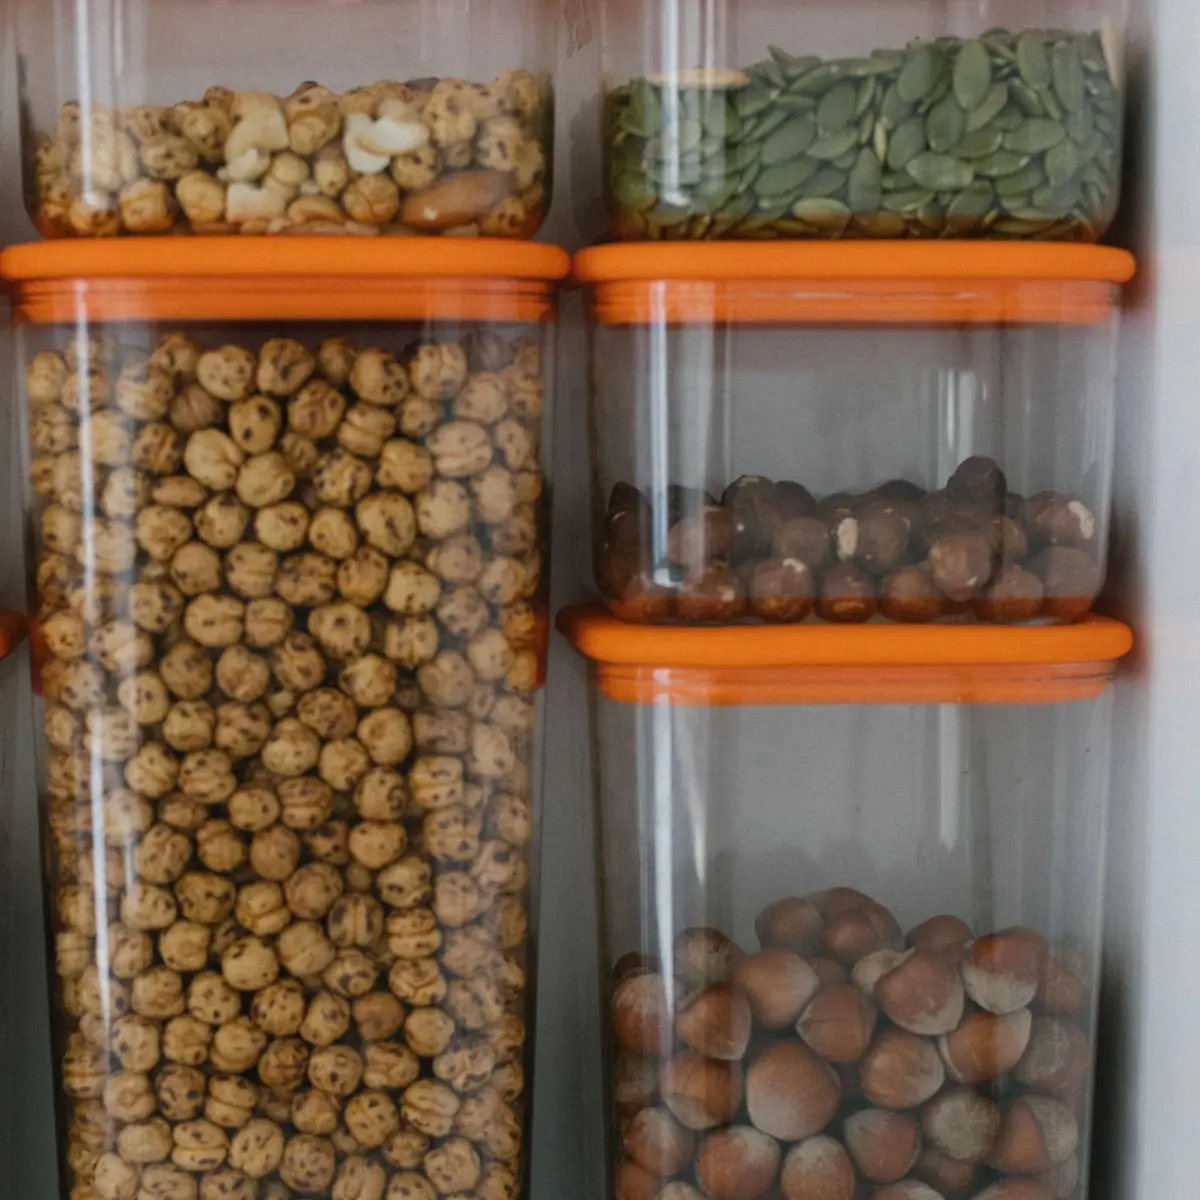
Pick bins that are open at the top or easy to lift, so they slide out like drawers. Clear bins show what’s inside; solid ones look calmer on an open shelf if you add a simple label to the front.
Measure the shelf before you buy anything: the width, the depth and the height, with room left to tip a bin out. The bin and basket size calculator turns those numbers into bin sizes that fit and shows how many line up side by side.
Keep the categories broad. Five or six bins are easier to keep up with than a dozen tiny ones, and a bin that stays half empty can share its space with a neighbor.
If a pantry shelf already holds snacks, keep the bins together there instead of splitting them around the kitchen. For a bigger reset of the whole shelf, see these pantry organization ideas.
3. Give kids a grab-and-go bin at their height
Kids help themselves more easily, and ask less, when their snacks sit where they can see and reach them. Put one bin or basket on a low shelf, a low drawer or the bottom of the pantry.
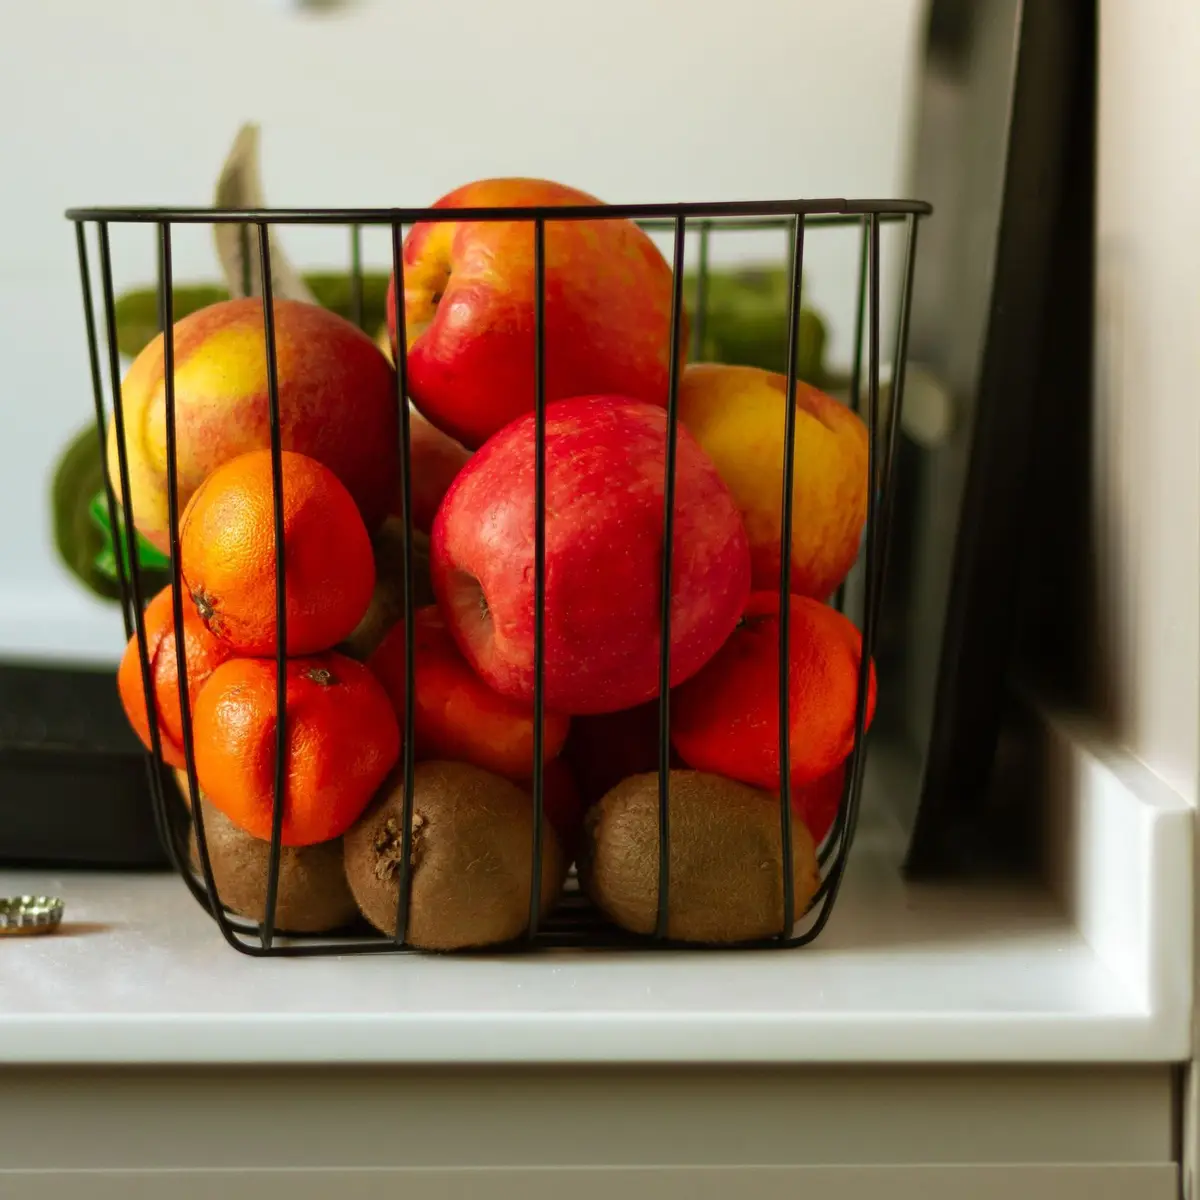
Fill it only with snacks you’re happy for them to choose on their own: whole fruit, crackers, rice cakes, pretzels, raisins and small portioned bags. Then they get to pick, and you don’t have to answer the same question all afternoon.
Decide how often the bin gets refilled. Once a day or once a week both work, and when it’s empty, it’s empty until the next refill, which saves a lot of back and forth.
Keep the bin light enough for small hands to pull out, and choose one without sharp wire edges. A basket with a handle is easy to carry to the table and easy to slide back.
Older kids can help refill it after a grocery trip. They learn where everything goes, and they notice what’s missing before you do.
4. Keep a grown-ups’ shelf up high
Treats, the good chocolate, the snacks meant for lunches and anything you’d rather hand out yourself can go on a higher shelf. Out of reach also tends to mean out of mind for kids.
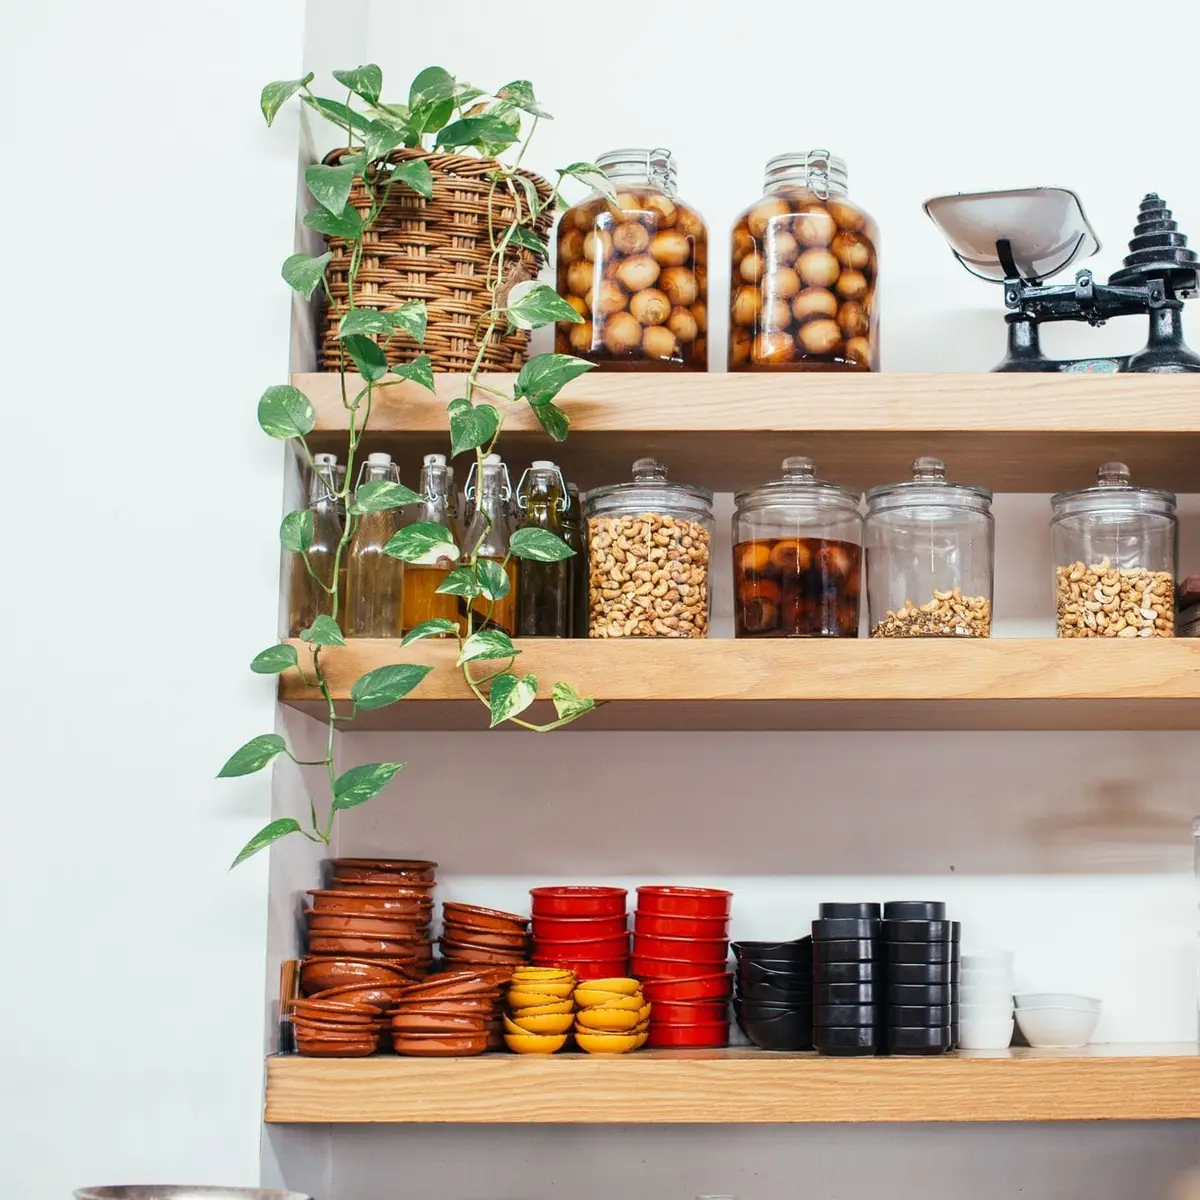
The top shelf of the pantry or the cabinet above the counter works well for this. Use a bin or basket with a handle at the front, so you can pull it down in one move instead of reaching blindly into the back.
Keep a sturdy step stool nearby if the shelf sits above your easy reach, so getting a treat down never means climbing on the counter.
Don’t put snacks above the stove or beside the oven or dishwasher if you can help it. Warm, damp spots make crackers, chips and chocolate lose their quality faster, so a cool, dry shelf is the better pick.
Glance at this shelf when you check the kids’ bin. A forgotten bag of treats is easy to miss when it lives up high.
5. Decant into clear, airtight containers
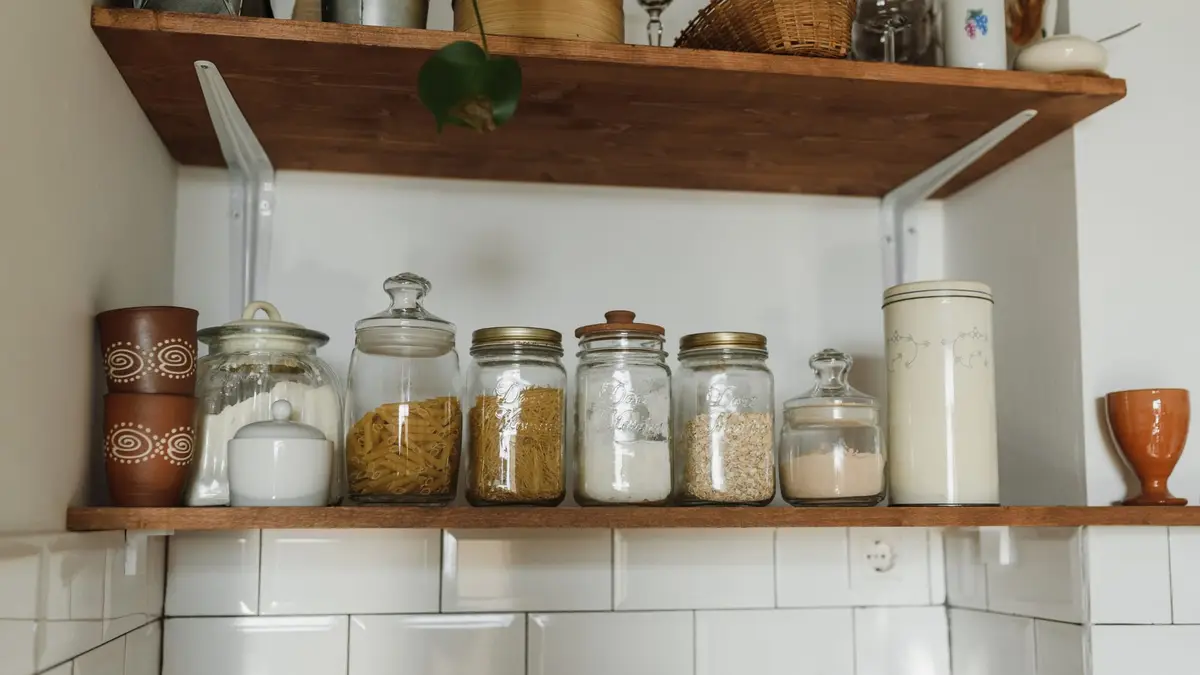
Crackers, cereal, pretzels, nuts and dried fruit stay crisp and fresh longer in containers with tight-fitting lids. Air and moisture are what turn a crisp snack soft, so a good seal matters more than the look of the jar.
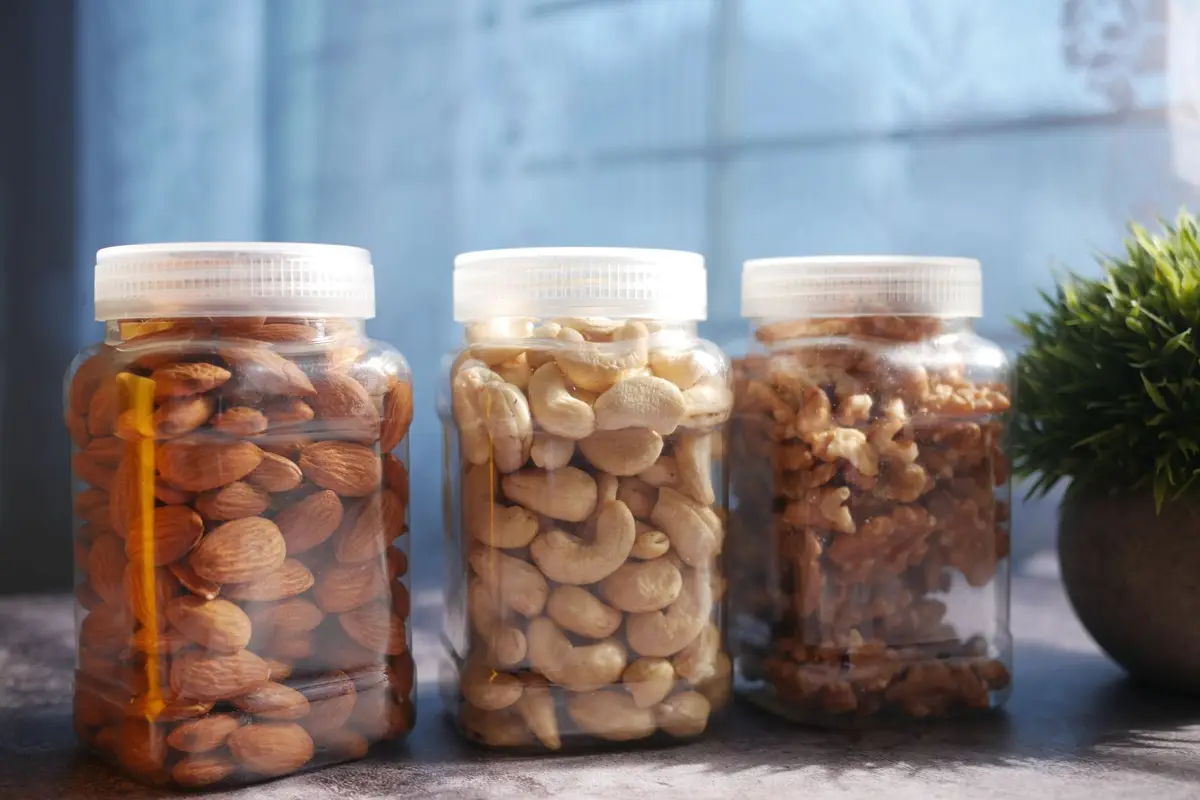
Tightly sealed glass, metal or sturdy plastic containers also help keep pantry bugs out. Bugs can get into cereal, dried fruit and other dry foods in any home, and sealed lids help keep them out of the rest of your snacks.
Clear containers show what’s inside and how much is left. You can tell at a glance when the pretzels are nearly gone, which saves a second box from ending up in the cart.
Wash and dry containers before refilling them, and don’t pour new snacks on top of old ones. Finish the old batch first, or put it in a small bowl to eat this week.
For snacks you don’t decant, roll the bag down tightly and close it with a clip. More quick fixes like this are in our kitchen organization hacks.
6. Give treats one lidded jar
Sweets tend to spread across the kitchen: a bag of cookies in one cabinet, candy in a drawer and chocolate behind the cereal. One lidded jar or tin for all of it keeps treats in a single spot.
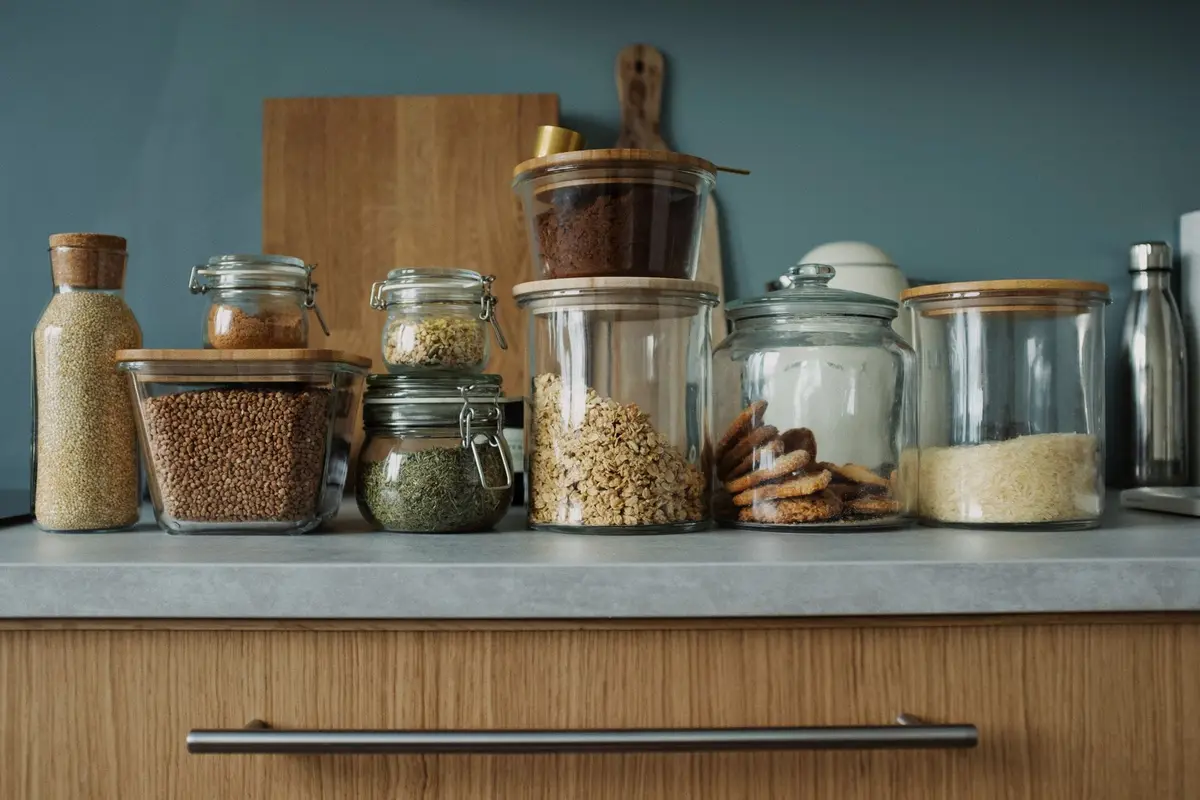
The jar also sets a natural limit. When it’s full, there’s no need to buy more, and when it’s empty, it’s empty until the next grocery trip.
Pick a jar with a lid that seals well, so cookies stay crisp and nothing goes stale. A jar you can see into makes it easy to check what’s left without opening it.
Decide where the jar lives based on who should reach it. On the grown-ups’ shelf it stays a treat you hand out; on a lower shelf it becomes part of the everyday snacks.
Move any extra treats you buy for later to the backup spot in idea eleven. The jar only holds what’s open and being eaten now, so it never overflows.
7. Portion snacks on grocery day
Spend a few minutes after each grocery trip splitting big bags into small containers or reusable snack bags. One large bag of pretzels, crackers or trail mix turns into a week of grab-and-go snacks.
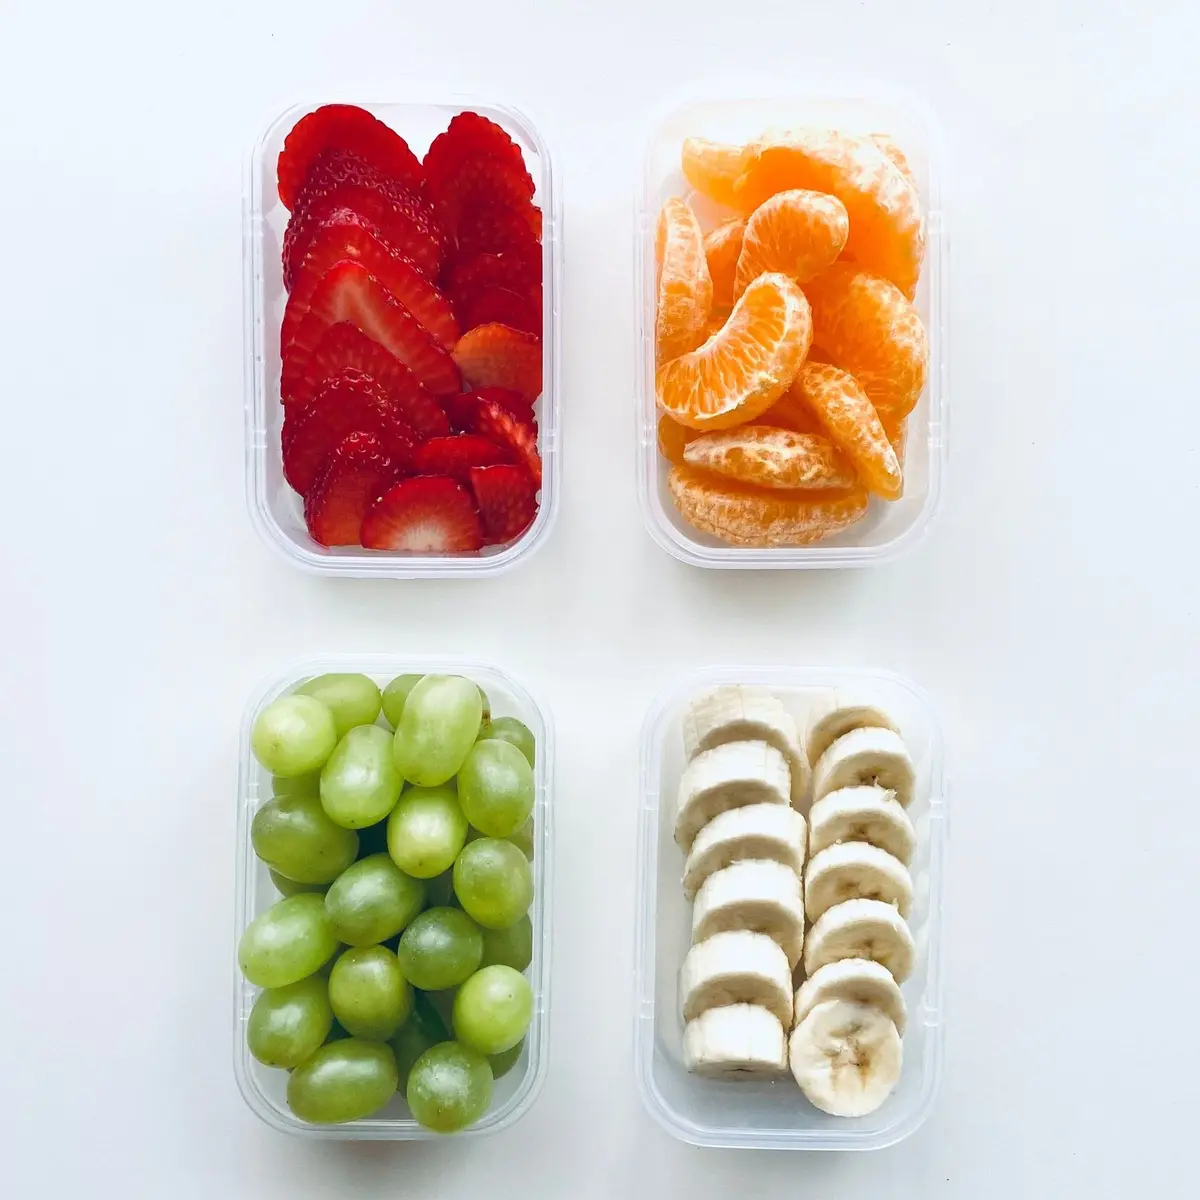
Portions make school and work mornings faster, since nobody has to measure anything. They also show at a glance how many snacks are left for the week.
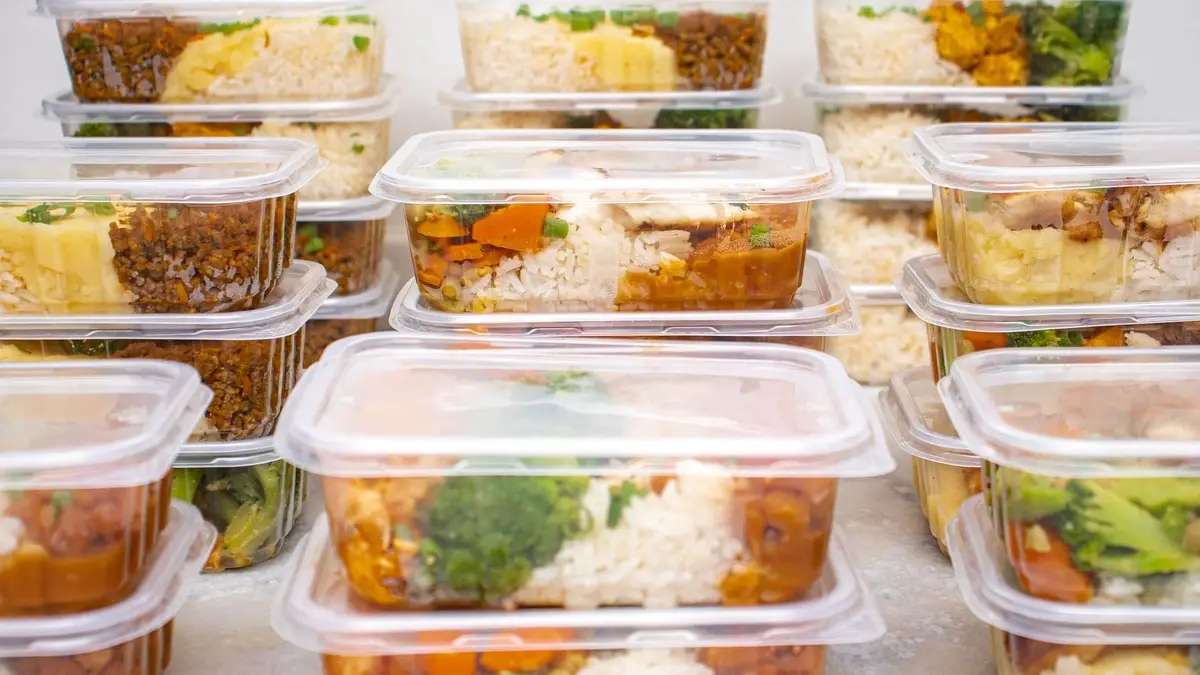
Use small containers that stack, with lids that snap on firmly. Matching sizes nest neatly in a bin and take less room than a jumble of odd shapes.
Cut fruit and vegetables can be portioned too, but they go straight into the fridge, not the pantry. Cut produce is perishable, so keep it cold and plan to eat it soon.
Wash and slice the produce on the same day you portion the dry snacks, and put the containers away in their bins as you fill them. An empty spot in a bin then means it’s time to portion again.
8. Keep cold snacks in one fridge bin
Give yogurt, cheese, cut fruit, vegetable sticks and dips one clear bin on a fridge shelf. Everyone knows where to look, and the fridge door stays open for less time.
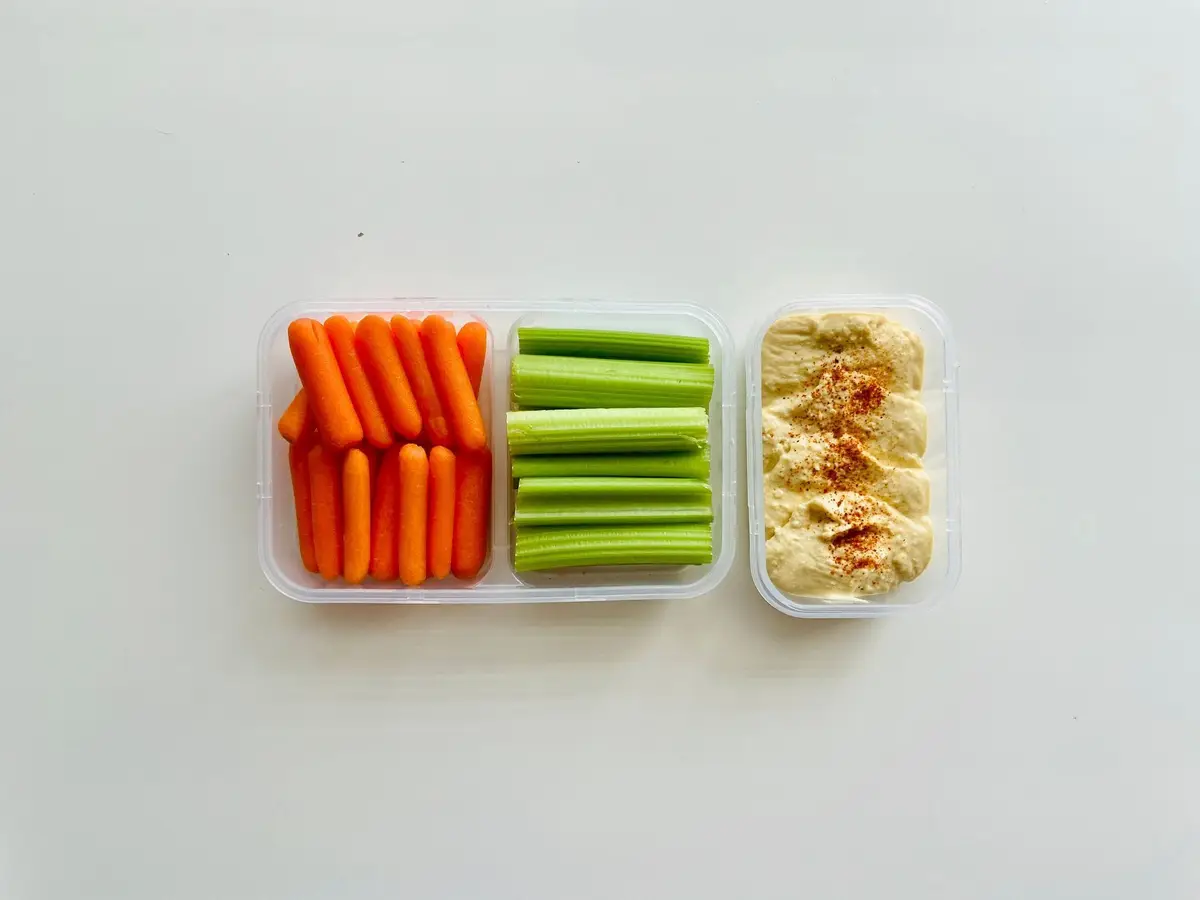
Keep your fridge at forty degrees Fahrenheit or colder, and check it with a fridge thermometer now and then. Dairy and cut fruit are perishable, so they shouldn’t sit out on the counter for more than two hours, or one hour when it’s above ninety degrees.
Put the snack bin on a middle or upper shelf, not the bottom. Raw meat, poultry and seafood belong on the lowest shelf, sealed, so nothing can drip onto ready-to-eat food.
Use a bin that’s easy to pull out with one hand. A low bin works for younger kids if you’re happy for them to help themselves to what’s inside.
Check the bin when you clean out the fridge each week. Eat or toss anything that’s been open too long, and refill it with fresh portions.
9. Set up a lunchbox packing station
Keep everything for packed lunches in one spot: lunch boxes, small containers, reusable bags, napkins, utensils and the lunchbox snacks. Packing then takes a few minutes instead of a hunt through the whole kitchen.
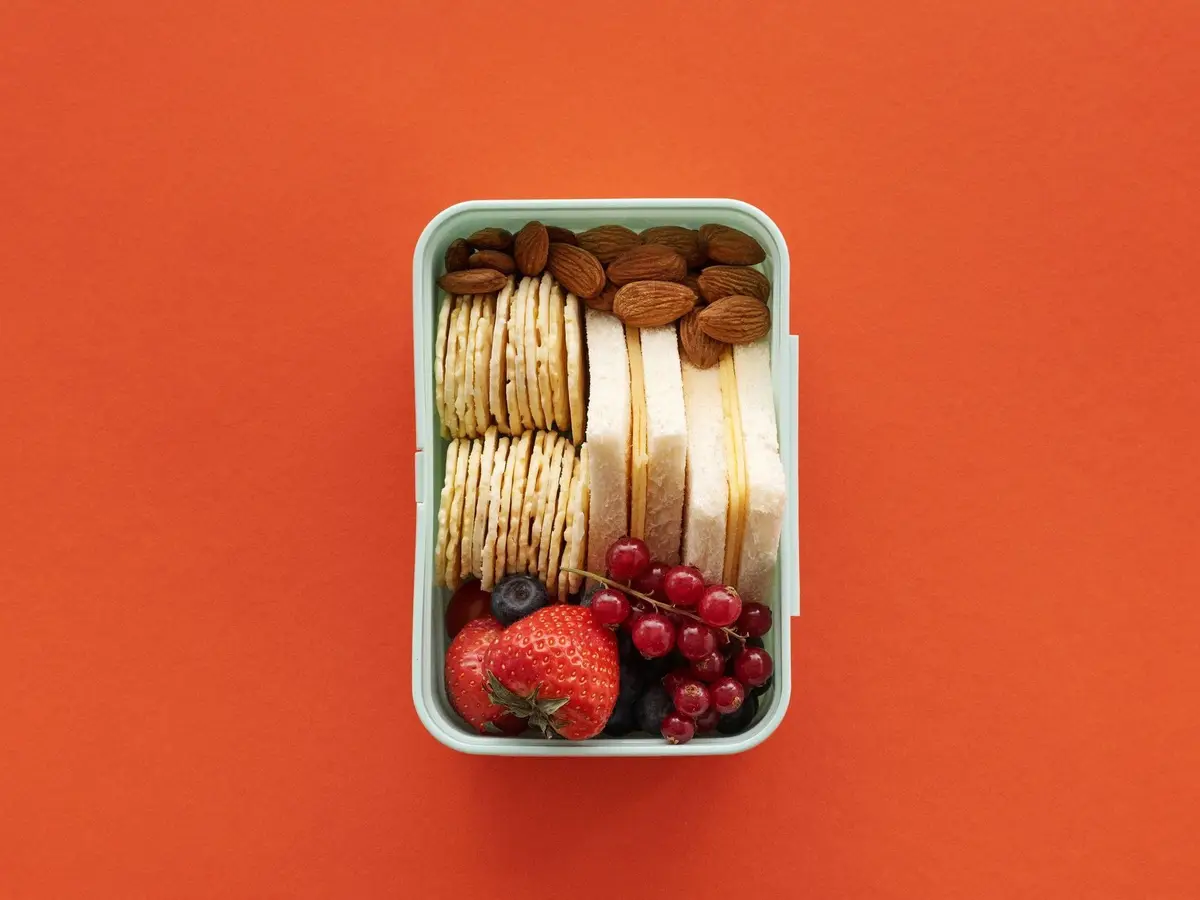
A lower cabinet shelf or one wide bin in the pantry works well. If the cabinet is crowded with cookware, moving the pans first frees up a whole shelf; see our guide to pots and pans organization.
Split the station into sections, like a main, a snack, a fruit and a treat. Kids can then pack their own lunch by choosing one item from each.
For anything perishable, use an insulated lunch box or bag with at least two cold sources, like frozen gel packs, one under the food and one on top. Toss any perishable leftovers after lunch instead of bringing them home for another day.
Freeze the gel packs overnight and keep them on the same freezer shelf. Plan the week’s lunches on the weekly meal planner, so the station gets stocked with what you’ll actually pack.
10. Find snack spots in a small space
Small kitchens still have snack space; it’s just not on the shelves. Look up, look behind doors and look for the narrow gaps nobody uses.
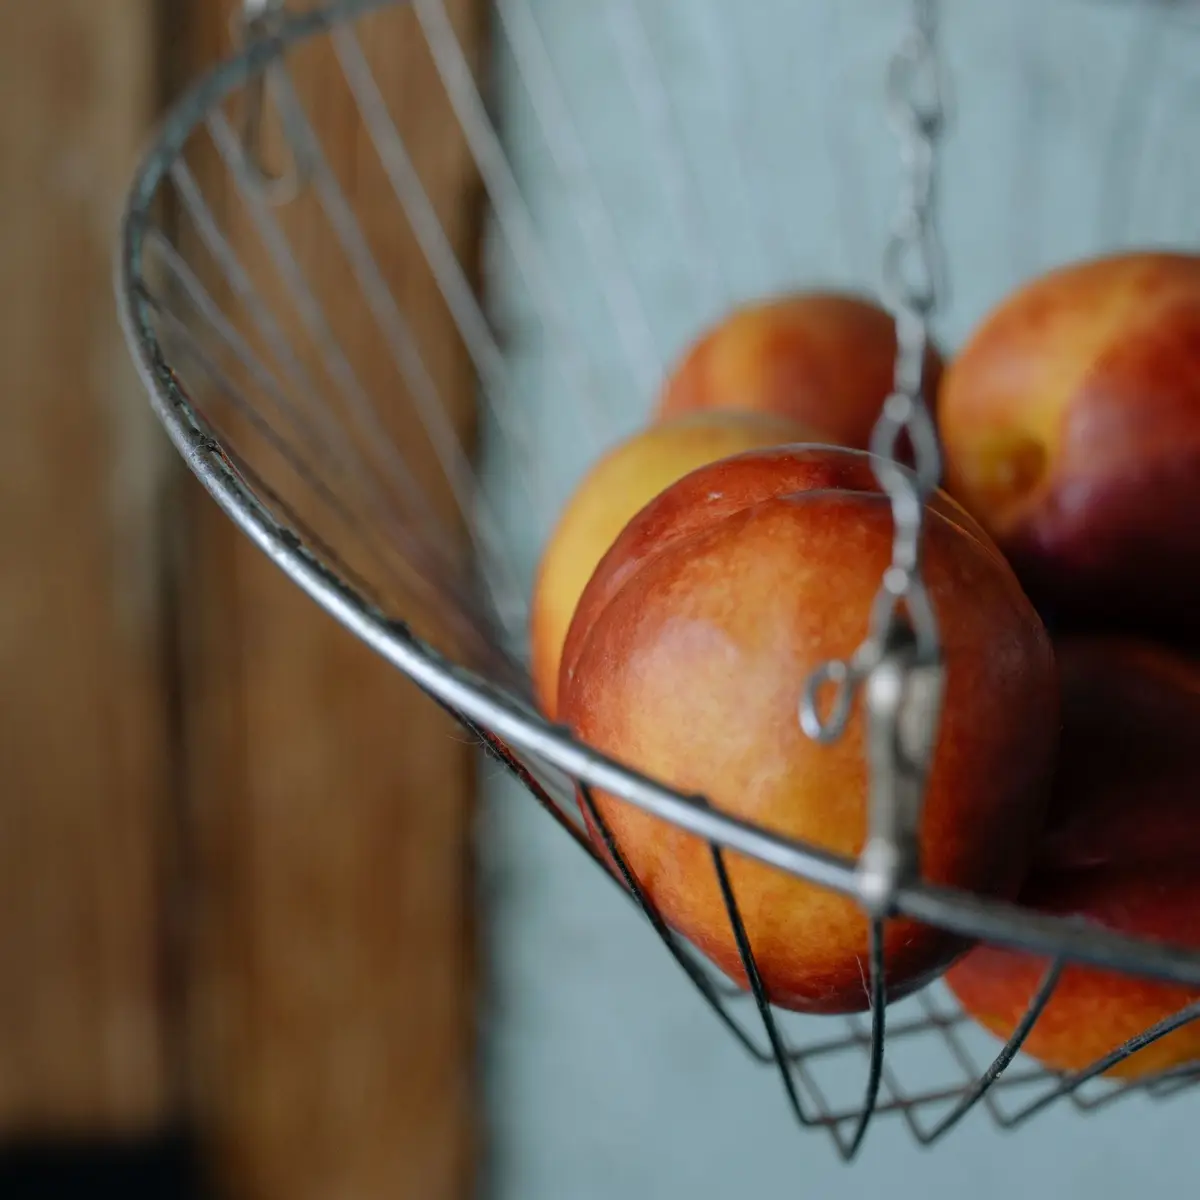
A hanging wire basket holds whole fruit off the counter. An over-the-door rack on the back of the pantry door or a cabinet door can hold small bags, pouches and boxes in shallow pockets you can see at a glance.
A slim rolling cart slides into the gap beside the fridge or the end of a counter. If counter space is the problem, moving the appliances you rarely use into a cabinet can free a whole corner; see these kitchen appliance storage ideas.
Keep only this week’s snacks in the handy spots. Backups can wait in a labeled bin on a closet shelf or another cool, dry spot outside the kitchen.
For more ways to stretch a tight kitchen, see these storage ideas for small spaces. The same rule applies here: give every snack a home, and keep the extras out of the way.
11. Keep a backup spot and open one at a time
Bulk boxes and spare bags take up the space your everyday snacks need. Give them their own backup spot: a high shelf, a basement shelf, a closet or one labeled bin.
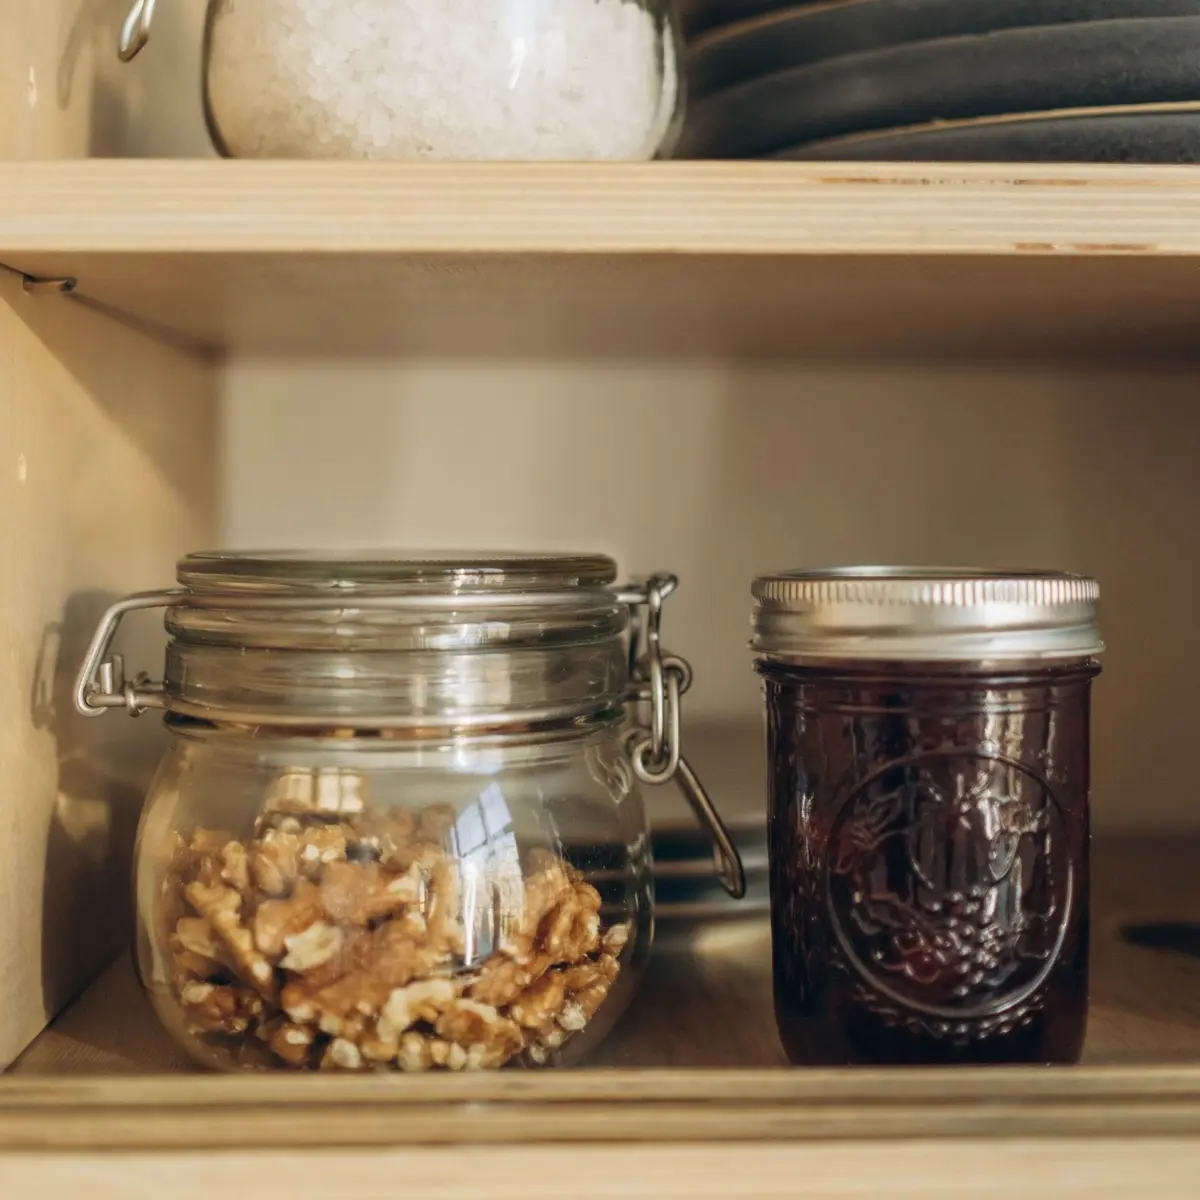
Open one bag or box of each kind at a time. Three open bags of crackers go stale faster than one, and they crowd the bins.
When you put groceries away, place new snacks behind the older ones. The oldest package is then always the next one you grab, and nothing gets forgotten at the back.
Store backups somewhere cool and dry, away from the oven, hot water pipes or heating ducts. Heat and moisture shorten how long dry foods keep their quality.
Check the backup spot before you shop. If a snack is already waiting there, it doesn’t need to go on the list, and you’ll stop buying a fourth box of granola bars while three sit in the closet.
12. Keep a list for restocking
A list on the pantry door or the fridge stops the “we’re out of snacks” surprise. When someone finishes a bag or opens the last box, they write it down right away.

Hang the list where everyone can see it, with a pen on a string or a magnetic clip. Kids old enough to write can add their own snacks, which makes them more likely to tell you when something runs out.
Before you shop, check the bins, the fridge bin and the backup spot, then copy what’s missing onto your printable grocery list. You’ll buy what you need and skip what’s already waiting.
Keep a short list of the snacks your house always wants, like crackers, fruit, yogurt and a treat or two. It makes the weekly shop faster and keeps the bins from filling with impulse buys.
Once a week, glance through the bins and move anything that’s been sitting too long to the front. Those small checks keep the snack shelf easy to use all year.
Save this for later
Pin it to a board so it's there when you're ready to start.
Save to Pinterest(opens in a new tab)Make it easier
Free printable
A free one-page meal planner with a row for each day, a column for each meal, and room for the shopping list and the prep. Plan the week once, then shop once.
Free printable
A one-page grocery list sorted by store section, with a box to tick for every item, so you write the list once and shop the store in one loop.
Free tool
Enter the width, depth and height of a shelf, a drawer or a cube cubby, and see which standard bins and baskets fit, how many, and how they line up.
Frequently asked questions
Where should I keep snacks in a small kitchen?
Look for space that isn't doing anything yet: the back of a pantry or cabinet door, a hanging basket, a narrow rolling cart or one cleared-out drawer. Keep the everyday snacks in one spot and store the backups somewhere less handy, so the small space only holds what gets eaten this week.
How do I keep crackers and chips from going stale?
Air and moisture make crisp snacks go soft, so move them into containers with tight-fitting lids or roll the bag down and clip it right after opening. Snacks that have gone a little stale can often be crisped on a baking sheet in a hot oven, as long as they don't taste or smell off.
Do cheese, yogurt and cut fruit have to stay in the fridge?
Yes. Dairy and cut fruit are perishable, so they belong in a fridge kept at forty degrees Fahrenheit or colder and shouldn't sit out for more than two hours. Whole, uncut fruit like apples and bananas is fine at room temperature.
How do I stop kids from eating all the snacks at once?
Fill the kids' bin with a set amount for the day or the week and refill it on a schedule, not every time it runs low. Keep the backups and treats on a higher shelf, so the bin is the only place kids help themselves.
How do I keep a packed lunch with cheese or yogurt cold?
Pack it in an insulated lunch box or bag with at least two cold sources, like frozen gel packs, one under the food and one on top. Toss any perishable leftovers after lunch instead of bringing them home for another day.